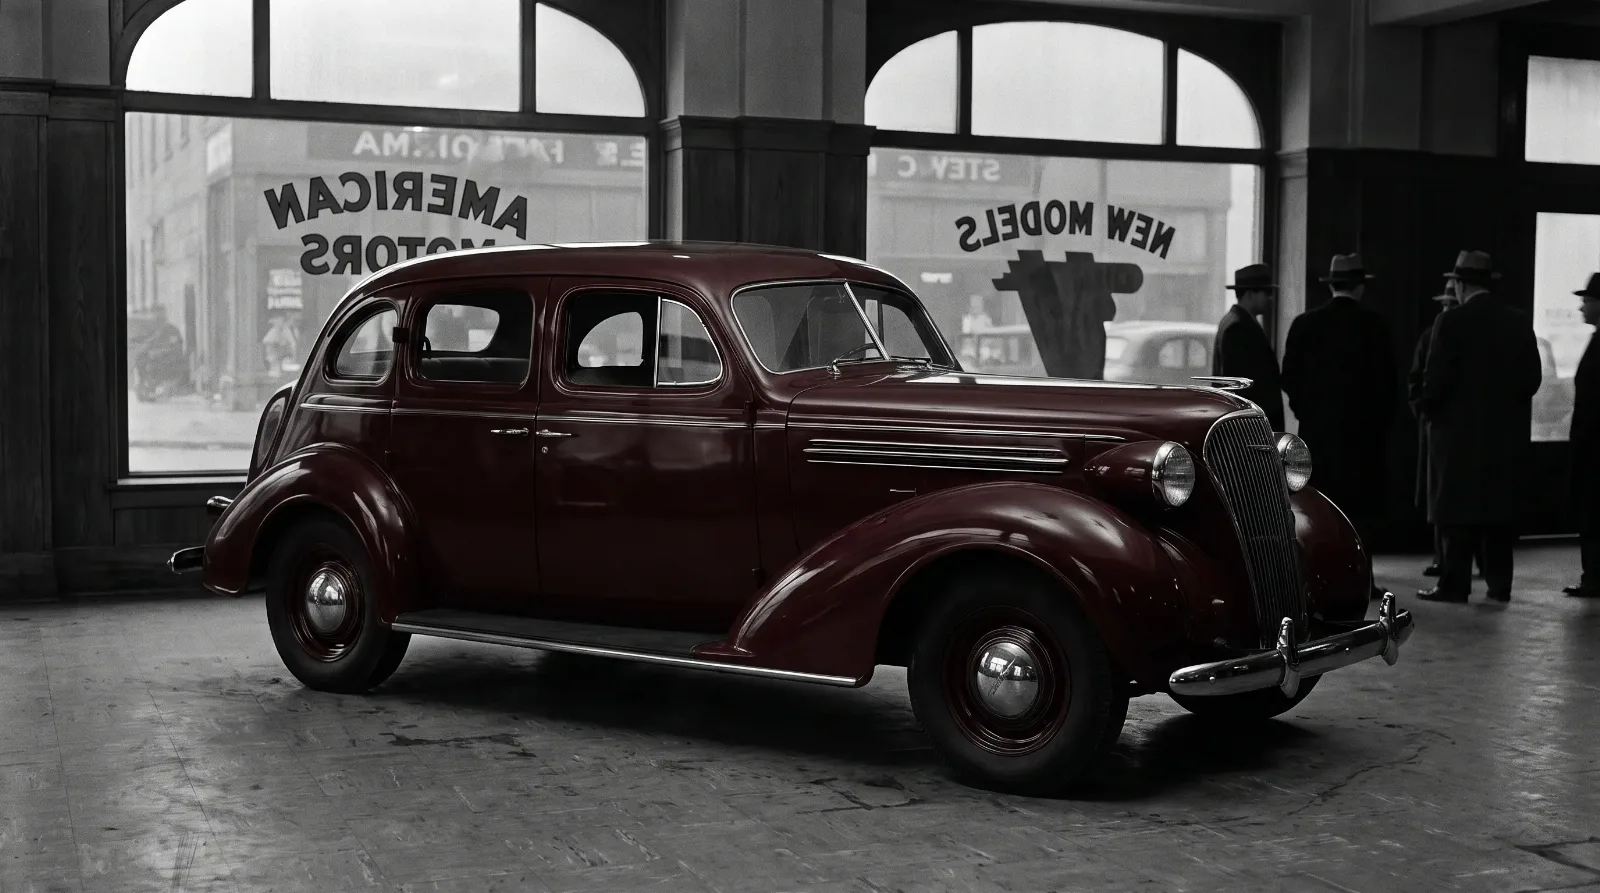

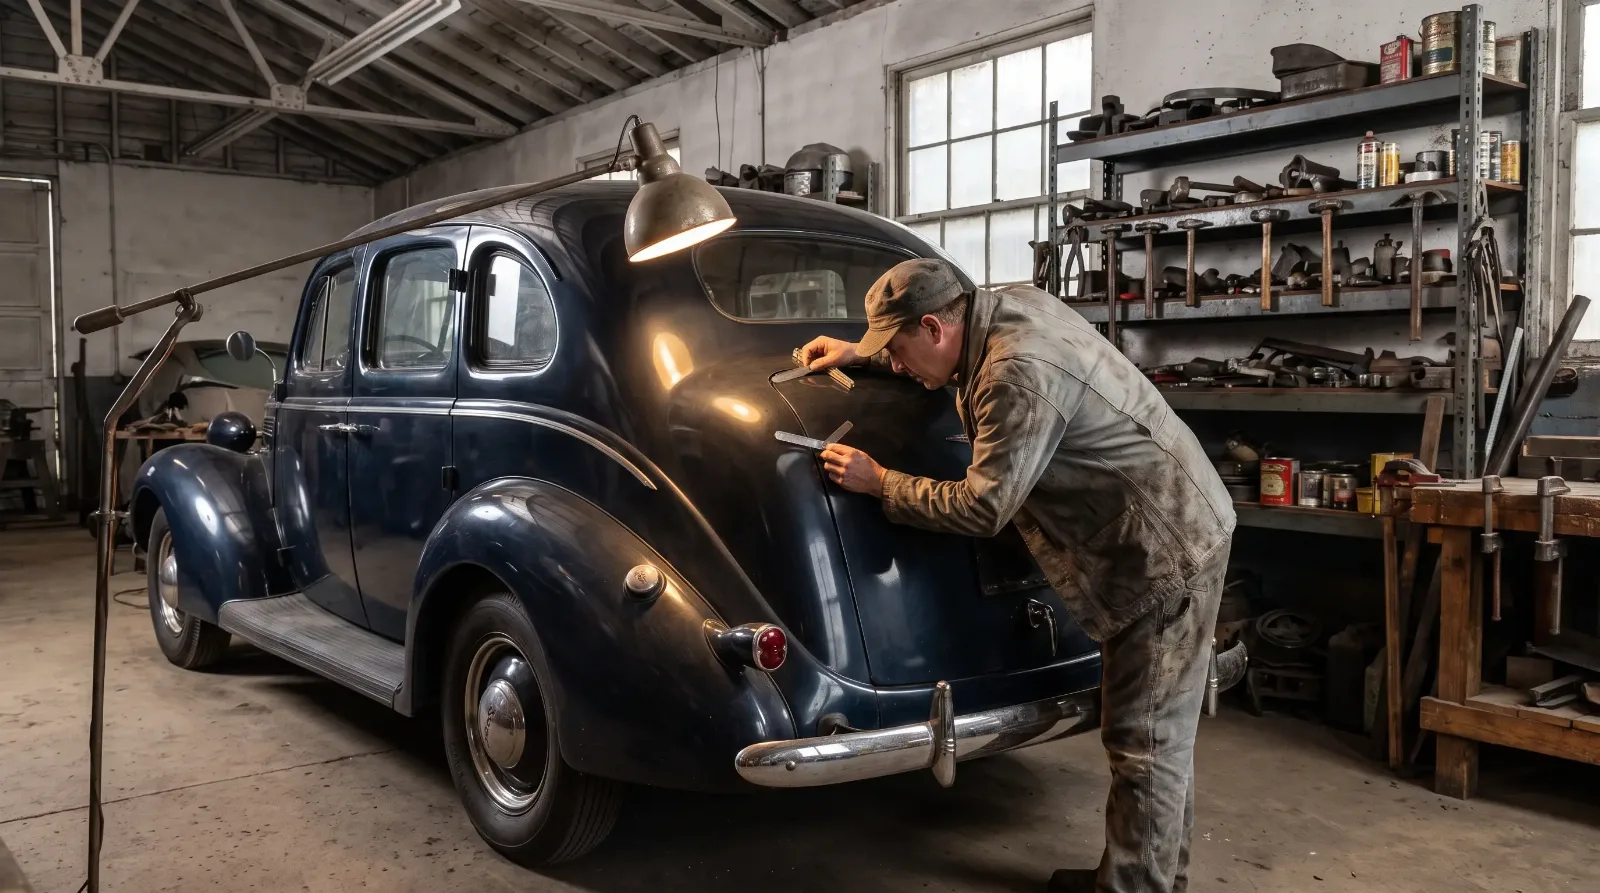
Pop the trunk on a 1929 car and you're often looking at a separate steel or wood-and-fabric box, bolted to the rear of the frame almost as an afterthought, sold sometimes as an accessory rather than built in from the factory. Pop the trunk on a 1938 car and the whole rear of the body tapers down into it, panel gaps lined up, the trunk lid following the same curve as the fenders. That transition, from bolted-on box to integrated body panel, is what this piece in the 1930s body design guide is really about, and it's a change worth understanding panel by panel if you're evaluating an original body.
Before this shift, most cars simply didn't have a trunk in the modern sense. Luggage rode on an external rack bolted to the rear bumper, exposed to weather and road grime, or in a separate trunk case strapped on by hand. Manufacturers eventually recognized that customers wanted their luggage protected and out of sight, and the engineering answer was to extend the body itself rearward into an enclosed compartment.
How the panel work actually changed
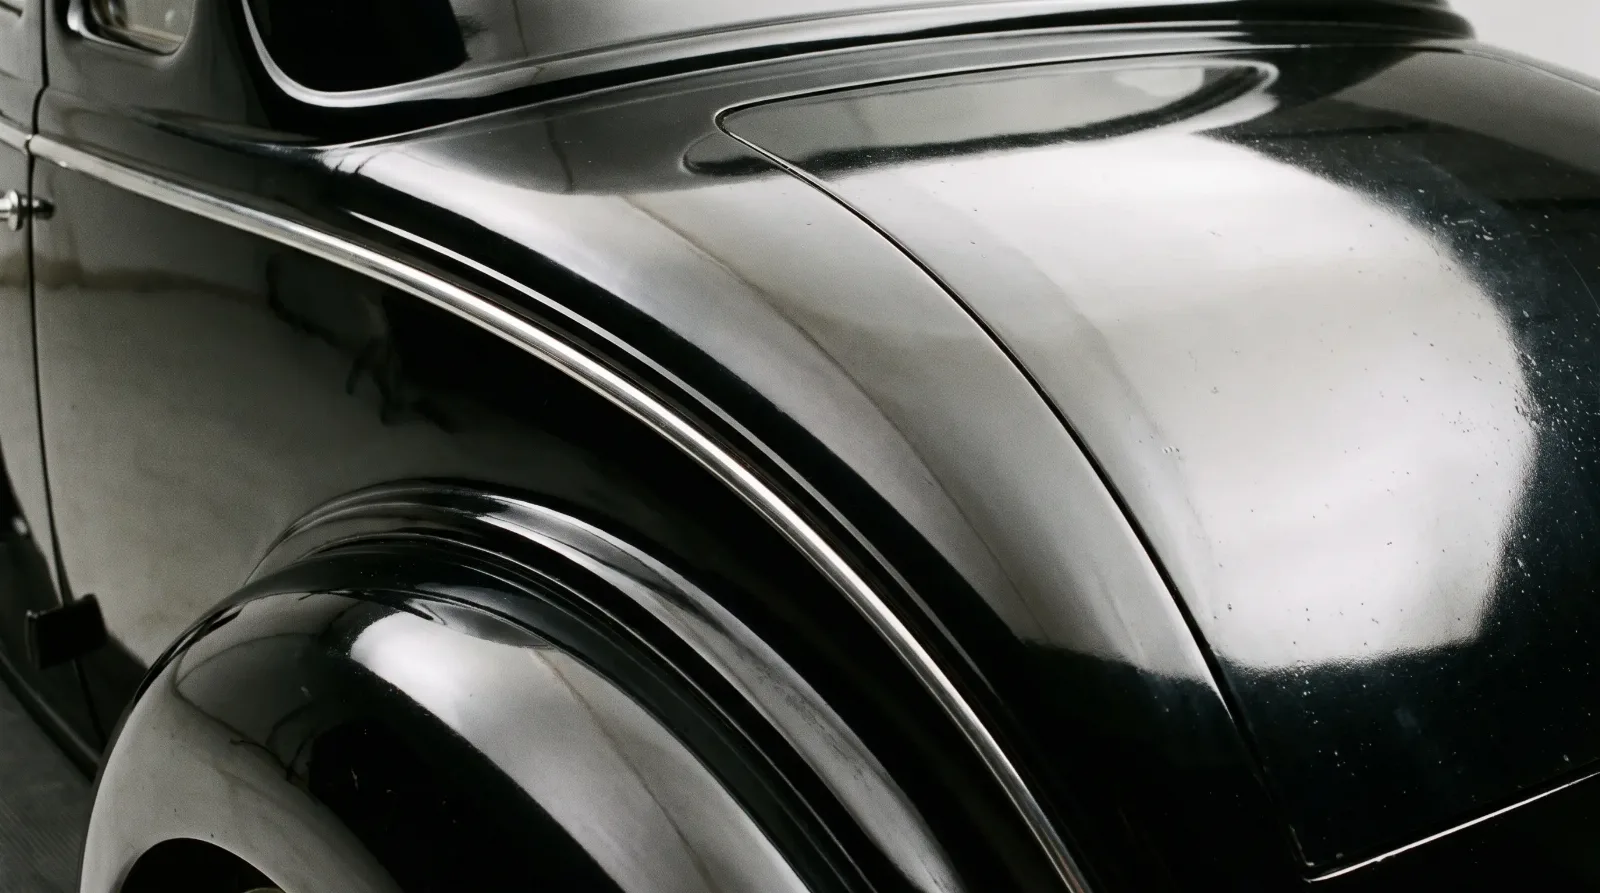
The first built-in trunks were fairly crude from a fabrication standpoint. A body shop would extend the rear sheet metal into a boxy compartment, often with visible seams where the trunk section met the main body, closed off with a hinged lid that didn't always match the surrounding curves. Stampings weren't yet sophisticated enough to draw a single continuous panel from the roofline down through the trunk, so the joint between "car" and "trunk" stayed visible if you knew where to look.
By the mid-1930s, stamping technology and body engineering had caught up with the design ambition. Larger dies allowed a single rear panel to sweep from the greenhouse down into the trunk lid without a hard break, and the trunk lid itself was fitted with hinges and latches concealed well enough that a clean example looks like one continuous shape rather than an assembly of parts. Getting those panel gaps consistent, especially around a curved trunk lid meeting a curved rear fender, took real skill at the stamping and fitting stage, and it's still one of the harder things to get right in a full restoration today.
Interlocking panels: the harder engineering problem
Trunks weren't the only place body panels got more sophisticated. Fenders, running boards, and hood sides moved from separately bolted, individually adjustable pieces toward panels designed to interlock, with edges that tucked into one another rather than simply butting up against a visible seam. This mattered for two reasons. First, it looked cleaner, supporting the smoother, more streamlined shapes the era was chasing. Second, done correctly, it made the body stiffer, since overlapping panels can share some structural load that separate bolted pieces can't.
The tradeoff, and this is the part that catches people doing restoration work today, is that interlocking panels are much less forgiving to work on. On an earlier car, you can often remove one fender without disturbing the rest of the body. On a later 1930s car with interlocking panel design, removing one piece can require loosening or removing adjacent panels just to get clearance, and reassembly demands careful shimming to get the gaps even again. If you're planning bodywork on a car from this later part of the decade, budget real time for panel fitting, because rushing that step is how you end up with the wavy, uneven gaps that immediately signal amateur work to anyone who knows what they're looking at.
"Anybody can bolt a fender back on. Getting a 1937 rear quarter to meet a trunk lid the way it left the factory, with even gaps all the way around, that separates a real body man from somebody who just owns the tools."
— Ray Delgado
What to look for when evaluating an original body
If you're assessing whether a car's body is original or has been repaired, panel gap consistency is one of the most reliable tells. Factory tooling from this period, while more sophisticated than earlier cars, still had tolerances wider than what modern robotic assembly achieves, but those factory tolerances were consistent car to car. A gap that's uneven in a way that doesn't match sister cars of the same model, or that shows filler under close inspection, usually points to accident repair or an amateur panel replacement somewhere in the car's history.
Hardware and hinges as originality clues
The trunk hinge and latch hardware is another good marker. Original hardware from this period was typically stamped or cast with maker's marks, and mismatched or clearly newer hardware on an otherwise original-looking trunk is worth investigating further before you take a seller's originality claims at face value.
Fasteners are worth a look too. Factory production of this era used consistent screw and bolt head styles across a given body, and a trunk lid held on with mismatched hardware, even if the panel itself looks correct, is often a sign someone removed and refit it at some point, whether for a repair, a repaint, or something less benign. It is a small detail, but small details are usually where an inflated originality claim falls apart first.
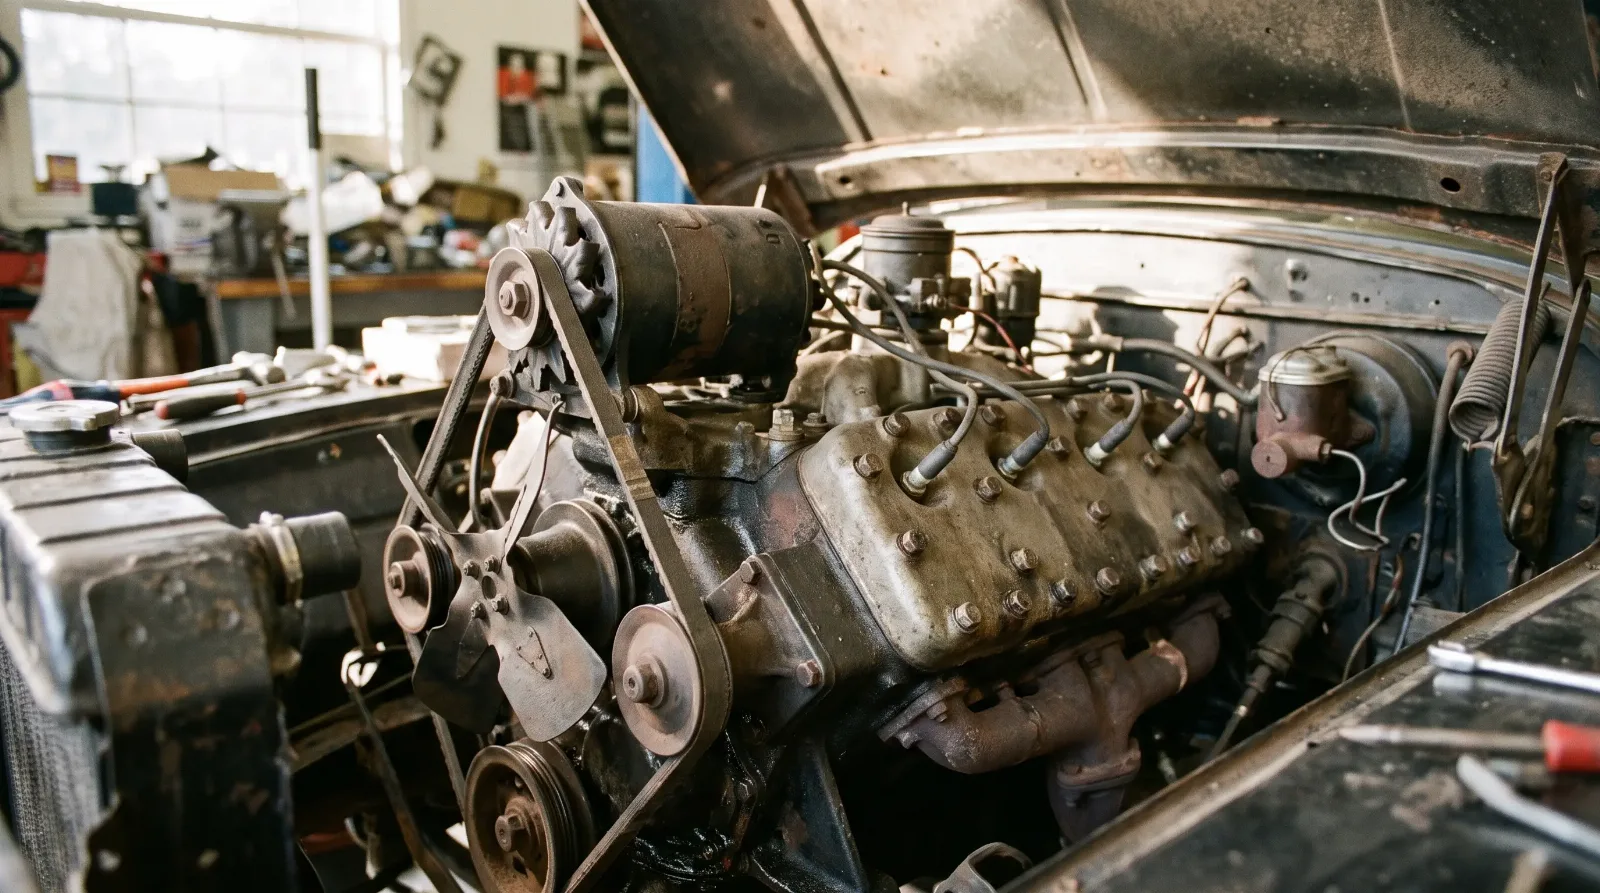
This body design story connects directly into the powertrain story of the same years, since the manufacturer pushing built-in trunks and interlocking panels hardest into the mainstream market was also racing to put a powerful, affordable V8 under the hood. Keep reading for how that engine came together at the same time these body panels were being reworked.
Sources and notes
- Wikipedia: Trunk (car) - history of integrated luggage compartments
- Wikipedia - Budd Company stamped all-steel body history
- Hagerty Media: Phantom Corsair and streamline moderne design
- Heacock Classic - streamliner car design and the evolution of fastbacks
- RM Sotheby's: 1936 Ford DeLuxe Trunk-Back Tudor Sedan