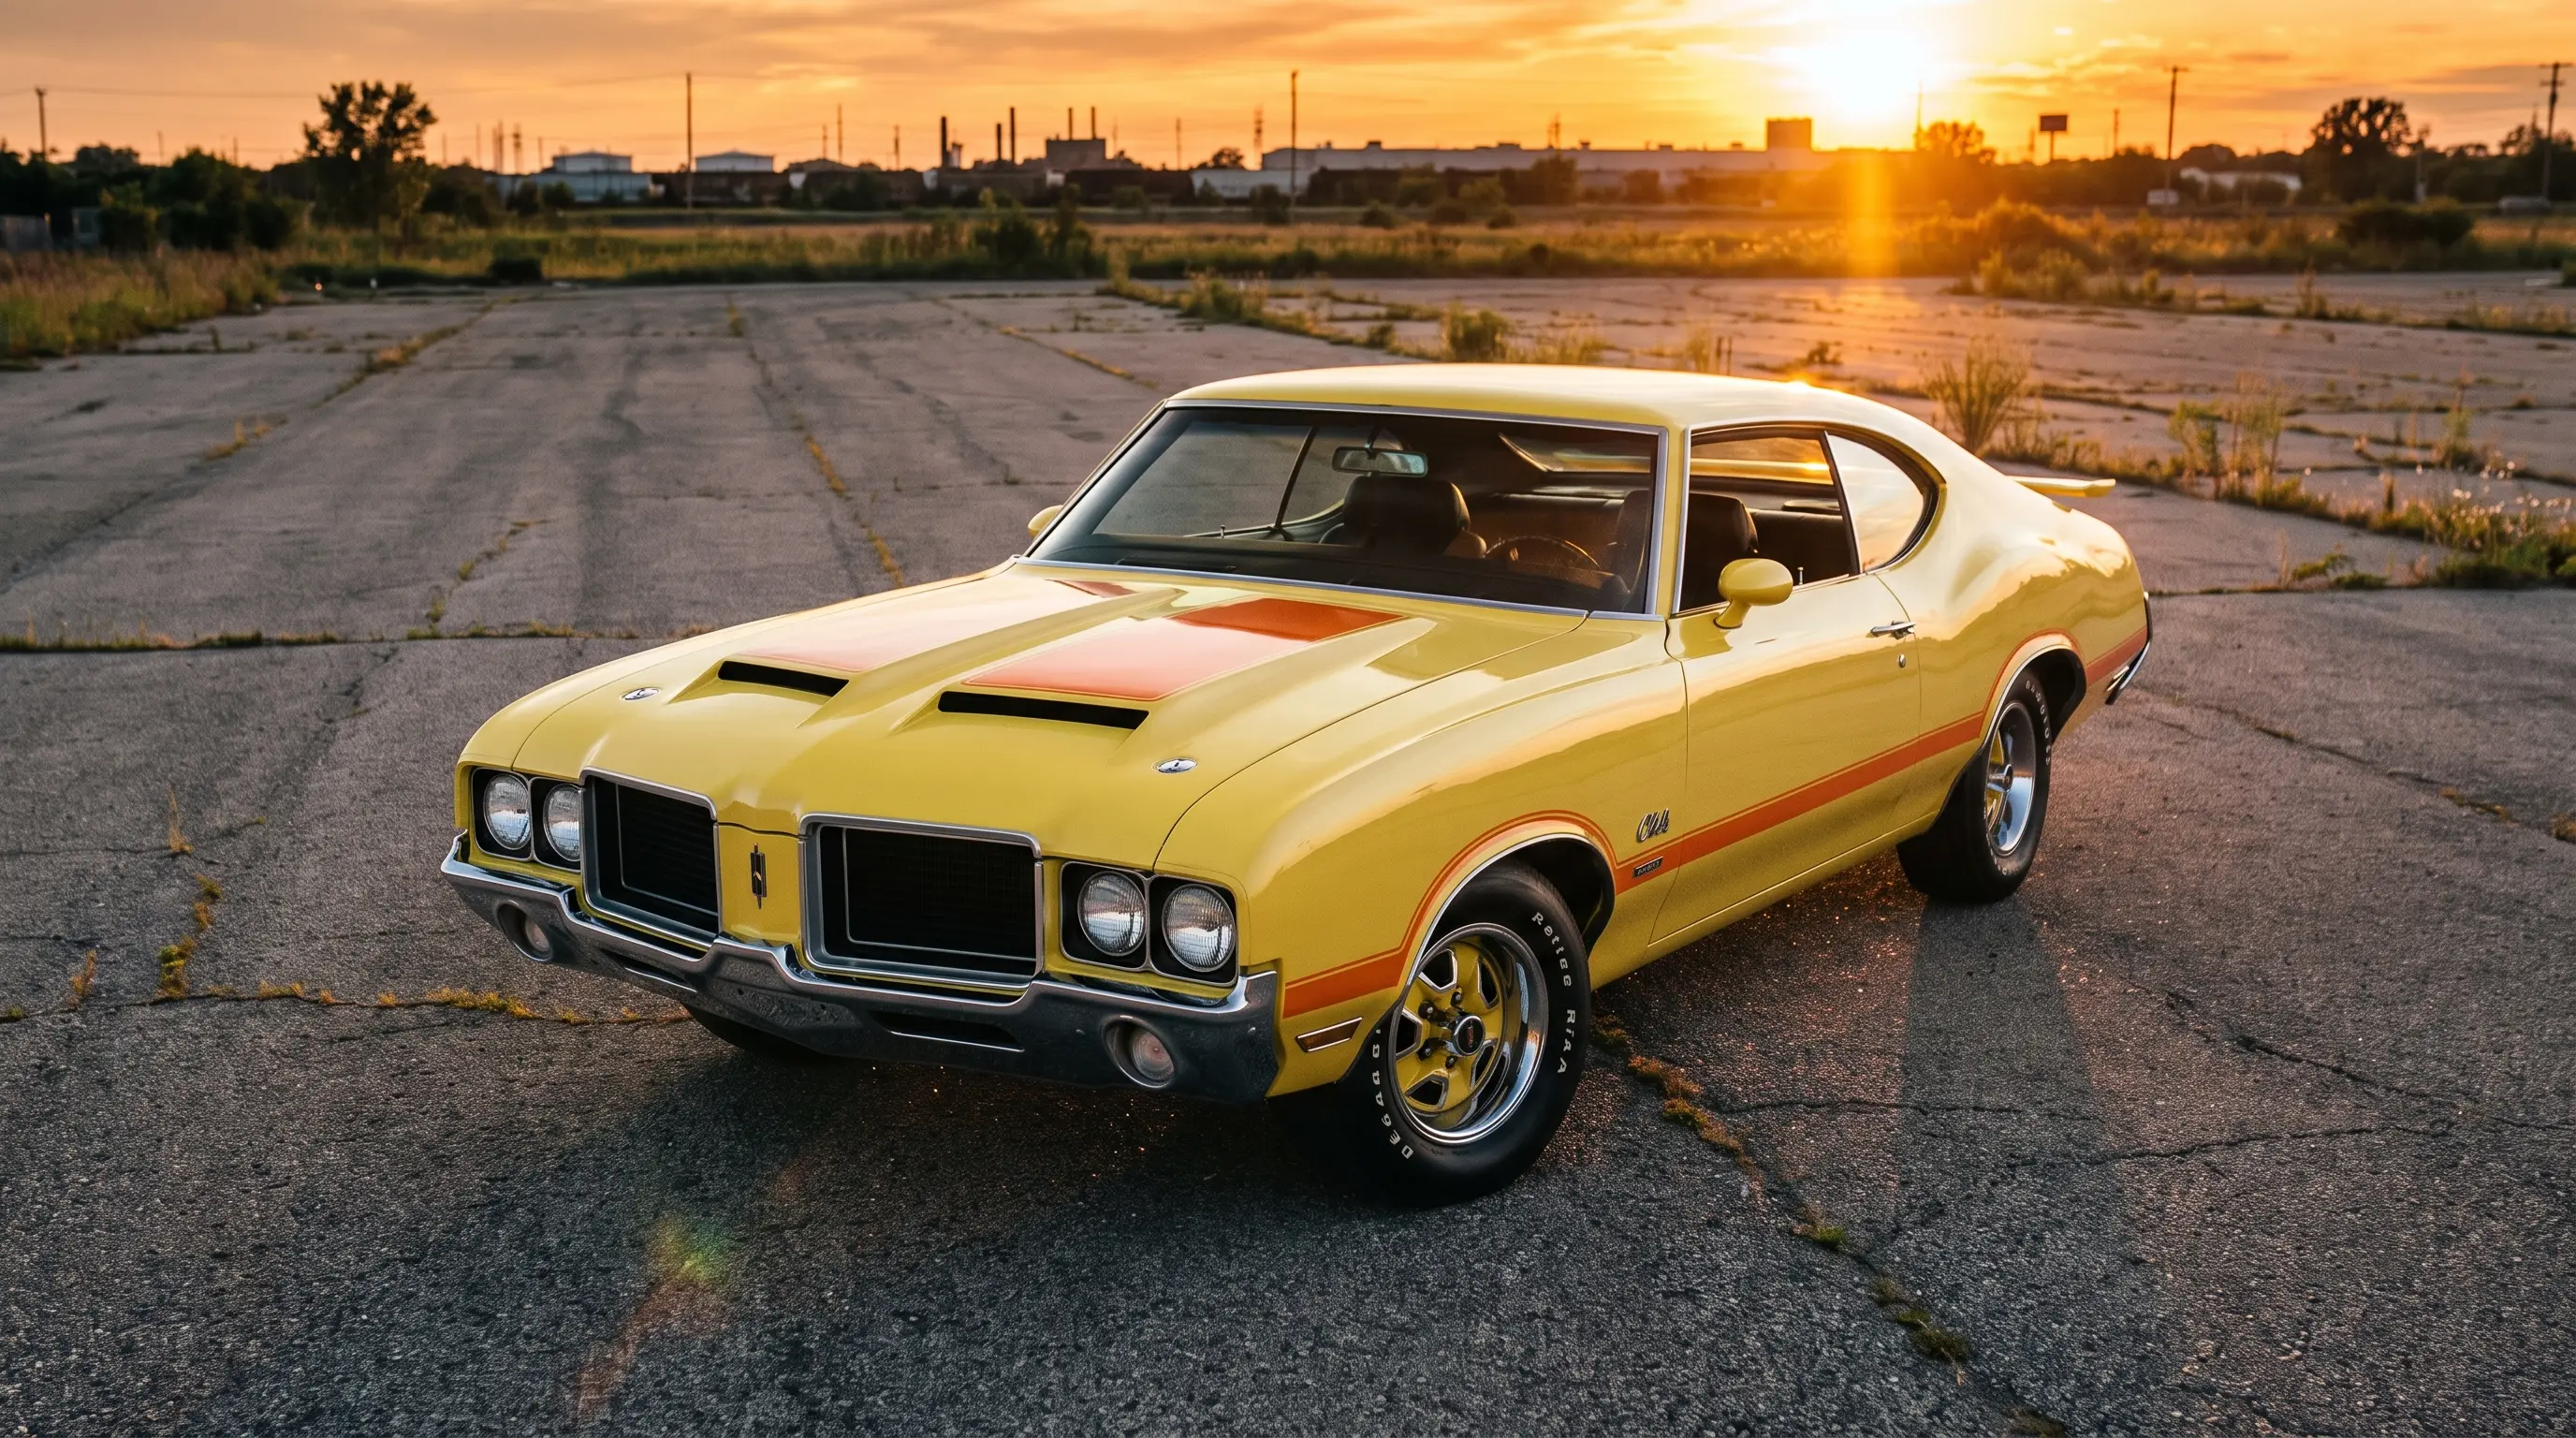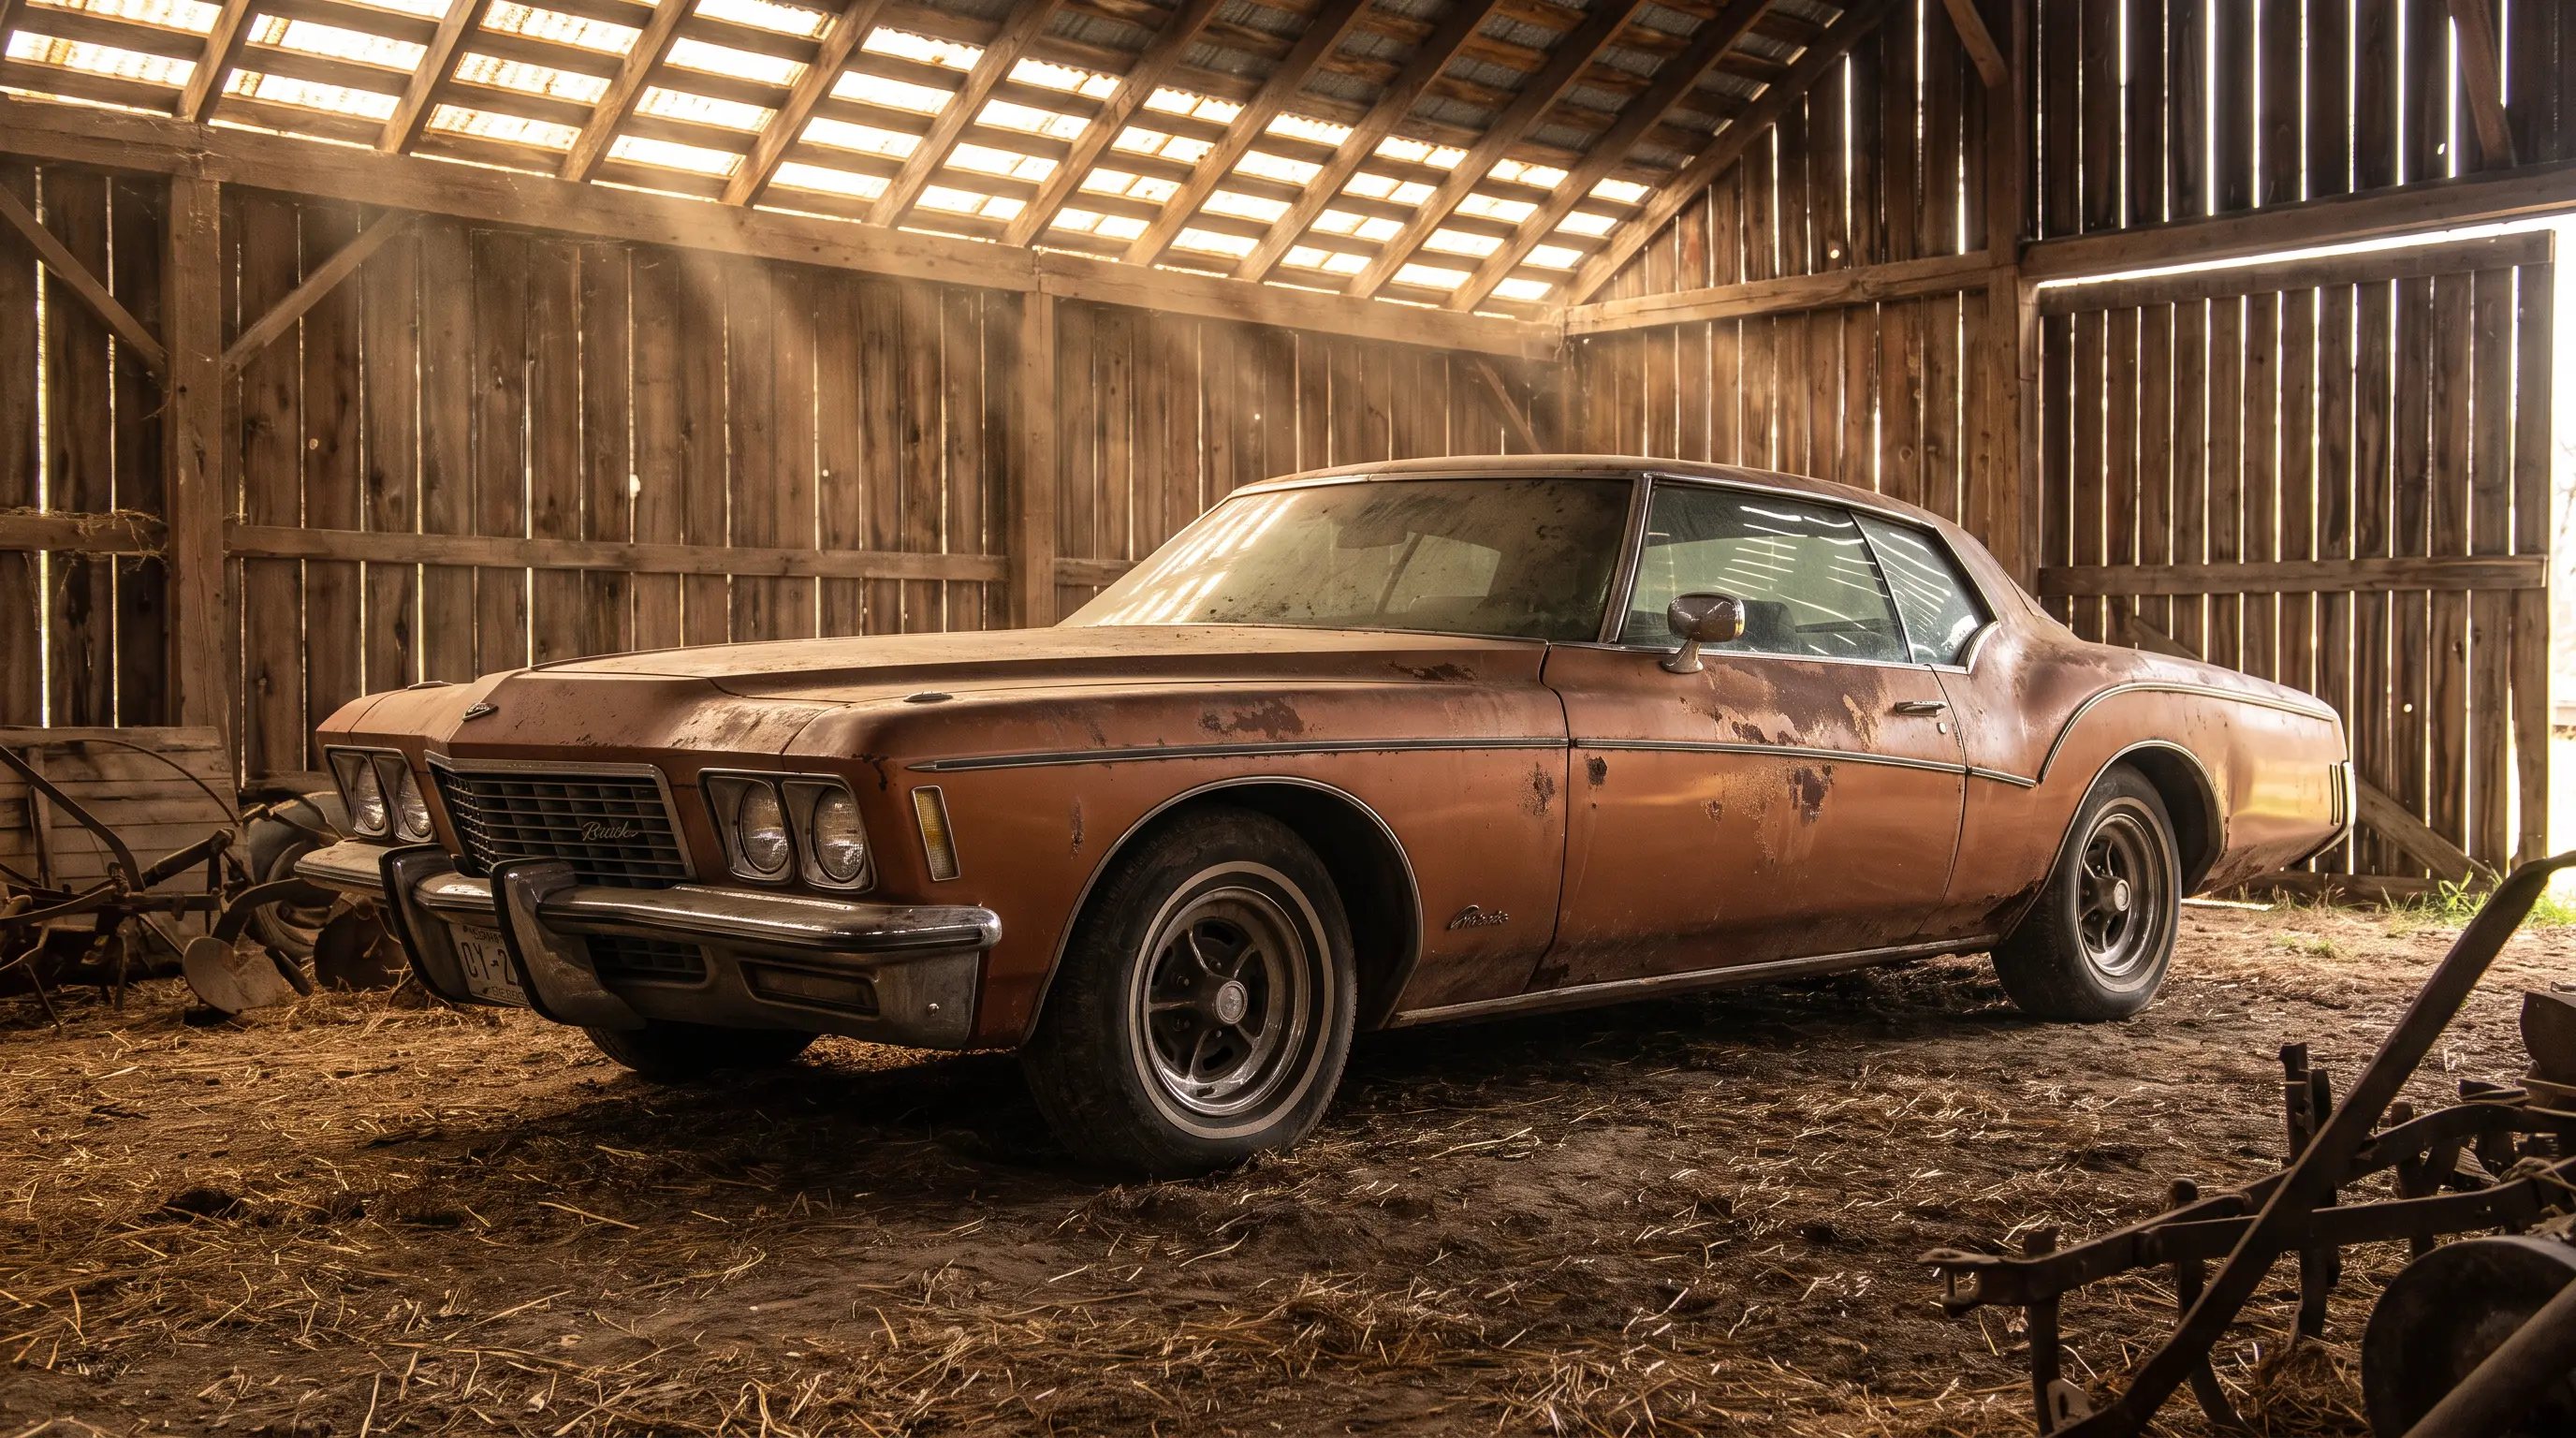

Wheels are the first thing anyone notices on a restomod, and they are the fastest way to get the whole build wrong. A perfect body, a fresh coat of paint, a modern drivetrain, and then someone bolts on a set of oversized chrome billet wheels that make the car look like it belongs in a mall parking lot in 2005. Nothing dates a build faster than the wheels. The trick is picking a size and a style that reads as period-correct at a glance but hides a modern brake package and a real tire behind it.
This is the part of a build where taste matters more than money. You can spend four figures on a set of wheels and still get it wrong. What follows is how I think about diameter, fitment, tire choice, and clearance when I am helping someone finish the look on a car that already has the right stance underneath it. If you have been reading through the rest of the interior and finish work in this series, this sits right next to it as part of the same conversation about the restomod interior and the overall presentation of the car.
The right diameter is smaller than you think
The single most common mistake I see is going too big. A 1969 Camaro rolled on 14 or 15 inch wheels from the factory. Jump to a 22 and the wheel arch fills up like a truck, the sidewall disappears, and the whole proportion of the car collapses. For most muscle-era and pony cars, 17 and 18 inch wheels are the sweet spot. They clear a modern brake caliper, they let you run a real performance tire, and they still leave enough sidewall to look like a car and not a piece of jewelry.
Trucks and larger cars can carry a 20 inch wheel because the body is bigger and the proportions absorb it. But even there I would rather see an 18 or a 19 with a proper sidewall than a stretched rubber band on a 22. The old rule holds: the wheel should look like it belongs to the era of the body, and the era of a 1967 Mustang did not include a 24 inch rim. When the tire sidewall is at least as tall as the visual mass feels right, the eye reads the car as balanced.
Style: billet, forged, and retro-look wheels
Once diameter is settled, style is where the build shows its personality. There are three broad families that work on a restomod, and each sends a different message.
- Retro-style wheels. Reproductions or reinterpretations of classic designs: Torq Thrust five-spokes, Minilite-style mesh, steel-look wheels with dog-dish caps. These lean into the vintage read and are the safest choice for a car meant to look period-correct.
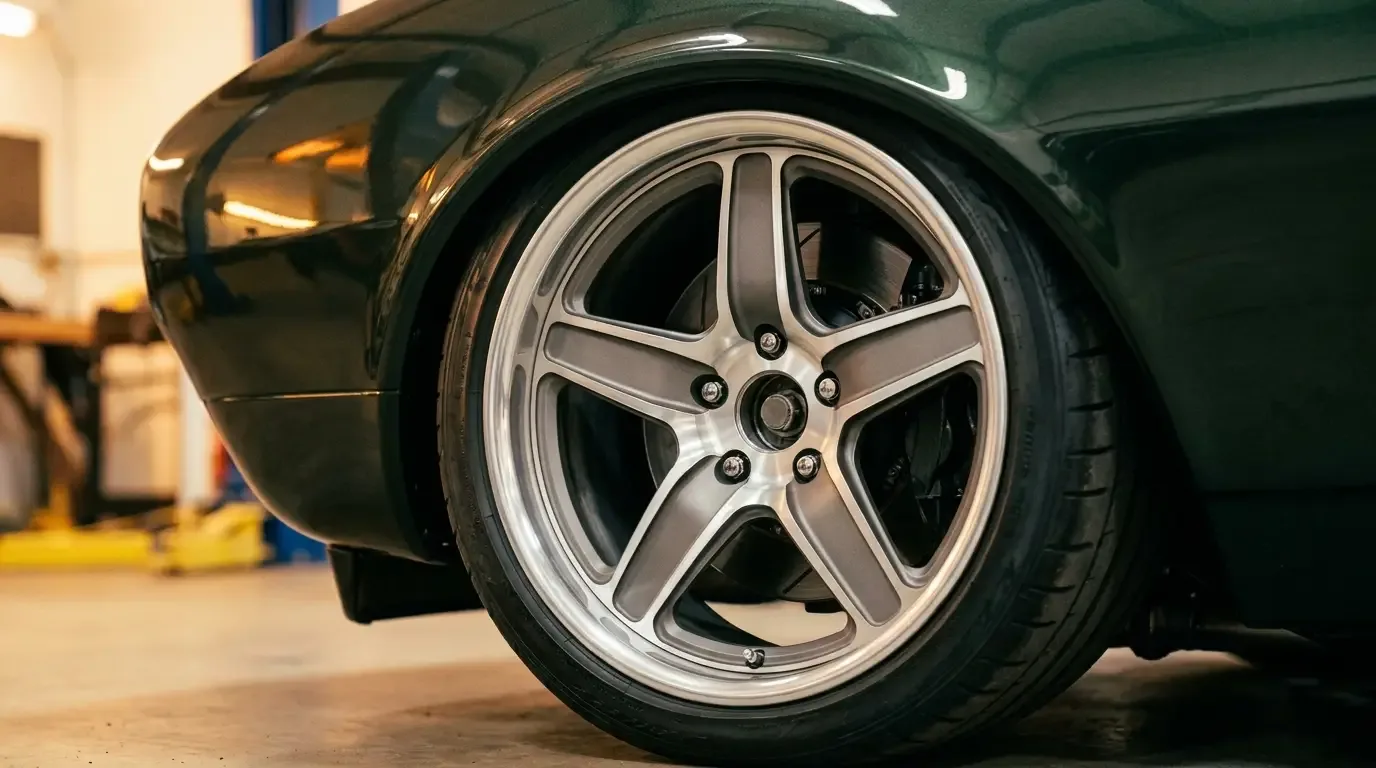
- Forged wheels. Made from a solid billet that is forged under pressure, so they are lighter and stronger than a cast wheel. This is where the money goes on a serious build because less unsprung weight helps ride and handling. Many forged makers offer classic-inspired faces, so you get modern construction with a vintage shape.
- Billet wheels. Machined from solid aluminum, often in bold modern patterns. These can look great on a smooth pro-touring build but tip into "too modern" fast. Used with restraint, in a subtle finish, they work. In chrome with a busy spoke count, they usually do not.
Finish matters as much as shape. Satin, gunmetal, and bronze read modern and understated. Full polished chrome reads early 2000s. Body-color or a simple machined face with a painted center tends to age the best.
"I tell every customer the same thing. Spend your wheel budget on the right size and a lighter construction, not on the shiniest finish. A satin forged wheel in the correct diameter will look right in twenty years. A big chrome billet wheel looked dated the day it left the shop."
— Jim Vasquez
Staggered fitment and the stance question
Staggered fitment means running a wider wheel and tire at the rear than the front. On a rear-drive classic this makes sense because the rear axle is putting the power down and a wider contact patch back there helps traction and gives the car a purposeful stance. A common setup on a pro-touring car is something like an 18x8 up front and an 18x10 in the rear, with tire widths to match.
The catch is that staggered setups mean you cannot rotate tires front to back, so they wear faster and cost more over time. For a car that mostly gets driven to shows and on weekend cruises, that is a fine trade. For a car you plan to drive hard and often, a square setup, meaning the same size on all four corners, keeps tire costs down and lets you rotate. Get the ride height and the offset right first. A correct offset that tucks the tire neatly under the fender does more for stance than any amount of diameter.
| Vehicle type | Typical wheel diameter | Common staggered setup |
|---|---|---|
| Muscle car / pony car | 17 to 18 inch | 18x8 front, 18x10 rear |
| Full-size classic sedan | 18 to 19 inch | 19x8.5 front, 19x10 rear |
| Classic truck | 18 to 20 inch | 20x9 front, 20x10 rear |
| Early sports car | 15 to 17 inch | Often square, 16x7 all around |
Tire choice and getting the sidewall right
The tire is half the look and most of the feel. Modern performance tires transform how a classic drives, and this is one of the biggest reasons people go the restomod route in the first place rather than a factory-correct restoration. A modern summer or all-season performance tire grips, stops, and rides better than anything available when these cars were new.
For the look, the sidewall profile is everything. A tire that is too low leaves the car looking hard and unfinished, while a slightly taller sidewall reads classic and rides better on rough pavement. Redline and whitewall tires are available in modern radial construction if you want a vintage cue, but on a performance-minded build most people run a clean blackwall. Match the tire width to the wheel width the maker specifies, do not stretch a narrow tire onto a wide wheel just to chase a stance trend.
Fender clearance and the parts that live behind the wheel
Clearance is where good-looking plans meet reality. A wheel and tire package that looks perfect standing still can rub the fender lip, the inner wheel well, or the suspension when the car turns and the suspension compresses. This is why fitment gets checked at full lock and full droop, not just sitting in the driveway. Rolling the fender lip, adding a small amount of negative camber, or choosing a different offset are the usual fixes.
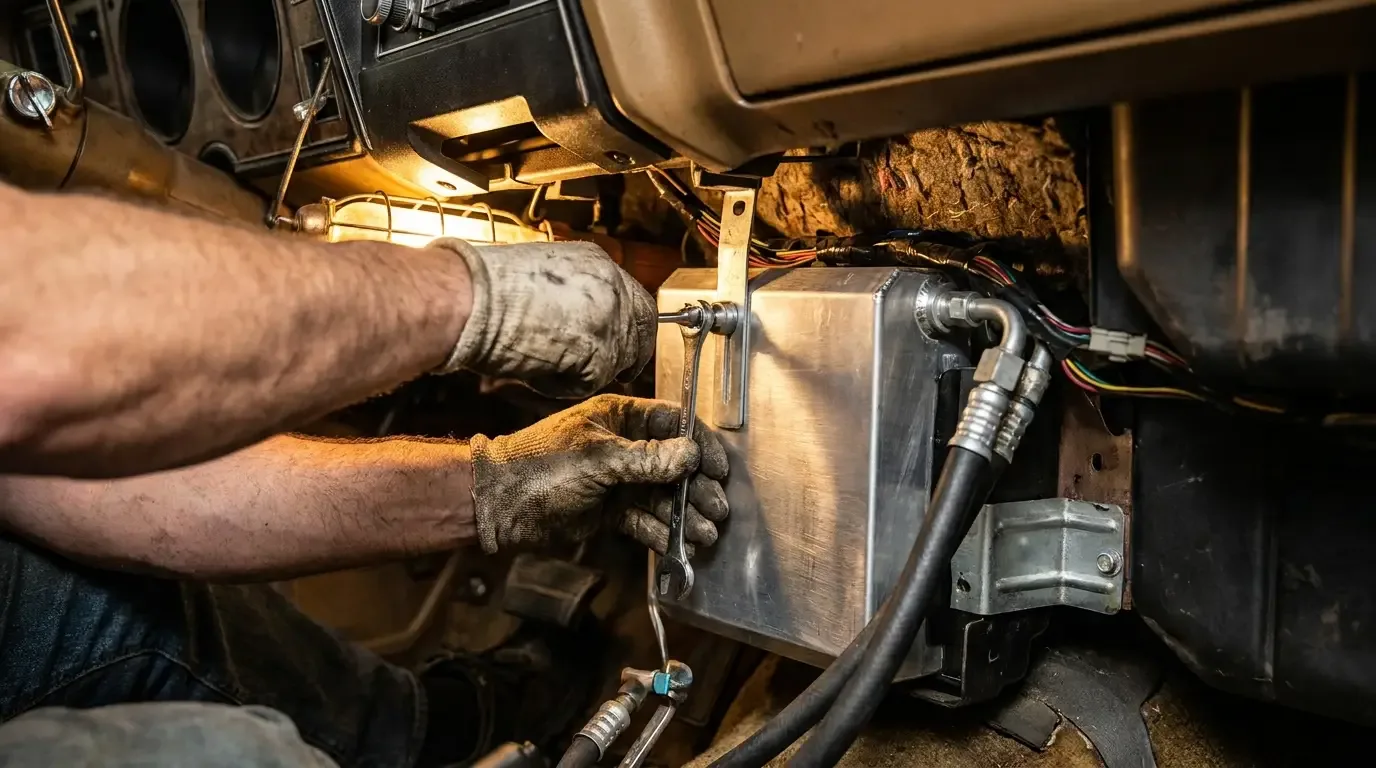
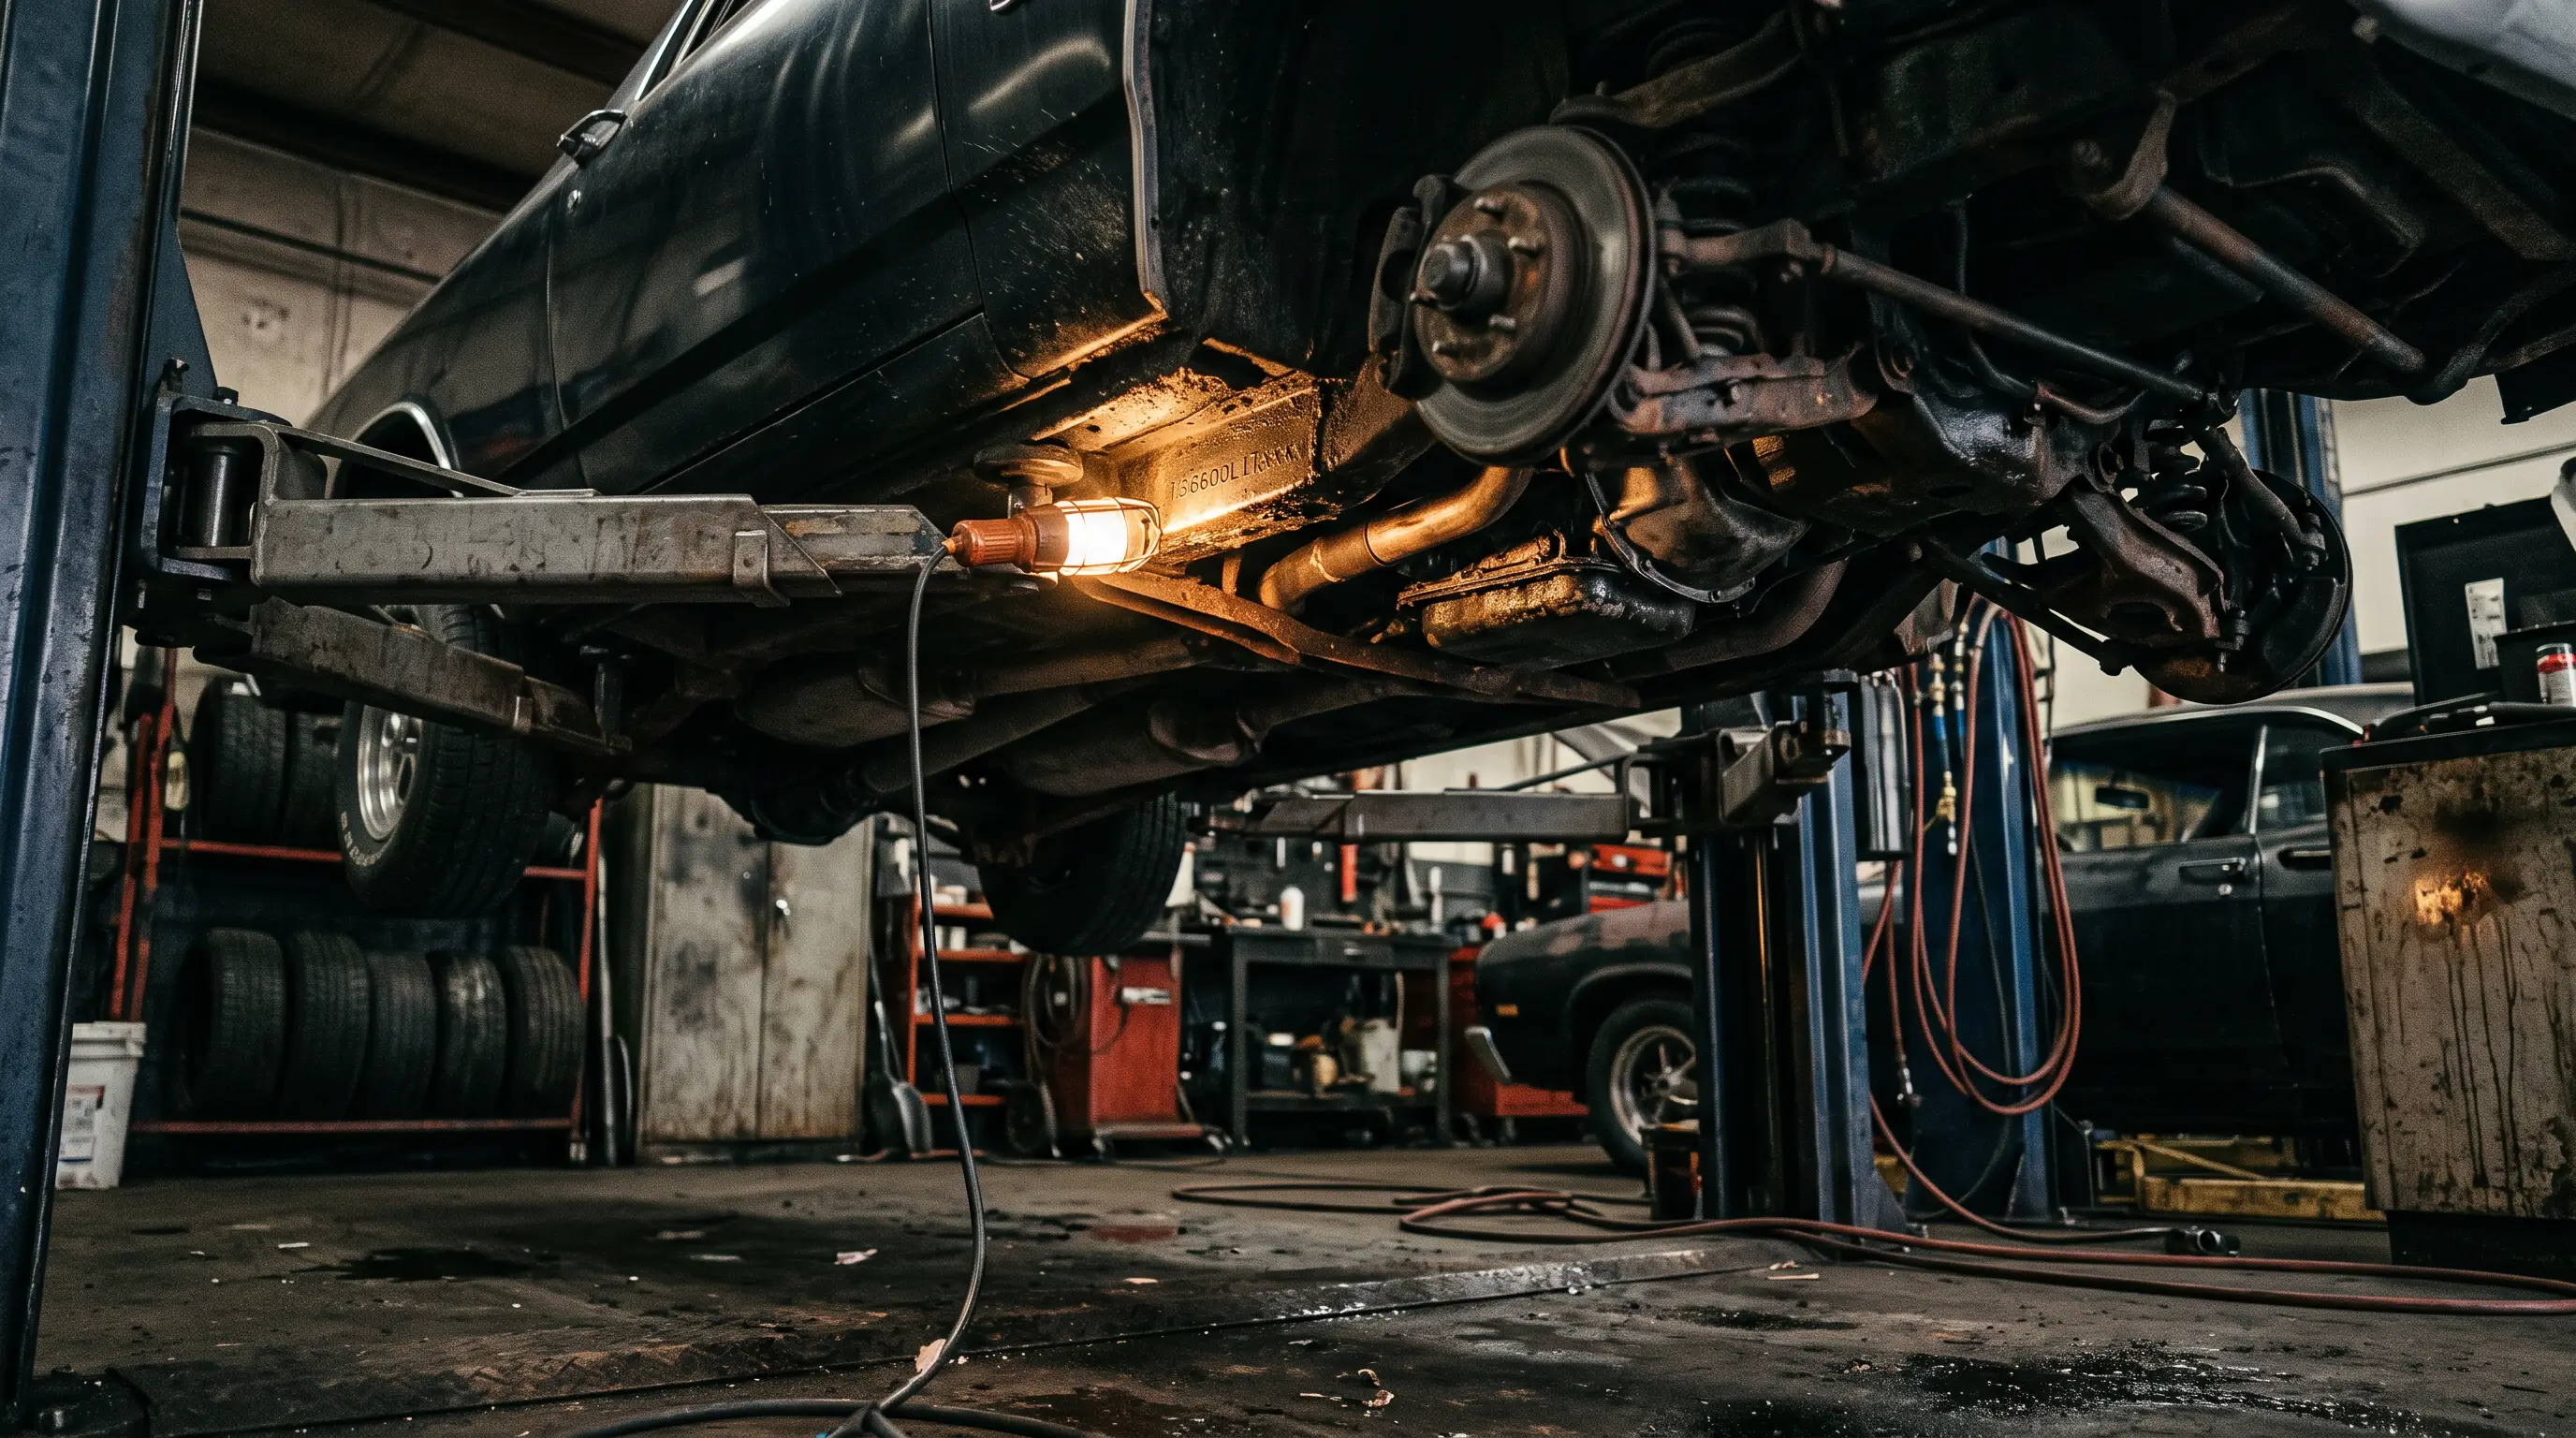
Behind the wheel is also where the modern brake package lives, and the two decisions are linked. You cannot fit a big disc brake conversion behind a small wheel, which is another reason the diameter creeps up to 17 or 18 inches on a serious build. If you are adding modern comfort features at the same time, such as Adding Air Conditioning to a Classic, the wheel and brake work usually happens in the same shop visit while the car is apart. Plan the whole corner of the car together: brake size sets minimum wheel diameter, wheel offset sets fender clearance, and tire width sets the final stance.
Get all of that right and the car looks like it was always meant to sit this way. When a build comes together this well it shows in the finished cars, and if you want to see how the details land on completed examples you can browse classic restomods for sale and study what the good builders got right.
Sources and notes
- Period and current custom-wheel press and manufacturer catalogs for diameter and construction conventions.
- Pro-touring and restomod builder interviews on fitment, offset, and staggered setups.
- Tire manufacturer fitment guides for wheel-width to tire-width matching.
- Club and show-scene observation on style trends across build eras.