
Body mount bushings are one of those parts nobody thinks about until the cab starts doing something weird. A new rattle over bumps that wasn't there before, a body that shifts slightly under hard acceleration, or panel gaps that seem to change depending on how the truck's loaded. Most of the time the culprit isn't the frame or the body itself. It's the rubber sandwiched between them, compressed flat and dry-rotted after decades of holding a cab and bed to a frame that flexes every time the truck hits a pothole.
Restoration & Tech
7 min read
Body Mount Bushing Replacement on a C10 Cab and Bed
How to diagnose worn body mount bushings on a C10, understand why they fail, and replace them correctly to stop rattles and restore proper panel gaps.
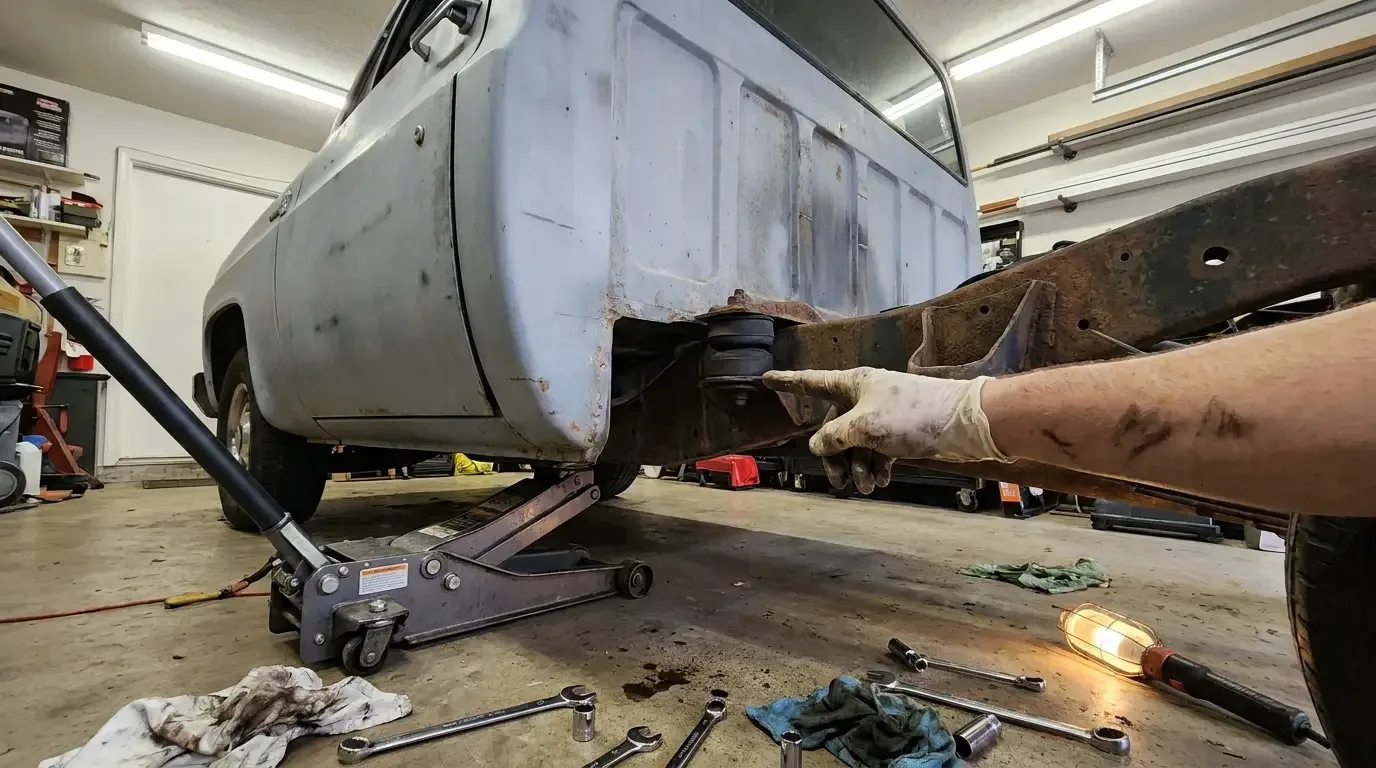
These trucks use a body-on-frame design, which means the cab and bed aren't welded directly to the frame rails. They sit on a series of rubber bushings that isolate road vibration and let the frame twist slightly without transmitting every jolt straight into the sheet metal. When those bushings give out, that isolation goes with them, and a truck that used to ride quiet starts sounding and feeling like it's coming apart, even though the actual problem is a set of parts that cost less than a tank of gas.
Why body mounts fail on these trucks
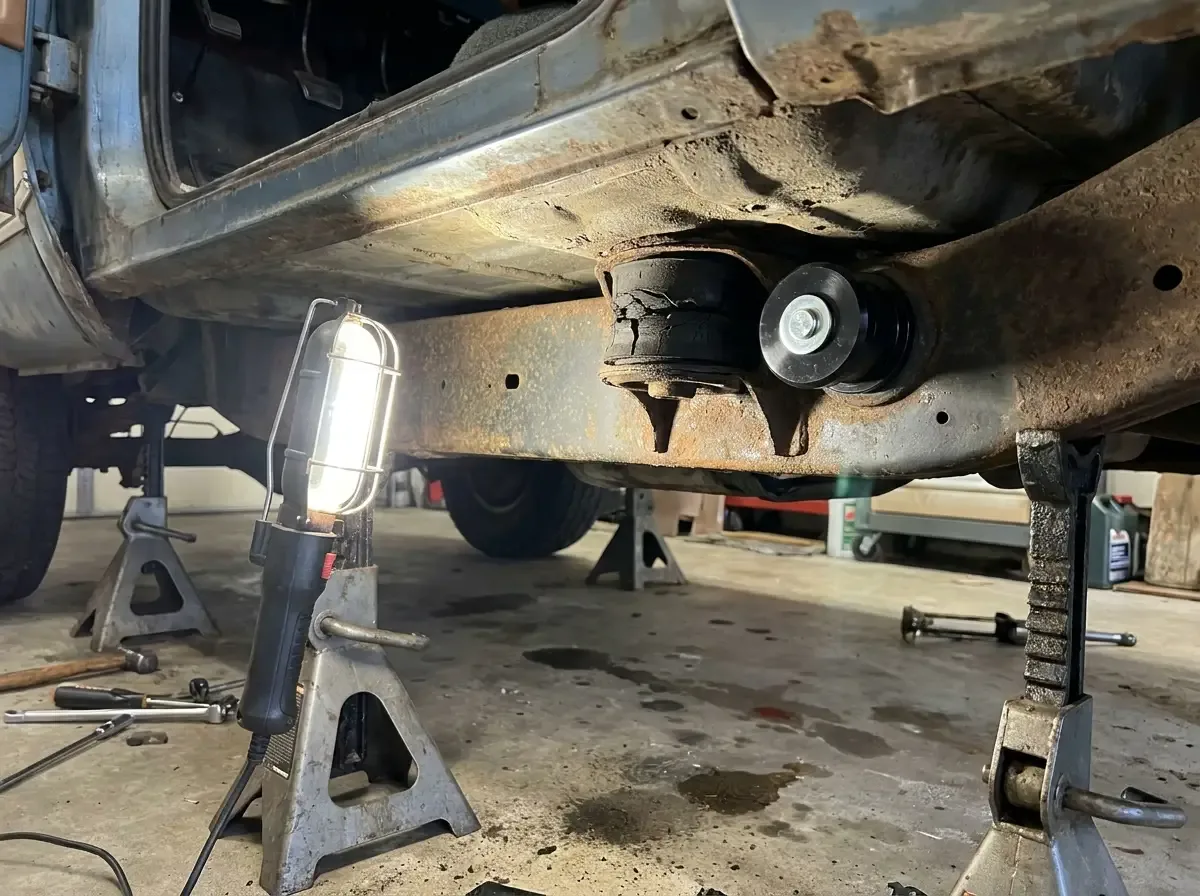
Rubber degrades with age regardless of how the truck was used, but heat, oil exposure, and sheer time compress the bushings until they lose most of their cushioning ability. A bushing that started an inch thick can end up half that after enough decades, and once it's compressed that far it stops doing its job even if it looks intact from a quick glance underneath.
Trucks that worked hard, hauling loads or towing regularly, tend to show wear faster since the extra weight and flex cycle the bushings harder over the same number of years compared to a truck that mostly ran empty. Water and road salt exposure accelerates the metal sleeve and washer components too, so a truck from a wet climate often needs this job sooner than one that spent its life somewhere dry, even if the mileage is similar.
Diagnosing worn bushings before you commit to the job
A pry bar and a helper make quick work of checking bushing condition without pulling anything apart. With the truck safely supported, have someone gently pry between the body and frame at each mount location while you watch and feel for excess movement. Some give is normal since the rubber is doing exactly the job it's supposed to do. Excessive movement, or a mount where the body actually contacts the frame with no cushioning left at all, tells you that location needs attention.
Look at the bushings you can see directly too. Cracking, flattening, or a bushing that's clearly squeezed out from under its washer are all visual signs of a mount that's given up. If you find one bad mount, check every other location on the truck, since bushings tend to fail in a similar timeframe across the whole vehicle and doing one now, then the rest in six months, means doing this job twice.
Replacing the bushings
This is a job best done with the truck properly supported on jack stands, working one mount at a time rather than lifting the entire body off the frame unless you're already doing a full frame-off restoration. Support the body near the mount you're working on, remove the mounting bolt, and the compressed old bushing usually comes apart in pieces once the pressure's off it.
Clean the frame surface at each mount location before installing new bushings. Decades of grime, rust, and old bushing material left in place will keep a new bushing from seating correctly, and a bushing that isn't seated flat won't cushion the way it's designed to. New bushings, along with fresh washers and sleeves if the kit includes them, go in following the factory stacking order, since getting a washer or sleeve out of sequence changes how the mount actually compresses under load.
Torque the mounting bolts to spec once everything's stacked correctly. Overtightening a body mount bolt can crush a new bushing flat before the truck's even moved an inch, which defeats the entire purpose of replacing it in the first place. Move to the next mount and repeat, checking panel gaps periodically as you go since correcting one mount can shift the body slightly relative to the others.
What this job actually takes
Doing all the body mounts on a truck in one weekend is realistic for someone comfortable working underneath a vehicle, though the first time through always takes longer than the second, simply from figuring out the sequence and the fastener sizes involved. Budget more time than you think you need if this is your first time pulling old bushings apart, since seized bolts and rusted hardware are common enough on a truck old enough to need this repair in the first place.
Cost-wise, this is one of the more affordable jobs on the whole truck relative to how much it improves the way things feel. A full set of bushings, sleeves, and washers runs a fraction of what a lot of other restoration items cost, and the difference in how tight and quiet the truck feels afterward is usually out of proportion to the money spent, which is part of why it's such a satisfying job to knock out.
"Nobody ever calls me about body mounts specifically. They call about a new rattle, or a door that doesn't gap right anymore, or a bed that seems to shift when they load it. Half the time it traces back to bushings that have been sitting there flat as a pancake for twenty years, quietly doing nothing. It's not glamorous work, but it's the kind of thing that makes an old truck feel tight again instead of tired."
Robert Halloran
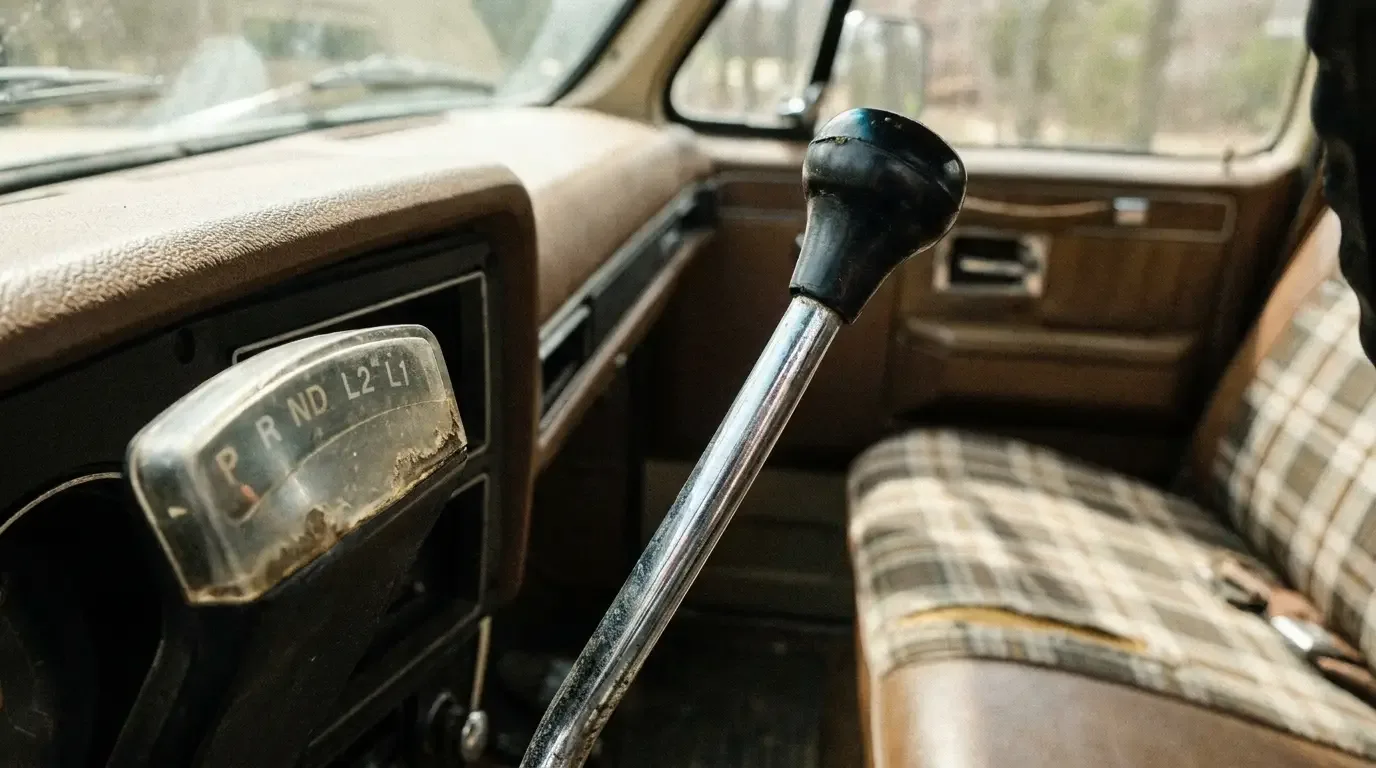
Body mount work often turns up other things worth handling while you're under there, and it fits naturally into a broader maintenance pass rather than standing alone as its own project. The maintenance guide covers where this job sits alongside the rest of what keeps a C10 tight and reliable on a regular basis. And once the body mounts are sorted, plenty of owners find a sloppy shifter linkage that's an easy next fix, since both problems tend to show up around the same mileage and both get blamed on "the truck getting old" before anyone actually looks closely enough to find the real cause.
Sources and notes
- Energy Suspension: body mount bushing kit, Chevrolet C10 1963-1966
- Energy Suspension: body mount bushing kit, Chevrolet C10 1967-1972
- USA1 Industries: 1973-80 square body cab mount bushing kit
- GM Square Body forum: cab mount bushing shim discussion
- Suspension.com: rubber vs. polyurethane bushings compared
Related Reading
Have a
Chevrolet C10
for Sale?
Reach thousands of serious classic car collectors across the US.
Sell It Here →
Are You a Classic Car Dealer?
List your full inventory and connect with targeted classic car buyers.
Join as a Dealer →
#Restoration
#chevrolet c10
#body mount bushing replacement
#body on frame
#rattle diagnosis
#polyurethane bushings

About the author
Robert Halloran
Texas-based classic truck enthusiast with decades of experience buying, restoring, and writing about American pickups from the 1940s through the 1980s.
Related Listings - Chevrolet C10
More in Restoration & Tech




Comments (1)
B
Barry Hutchins
2 months ago
The point about project cars hiding real costs needs to be said louder. I've seen people 'save' $5k on purchase price and spend $40k on what they didn't know about.