
Box the frame before you touch the body. That's the order, and it's not a preference, it's because the C10 frame rails leave the factory as open C-channel, and open channel flexes in ways that make every other job you do afterward harder to get right. Boxing closes that channel with a welded plate, and it's usually the first structural step on any C10 that's getting lowered, notched, or built to handle real power.
Restoration & Tech
6 min read
Boxing a C10 Frame for Increased Rigidity
Boxing the open C-channel frame rails on a C10 cuts down chassis flex before any lowering, notching, or power upgrades, and the sequence you weld it in matters as much as the plate itself.
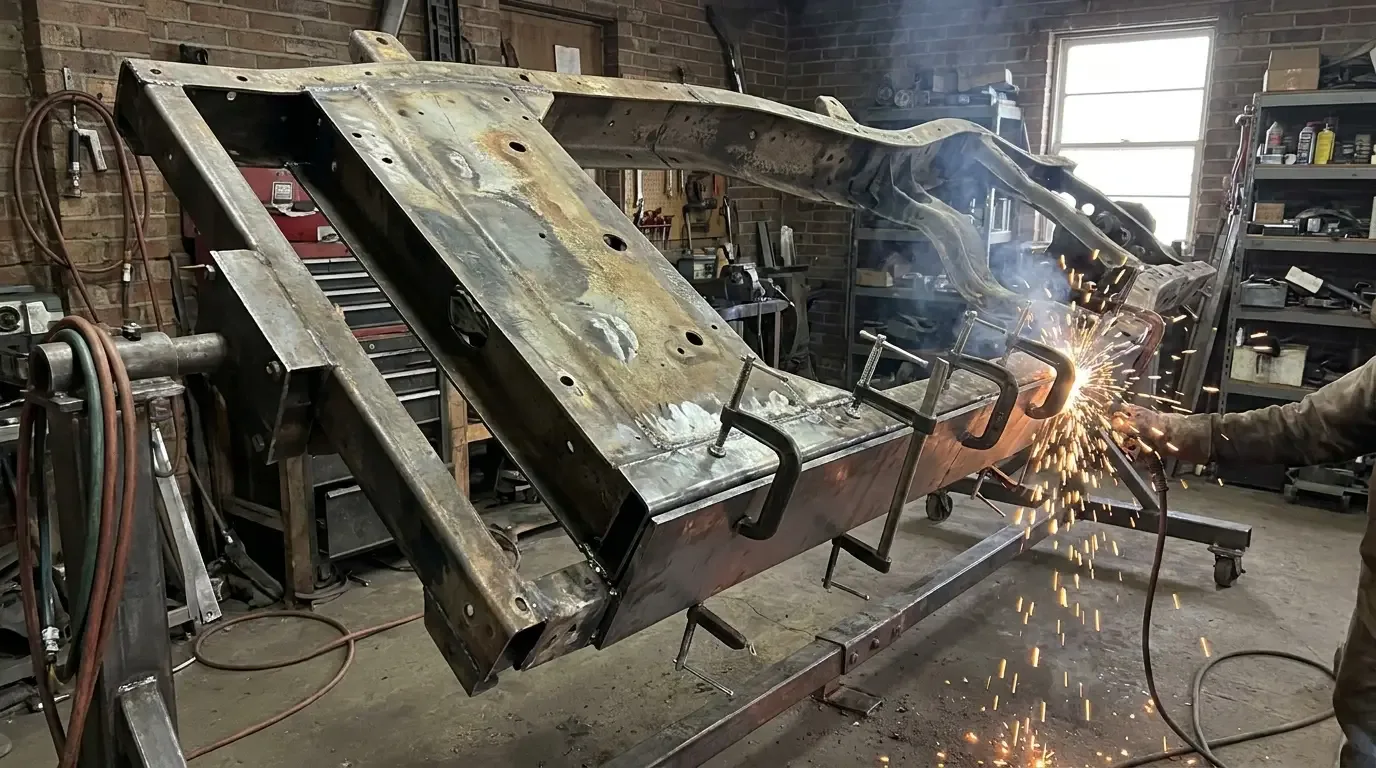
This is a job with a right sequence and a wrong one, and the wrong one costs you a straight frame. Here's how it actually goes, step by step, and where it goes sideways if you rush it.
Why box a C10 frame in the first place
Open C-channel resists bending in one direction well enough, but it twists under load a lot more than most people expect, especially once you cut into it for a notch or a lowered crossmember, or once you're putting more torque through the chassis than the truck ever saw stock. Boxing the rail with a plate welded along the open face turns that C-channel into something closer to a tube, and a tube resists torsional flex far better than an open channel does. You feel the difference in how the truck tracks, how the doors gap stays consistent over bumps, and how predictable the suspension geometry stays once you've lowered it.
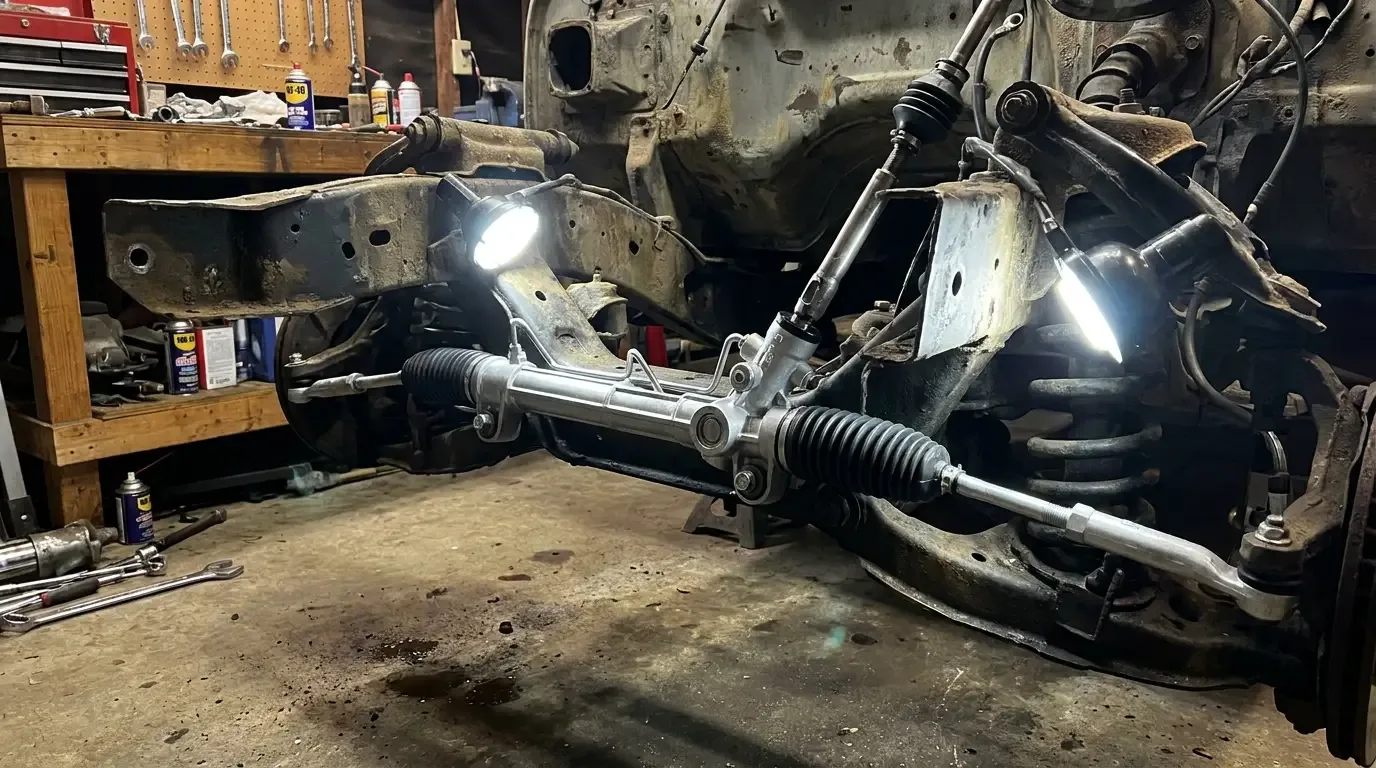
It's also cheap insurance before you spend real money on subframe connectors, tubular arms, or a rack-and-pinion steering conversion. Every one of those upgrades assumes the frame isn't the weak link anymore. Skip the boxing and you can chase a handling problem for months that was never the suspension's fault to begin with.
Tools and prep before you start
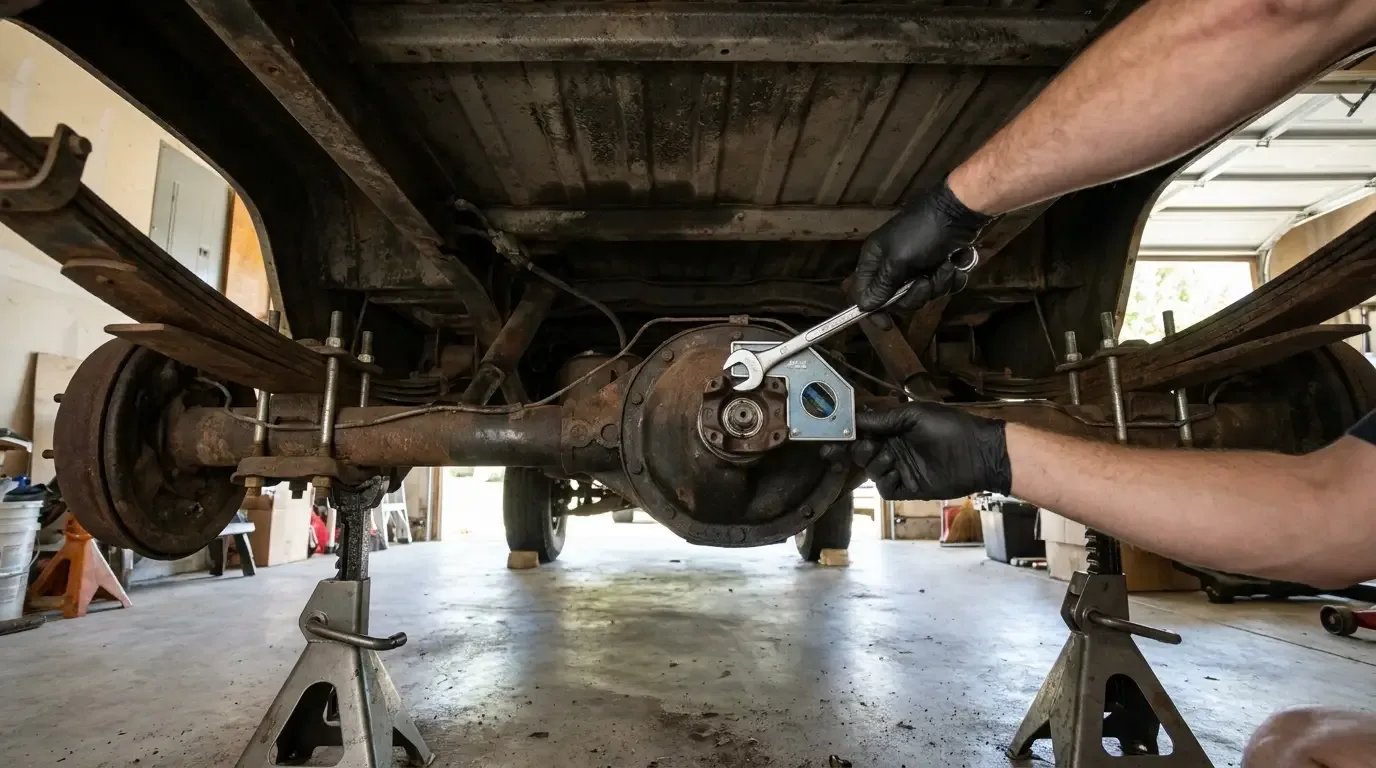
You need a welder capable of penetrating quarter-inch steel cleanly, a mig with enough duty cycle to run a long bead, or a TIG if you want the cleanest finish and don't mind the slower pace. You also need a jig, or at minimum a way to hold the truck level and supported at four points so the frame can't sag or twist while you're cutting and welding. Don't trust a floor jack under one corner for this. Get the truck on stands at all four rails, check it's level side to side and front to back, and leave it there for the whole job.
Clean the inside of the rail before you plan your plate. Decades of undercoating, rust, and road grime live inside that channel, and none of it welds. Wire wheel or media blast the inside face where the plate will sit, and don't skip the inside of the rail just because you can't see it once it's boxed. Anything you trap in there now is trapped for good.
Cutting and fitting the boxing plates
Measure the open face of the rail in sections, front section, mid-section, rear kick-up, because the depth changes as you go back. Template each section in cardboard first, then transfer to plate steel matching the rail's original thickness, usually somewhere around 10-gauge to 3/16 inch (roughly .135 to .1875 in.) depending on the year and whether it's a half-ton or three-quarter-ton frame. Cut it a hair long rather than short. You can always trim a plate down, you can't stretch one.
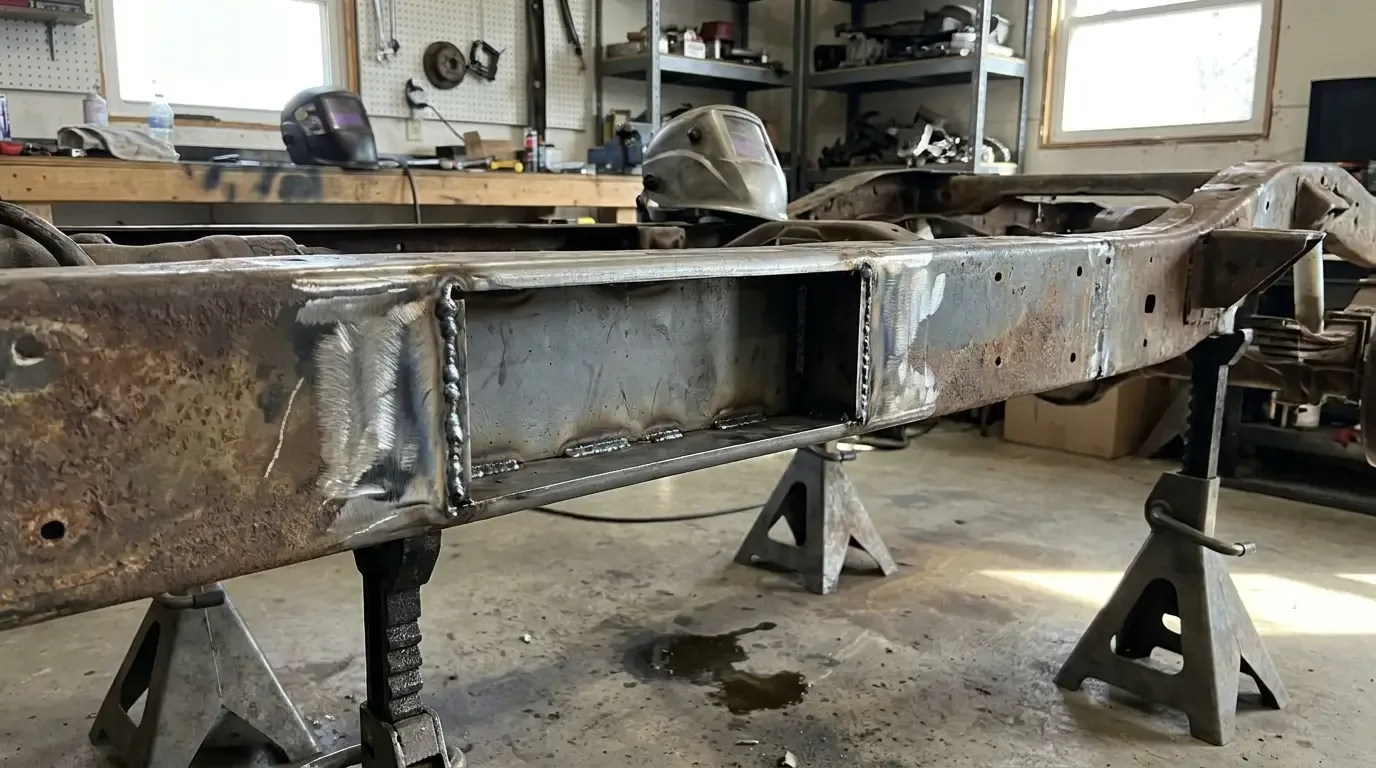
Tack the plate in place before you commit to a full weld. Three or four tacks along the length, step back, sight down the rail from the front bumper mount to the rear crossmember, and check it's still straight. This is the point where mistakes get caught cheap. Once you've run a full bead, pulling a plate back off to fix a twist means grinding out good weld and starting over.
Welding sequence that keeps the frame straight
Heat is the enemy of a straight frame here, not the welding itself. Run short beads, an inch or two at a time, and jump around the length of the plate instead of running one continuous seam from front to back. That spreads the heat out instead of concentrating it in one spot, which is what actually causes a rail to bow. Let each section cool before you come back to weld next to it.
Gusset the corners where the boxing plate meets any existing crossmember or mounting boss. That's where stress concentrates, and a clean gusset there does more for long-term strength than an extra pass of weld along the flat sections. Grind your welds smooth only where clearance demands it, elsewhere leave them proud. A ground-down weld is a weaker weld.
What changes after boxing
A boxed frame sits ready for the next stage, and for most builds that's the suspension work. If you're lowering the truck, this is the point to think seriously about the lowering guide and decide how far you're dropping it before you commit to any crossmember modifications, since some drop methods interact directly with a boxed rail differently than they do with open channel. It's also worth knowing up front that once the frame's boxed and the truck's dropped, the pinion angle that changes once the frame's boxed and dropped needs its own pass. Boxing doesn't touch pinion angle directly, but the ride height changes that usually come with it do, every time.
You'll also notice the truck feels tighter on the road almost immediately, less shudder over expansion joints, less of that slight twist you feel through the cab on an off-camber turn. That's the whole point of the job. It's not a cosmetic upgrade, it's the foundation everything else gets built on.
"Box the frame before you touch the body. Z it after and you're chasing your own tail, because every measurement you took just moved. I've watched guys learn that the expensive way more than once."
Ray Delgado
Boxing a C10 frame isn't a complicated job in concept, a plate, a welder, and patience. Where it goes wrong is rushing the fit-up or trying to run one long weld instead of working in short, staggered sections. Take the extra hour to template each section properly and the frame stays straight for the rest of the build.
Sources and notes
- Progressive Automotive, frame boxing plates (10-gauge steel specification)
- Tread Magazine, Open C-Channel vs. Boxed Truck Frame: Which is Better?
- OBS Chevy Racing, frame boxing plates
- CK5 Forums, metal thickness for boxing a frame (builder discussion)
- Mechaniquad, Partial vs Full Frame Boxing: What's Appropriate for Your Build
- eBay listing, 1937-40 Chevy/GMC truck frame box plates, 3/16 thick
Related Reading
Have a
Chevrolet C10
for Sale?
Reach thousands of serious classic car collectors across the US.
Sell It Here →
Are You a Classic Car Dealer?
List your full inventory and connect with targeted classic car buyers.
Join as a Dealer →

About the author
Ray Delgado
Metal fabricator and chassis builder who has spent 25 years turning flat sheet and mild steel into hot rods, gassers and restomod underpinnings.
Related Listings - Chevrolet C10
More in Restoration & Tech




Comments (1)
T
Tony Marchetti
3 weeks ago
This was the car I wanted at 22. Could finally afford one a few years ago. Worth the wait.