
Recirculating ball steering was fine when these trucks were hauling feed and nothing else. Once you lower a C10, put wider tires under it, or just get tired of the vague, rubbery feel in the wheel, the factory box starts showing its age. A rack-and-pinion conversion is one of the few upgrades on this truck that changes how it drives every single time you turn the wheel, not just when you're pushing it hard.
Restoration & Tech
7 min read
Installing a Rack-and-Pinion Steering Kit on a C10
A rack-and-pinion conversion tightens up steering feel on a C10 and can correct bump steer after a lowering job, but only if the linkage, alignment, and steering shaft angles are done right.
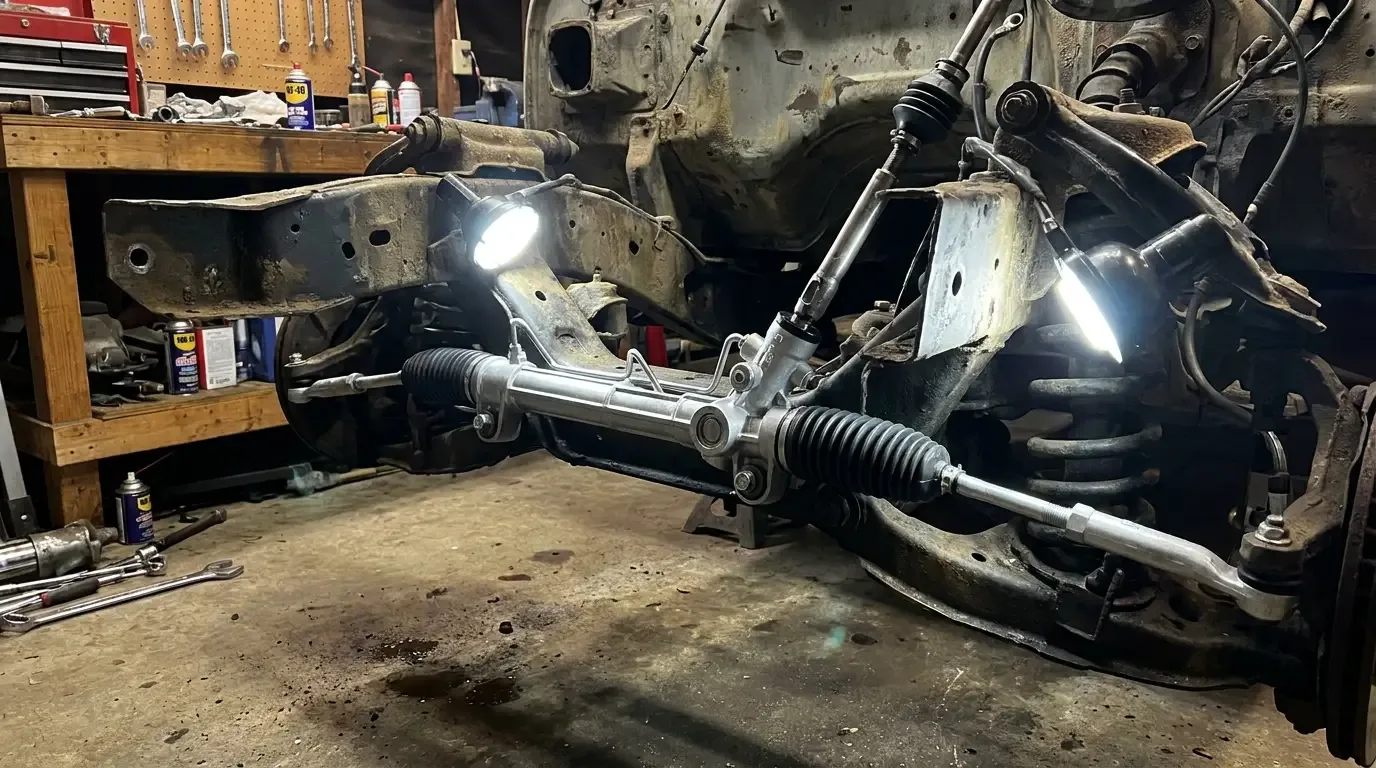
I've put a few of these kits in over the years, and the appeal is simple. Rack-and-pinion setups have less slop built into the mechanism, they respond faster off center, and most kits let you correct bump steer at the same time, which matters if the truck's already been dropped. If you've read the lowering guide and you're chasing that last bit of steering feel after the drop, this is usually the next box to check.
Why swap the recirculating ball box for rack and pinion
The stock box uses a worm gear and a ball nut to translate wheel input into pitman arm movement, then a drag link and tie rods carry that to the spindles. Every one of those joints adds a little play, and after fifty years most of them have more than a little. Rack-and-pinion setups cut the linkage down to a rack, two inner tie rod ends, and the outer tie rods you already know how to service. Fewer joints means less lost motion, and most kits use a quicker ratio than stock, so you're not winding the wheel a full turn and a half to get through a tight parking lot.
There's also a real safety argument here if the truck's been lowered. Dropping the front end without correcting the steering geometry can put the tie rods working at an angle they were never designed for, and that shows up as bump steer, the truck wandering or tugging when you hit a dip. A good rack kit is engineered around the lowered ride height, so it corrects for that instead of fighting it.
What's in a typical C10 rack-and-pinion kit
Most kits built for this truck bolt to the stock frame with new crossmember brackets, since the rack mounts lower and further forward than the factory box. Expect a new rack and pinion unit, a shortened or splined steering shaft with at least one u-joint, new tie rod ends, mounting hardware, and usually a bump steer kit sold separately or as an add-on. Some kits include power assist, some are manual, and a few offer electric power steering as an upgrade over stock hydraulic assist. Figure somewhere around $1,200 to $1,500 for a quality manual or power-assist rack kit before labor, more if you're adding electric power steering.
Read the instructions before you order anything. Kits differ on whether they clear factory exhaust, whether they need a notched crossmember, and whether the column needs a matching u-joint or double-D shaft adapter. Buying the wrong steering shaft is the most common mistake I see, and it's an easy one to avoid if you just measure twice before you order.
| Component | Stock (recirculating ball) | Typical rack-and-pinion kit |
|---|---|---|
| Steering ratio | Slower, more wheel turns lock to lock | Quicker, fewer turns lock to lock |
| Linkage joints | Pitman arm, drag link, idler arm, tie rods | Rack, inner tie rods, outer tie rods |
| Bump steer correction | None built in | Often included or available as add-on |
| Mounting | Bolts to factory frame boss | Requires new crossmember bracket |
Pulling the old steering box and linkage
Start by disconnecting the battery, then relieve pressure on the power steering system if the truck has it. Pull the pitman arm with a proper puller, not a hammer and a prayer. Disconnect the drag link, idler arm, and both tie rods from the spindles. The steering box itself is usually three or four bolts through the frame rail, though penetrating oil and patience help more than a bigger breaker bar most of the time.
While everything's out, this is the point to actually look at your idler arm and tie rod ends instead of assuming they're fine because the truck drove here under its own power. Play in those parts gets blamed on the steering box more often than it should. If you're going through the trouble of a rack conversion, don't leave the rest of the linkage worn out.
Installing the rack, column, and steering shaft
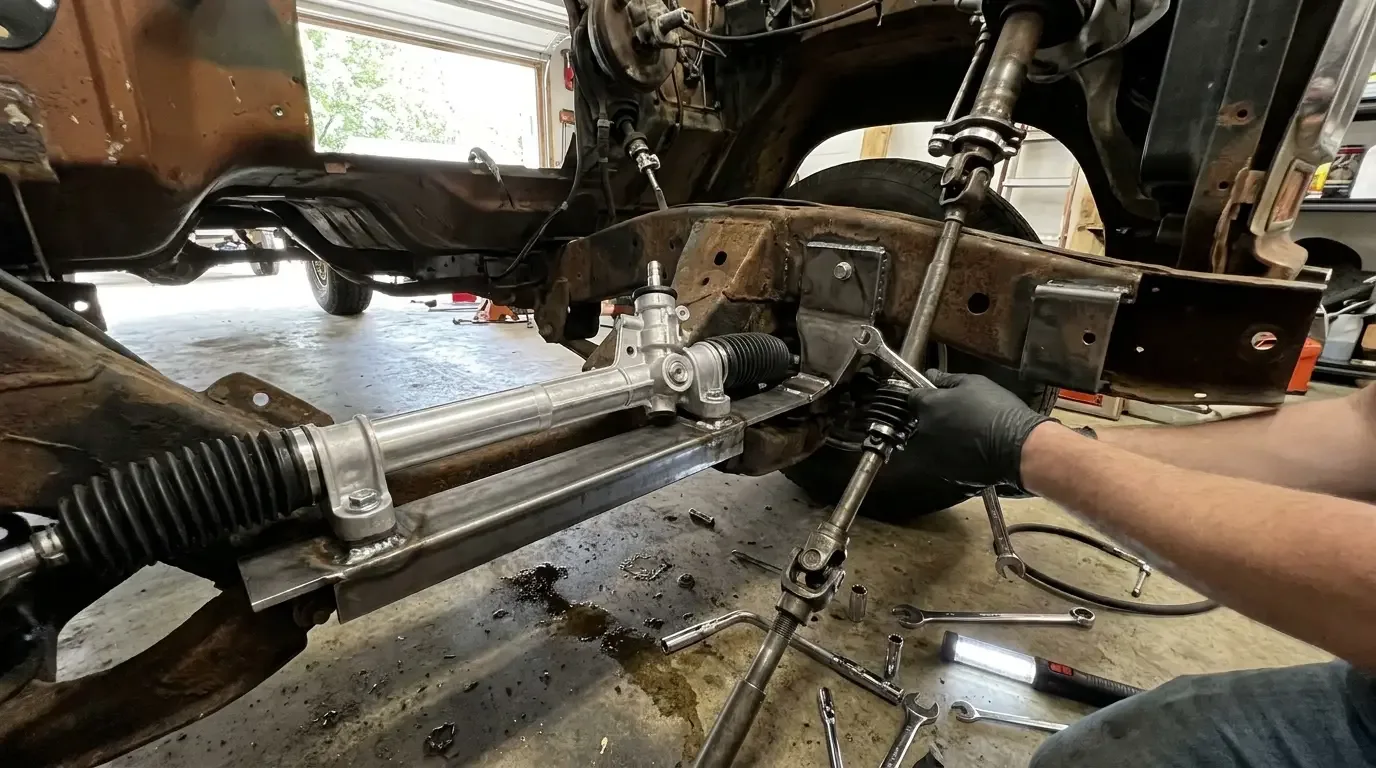
Bolt the new crossmember bracket to the frame first and torque it to spec before you hang anything off it. Mount the rack to the bracket, then work your way up through the steering shaft. This is where measuring pays off. You want the u-joints running at matched angles, not one steep and one shallow, or you'll feel a binding spot every time you turn the wheel through a certain range. Most instructions call for the column and rack input shaft to line up within a few degrees of each other.
Connect the tie rod ends to the spindles and torque them to the manufacturer's spec, then cotter pin them. This is not a place to guess. An underrotated tie rod nut has ended more than one front end, and it's a five-minute job to do it right with a torque wrench in hand.
Alignment and bump steer check after the swap
Get the truck to an alignment shop before you drive it any real distance. Toe, camber, and caster all need to be checked with the new geometry, and if you're running a bump steer kit, that adjustment happens with the suspension cycled through its actual range, not just sitting at ride height on the rack. Have the shop check bump steer specifically if you mention you just converted the steering, some techs will skip it if you don't ask.
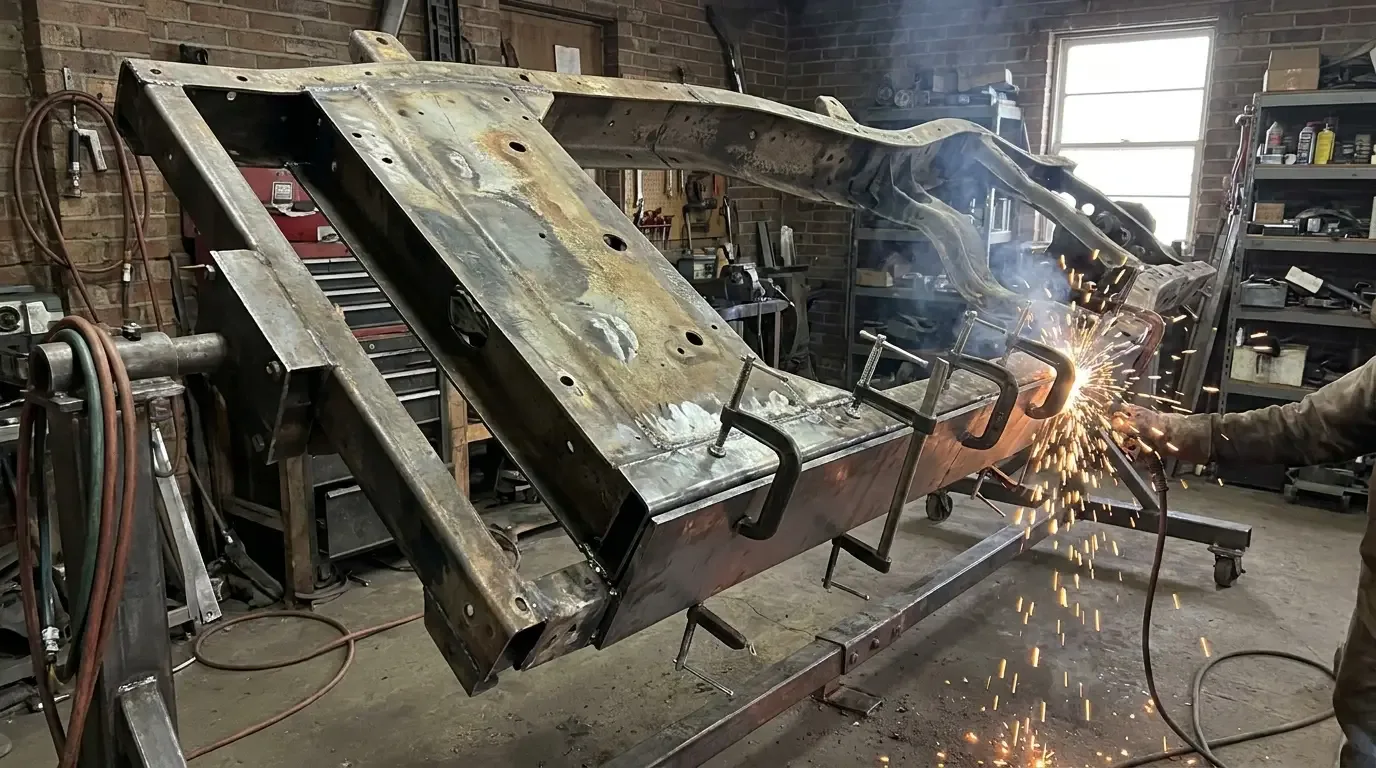
This is also the point where boxing the frame that carries all of this becomes worth thinking about, especially if the truck's lowered and you're loading the front crossmember area harder than stock. A boxed frame handles the extra stiffness a quicker rack demands better than an open C-channel does under hard cornering.
"A rack conversion is one of the few jobs on this truck where the improvement is obvious the second you back out of the driveway. But I've seen guys skip the alignment shop to save eighty bucks and then wonder why the truck darts under braking. Don't be that guy. Do the whole job."
Mike Sullivan
Done right, a rack-and-pinion swap is one of the best dollar-for-dollar improvements you can make to how a C10 feels on the road. It's not a weekend job if you've never pulled a steering box before, but it's not a mystery either. Take your time on the measurements, don't skip the alignment, and the truck will reward you every time you turn the wheel.
Sources and notes
- Tuckers Classic Auto Parts, 1967-72 C10/GMC C15 rack and pinion kit listing (price, contents)
- In The Garage Media, Flaming River C10 power rack and pinion cradle kit install
- Summit Racing, Chevrolet C10 rack and pinion steering conversion kits
- Performance Online, 67-72 C10/GMC C15 power steering rack and pinion kit
- LMC Truck, power rack and pinion steering kit
- No Limit Engineering, C10 power rack and pinion kit
Related Reading
Have a
Chevrolet C10
for Sale?
Reach thousands of serious classic car collectors across the US.
Sell It Here →
Are You a Classic Car Dealer?
List your full inventory and connect with targeted classic car buyers.
Join as a Dealer →

About the author
Mike Sullivan
Detroit-area muscle car enthusiast and restoration specialist with three decades of hands-on experience working on American iron.
Related Listings - Chevrolet C10
More in Restoration & Tech




Comments
Be the first to comment on this article.