
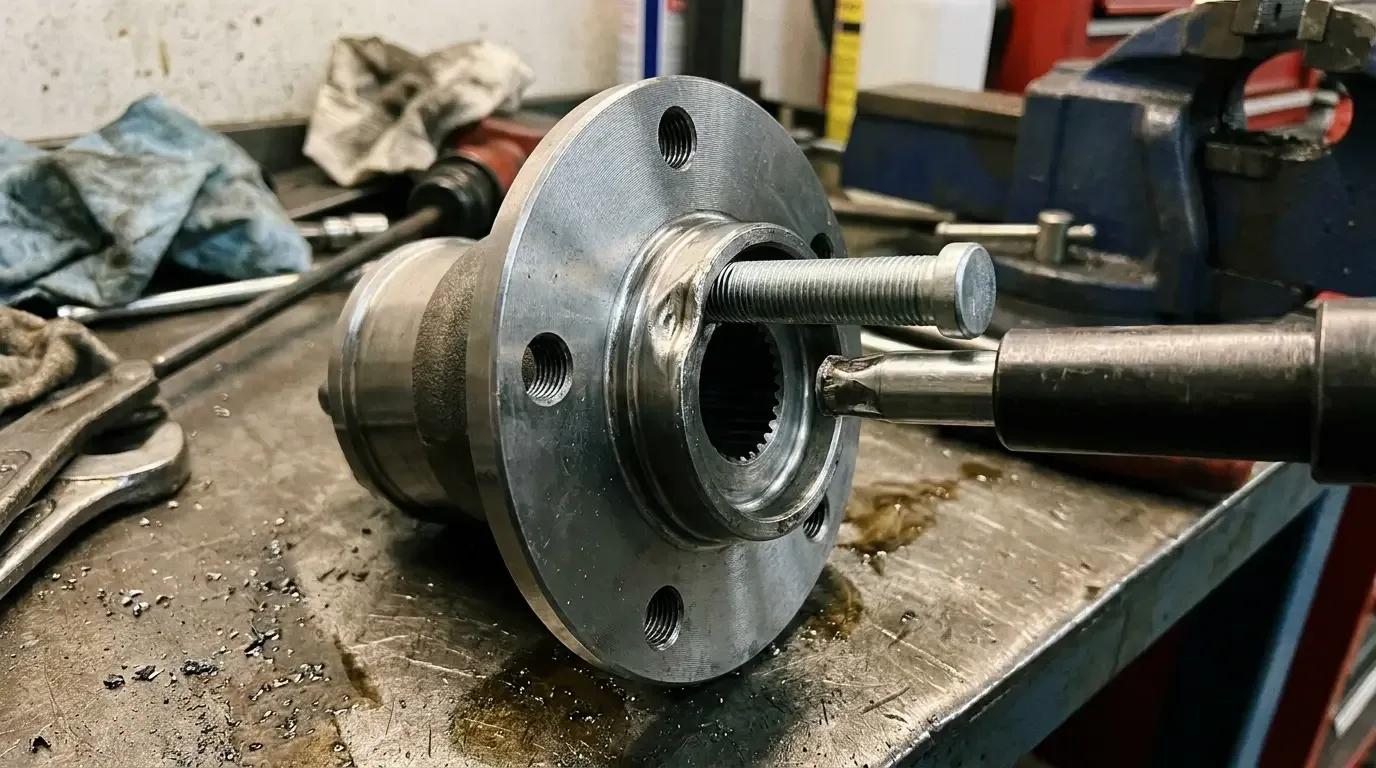
The stock 6-lug pattern on a C10 was never a mistake. It made sense on a half-ton truck built to carry weight. But it locks you out of a huge chunk of the wheel market, and anyone who has spent an afternoon calling around trying to find a decent 6-lug wheel in the right offset for a lowered stance already knows exactly what I'm talking about. Switching to 5-lug opens up a wall of options that just doesn't exist otherwise.
Restoration & Tech
7 min read
Converting a 6-Lug C10 Axle to a 5-Lug Pattern
Why owners convert a C10 from its stock 6-lug pattern to 5-lug, the two real methods for doing it, and the mistakes that show up after the swap.
Why owners make this swap
Chevrolet ran a 6 on 5.5 inch bolt pattern on C10 trucks, and while plenty of 6-lug wheels exist, the aftermarket depth for that pattern is nowhere close to what's available in 5 on 5, which happens to be the same bolt circle as a lot of Chevrolet passenger cars and later trucks. Once you're on 5-lug, you're pulling from a parts bin that includes muscle car wheels, later truck wheels, and most aftermarket lines without needing a special-order 6-lug version at a markup.
It's also part of the standard playbook for a lowered build. Getting the right offset and width for a tucked wheel and tire combo is hard enough without also restricting yourself to whatever happens to exist in 6-lug. Most guys doing a real stance build convert the bolt pattern before they ever shop for wheels, not after.
What the conversion actually involves
There are two honest ways to get to 5-lug, and neither one is a bolt-on afternoon job. The first is a hub or drum swap using components from a donor vehicle that shares the same bearing and spindle dimensions but runs 5-lug, which sometimes exists within GM's own truck and car lineup depending on your C10's front end generation. The second, more common on a lot of builds today, is an adapter kit that replaces the wheel studs themselves, pressing new 5-lug studs into the existing hub or drum.
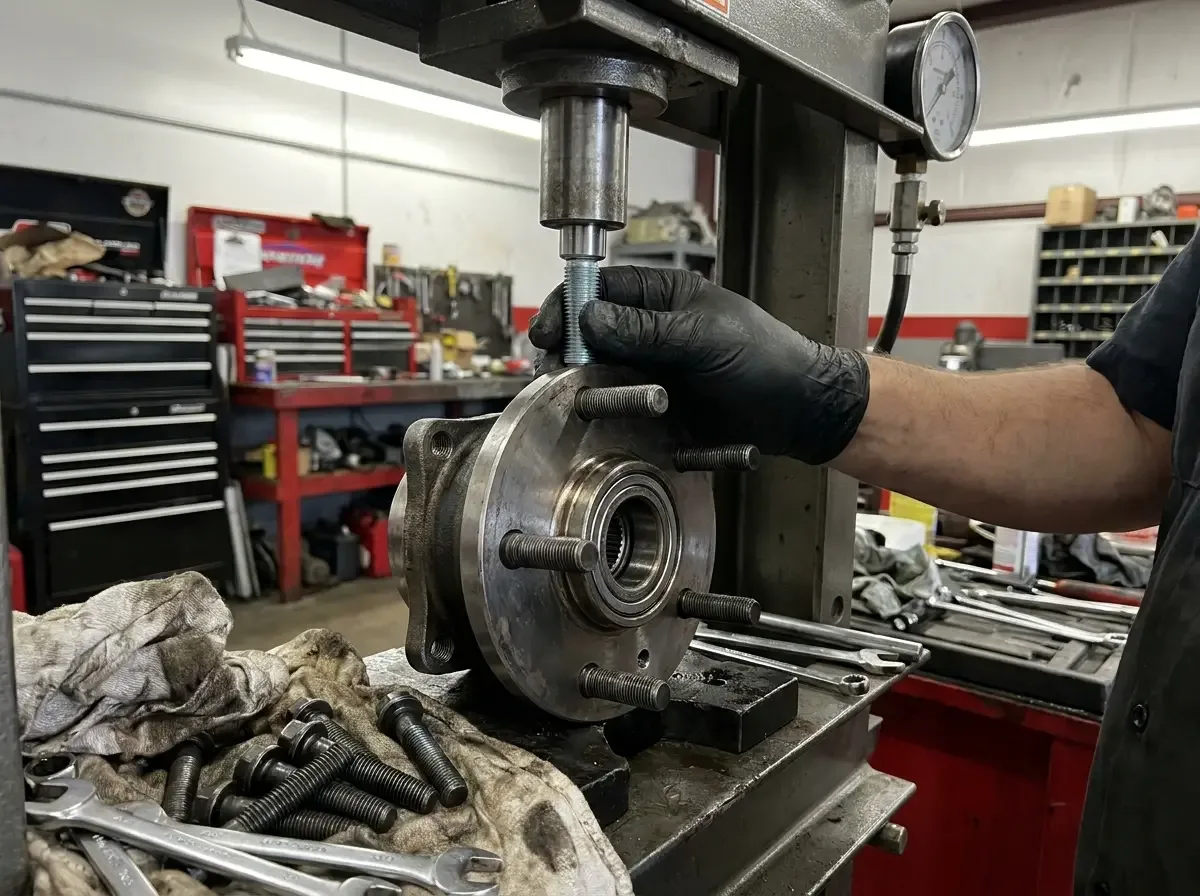
Stud swap kits are the more popular route because they don't require sourcing and verifying a donor hub with matching bearing specs. You're pressing out the old 6-lug studs and pressing in new 5-lug studs on the same hub, which keeps your existing bearings, spindles, and brakes exactly as they were. The catch is precision. The stud holes have to be positioned correctly and pressed in true, because a stud that's even slightly out of alignment puts uneven load on the wheel and can work itself loose over time.
| Method | What changes | Difficulty | Best for |
|---|---|---|---|
| Donor hub/spindle swap | Entire hub assembly replaced | Moderate to high, parts sourcing dependent | Builds already swapping front suspension components |
| Stud conversion kit | Only wheel studs replaced | Moderate, precision matters | Keeping existing hubs, drums, and brakes |
| Rear axle re-drilling or new axle | Rear hub flange re-drilled or axle housing swapped | High, often shop work | Trucks getting a full rear end swap anyway |
The rear end is its own conversation. Some owners re-drill the axle flange to 5-lug, which needs to be done accurately on a lathe or by a shop with the right fixture, not with a hand drill and a paper template. Others swap the entire rear axle housing for a unit that already runs 5-lug, which is a bigger job but sidesteps any question about the integrity of a re-drilled flange carrying a truck's full weight.
Mistakes that show up after the swap
Torque spec is where I see people cut corners. A stud conversion only works if every stud is torqued evenly and re-checked after the first few miles, the same way you'd check lug nuts on any new wheel installation. Skip that and you'll find a loose wheel before you find anything else wrong with the truck.
Wheel offset is the other one. People do this whole conversion to chase a specific stance, and then buy wheels without checking backspacing against the new hub setup, and end up with a wheel that rubs the frame or sticks out past the fender lip. If you're doing this conversion as part of the lowering guide process, sort your ride height and drop amount first, then buy wheels for that finished stance, not the other way around.
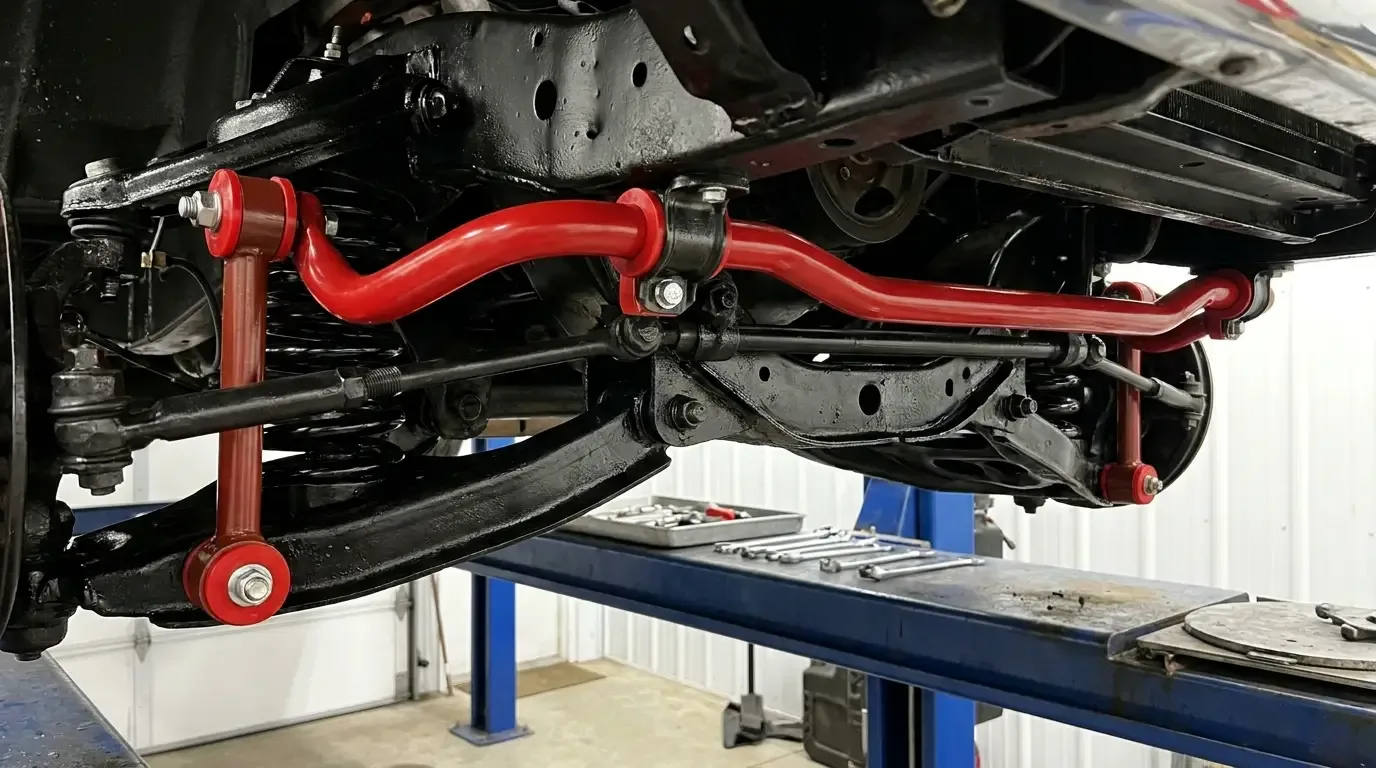
Once the wheels are sorted and the truck is sitting where you want it, cornering is usually the next thing owners notice needs attention. Bigger, wider wheels change how the front end feels turning in, and a lot of guys pair this conversion with a sway bar upgrade to go with the new wheels because the stock sway bar was never sized for the grip level a modern tire and wheel combination provides.
"A stud conversion is not a shortcut job. I've seen guys press studs in crooked because they were in a hurry to get wheels on before a show, and crooked studs on a truck that carries real weight is not something you gamble on."
Mike Sullivan
Cost and whether it's worth it
A quality stud conversion kit for the front runs roughly $50-150 per hub, while a complete rear axle or disc-brake conversion kit typically lands somewhere between $450 and $500 depending on the vendor and whether brakes are included. Add shop labor if you're not doing the pressing yourself, since getting the studs true really is worth paying someone with the right press and fixture if you don't already have one.
For most owners chasing a specific wheel and stance, it's worth it. The wheel selection alone justifies the work, and once it's done correctly it's done for good. It's not a job to rush, and it's not one to do with a hand drill and hope.
None of this is complicated work, but it is precision work, and precision work rewards patience over speed. Rushing a stud press or skipping a torque check to get the truck ready for a weekend show is exactly how a good conversion turns into a bad one. Do it once, do it carefully, and it outlasts the truck's next three sets of tires.
Sources and notes
- 6 Lug to 5 Lug Conversion for Chevy C10 Trucks, Street Trucks Magazine
- 5-Lug Rear Axle Conversion Kit for C10s, Little Shop Mfg
- 1960-70 Chevy/GMC Truck Disc Brake Conversion, 6 Lug to 5 Lug, Performance Online
- Moser 5-Lug Conversion Axles, 65-70 C10, AZ Pro Performance
- C10 6 Lug to 5 Lug Conversion discussion, Hot Rodders Forum
Related Reading
Have a
Chevrolet C10
for Sale?
Reach thousands of serious classic car collectors across the US.
Sell It Here →
Are You a Classic Car Dealer?
List your full inventory and connect with targeted classic car buyers.
Join as a Dealer →

About the author
Mike Sullivan
Detroit-area muscle car enthusiast and restoration specialist with three decades of hands-on experience working on American iron.
Related Listings - Chevrolet C10
More in Restoration & Tech




Comments
Be the first to comment on this article.