
The tank sticker, the cowl tag, the fender stamp: these are the records the factory left behind, and a restoration either preserves that trail or erases it. Most people think documenting a restoration means keeping receipts. It means more than that. It means building a file that proves what the car was when it left the line, what you found when you took it apart, and exactly what you did to put it back together. Do it well and you protect the car's history and its value. Skip it and you hand the next buyer a mystery.
Restoration & Tech
6 min read
How to Document a Restoration Project
Learn how to document a restoration the right way: photos, casting numbers, build sheets, and an organized file that protects your muscle car's value and history.
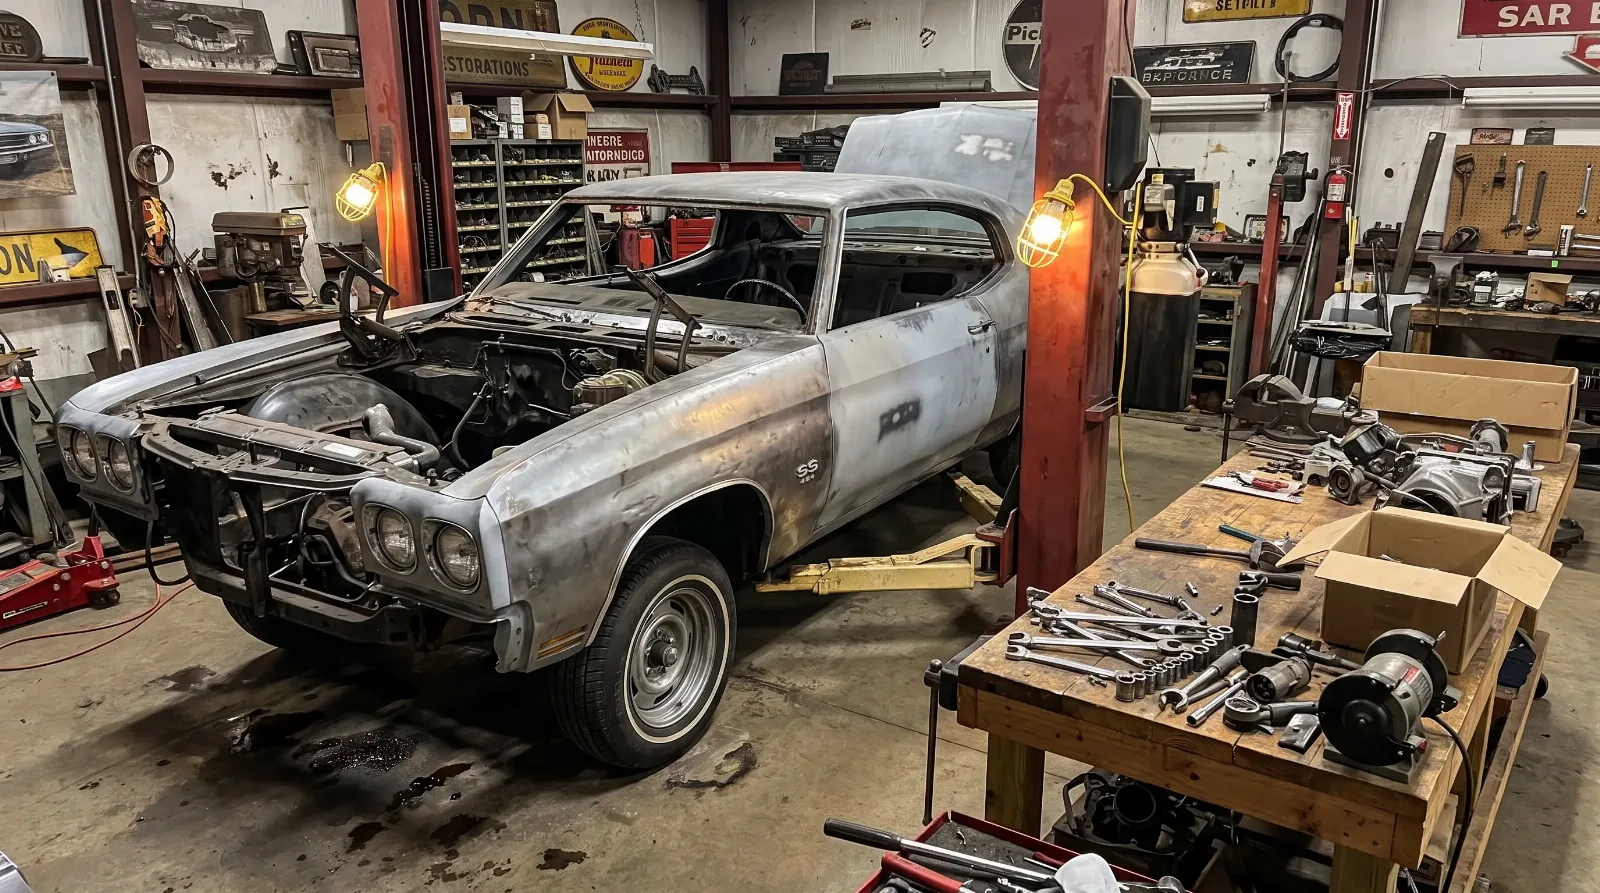
I have watched documented cars and undocumented cars sell side by side at the same show, same year, same options, and the paperwork made a real difference in what people were willing to pay. If you want to understand how much, read the full story on that separately. This piece is about the how: how to build the record while the work is happening, because you cannot go back and reconstruct it later.
Start before you touch a single bolt
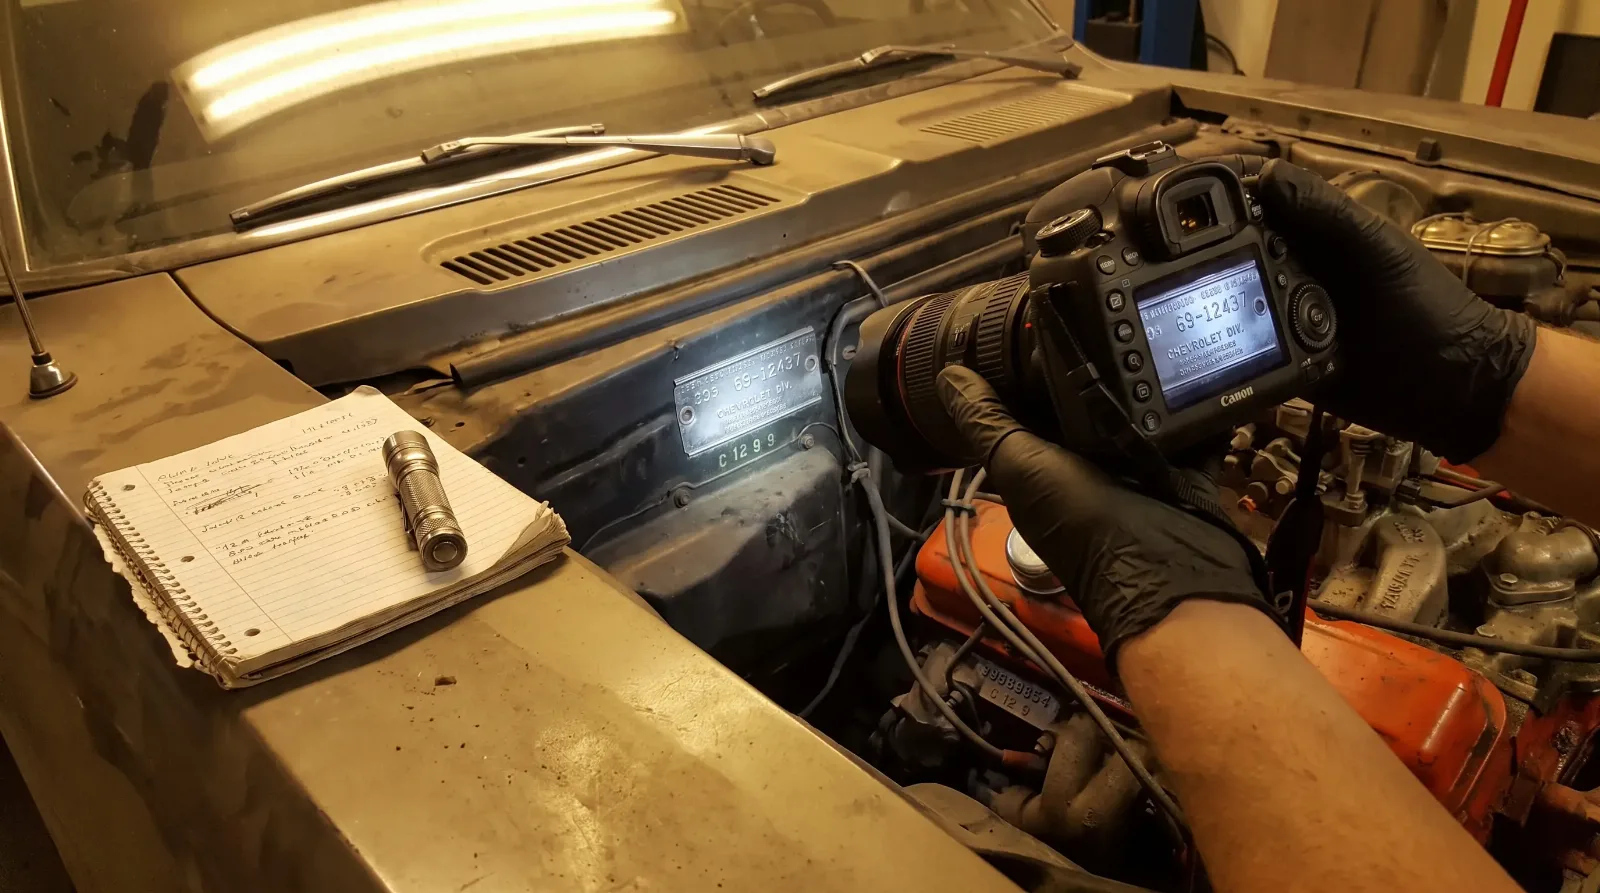
The most important photographs you will take are the ones from before you start. A car in unrestored condition is a primary source. Once you disassemble it, that source is gone, and no amount of careful reassembly brings back the original evidence of how the factory built it. So before anything comes apart, walk the whole car with a camera and shoot everything: overspray patterns in the trunk, the way the inner fenders were painted, chalk marks and grease-pencil numbers, date codes on glass, the condition of every seam.
Then find and record the factory identifiers. On most muscle cars that means the VIN plate, the trim or cowl tag, the partial VIN stampings on the engine and transmission, and any casting numbers and casting dates on major components. Where a car has a build document that survived, a tank sticker tucked above the fuel tank or a broadcast sheet found under a seat or behind a door panel, that piece of paper is the single best record you will ever have. Photograph it, then handle it like the fragile thing it is. These marks are how you prove originality later, and the full ownership and restoration path puts them in context if you want to see why it matters.
What to capture at every stage
Documentation is not a one-time event at the start and a folder of receipts at the end. It happens continuously. The habit to build is simple: before you change something, photograph it as found; while you work on it, note what you did; after it is done, photograph the result. Do this for every subassembly and you end up with a record that tells the whole story in order.
Capture more than you think you need. Casting numbers and date codes on the block, heads, intake, and carburetor. The color and finish of factory paint marks on suspension and driveline parts, because those inspection marks are hard to replicate and judges look for them. The condition of the floors and frame before and after any metal work. Every part you replace, with a note on whether the replacement is original, new old stock, or reproduction. That distinction matters for value and for honesty, and it is worth understanding the difference between the three before you buy anything.
| Stage | What to record | Why it matters |
|---|---|---|
| Pre-teardown | Full walkaround photos, VIN and tag numbers, any build sheet | Captures original evidence you cannot recreate |
| Disassembly | Casting numbers, date codes, factory paint marks | Proves numbers and originality later |
| Bodywork | Rust locations, panel replacement, before and after | Discloses what steel is original |
| Reassembly | Part source (original, NOS, repro), torque specs used | Full transparency for the next owner |
| Completion | Finished photos, receipts, shop invoices | Establishes scope and quality of work |
Organizing the paper trail so it holds up
A shoebox of receipts is not documentation. It is clutter that happens to contain evidence. The value comes from organization. Keep a running log, dated, that reads as a chronological record of the project. Match every receipt to a line in that log. Back up your photographs in more than one place, because a phone gets lost and a hard drive dies, and years of the record can vanish with it.
Structure the file around the car. A section for factory documentation and identifiers. A section for the body and paint. One each for engine, transmission, driveline, suspension, brakes, interior, and electrical. Within each, keep the before photos, the invoices, and the after photos together. When someone asks a question about the rear end three years from now, you want to open one folder and answer it, not dig through a pile.
Handing the file to the next owner
You may keep the car for thirty years. You may sell it in five. Either way, the documentation outlives your memory of the project, and a good file answers the questions a serious buyer will ask before they are asked. What was replaced. What is original. What the metal underneath looks like. Whether the numbers match and how you know.
The best restoration files I have handled read like a factory record continued by hand: the original evidence up front, then a clear account of every decision made during the work. That kind of file does two things. It gives the car provenance, and it gives the next caretaker a head start on maintaining what you built. Both are worth the hour a week it takes to keep up while the project is live.
"The photos you wish you had taken are almost always the before shots. Once the car is apart, that evidence is gone for good. Shoot everything first, then start turning wrenches."
Tom Ramirez
Documentation is the one part of a restoration that costs almost nothing and pays back every time the car changes hands. Build the record as you go, keep it organized, and treat the factory's own marks as the starting point. The car will be worth more for it, and the history stays intact.
Related Reading
Have a
Classic Car
for Sale?
Reach thousands of serious classic car collectors across the US.
Sell It Here →
Are You a Classic Car Dealer?
List your full inventory and connect with targeted classic car buyers.
Join as a Dealer →
#numbers matching
#build-sheet
#restoration documentation
#muscle car restoration
#restoration records

About the author
Tom Ramirez
Corvette researcher and historian based in Bowling Green, Kentucky. Two decades documenting Corvette production history from original factory records.
More in Restoration & Tech




Comments
Be the first to comment on this article.