
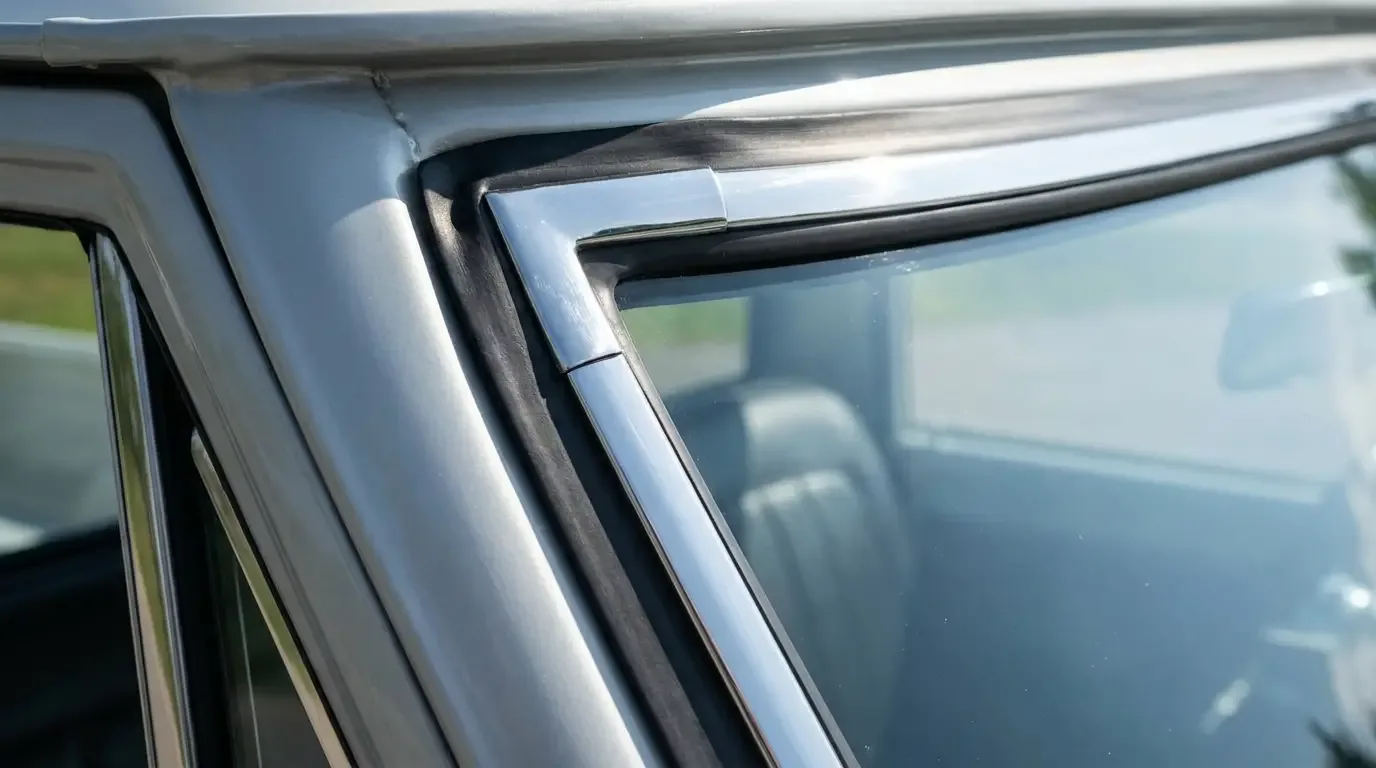
A C10 that leaks water into the cab or roars like a wind tunnel above sixty almost never has a mechanical problem. It's the rubber. Every seal on that truck, door, windshield, back glass, cowl, all of it, was only ever rated to last so many years before it hardens and shrinks away from the metal it's supposed to be gripping. On a truck built in the sixties or seventies, that rubber gave out a long time ago even if nobody's replaced it since. I see guys chase a "leak" for weeks with sealant and patience when the real fix is pulling forty-year-old rubber and putting in a proper kit.
Restoration & Tech
6 min read
How to Install Weatherstripping and Glass Seals on a C10
A guide to replacing worn door, glass, and windshield seals on a C10, including prep work, installation order, and how to water-test the results.
Why the seals fail in the first place
Rubber weatherstripping is made to flex. UV exposure, heat cycles, and just time turn that flexible rubber brittle and shrunken. Once it's shrunk even a fraction off the flange it was pressed onto, water finds the gap and wind finds the gap, and no amount of silicone dabbed into the corner fixes that permanently. It just buys you a season before it opens back up. If you're going through the restoration guide and you're at the glass and trim stage, this is where you stop patching and replace the whole run.
What's actually in a full seal kit
A complete kit for one of these trucks covers the door seals, the bulb-style rubber around the door opening, the glass run channels inside the door that the window rides up and down in, the windshield seal, the back glass seal, and usually a cowl seal where the hood meets the cab. Buy from a supplier that lists the kit by year range and cab style, because the door seal profile changed across the production run, and a seal built for the wrong years will look close enough to install and still leak.
| Seal location | Symptom when worn |
|---|---|
| Door bulb seal | Wind noise, water at floor pan |
| Glass run channel | Window rattle, whistling at speed |
| Windshield seal | Water staining on headliner or dash |
| Cowl seal | Water in floor near firewall, foggy interior glass |
Prep work that decides whether this lasts
Every bit of old rubber, old adhesive, and rust scale has to come off the flange before new rubber goes on. This is the part guys skip because it's tedious, and it's exactly the part that determines whether the new seal lasts fifteen years or two. Wire wheel the metal down to a clean, dry surface. Any bare metal that's showing surface rust gets primed before the seal goes over it, because sealing moisture in behind new rubber is worse than not sealing it at all.
Test fit the new seal dry before any adhesive touches it. Walk the whole run and make sure it seats into the channel evenly with no puckering at the corners. Corners are where these kits go wrong, because the rubber wants to hold its molded shape and the body opening has its own curve that doesn't always match.
Installing the door and glass seals
Adhesive goes down in sections, not the whole run at once, because contact cement grabs fast and you don't get a second chance to reposition once it's set. Start at a low corner, work the seal into the channel a foot at a time, and press it firm with a roller or the flat of your hand before moving to the next section. The glass run channel inside the door is trickier because it has to align with the window regulator track, and if that's off even slightly the window will bind or won't seal against the top of the channel when it's rolled up.
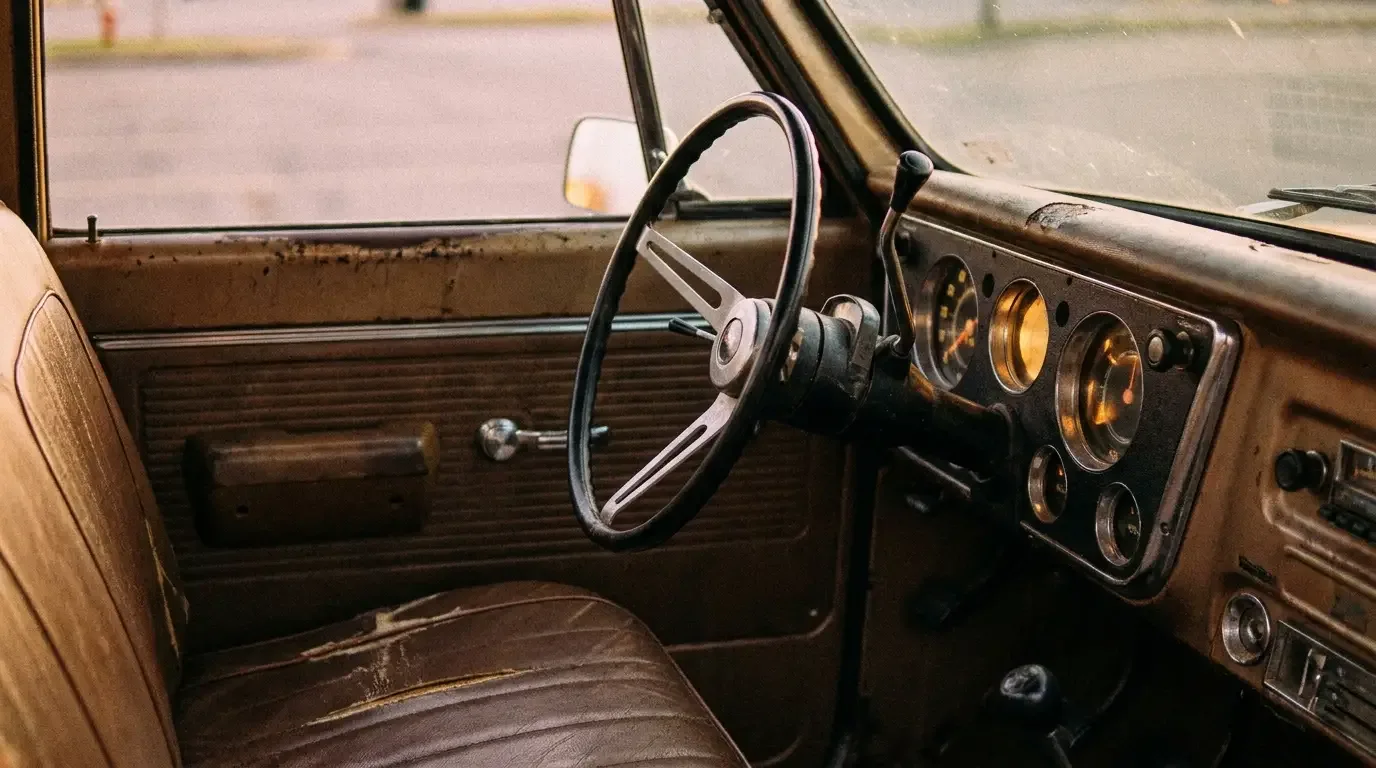
While you've got the door panel off for this, it's worth a look at the column too, because what's waiting inside on the steering column is usually easier to get to with the lower dash panels already loosened for the door work.
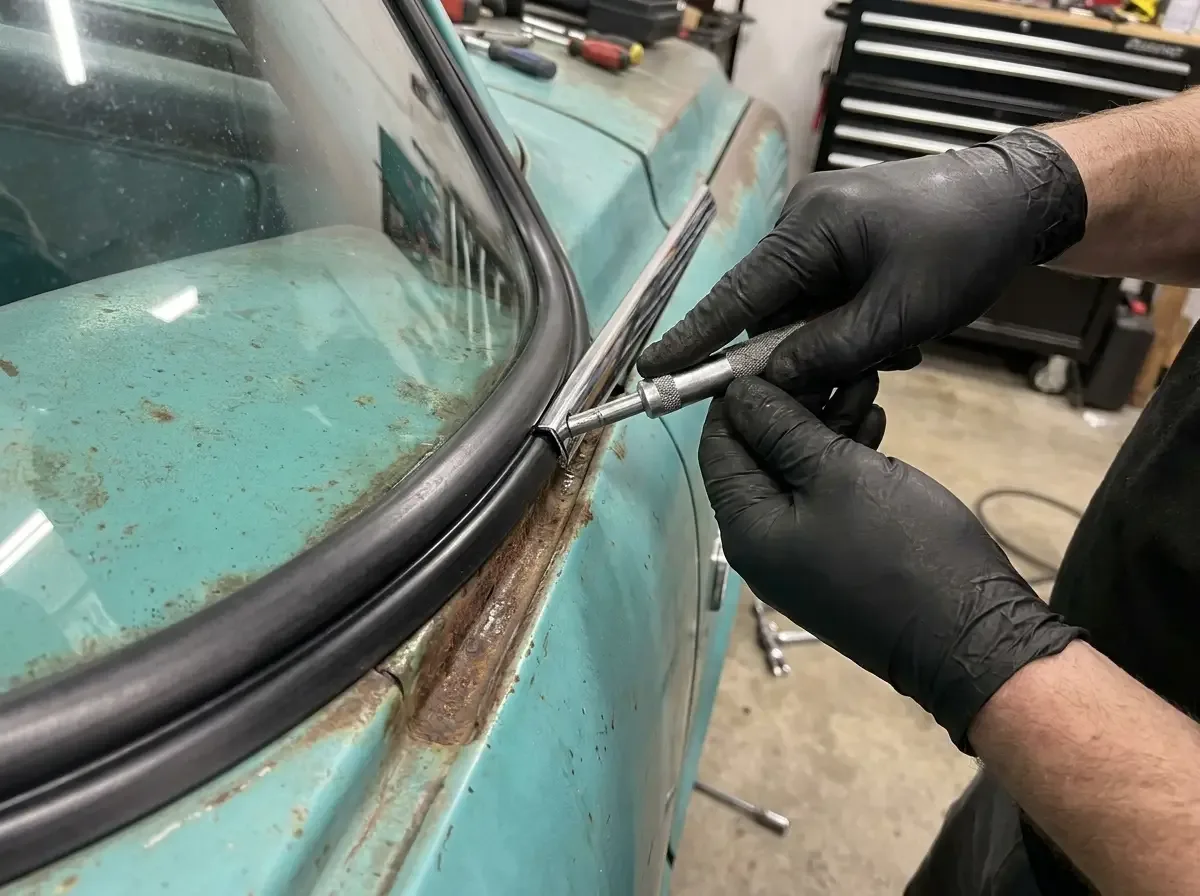
The windshield and back glass seals work differently from the door seals, and guys who've only ever done doors get tripped up here. These use a locking strip, a thin rubber or chrome bead that tucks into a channel molded around the outside of the seal and pulls the lip tight against the glass and the pinch weld at the same time. Getting the locking strip started takes a blunt tool, not a screwdriver that can nick the rubber or scratch the glass. Work it in slow, a section at a time, starting at a bottom corner and working around. Two people make this easier than one, especially on the windshield, where the glass is heavy enough that you want a second set of hands steadying it while the first section of locking strip goes in.
Testing the seal before you call it done
Once everything's installed, the real test is water, not eyeballing it. A garden hose run slowly over the door seams, windshield, and cowl for a few minutes will show you any gap immediately, usually as a drip somewhere obvious once you know to look for it. Fix it now, while the panels are still off, not after the interior's back together and you're pulling door cards a second time to chase the same leak.
"Guys spend a Saturday chasing a leak with a caulk gun before they'll spend an hour pulling the door panel and looking at the actual rubber. The caulk gun always loses in the end."
Mike Sullivan
Do the prep work right, install one section at a time, and test it with a hose before you close everything back up. Skip any of that and you'll be back in the same door panel inside a year, chasing the same drip you thought you fixed.
Sources and notes
- Complete door weatherstrip seal kit for 1967-72 Chevy/GMC trucks
- Exterior rubber kit and components, 1967-72 Chevy/GMC trucks, LMC Truck
- Complete weatherstrip kits for C10, CJ Pony Parts
- Weatherstripping and rubber parts for C10 pickup, Summit Racing
- Bulb seal design and compression fit reference, Doors For Pros
Related Reading
Have a
Chevrolet C10
for Sale?
Reach thousands of serious classic car collectors across the US.
Sell It Here →
Are You a Classic Car Dealer?
List your full inventory and connect with targeted classic car buyers.
Join as a Dealer →

About the author
Mike Sullivan
Detroit-area muscle car enthusiast and restoration specialist with three decades of hands-on experience working on American iron.
Related Listings - Chevrolet C10
More in Restoration & Tech




Comments
Be the first to comment on this article.