
A rattling vent window on a C10 is one of those problems guys let ride for years because it looks like a small thing. It's not. That triangular window up front does two jobs: it moves air through the cab before anybody had air conditioning worth trusting, and it seals the front corner of the door glass. When the pivot wears loose or the felt goes hard, you get wind noise at highway speed, water in the door on a hard rain, and a window that won't hold whatever angle you set it at. I've pulled enough of these apart to tell you the parts that fail are always the same parts, and none of them are expensive. The labor is what takes the afternoon.
Restoration & Tech
6 min read
How to Rebuild a C10 Vent Window Assembly
A step-by-step look at rebuilding a C10's vent window assembly, from diagnosing worn pivots and hardened felt to resealing it against wind noise and leaks.
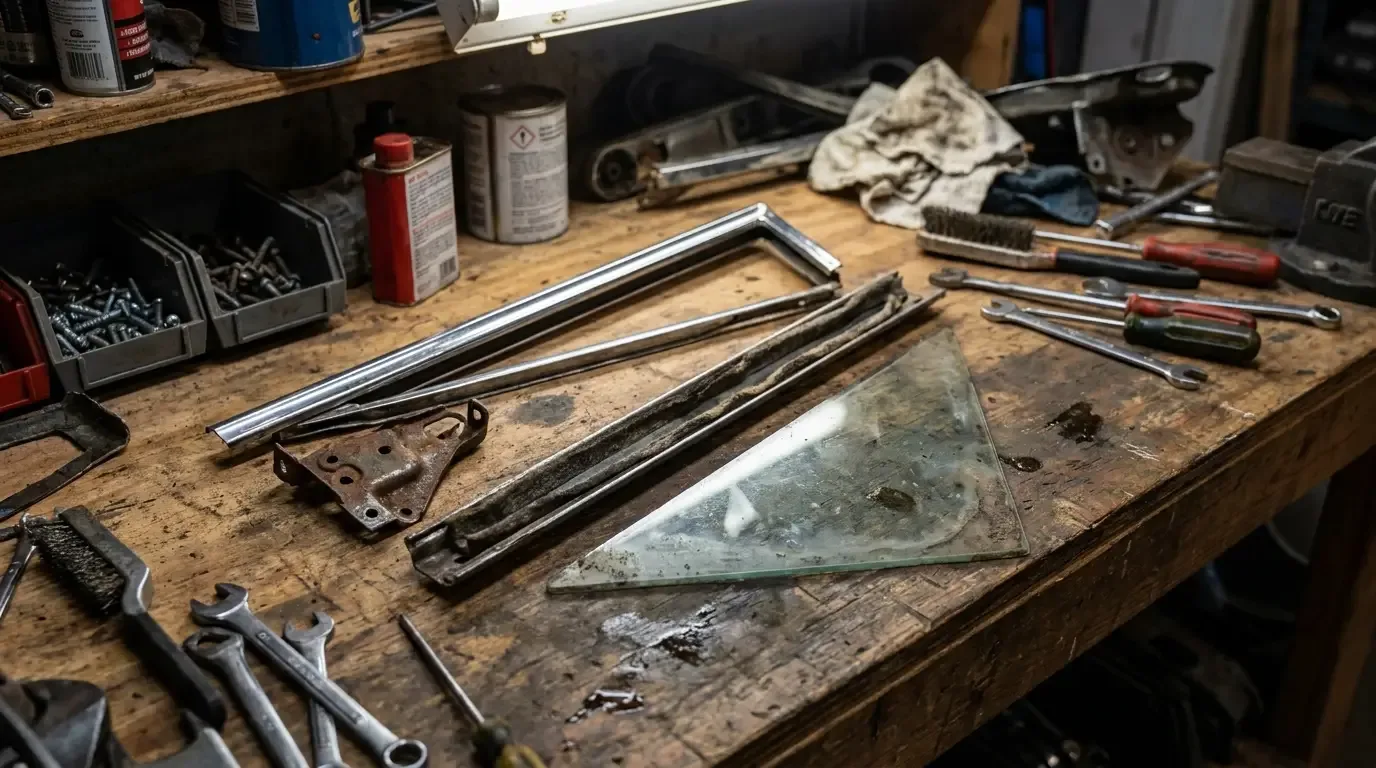
Why the vent window starts acting up
The vent window assembly on a C10 is built around a stamped steel frame, a pivot pin at the top and bottom, a felt-lined channel that the glass rides in, and a latch that clamps the frame to the main door glass track. Every one of those parts is either rubber, felt, or a wear surface, and on a truck that's now pushing fifty-plus years old, all of it has taken a beating. The felt hardens and shrinks. The pivot bushings wear oval instead of round. The latch spring loses tension so the window won't stay shut against highway air pressure. None of this happens overnight. It creeps in over a decade of hot summers and cold winters, and by the time you notice it, the whole assembly needs attention, not just the one part that finally failed.
Before you pull anything apart, roll the window through its full range and listen. A dry squeak usually means the pivot needs lubrication, not replacement. A loose, sloppy feel with visible play at the top pivot means the bushing is worn out, and no amount of grease fixes that. If you're working through the restoration guide for a full cab rebuild, this is a job that belongs early in the door and glass phase, before you're fighting to get panels back on around a window that still won't seat right.
Pulling the assembly apart
Start by dropping the door panel and the water shield behind it. You'll find the vent window frame bolted to the door shell at the base, usually two or three bolts depending on the year, plus the latch mechanism that ties into the door glass channel. Mark the position of everything before you loosen it. The factory set the pivot tension and the latch engagement on the line, and if you don't note where things sat, you'll spend twice as long getting it back to where it worked.
Once it's out, the frame comes apart at the pivot points, top and bottom. The glass is held in the frame channel by the felt strips, which by now are probably brittle enough to crumble in your hand. Don't force anything. These frames are pot metal on some years and stamped steel on others, and pot metal cracks if you lean on it wrong. Work it loose with penetrating oil and patience, not a bigger hammer.
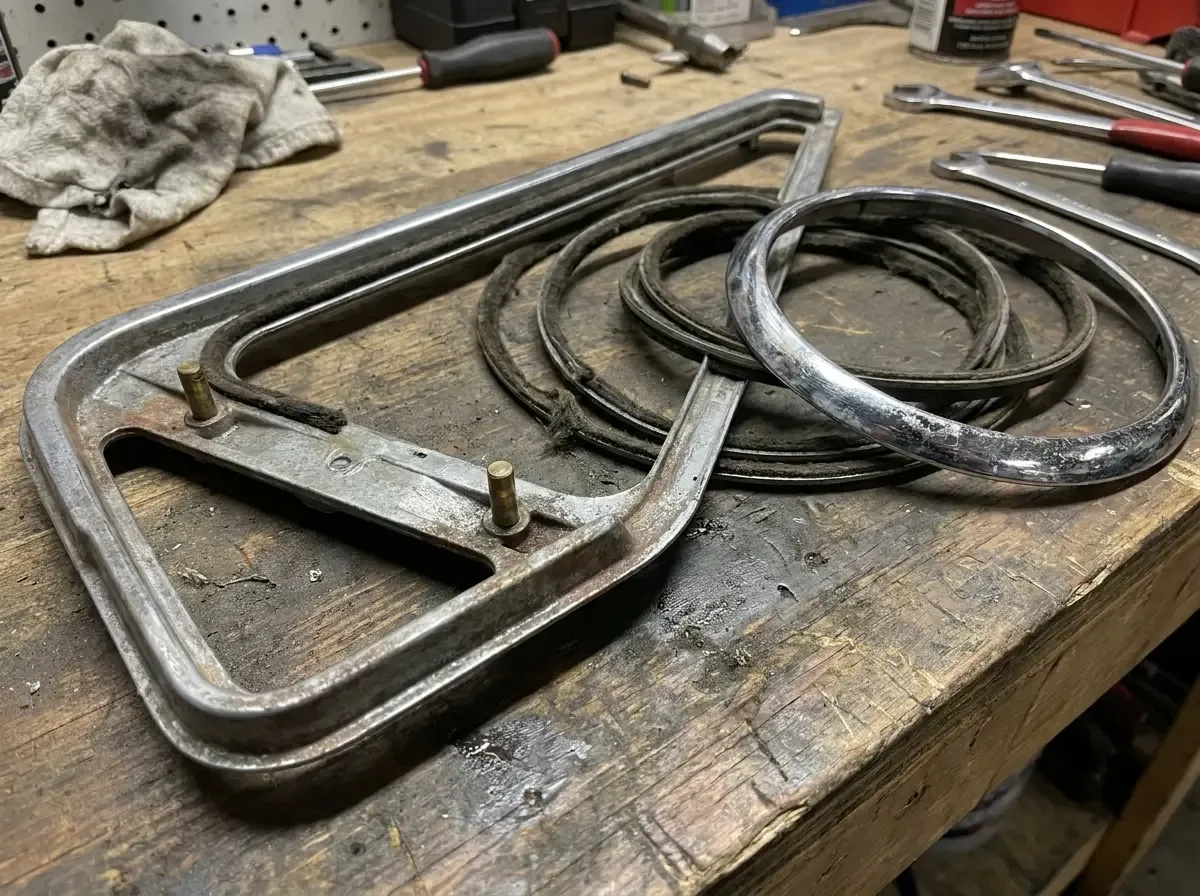
What to replace every time
| Component | Condition when original | Replace or reuse |
|---|---|---|
| Vent window felt channel | Hard, cracked, shrunk | Replace, every time |
| Pivot bushings (top and bottom) | Worn oval, sloppy play | Replace if any play is felt |
| Latch spring and cam | Weak tension, won't hold window shut | Replace spring; cam usually fine |
| Frame and glass | No cracks, no pitting on chrome trim | Reuse and polish |
The felt and the pivot bushings are cheap enough that there's no reason to reuse the old ones once the assembly is apart. Trying to save a few dollars on felt and then finding out in six months it's already crushed flat again is the kind of false economy that makes a restoration take longer, not less time. The frame itself and the glass are usually fine to reuse if there's no pitting eating through the chrome trim ring and no cracks in the glass corners. Chips at the very tip near the pivot are common and don't usually spread if you don't stress the glass more than it already has been.
Reassembly and setting the tension
Reassembly is where most guys either get it right or end up doing the job twice. Seat the new felt in the channel dry first, check the fit, then bed it with a thin trim adhesive, not a heavy contact cement that squeezes out and gets on the glass. The pivot bushings should go in snug enough that the window holds any angle you set it at under highway wind pressure, but not so tight that it takes two hands to move. That's a feel thing, not a torque spec. You'll know it's right when the window swings smooth and stays where you leave it.
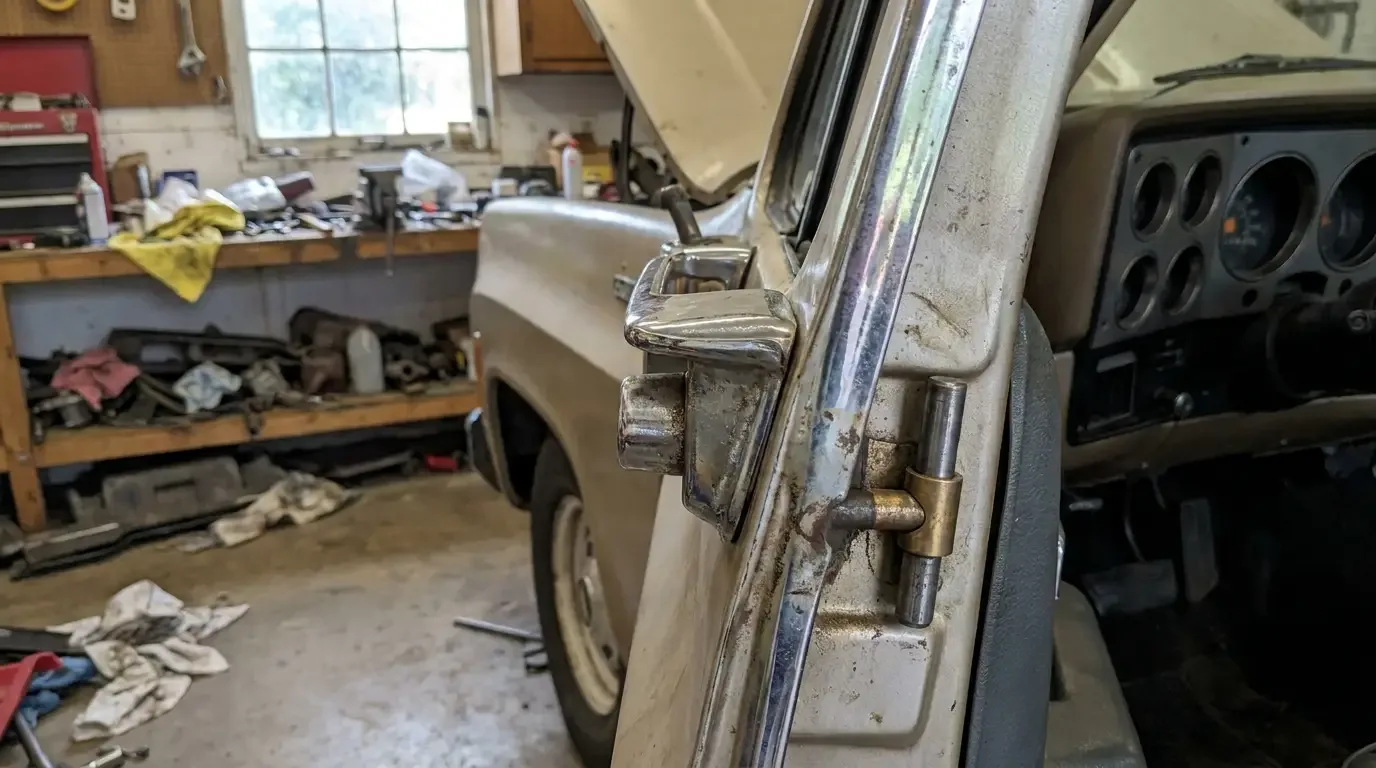
The latch is the part guys get wrong most often. It needs to clamp the vent frame tight against the main door glass at the front edge, and if that gasket surface isn't sealing evenly across its whole length, you'll get exactly the wind noise you were trying to fix. Bolt the frame back in loose, close the door, check where the latch contacts, and adjust before you snug everything down for good.
What it costs and whether it's worth doing yourself
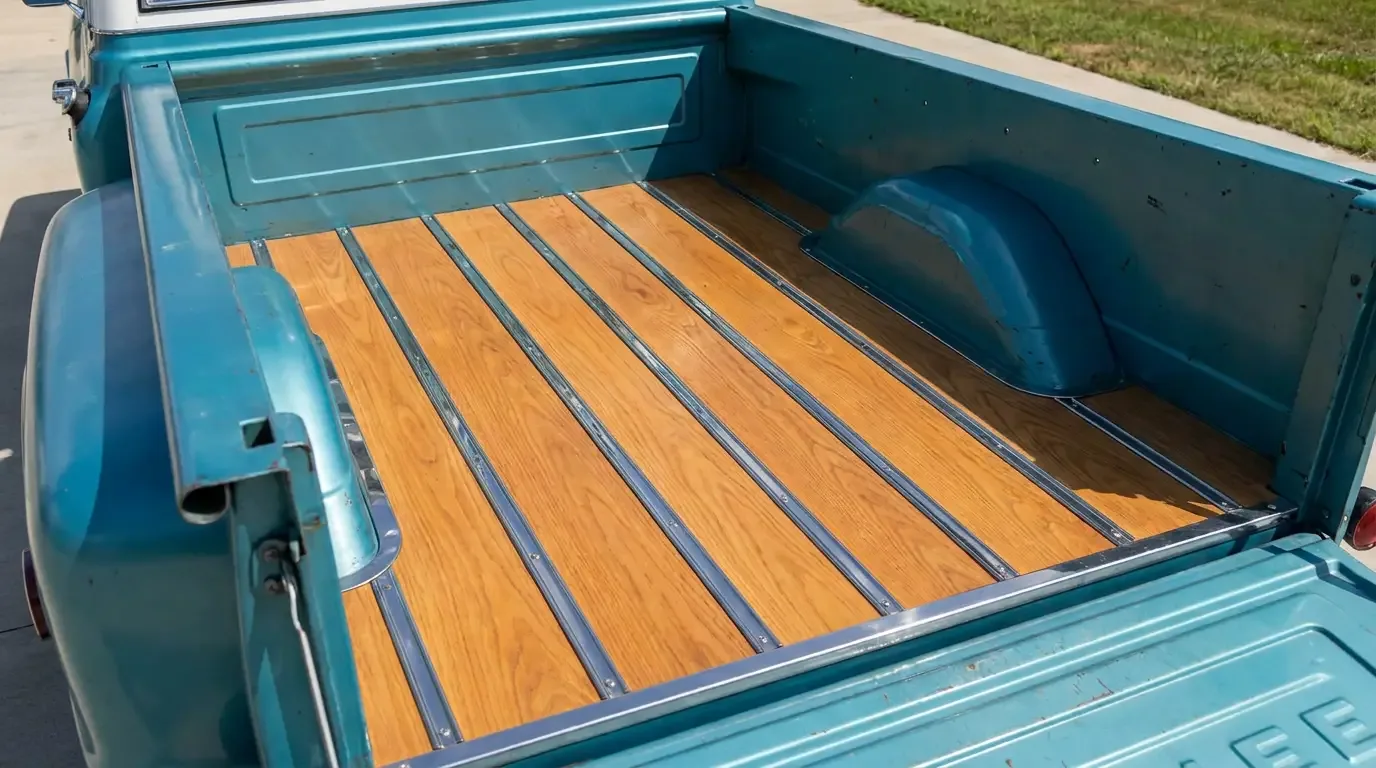
A full felt and bushing kit runs somewhere in the neighborhood of twenty-five to seventy dollars depending on the supplier and what's included, and the whole job takes an afternoon once you've done one and know where the traps are. Doing both sides on a truck that's getting a full restoration is a job worth handling yourself before you get to restoring the wood bed out back, because a cab that seals right and glass that operates correctly are the kind of details that separate a truck that feels finished from one that just looks finished in photos. Skip a shop for this one. There's nothing here that requires a lift or a specialist, just patience and the willingness to do it slow the first time.
"I've had guys bring me a truck with a perfect paint job and a vent window that rattles like a tin can at fifty-five miles an hour. Nobody notices the paint at that point. They notice the rattle."
Mike Sullivan
Get the felt right, get the pivot tension right, and get the latch sealing evenly, and this is a part of the truck nobody ever thinks about again. That's the goal with anything on a restoration. The stuff that's done right disappears.
Sources and notes
Related Reading
Have a
Chevrolet C10
for Sale?
Reach thousands of serious classic car collectors across the US.
Sell It Here →
Are You a Classic Car Dealer?
List your full inventory and connect with targeted classic car buyers.
Join as a Dealer →

About the author
Mike Sullivan
Detroit-area muscle car enthusiast and restoration specialist with three decades of hands-on experience working on American iron.
Related Listings - Chevrolet C10
More in Restoration & Tech




Comments (1)
B
Bill Cassidy
3 months ago
Best advice in any article like this: if the seller gets defensive about an independent inspection, walk away.