
The frame is the one part of a rat rod you cannot fake. You can bolt-on rust, clear-coat some patina, and slap a junkyard engine in the bay, but the rails underneath are what hold the whole thing together at 60 mph with your kid in the passenger seat. I've walked away from builds that looked mean at the show because I wouldn't trust them across the parking lot, not with somebody welding a suicide front end onto rails that were never built to take the load. The frame is where a cheap build either earns its keep or gets somebody hurt.
Restoration & Tech
9 min read
Rat Rod Frames and Chassis
Original vs repro rails, boxing, Z-ing and mixing donor frames: how to build a rat rod chassis that is cheap without being unsafe.
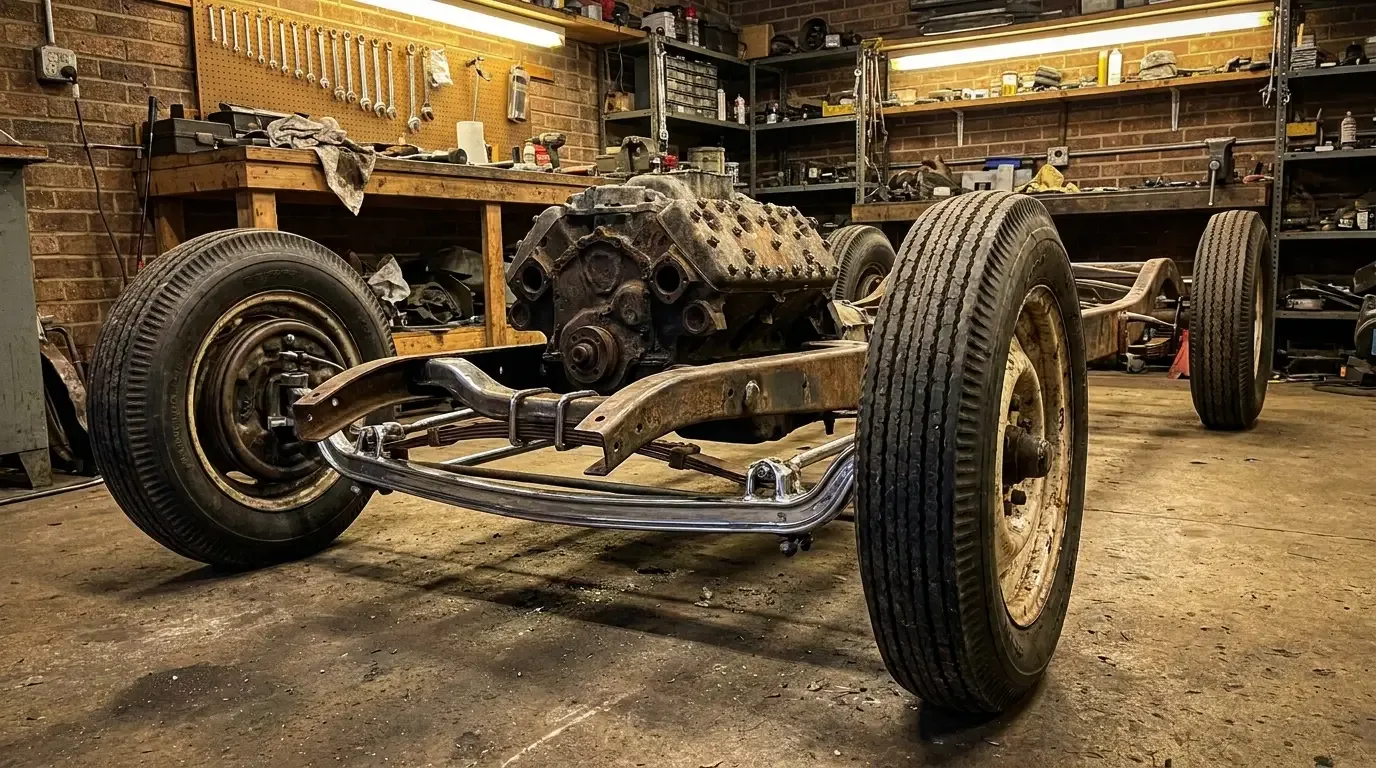
So let us talk chassis. This is the money decision on any budget build, and it is one of the first things you sort out when you are figuring out how to build a rat rod that actually drives. Get the frame right and everything bolted to it has a chance. Get it wrong and no amount of skulls and pinstripe hides the problem.
Original rails versus aftermarket repro frames
Two roads here. You either start with an original frame off an old Ford, Chevy or Dodge, or you buy a reproduction frame built to the same footprint by an aftermarket shop. Both work. They cost you in different ways.
An original Model A or 1932 Ford frame is the traditional starting point, and if you find one that has not been hacked, it is a legitimate foundation. The problem is age. These rails have spent 80-plus years flexing, rusting from the inside, and getting drilled full of holes by every owner who ever mounted something to them. A frame that looks solid under grime can have rot hidden inside the boxed sections or cracks radiating off old weld repairs. You clean it, you inspect every inch, and sometimes you find out the cheap frame needs more work than a new one.
Reproduction frames solve the rot problem. A shop like a mail-order chassis outfit sells you fresh steel, correct dimensions, and usually the option to have it pre-drilled for a Model A or '32 body. You pay for it. A bare repro frame runs anywhere from roughly $1,200 to $3,000-plus depending on the maker and how much is done to it, which for a lot of rat rod builders defeats the low-buck point. But for a first build, fresh rails you can trust are worth thinking about.
| Frame source | Rough cost | Main upside | Main risk |
|---|---|---|---|
| Original vintage rails | $100 to $800 | Cheap, authentic, correct look | Hidden rot, old cracks, prior hack jobs |
| Aftermarket repro frame | $1,200 to $3,000+ | Fresh steel, known dimensions | Cost kills the budget angle |
| Donor frame (later truck/car) | $0 to $500 | Comes with suspension and brakes | Wrong dimensions, heavy modification |
Prices above are approximate and swing with your region and the year. Do not treat them as gospel, treat them as a starting point for your own phone calls.
Boxing the rails: why open C-channel is not enough
Old Ford frames are open C-channel. Look at the end of the rail and you see a C shape, not a closed box. That was fine for a stock four-banger in 1930. It is not fine once you drop in a V8, hang a heavier front end off it, and start making power the frame never saw from the factory.
Boxing means welding a plate across the open side of the C to make it a closed rectangular tube. A closed box is dramatically stiffer in torsion than an open channel, and that stiffness is what keeps your doors closing right and your suspension geometry from wandering under load. You can buy laser-cut boxing plates that drop into the factory rail profile, or you can cut your own from flat stock if you trust your fabrication.
Do not box the whole frame blind. Some builders box only the center section where the load concentrates and leave the ends open for a slightly more forgiving ride. Others box the entire length. There is no single right answer, but if you are running real power and a modern front clip, err toward more boxing, not less.
Z-ing the frame to get it low
Rat rods sit low. That stance is half the point. There are cheap ways to fake low that wreck the car, and there is the right way, which is Z-ing the frame.
Z-ing means cutting the frame rail and re-welding it with a step, a Z shape, so the axle can travel up into the frame and the body drops closer to the ground without slamming the suspension into the bump stops. You Z the front, the rear, or both, depending on how low you want it and how much travel you are willing to give up. Done right, the car sits mean and still has suspension movement. Done wrong, you have a frame that cracks at the cut and a car that bottoms out over every driveway.
This is heavy fabrication. You are cutting a structural member and rebuilding it with weld. If your welds are not fully penetrated and properly gusseted, that Z is a stress riser waiting to fail. This is the point where a lot of budget builders should stop and either learn to weld properly or pay someone who already can. A frame that fails at speed is not a style choice.
"I will chop a top and channel a body all day long, but I do not cut a frame rail on faith. Every Z I have done got fully welded, ground, and gusseted, and I still put a straightedge on it before it ever rolled. The frame is the one place the rat rod attitude has to take a back seat to doing it right."
Ray Delgado
Mixing donor frames and keeping it honest
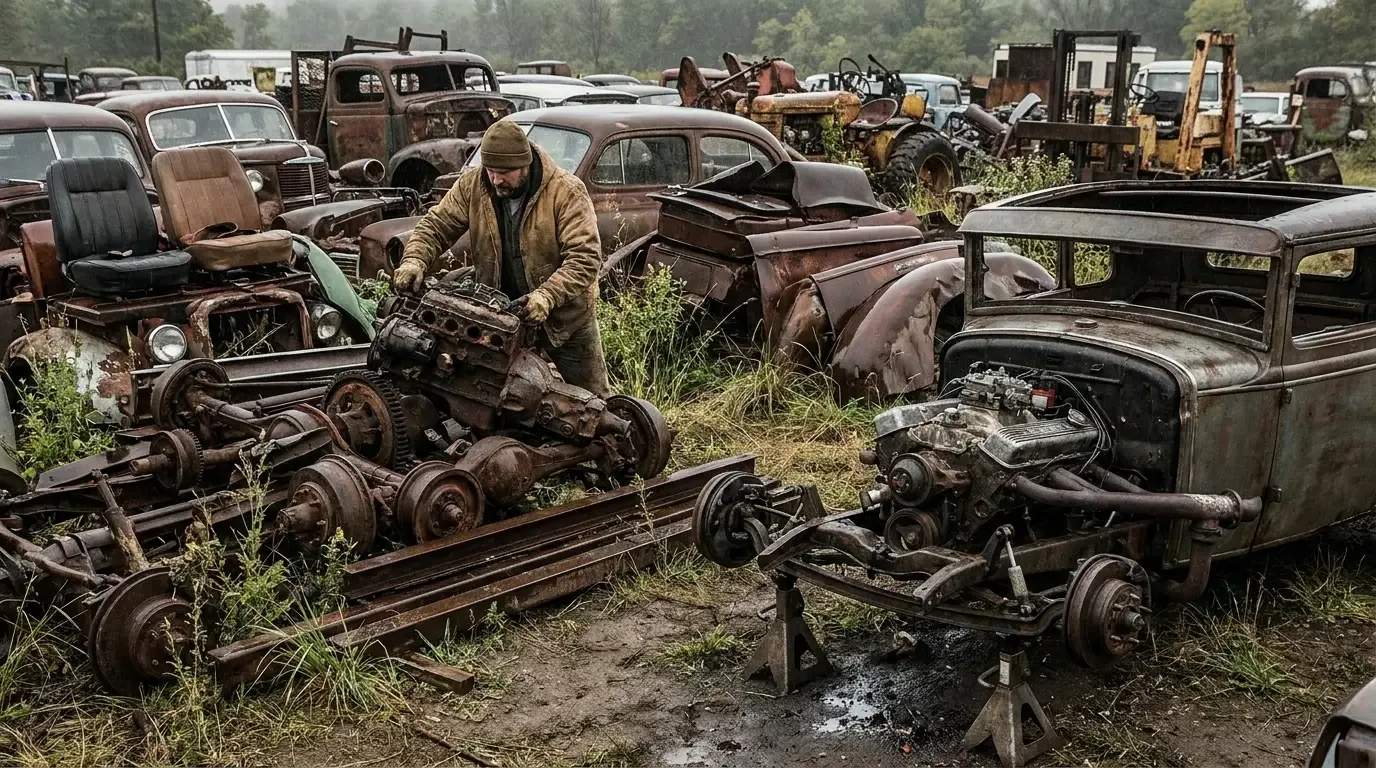
A lot of budget builds start with a donor frame from a later truck or car, because that frame comes with a suspension, a rear end, and brakes already attached. Grab a frame off an old pickup and you have a rolling chassis for the price of a tow. That is real money saved, and it is a common move when you are hunting Junkyard Parts and Found-Object Building to get a project rolling for next to nothing.
The catch is dimensions. A donor frame is the wrong width and wheelbase for your vintage body, so you are into cutting, narrowing, and stretching to make the body sit right. Some builders graft the front section of one frame onto the rear of another. This works, but every splice is a joint that has to be as strong as the rail it replaces. A butt weld across a frame rail with no reinforcement is not strong enough. Sleeve it, fishplate it, or step the joint so you have overlap, and weld it like your life depends on it, because on the road it does.
- Match your donor to the job. A frame that already carries the axle width you want saves the most fabrication.
- Keep wheelbase realistic. Stretching a frame a foot to fit a body changes the way the car drives and steers.
- Never trust a mystery weld. If you buy a frame someone already modified, cut into a joint and inspect it before you build on top of it.
Keeping a budget frame safe
Rat rods have earned a reputation for cut-corner chassis work, and some of that reputation is deserved. The whole culture is about doing it cheap and doing it yourself, and the frame is exactly where that attitude gets dangerous if you let it. Cheap does not have to mean unsafe. It means you spend your money on steel and your time on doing the welds right, instead of spending both on chrome nobody needs.
Be honest about your own skill. Boxing a rail with bolt-in plates is within reach of most people with a decent welder and some practice. Z-ing a frame and splicing donor rails is structural fabrication, and if you are not confident your welds will hold, that is not the corner to cut. There is no shame in tacking it yourself and paying a pro to lay the final structural beads. The frames that fail are almost never the ones somebody paid attention to.
When your rolling chassis is sorted and you want to see how finished builds handle these same choices, browsing used rat rods for sale is a fast way to learn what good frame work looks like and what to walk away from. A well-sorted chassis is worth paying for. A pretty body on questionable rails is not.
Sources and notes
- Period and modern hot-rod and rat-rod press covering frame fabrication, boxing and Z-ing techniques.
- Builder interviews and shop-floor practice on chassis modification and welding standards.
- Aftermarket chassis and frame manufacturer catalogs and pricing guidance (prices approximate, region-dependent).
- General fabrication and welding references on structural joints, torsional stiffness and frame squaring.
Related Reading
Have a
Classic Car
for Sale?
Reach thousands of serious classic car collectors across the US.
Sell It Here →
Are You a Classic Car Dealer?
List your full inventory and connect with targeted classic car buyers.
Join as a Dealer →

About the author
Ray Delgado
Metal fabricator and chassis builder who has spent 25 years turning flat sheet and mild steel into hot rods, gassers and restomod underpinnings.
More in Restoration & Tech




Comments
Be the first to comment on this article.