
A leaking windshield gasket is one of those problems that looks small and turns out to be expensive, because water doesn't stop where you first notice it. It runs down the inside of the cowl, sits against metal it was never supposed to touch, and by the time you see a stain on the headliner or a damp patch on the floor, it's usually been getting in for a long time already. On a C10 this is a common problem, and it's one worth taking seriously the first time you notice it rather than living with a damp floor mat for another few winters.
Restoration & Tech
8 min read
Stopping Water Leaks Around C10 Windshield Gaskets
How to find the real source of a windshield water leak on a classic C10, replace the gasket correctly, and stop the cowl rust that a slow leak eventually causes.
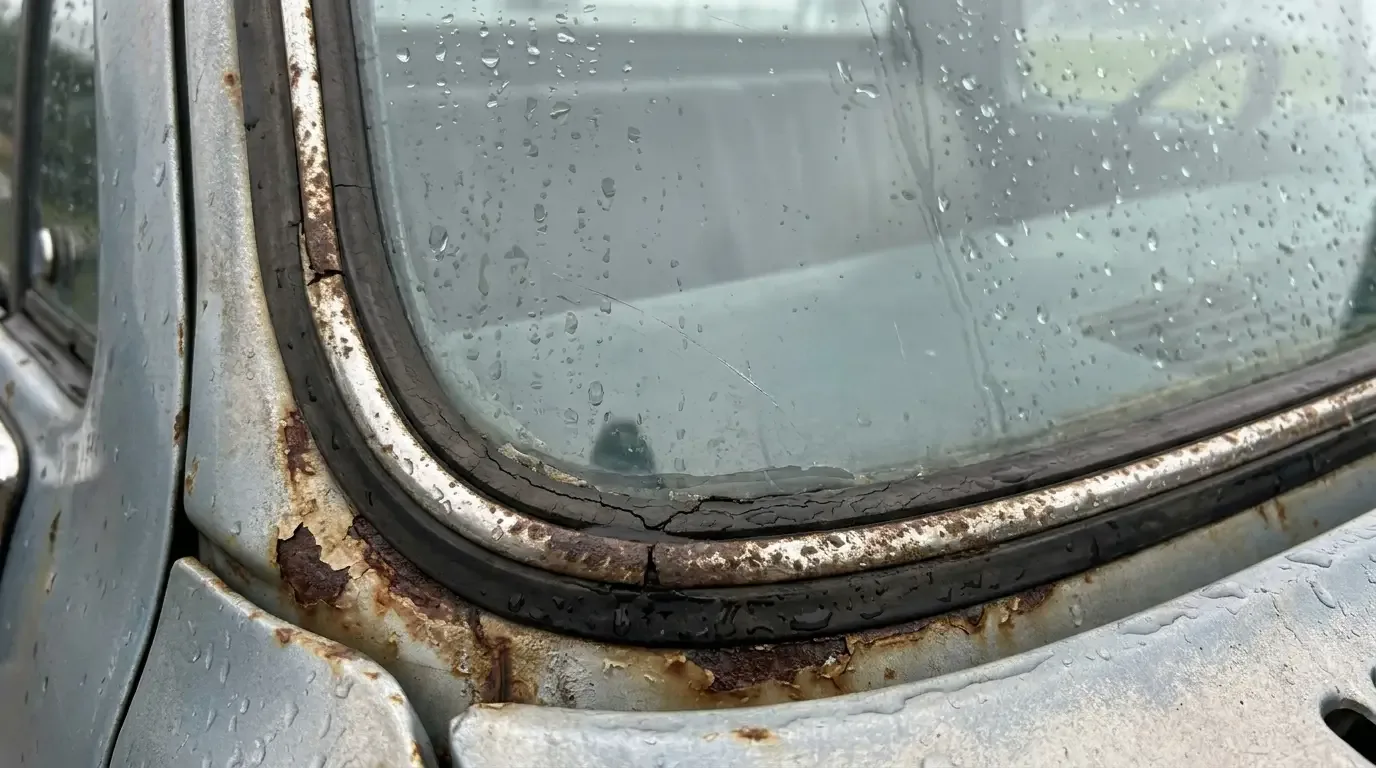
I've pulled enough of these windshields to know the gasket rarely fails all at once. It hardens, it shrinks a little at a time, and one day the truck sits through a hard rain and water finds the gap that's been slowly opening up for years. The fix isn't complicated, but doing it right means understanding where the water is actually getting in, because it's not always where it looks like it's coming in.
Why these gaskets fail and where the water actually goes
The rubber gasket that seals the windshield to the cab was never designed to last fifty years, and most trucks still running an original or old replacement gasket have rubber that's hardened, shrunk away from the glass at the corners, or cracked where it wraps the tightest curves at the top corners of the frame. Once that seal opens up even slightly, water runs down behind the gasket rather than beading off the glass the way it's supposed to.
From there it follows the path of least resistance, down the inside of the cowl and often straight onto the cowl vent screen and the plenum area in front of the windshield, which is exactly where the heater box and its ductwork sit. Water that pools in the cowl doesn't just wet the floor. It sits against the metal and rusts the cowl from the inside, which is a repair nobody wants to get into if a fresh gasket and some patience could have prevented it years earlier.
Finding the actual leak point before you touch anything
Don't assume the leak is coming from wherever the water pools inside the cab, because water travels a long way before it shows up somewhere visible. A hose test done carefully, with someone inside watching while another person runs water slowly over one section of the windshield perimeter at a time, will show you the actual entry point instead of leaving you guessing. Start at the top corners, since that's where the gasket takes the most stress from the frame's curve and where it fails first on most of these trucks.
Cardboard or a dry rag laid along the base of the windshield inside the cab will show you exactly where the first drop lands, which tells you far more than staring at the outside of the glass trying to spot a gap by eye. Take your time with this step. Rushing the diagnosis is how people end up replacing a perfectly good gasket while the actual leak, often at a pinched corner or a spot where the trim clip cracked the rubber, goes right on leaking.
| Leak location | Common cause | Fix |
|---|---|---|
| Top corners of the windshield frame | Gasket cracked or shrunk at the tightest curve | Full gasket replacement, careful reseating at the corners |
| Along the bottom edge near the cowl | Hardened rubber no longer compressing against the pinch weld | New gasket with fresh sealant at the pinch weld |
| Around trim clip locations | Clip pierced or cracked the gasket over time | Replace damaged section, reseat clips carefully |
| Cowl vent screen and plenum area | Water bypassing the gasket entirely from a rusted cowl seam | Repair the cowl metal before addressing the gasket |
Pulling the old gasket and glass without cracking anything
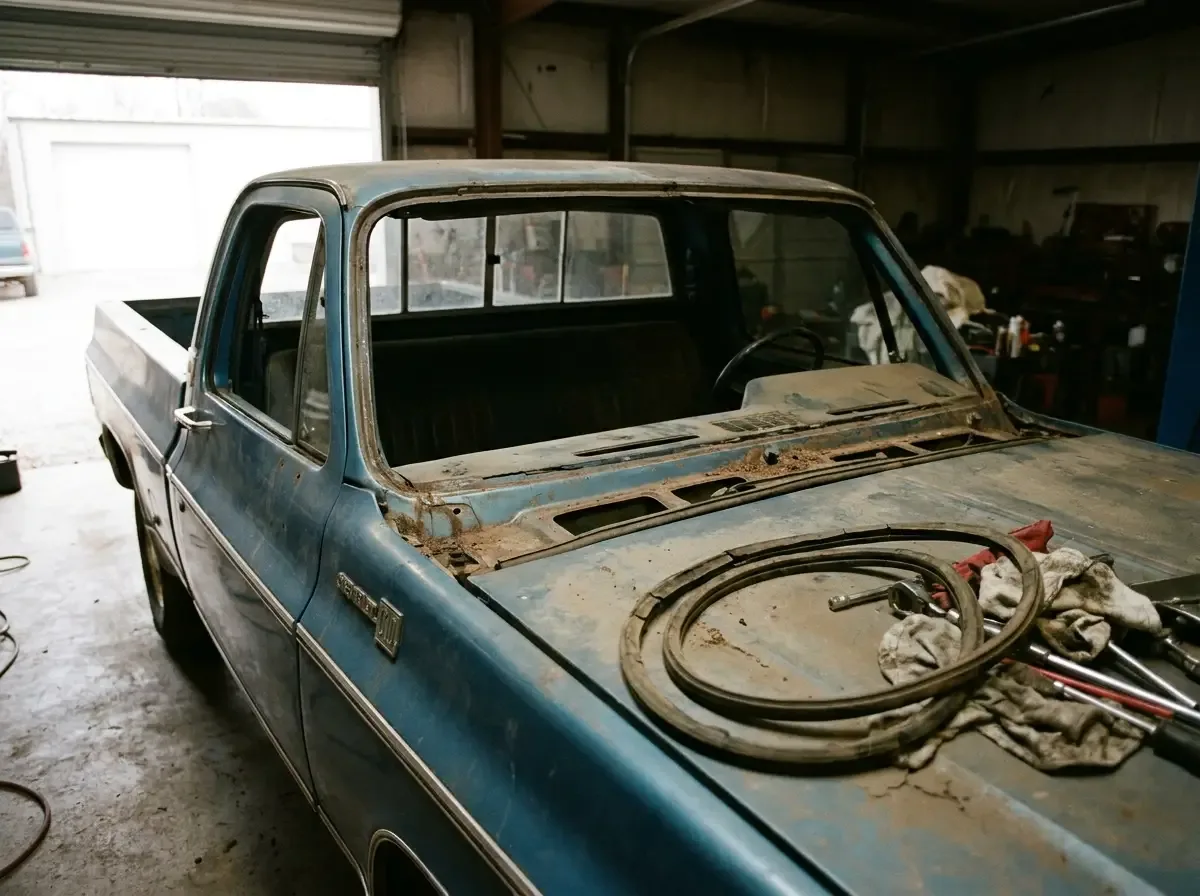
Removing an old windshield on one of these trucks takes patience more than force, since decades-old rubber and sealant can bond the glass to the frame tighter than you'd expect. Work a trim stick or a length of piano wire around the perimeter slowly, and don't pry against the glass itself if you plan on reusing it, because old glass under stress from a pry bar cracks more easily than people think. If the glass is already compromised, replacing it while the gasket's out is worth doing rather than reinstalling questionable glass into a fresh seal.
Clean the pinch weld down to bare, dry metal before the new gasket goes anywhere near it, and if you find rust at this stage, deal with it now. Sealing a new gasket over rusted metal just traps moisture against corrosion that's already started, and you'll be doing this same job again in a few years for a worse reason. This is also a smart time to check the cowl vent screen and drain paths for the heater box, since a clogged drain will send water right back into the cab even with a perfect new gasket.
What to check while everything's already apart
With the windshield out and the cowl exposed, it's worth spending the extra half hour checking the drain channels and the condition of the metal underneath, since this is the one time you'll have easy access to look at it properly. A little surface rust caught here and treated is a five minute job. The same rust ignored for another few years of leaking becomes a cowl repair or replacement, which is a much bigger project than the gasket that started it.
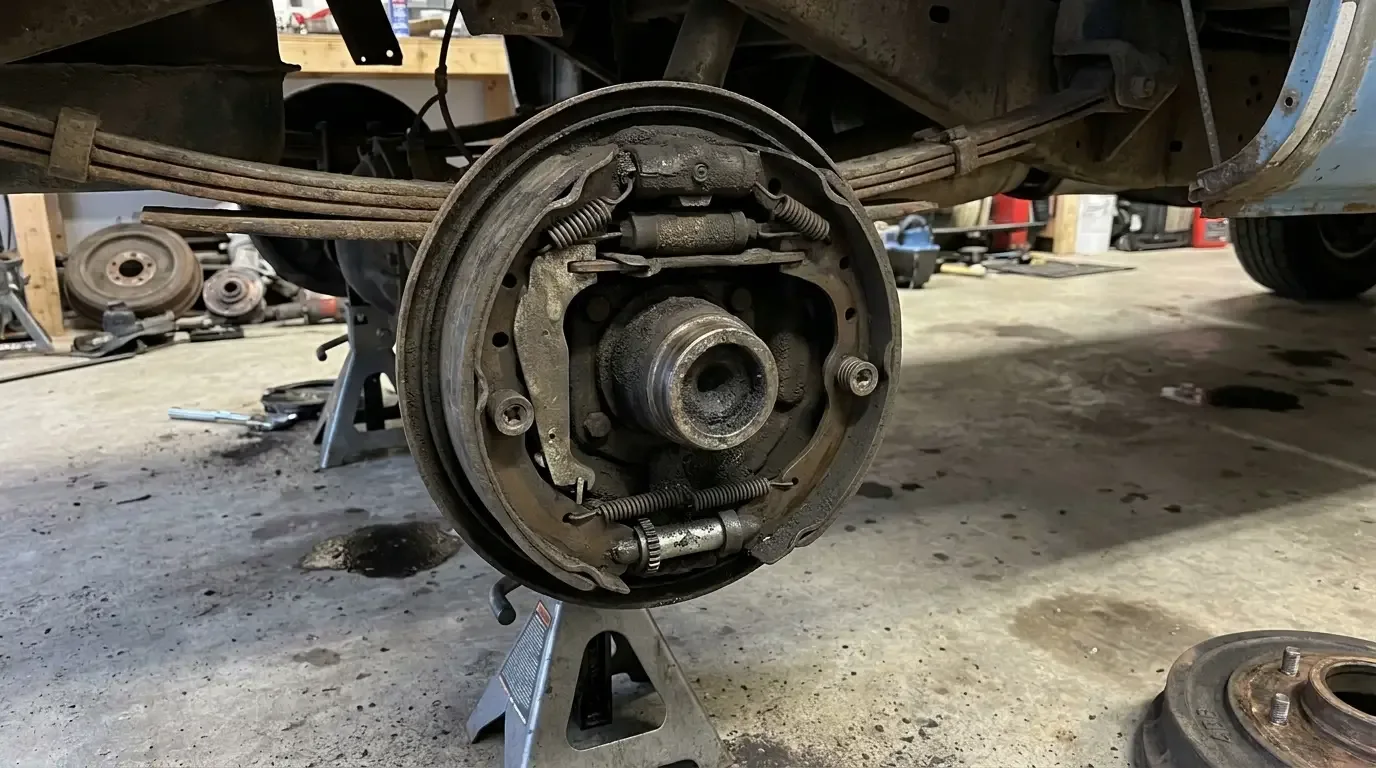
This is also a reasonable time to knock out other jobs that put you under the dash or in the same general area, like keeping the brakes adjusted while you're under there anyway, since consolidating maintenance jobs into one weekend beats spreading them across separate afternoons all year. None of this is complicated work individually. It just adds up faster when you're already elbow deep in the truck.
"People chase a windshield leak for years sometimes, changing gaskets, adding sealant, never actually watching where the water enters. Slow down and find the real leak point before you buy a single part. I've seen guys replace a whole gasket twice over a leak that turned out to be a cracked spot the size of a dime near one clip."
Robert Halloran
Keeping it dry for the long haul
A properly sealed windshield on a truck this age isn't a one-time fix you install and forget. Rubber ages, sealant eventually hardens again, and it's worth checking the perimeter with a hose test every couple of years even after a fresh install, catching any early sign of trouble before it turns into a wet floor and a rusted cowl again. Staying ahead of it is part of the same philosophy that runs through the maintenance guide, small routine checks beating expensive repairs every time on a truck this old.
Get this one right once, with clean metal underneath and a properly seated new gasket, and it's a job you shouldn't have to revisit for a long time. That's worth more than the couple hours it takes to do it correctly the first time.
Sources and notes
- Fesler USA -- windshield leak vs. cowl leak diagnosis
- GM Square Body Forum -- checking cowl seam seals
- GM Square Body Forum -- repairing rust around the windshield frame
- 67-72 Chevy Trucks -- cowl rust repair options
- GM Square Body Forum -- water leak at firewall and cowl areas
- Fesler USA -- seasonal leak-proofing checklist for classics
Related Reading
Have a
Chevrolet C10
for Sale?
Reach thousands of serious classic car collectors across the US.
Sell It Here →
Are You a Classic Car Dealer?
List your full inventory and connect with targeted classic car buyers.
Join as a Dealer →

About the author
Robert Halloran
Texas-based classic truck enthusiast with decades of experience buying, restoring, and writing about American pickups from the 1940s through the 1980s.
Related Listings - Chevrolet C10
More in Restoration & Tech




Comments
Be the first to comment on this article.