
Mechanical brakes scare people who learned to wrench on hydraulic systems, and I get why. There is no master cylinder, no fluid reservoir to top off, just rods, cables, cams, and a web of linkage that has to end up perfectly balanced across four wheels. But a century-old mechanical brake system is not mysterious. It is a rigging problem, closer to setting up a sailboat than fixing a modern car, and once you understand the sequence it becomes a maintenance job you can do in an afternoon.
Car Features
6 min read
Maintaining a Century-Old Mechanical Brake System
Mechanical brake systems reward patient, sequential adjustment. Here is how to set one up correctly and where these systems actually wear out.
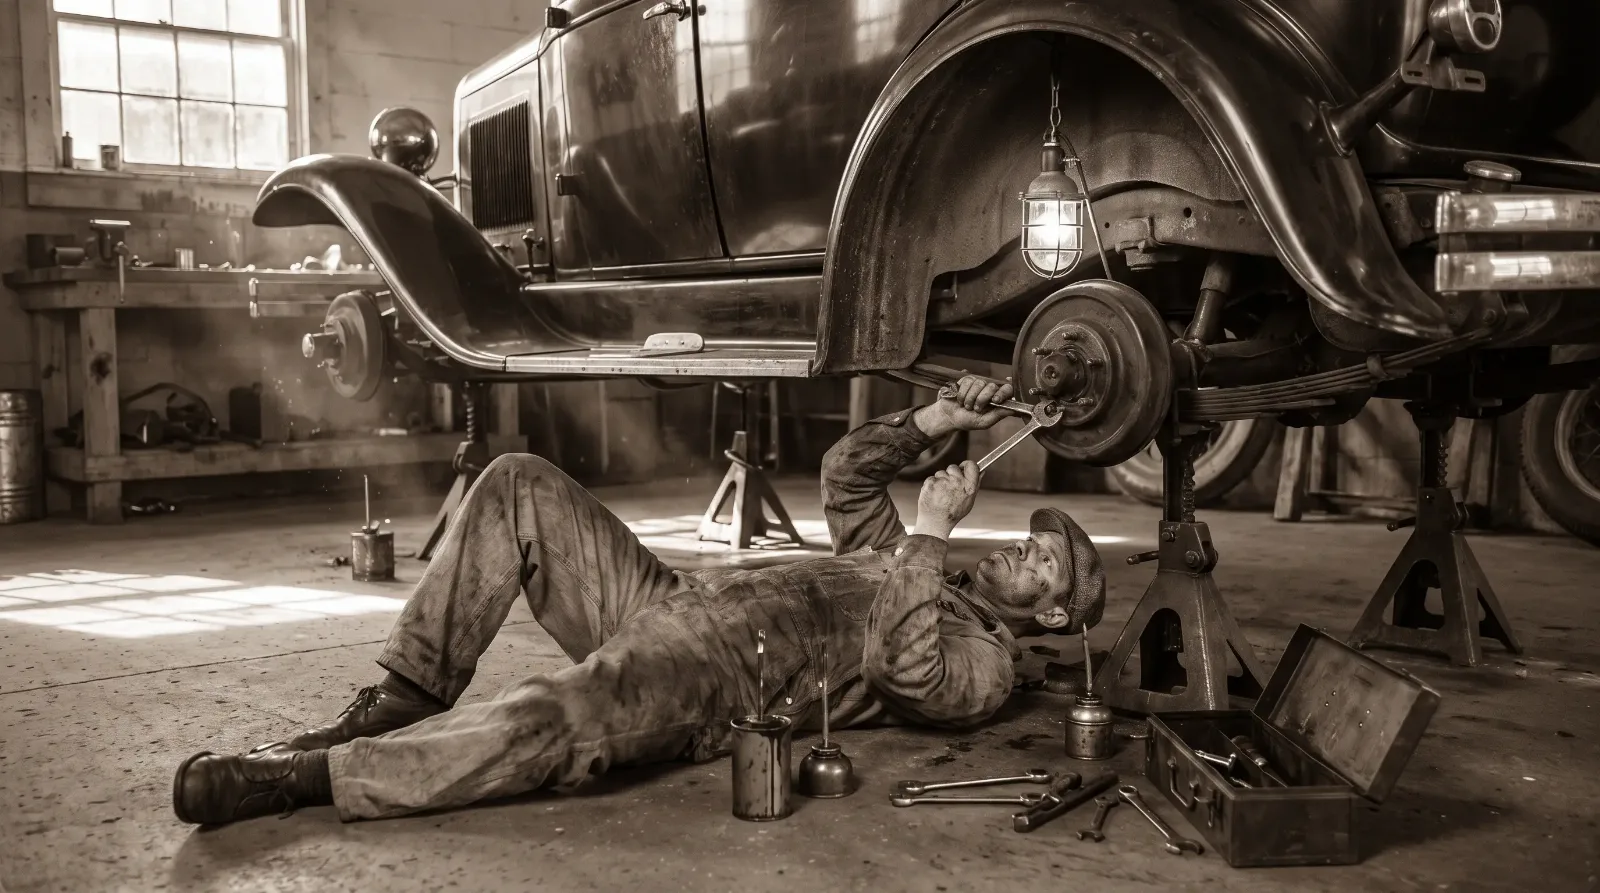
Understand what you are actually adjusting
Most pre-war mechanical brakes work through a system of rods or cables running from the pedal or hand lever to a cross-shaft, then out to individual cams or toggles at each wheel that spread the brake shoes against the drum. Every one of those connection points has some amount of play built in, and every one of those points can wear unevenly over decades of use. Your job is not to tighten everything until it is rigid. Your job is to get equal, minimal free play at every wheel so the car stops in a straight line instead of pulling toward whichever corner grabs first.
Before you touch a single adjuster, get the car up on stands with all four wheels off the ground and spinning freely. Trying to set mechanical brakes on a car sitting on the ground, guessing from how the pedal feels, is how you end up with a car that pulls hard to one side the first time you actually need to stop.
The adjustment sequence that actually works
Work from the linkage back toward the wheels, not the other way around. Start at the equalizer, the point where the main rod splits to serve the front or rear wheels, and confirm it is centered with no preload on either side. Then move to each wheel's individual adjuster, usually a star wheel, cam, or clevis pin arrangement depending on the make, and bring the shoes in until they just begin to drag on the drum as you spin the wheel by hand, then back off until the drag disappears.
Do this at all four wheels, then go back to the equalizer and check that the pedal or lever applies pressure evenly rather than snapping hard to one side before the other side even engages. This is the step people skip, and it is the one that matters most. A brake system that feels tight and responsive on the bench can still pull badly on the road if the equalizer is not centered.
"I have re-rigged brake linkage on cars that had been 'adjusted' a dozen times by owners chasing a soft pedal, and the actual problem was never the drums. It was an equalizer nobody had touched in forty years."
Ray Delgado
Where these systems actually fail
Wear happens in a handful of predictable places. Cross-shaft bushings wear oval rather than round, which introduces slop that no amount of cable tightening will fix. Cable or rod ends develop play at their clevis pins. And the cam or toggle at each wheel wears down on its high spot, which quietly reduces the mechanical advantage at that wheel even when the linkage feels tight everywhere else. If you have adjusted a system correctly and it still pulls to one side, look for wear in these spots before you assume the drums or shoes are the problem.
Lubrication matters more on mechanical brakes than people expect, because a dry cross-shaft bushing or a seized clevis pin will fight your adjustment and throw off the balance you just set. A light application of the correct grease at every pivot point, done as routine maintenance rather than only when something binds, keeps the whole system moving freely and adjusting predictably.
🔧 Inspection Priorities
- Equalizer centering. If it sits off-center at rest, every downstream adjustment is compensating for a problem at the source rather than fixing it.
- Cross-shaft bushing wear. Oval wear here introduces play that no cable adjustment can correct, and replacement bushings are inexpensive relative to the diagnostic time they save.
- Cam and toggle wear at each wheel. A worn high spot reduces stopping power at that wheel even with a tight-feeling pedal, and it is easy to miss without pulling the drum.
- Clevis pins and cotter pins. Cheap parts, and the ones most likely to have been reused past their service life by a previous owner in a hurry.
Parts for this system are usually more available than owners assume, since cross-shaft bushings, clevis pins, and cable are common wear items shared across many makes of the era, but sourcing the right originals still takes patience; the full the maintaining early antique car brakes guide covers how to track down parts and documentation for a project like this without cutting corners.
Tools that actually make this job easier
You do not need anything exotic for this work, but a few items make the difference between guessing and knowing. A set of feeler gauges lets you check clearance at each cam or toggle consistently rather than eyeballing it, which matters when you are trying to match wear across four wheels that have not aged identically. A dial indicator, while not strictly required, is useful for anyone chasing an equalizer that seems centered but still produces an uneven pedal, since it can show you movement at the linkage that your hand alone will miss.
Jack stands rated for the full weight of the car, not just the axle you happen to be working on, are worth the investment if you plan on doing this more than once. Mechanical brake adjustment is not a five-minute job done safely on a bumper jack, and rushing the setup because the car is only half supported is how people get hurt under a car that should have been properly secured from the start.
A realistic maintenance interval
A mechanical brake system that has been properly adjusted and lubricated does not need constant attention, but it does need to be checked more often than a modern hydraulic system. I recommend inspecting free play at every wheel roughly every 500 to 1,000 miles of use, or at minimum once a season on a car that is driven only occasionally, because these systems telegraph wear slowly and then fail to stop straight all at once. It is a habit, not a chore, and once you have rigged a system correctly, checking it takes ten minutes.
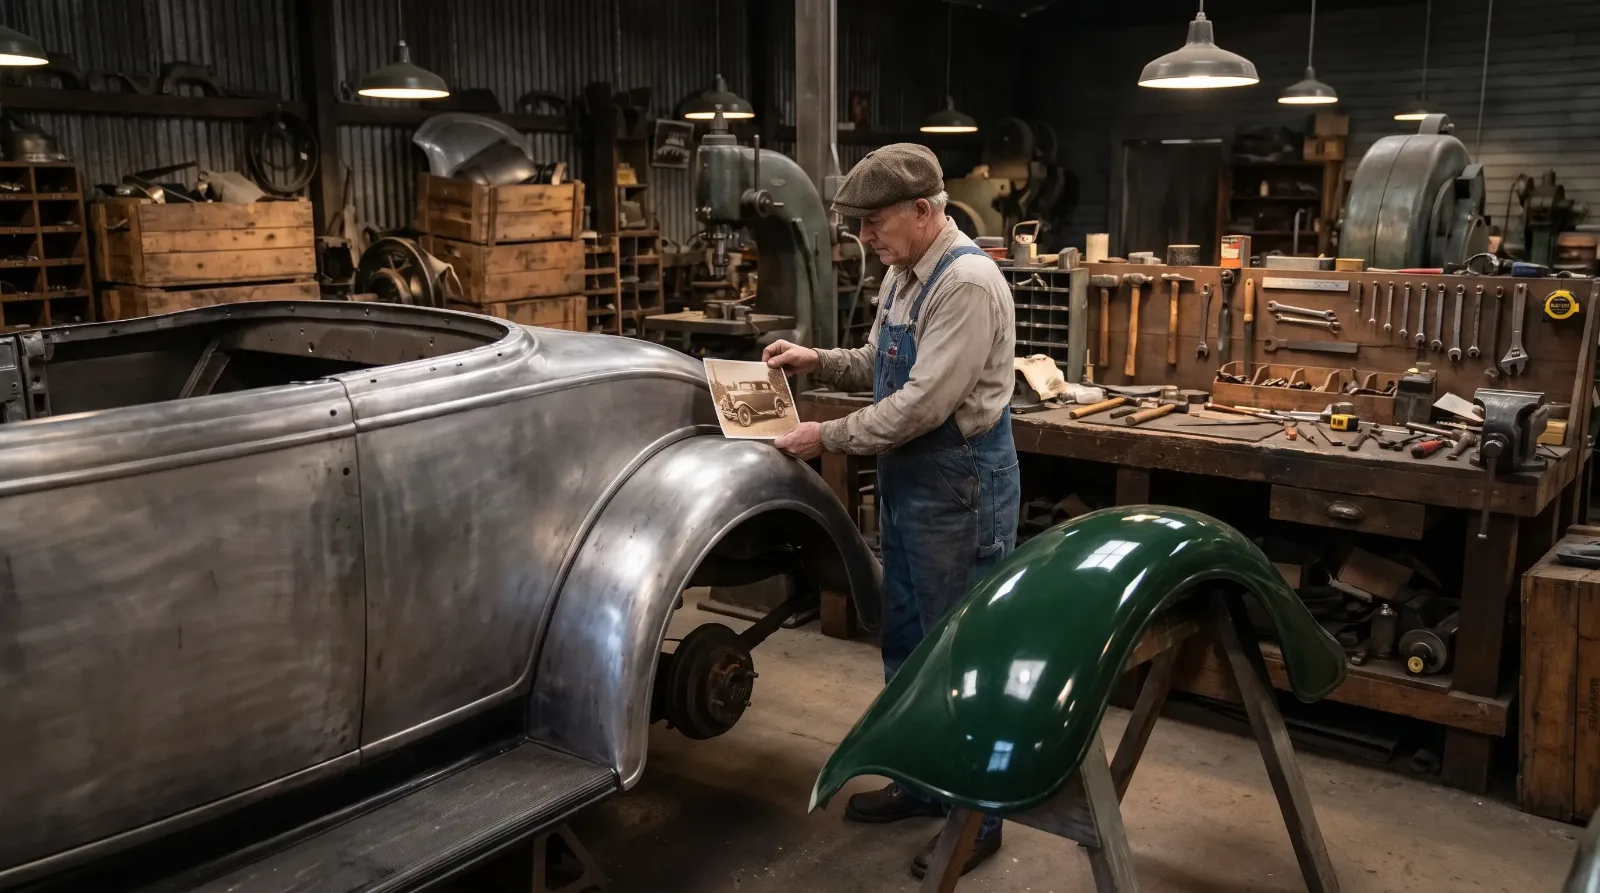
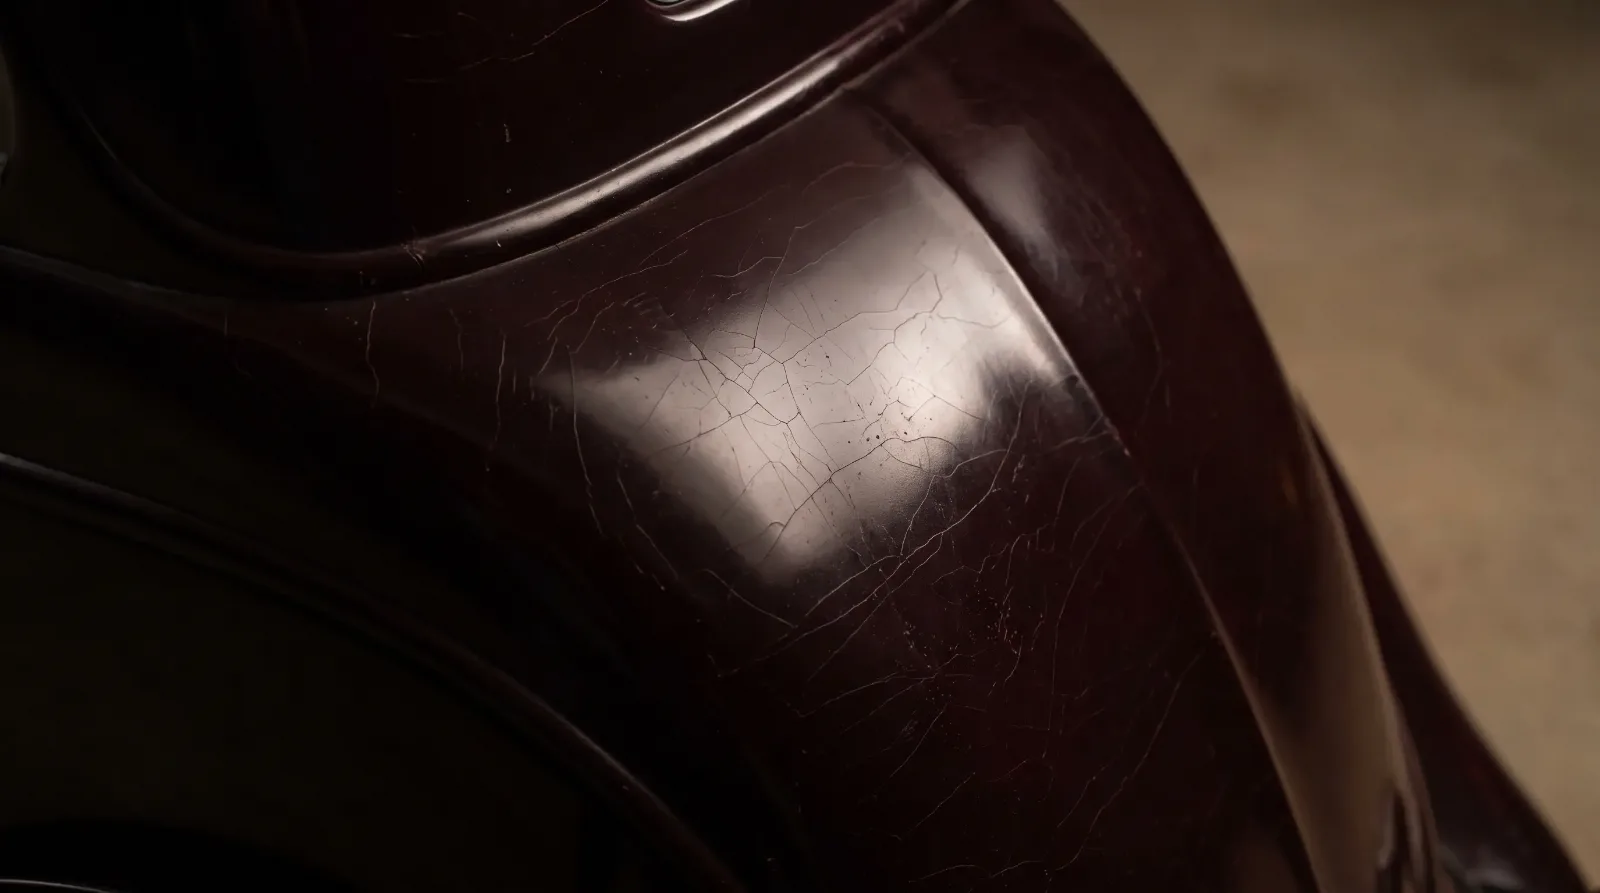
Once the mechanical side of the car is sorted, the finish deserves the same patience. If your project also has original paint worth saving rather than stripping, a related read covers how to keep decades-old lacquer intact through exactly this kind of hands-on work.
Sources and notes
- Wikipedia: Drum brake history and mechanical operation
- Hagerty UK - 7 brake system basics you should know
- Hagerty UK: How to service and adjust drum brakes
- Classic & Sports Car - checking drum brakes on a classic car
- AACA Forums: mechanical brake adjustment front to rear
- Classic Auto Advisors - Brake Systems Part I: The Basics
Related Reading

#Restoration
#pre-war cars
#mechanical brakes
#brake adjustment
#vintage car maintenance
#antique car repair

About the author
Ray Delgado
Metal fabricator and chassis builder who has spent 25 years turning flat sheet and mild steel into hot rods, gassers and restomod underpinnings.



Comments
Be the first to comment on this article.