
Leaf springs are simple, and lowering blocks are one of the simplest ways to drop a leaf-sprung rear end without touching the springs themselves. That simplicity is exactly why they get misused. A lowering block is a spacer, not a suspension redesign, and treating it like a shortcut instead of a real part of the build is where most of the trouble starts.
Restoration & Tech
6 min read
How Drop Blocks Work on Leaf-Spring C10 Rear Ends
How lowering blocks drop a leaf-spring C10 rear end, why wedge angle limits how tall a block should go, and the parts people forget when installing them.
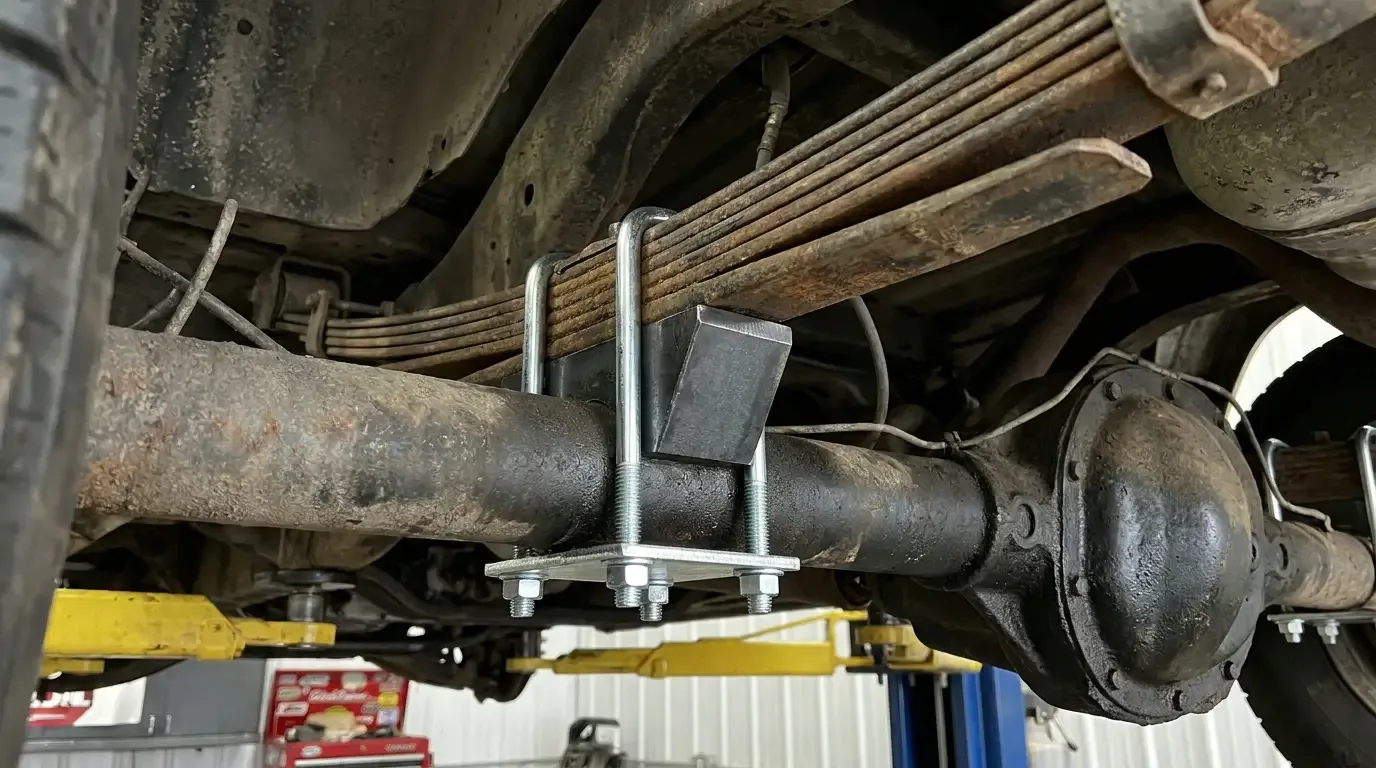
What a lowering block actually is
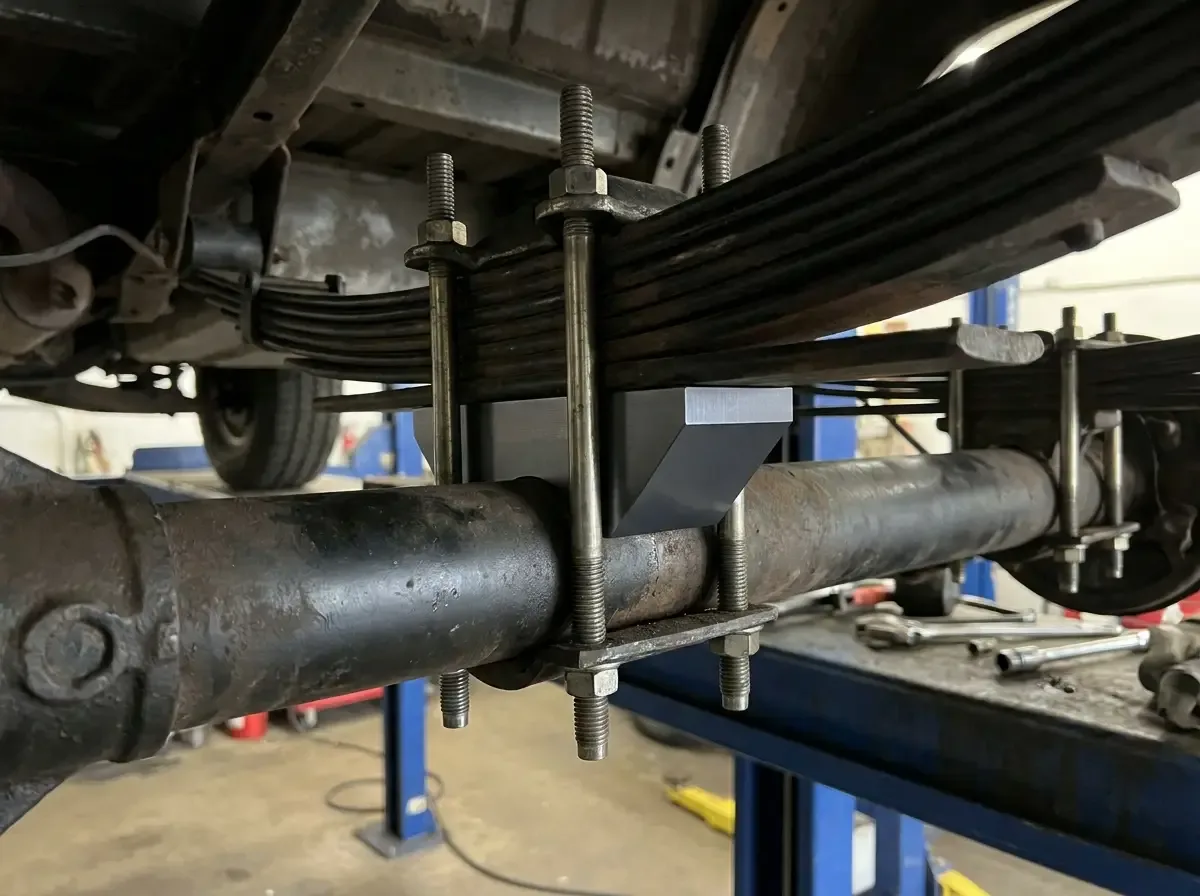
On a leaf-spring rear end, the axle sits on top of the spring pack, held in place by a U-bolt that wraps around both. A lowering block is a wedge-shaped spacer that sits between the top of the spring pack and the bottom of the axle, dropping the axle relative to the spring by however tall the block is. Longer U-bolts replace the stock ones to account for the added height of the block.
It's a bolt-in change that doesn't require cutting, re-arching, or re-indexing the spring itself, which is why it's popular. You keep the stock spring rate and stock ride quality characteristics, and just lower where the axle sits relative to that spring. A 2 to 3 inch block is common for a moderate rear drop, though how much drop you actually get depends on the spring's arch and how much the block adds to the geometry rather than a flat number that applies to every truck the same way.
Where the wedge angle causes real problems
Here's the detail that gets skipped constantly: a lowering block is a wedge, and above a certain height that wedge angle starts changing the pinion angle of the rear axle relative to the driveshaft. Too much wedge and you get driveline vibration, U-joint wear, and in bad cases a driveshaft that's fighting itself at speed instead of turning smoothly.
Most reputable block manufacturers cap what they'll sell you around 3 to 4 inches for exactly this reason. Beyond that height, the pinion angle correction the wedge shape is supposed to provide runs out, and you need a different approach entirely, whether that's a re-arched spring, an axle flip, or in extreme cases a different rear suspension design altogether. Anyone chasing a big drop and reaching for a taller and taller block instead of switching approaches is heading toward a driveline problem that shows up as a vibration at highway speed, not immediately in the driveway.
| Block height | Typical use | Pinion angle risk |
|---|---|---|
| 1-2 in | Mild rear drop, stock spring arch | Low |
| 2-3 in | Common moderate drop | Moderate, check angle after install |
| 4 in and above | Aggressive drop | High, most makers recommend an alternate method instead |
U-bolts, shock mounts, and the parts people forget
Adding a block means the stock U-bolts are now too short, since they need to wrap around the added block height on top of the spring and axle. Every reputable block kit comes with correctly sized U-bolts, and running the old stock ones with a spacer shoved in to make up the difference is not a safe workaround. The U-bolt clamping force is what keeps the axle located on the spring pack under acceleration and braking, and an improvised length undermines that.
Shock mounting geometry shifts too, since the axle is now sitting lower relative to the frame's shock mounts, which changes the shock's working range at that corner. This is the same measuring exercise as any other drop on the truck, and it's worth doing carefully rather than assuming a stock-length shock will still have appropriate travel once the rear end sits a few inches lower than it did from the factory.
If you're working through the lowering guide for the whole truck, treat the rear block install as one piece of a coordinated drop, not an isolated bolt-on. Front and rear ride height need to work together, or the truck ends up raked wrong, nose down or tail high, instead of sitting level the way most owners actually want.
"A block is a spacer, not a fix for bad geometry. I've had trucks come in vibrating at sixty miles an hour because somebody stacked a tall block and called it done without ever checking the pinion angle with a protractor."
Mike Sullivan
What else changes when you lower the rear
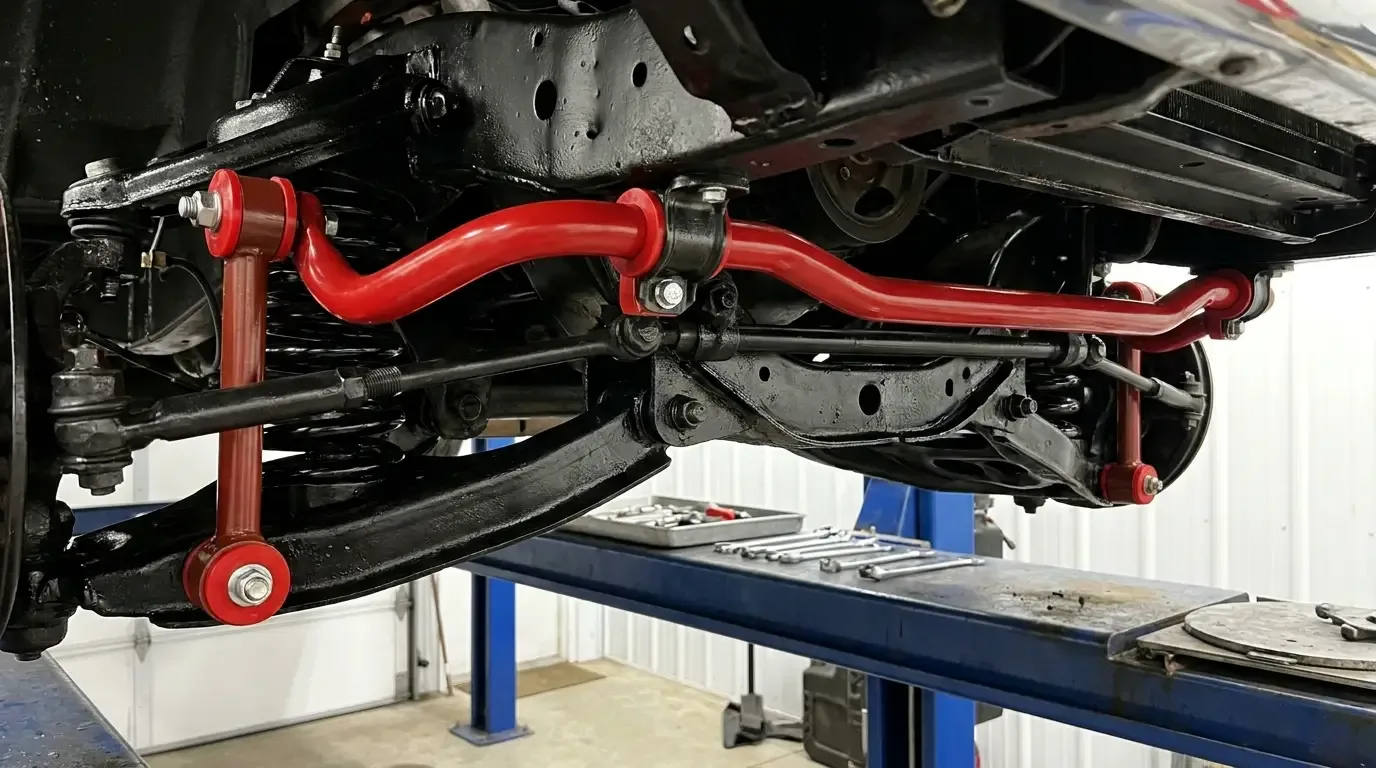
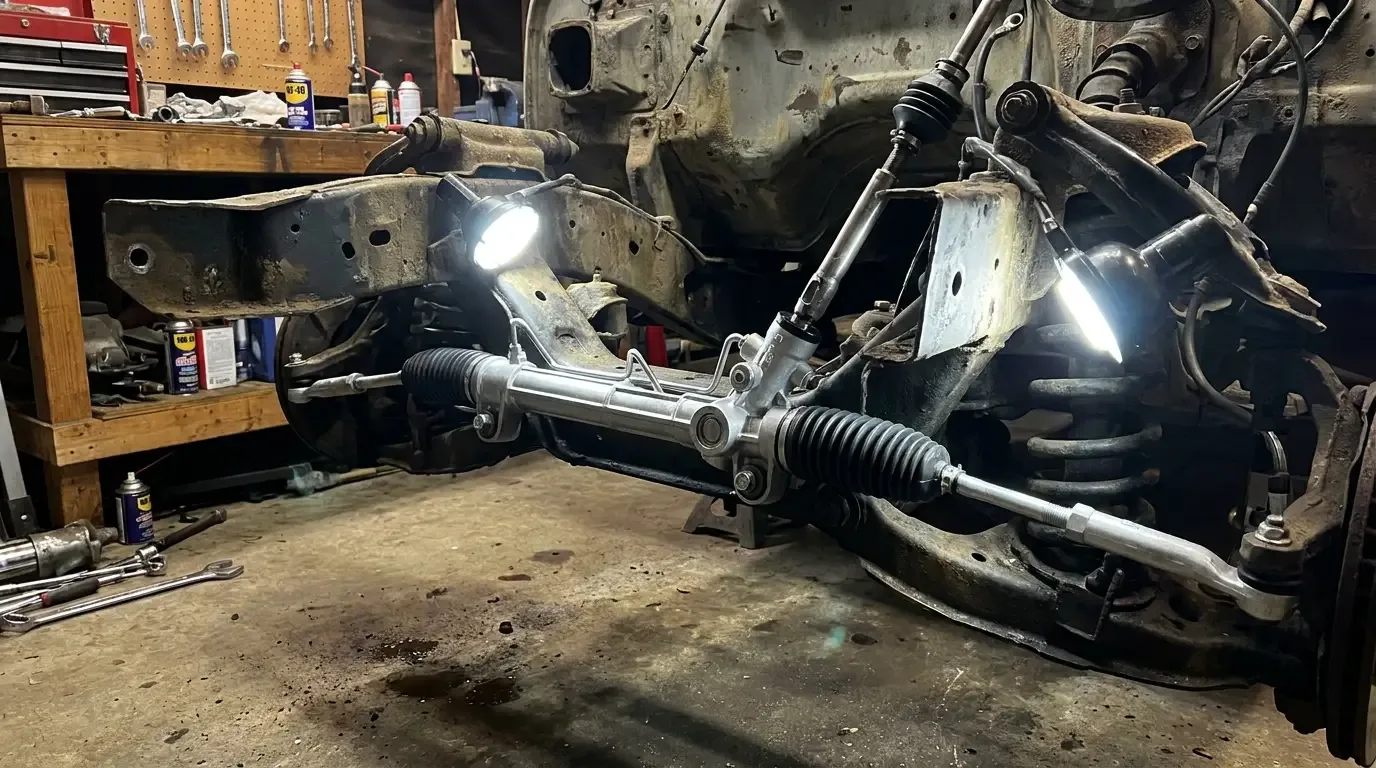
Dropping the rear end shifts more than ride height. Steering feel and front-end geometry often get revisited on the same build, and a lot of owners doing a full lowering job also handle a rack-and-pinion swap that often comes with a lowered build at the same time, since a lowered truck with sharper handling ambitions usually outgrows the stock steering box feel anyway.
These trucks were built as work vehicles, and every change you make to the suspension is working against a design that prioritized load capacity over ride height flexibility. That's part of Chevrolet's half-ton legacy, and it's worth keeping in mind when you're tempted to push a lowering block past what the manufacturer recommends just to hit a specific stance number. A few extra inches of drop is not worth a driveline vibration you'll be chasing for years.
Lowering blocks have a reputation as an easy, budget-friendly way to drop the rear of a C10, and that reputation is earned when they're used the way they were designed to be used. The problems people run into almost always trace back to skipping the pinion angle check or reaching for a taller block instead of switching methods once the wedge angle stopped being the right tool for the job. Respect that limit and a set of blocks will do exactly what it promises for a long time.
Sources and notes
Related Reading
Have a
Chevrolet C10
for Sale?
Reach thousands of serious classic car collectors across the US.
Sell It Here →
Are You a Classic Car Dealer?
List your full inventory and connect with targeted classic car buyers.
Join as a Dealer →

About the author
Mike Sullivan
Detroit-area muscle car enthusiast and restoration specialist with three decades of hands-on experience working on American iron.
Related Listings - Chevrolet C10
More in Restoration & Tech




Comments (1)
B
Ben S.
1 week ago
Blocks come flat and angled, and the angled ones (or separate pinion shims) are what bring the pinion back in line after the drop. I added an angle finder and new U-bolts to my budget spreadsheet before pricing kits. Is the U-bolt re-torque done with the truck at ride height on its wheels, or up on stands?