
Old wiring doesn't fail all at once. It fails one circuit at a time, over years, until you're chasing a dash light that flickers when you hit a bump, a turn signal that only works when the wiper switch is on, and a fuel gauge that reads whatever it feels like that day. Somewhere in there you stop patching individual problems and start thinking about pulling the whole harness and starting over. That's usually the right call once the insulation itself is going brittle, because at that point you're not fixing electrical gremlins, you're managing an insulation failure that's going to keep producing new ones.
Restoration & Tech
7 min read
How to Install a New Wiring Harness in a Classic C10
When to replace a C10's original wiring harness instead of chasing individual faults, and how to remove, route, and test a new one without creating fresh problems.
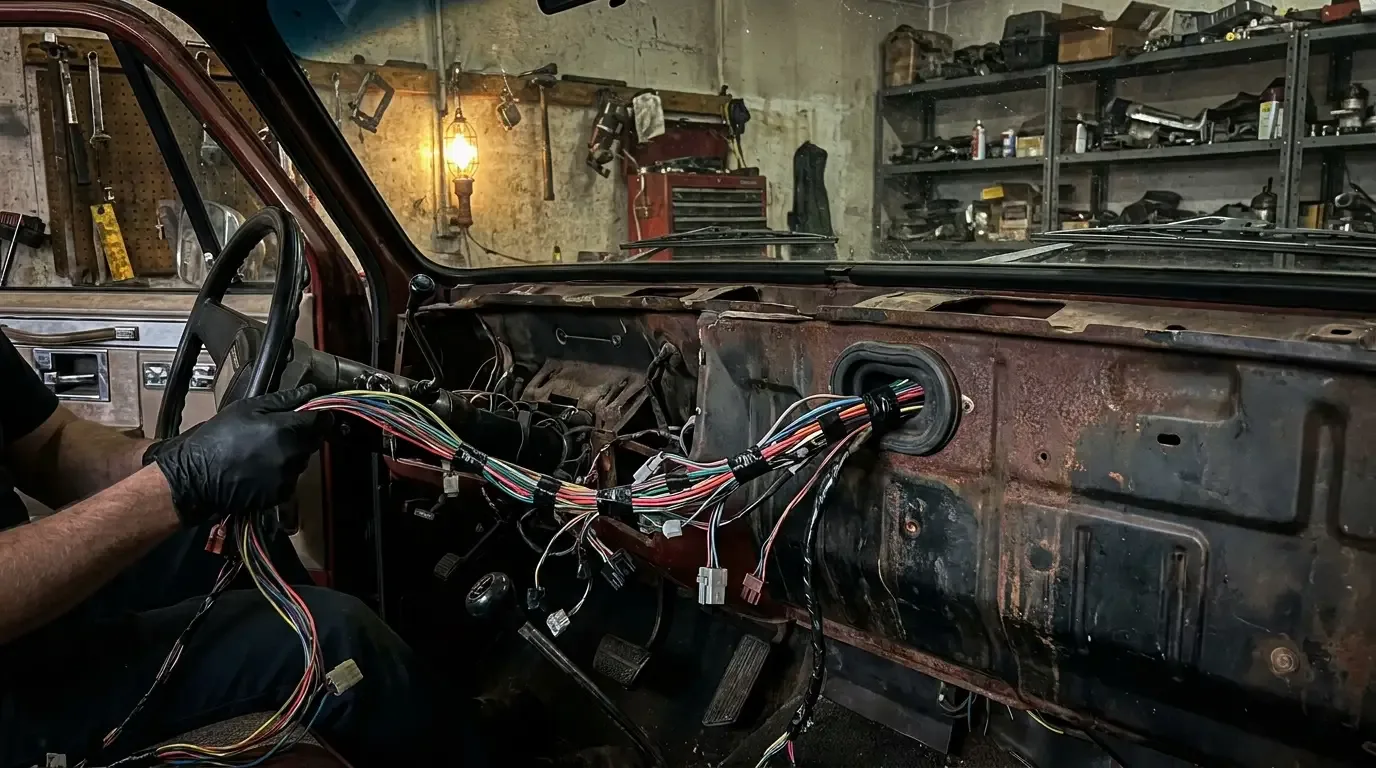
A full harness swap is a bigger job than most people expect going in, mostly because of how much stuff has to come apart to get at the old wiring and get the new stuff routed the same way. It's also one of the most worthwhile jobs you can do on one of these trucks, since a fresh harness with modern insulation eliminates a whole category of problems that no amount of relay swapping and fuse checking will fix on wiring that's fifty years old.
Why the original harness gives out
The insulation on factory harnesses from this era wasn't built to last five decades, and it shows its age in a few predictable ways. It goes brittle and cracks where it flexes near the firewall grommet and steering column. Rodents love the stuff for nesting material and aren't shy about chewing through it entirely. And any truck that's had electrical work done by a previous owner over the decades usually has a few splices taped up somewhere that were never done to any real standard, tucked behind the dash where you won't find them until something stops working.
None of that is really fixable circuit by circuit once it gets bad enough. You can chase one bad ground or one corroded connector and fix that specific symptom, but if the harness itself is brittle throughout, you're going to be back under the dash again in six months for the next thing. At some point a full harness is actually the cheaper option once you count up the hours spent troubleshooting one problem at a time.
Choosing a replacement harness
Reproduction harnesses for these trucks are readily available and generally a straightforward bolt-in for the factory routing, built to the original wire colors and connector styles so factory service diagrams still apply. Some outfits offer a full chassis harness alongside separate engine and dash sub-harnesses, which lets you replace only the section that's actually bad if the rest of the truck's wiring is still in decent shape. That's worth considering if your dash harness tests fine but the engine harness is cooked from heat cycling near the exhaust manifold.
Whatever you buy, confirm it matches your truck's actual year and options before you order. Wiring changed enough within the square body era that a harness meant for the wrong configuration will leave you with unused connectors and circuits that don't match what's actually on your dash. Headlight wiring alone shifted partway through the run: 1973-1980 trucks used single round-headlight sockets and connectors, while 1981-1987 trucks moved to square headlight sockets with different pigtails, so confirm your truck's actual headlight style and drivetrain (two-wheel drive versus four-wheel drive) rather than assuming any "73-87" harness is a drop-in fit.
| Circuit | Typical wire color | Notes |
|---|---|---|
| Ignition feed | Pink | Runs from ignition switch to fuse block |
| Headlight feed | Yellow | From headlight switch to dimmer switch; dimmer then splits to tan (low beam) and green (high beam) |
| Turn signal, left | Yellow | Shared with brake light circuit function |
| Turn signal, right | Dark green | Shared with brake light circuit function |
| Ground | Black | Multiple chassis ground points, all should be clean |
Wire colors above reflect common square body convention confirmed across factory-diagram references and are consistent for the ignition, ground, and lighting circuits shown, but always cross-check against the factory service manual or a harness diagram for your specific model year before cutting into anything, since minor running changes did occur across a fourteen-year production run.
Pulling the old harness out
Before you disconnect anything, take photos. Lots of them. Every connector, every routing clip, every spot where the harness passes through the firewall or under the dash. You will not remember six weeks from now which connector went where, and a reproduction harness that's built to the original routing still benefits from seeing exactly how your specific truck had things clipped and taped, since running changes and prior repairs mean no two trucks are identical after fifty years.
Label connectors as you go, not just with tape and a marker but with a system that survives the connector sitting in a box for a month while you're working on something else. Disconnect the battery first, always, and work through the harness in sections rather than yanking the whole thing at once, since the old wiring can be fragile enough that rough handling breaks connectors you were planning to reuse.
Routing and installing the new harness
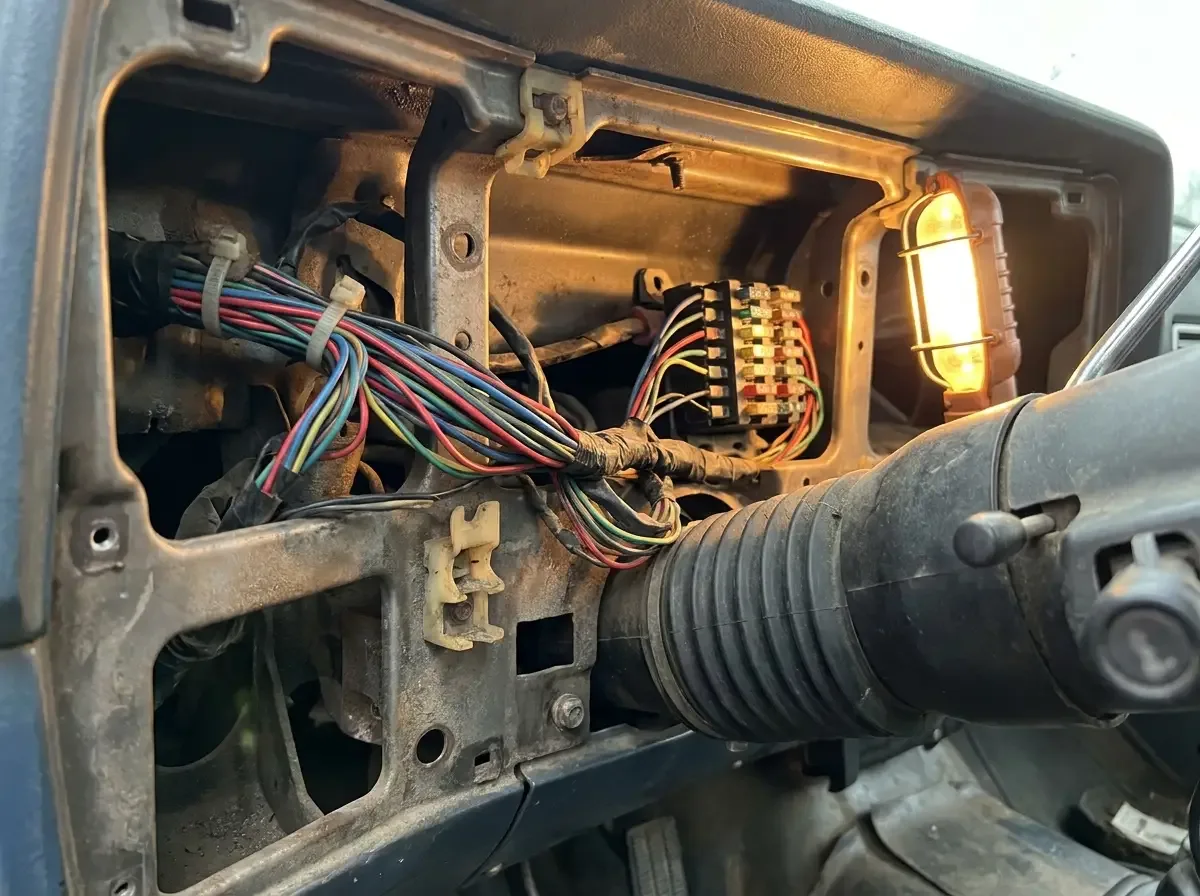
Route the new harness following your photos and the factory clip locations, resisting the urge to zip-tie it wherever's convenient instead of where the original clips held it. Factory routing kept wiring away from heat sources, away from moving parts like the steering column and pedal linkage, and away from sharp edges at body seams. A harness routed carelessly can chafe through in a spot the original never touched, creating a new problem in a truck you just spent real money rewiring.
Take your time at the firewall grommet and steering column boot, since these are the spots where a harness flexes the most over the life of the truck and where a rushed installation shows up first as a problem. Connect one section at a time and test it before moving to the next, rather than hooking up everything and hoping. Isolating problems while you still remember what you just connected saves hours compared to troubleshooting a fully assembled harness with a wiring diagram and a test light.
Testing before you call it done
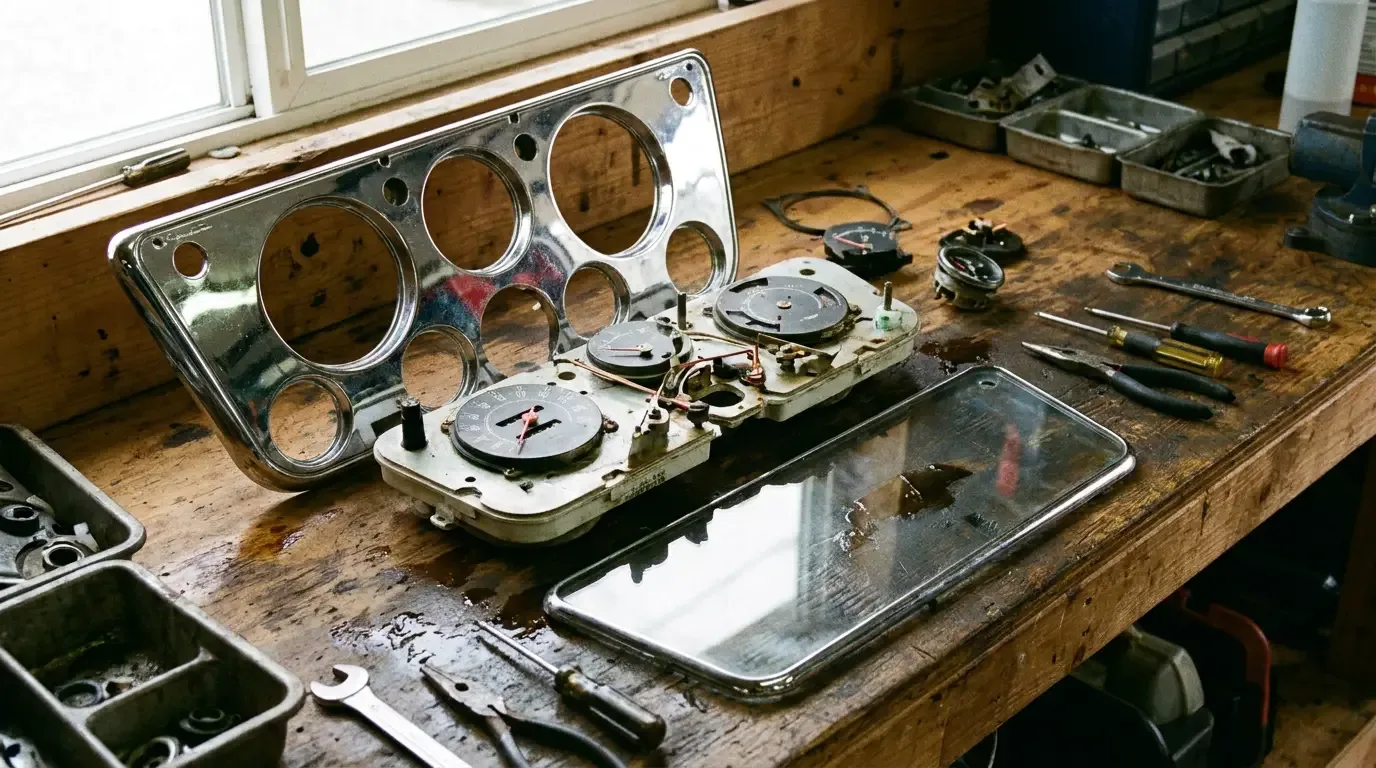
Test every circuit with the harness fully connected but before the dash and everything else goes back together. Lights, gauges, wipers, horn, ignition, all of it. It is far easier to fix a bad connection with the dash out of the truck than it is after you've spent an afternoon putting trim panels back on. This is also the point where the gauges that new harness feeds should get checked, since a freshly wired truck with a gauge cluster that's still got its own internal problems will leave you troubleshooting the wrong end of the circuit.
Once everything checks out, button up the dash and take the truck for a real test drive, not just an idle in the driveway. Vibration and heat cycling reveal loose connections that sit fine on the bench but rattle apart on the road, and it's better to find that in the first week than six months from now on a trip.
"Guys will spend all day chasing one bad ground with a test light when the harness underneath it is just done. At some point the smart money is a fresh harness, not another hour with your head under the dash trying to find which of fifty splices somebody did in 1994 is finally giving up."
Mike Sullivan
A harness swap is exactly the kind of job that goes smoother when it's planned into a broader restoration timeline rather than tackled in isolation, and the C10 restoration guide lays out where electrical work fits relative to everything else that involves pulling the dash apart.
Sources and notes
Related Reading
Have a
Chevrolet C10
for Sale?
Reach thousands of serious classic car collectors across the US.
Sell It Here →
Are You a Classic Car Dealer?
List your full inventory and connect with targeted classic car buyers.
Join as a Dealer →

About the author
Mike Sullivan
Detroit-area muscle car enthusiast and restoration specialist with three decades of hands-on experience working on American iron.
Related Listings - Chevrolet C10
More in Restoration & Tech




Comments (1)
S
Steve Macaluso
1 month ago
The pricing history in this article is useful context. Easy to forget how recently some of these values moved.