
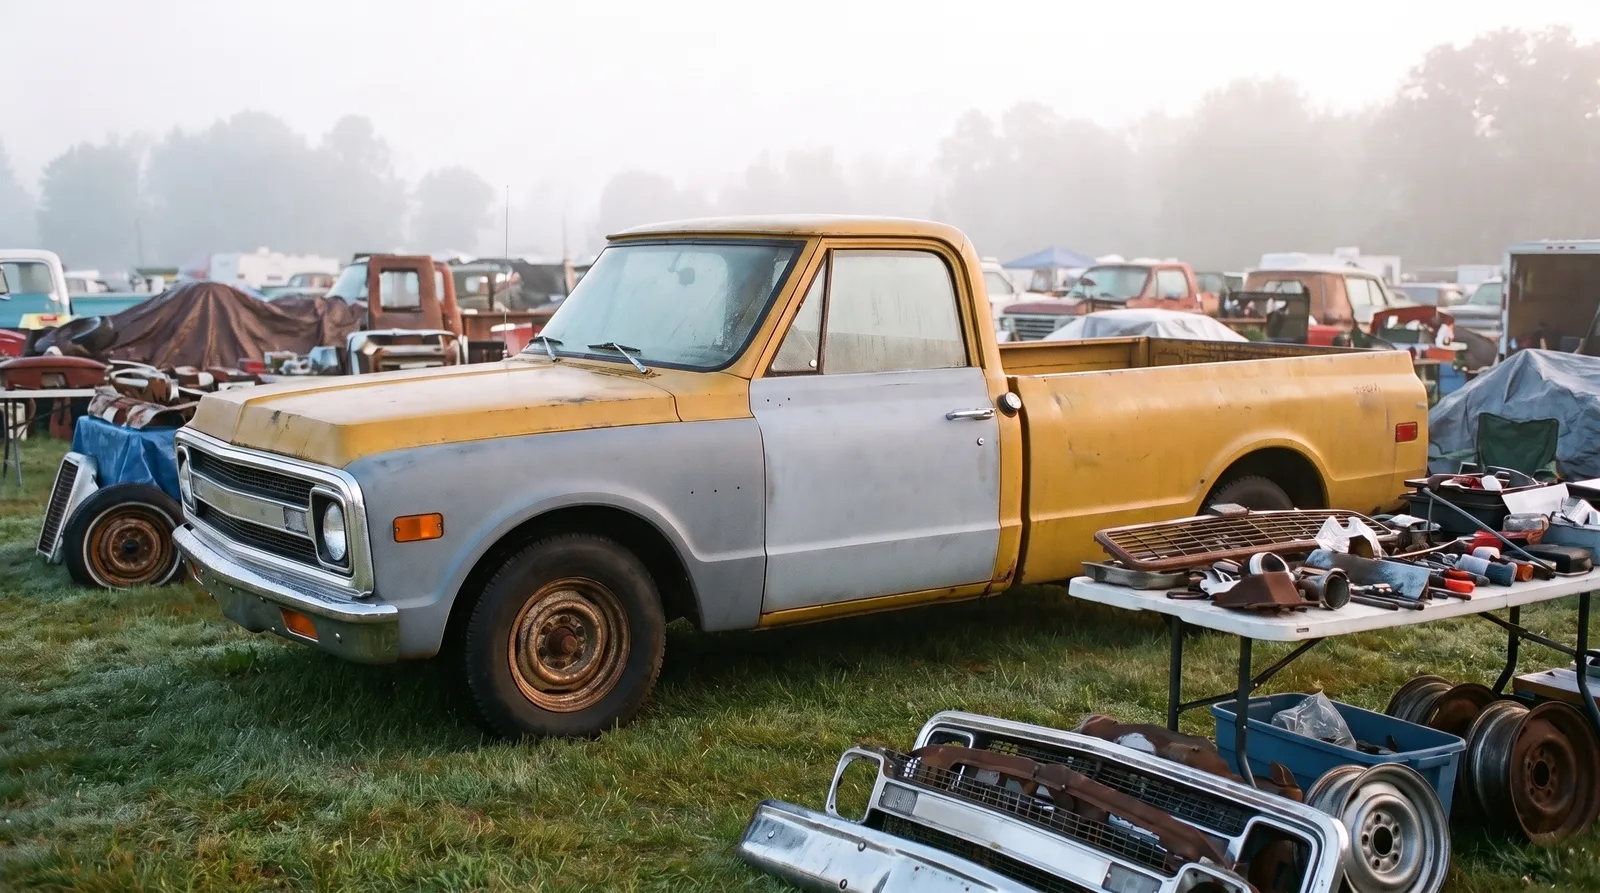
Pull the trim off a C10 that's been sitting outside for a couple decades and you'll usually find one of two things. Either it's gray and chalky with pitting you can feel through a glove, or it's dull but salvageable, the kind of piece that looks like scrap until somebody who knows what they're doing gets a wheel on it. Knowing which one you're holding before you start spending money on buffing compounds and polishing wheels saves you a lot of wasted Saturday afternoons.
Restoration & Tech
7 min read
Restoring and Polishing Original C10 Aluminum Trim
How to assess, sand, and buff pitted original C10 aluminum trim back to a lasting shine, and when to replace a piece instead of chasing a finish that isn't there anymore.
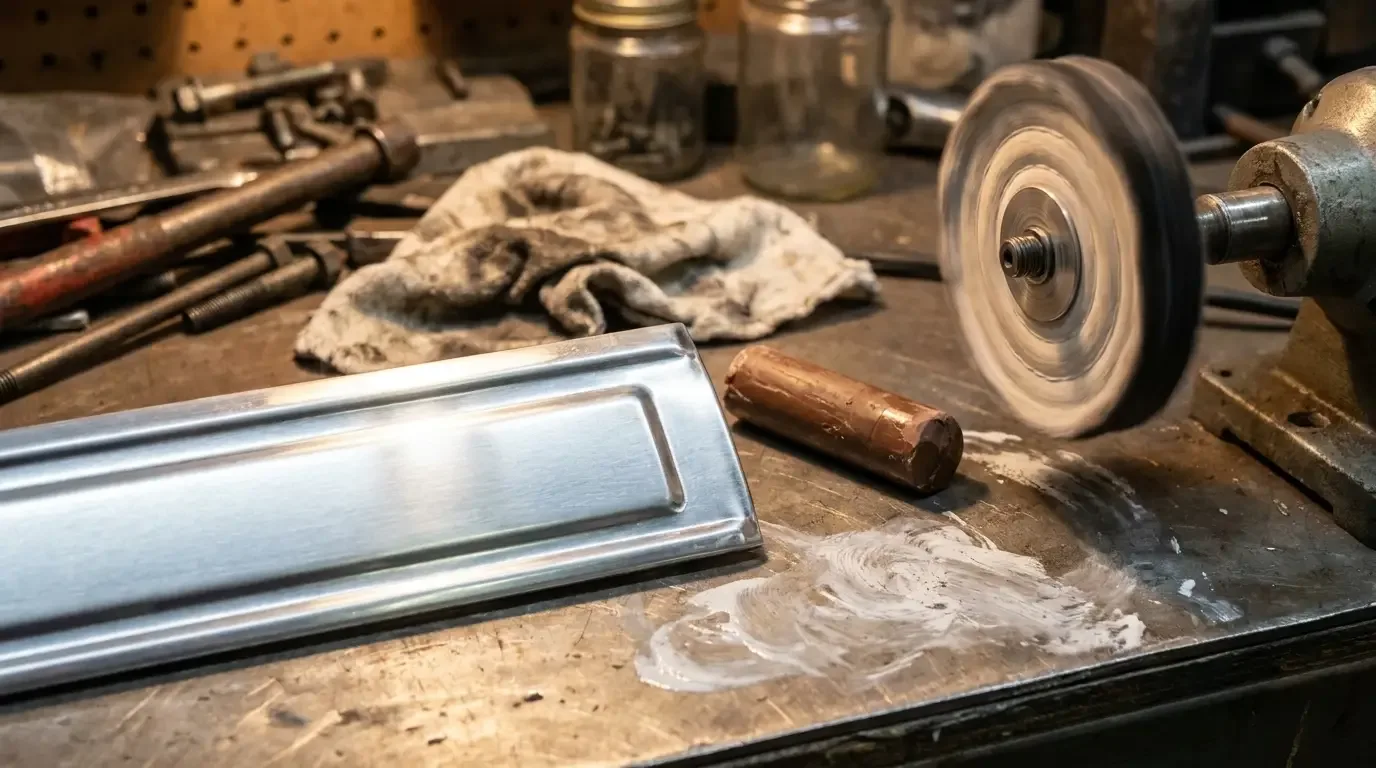
Aluminum trim on these trucks was never meant to be a showpiece the way a Cadillac's brightwork was. It's straightforward stamped and extruded pieces, grille surrounds, window moldings, hood trim, and it corrodes the way aluminum does when nobody's touched it in forty years. The good news is that most of it can come back. The bad news is that the process takes real time, and there's no shortcut that gets you there faster without leaving scratches you'll see every time the sun hits the truck.
Why the trim looks like that after fifty years
Aluminum doesn't rust the way steel does, but it oxidizes, and unprotected aluminum trim builds up a layer of white, chalky corrosion that eats into the surface if it sits long enough. Combine that with decades of road grime, wax buildup, and the occasional run-in with a harsh cleaner some previous owner thought would help, and you end up with pitting that's more than surface deep. On a truck that spent its life outside, that pitting can go deep enough that no amount of polishing brings it back to flat.
The other factor is how the trim was originally finished. Some pieces left the factory with a light anodized coating, some didn't, and what's left of that coating after fifty years varies piece to piece even on the same truck. That's why you'll sometimes pull two identical moldings off a C10 and find one polishes out in twenty minutes while its twin needs an hour of work just to get the pitting out before buffing even starts.
Deciding what to save and what to replace
Run a fingernail across the surface. If you can feel distinct pits, not just dullness, that's corrosion that's actually removed material, and it's going to take aggressive sanding before any buffing wheel touches it. If the pitting is shallow enough that it disappears after a pass or two with 400 grit, you're in good shape. If it's deep enough that sanding it flat would mean removing a visible amount of material, especially on thinner stamped pieces, you're better off sourcing a replacement or a reproduction piece than chasing a finish that isn't there anymore.
Reproduction and NOS trim exists for the common stuff, the grille surround, the hood-to-fender moldings, but it isn't cheap, and fit can vary between suppliers. That's usually enough reason to put real effort into saving original pieces before writing them off. I've had good luck saving trim that looked hopeless in the parking lot once it actually got some wet sanding done to it.
Stripping and sanding before any buffing happens
Don't reach for a buffing wheel first. Every piece with real pitting needs a sanding progression before it ever sees a compound wheel, and skipping steps just means the buffer has to do work it isn't built for. Start wet sanding at somewhere around 400 grit to knock down the pitting, then work up through 600, 800, and 1000 before you touch a wheel. Keep the piece wet the whole time and check your progress under good light, not shop light, because pitting that looks gone under a fluorescent tube shows right back up in the sun.
This step is the one people skip, and it's the one that makes the biggest difference in the final result. A piece that's been properly sanded through the grits will buff out in a fraction of the time of one where somebody went straight from 220 grit to a compound wheel hoping the buffer would do the rest. It won't. The buffer polishes what's already close to flat. It doesn't remove pitting on its own, not without taking off more material than you want to lose on a stamped piece that's already thin from the factory.
Buffing stages and keeping the shine
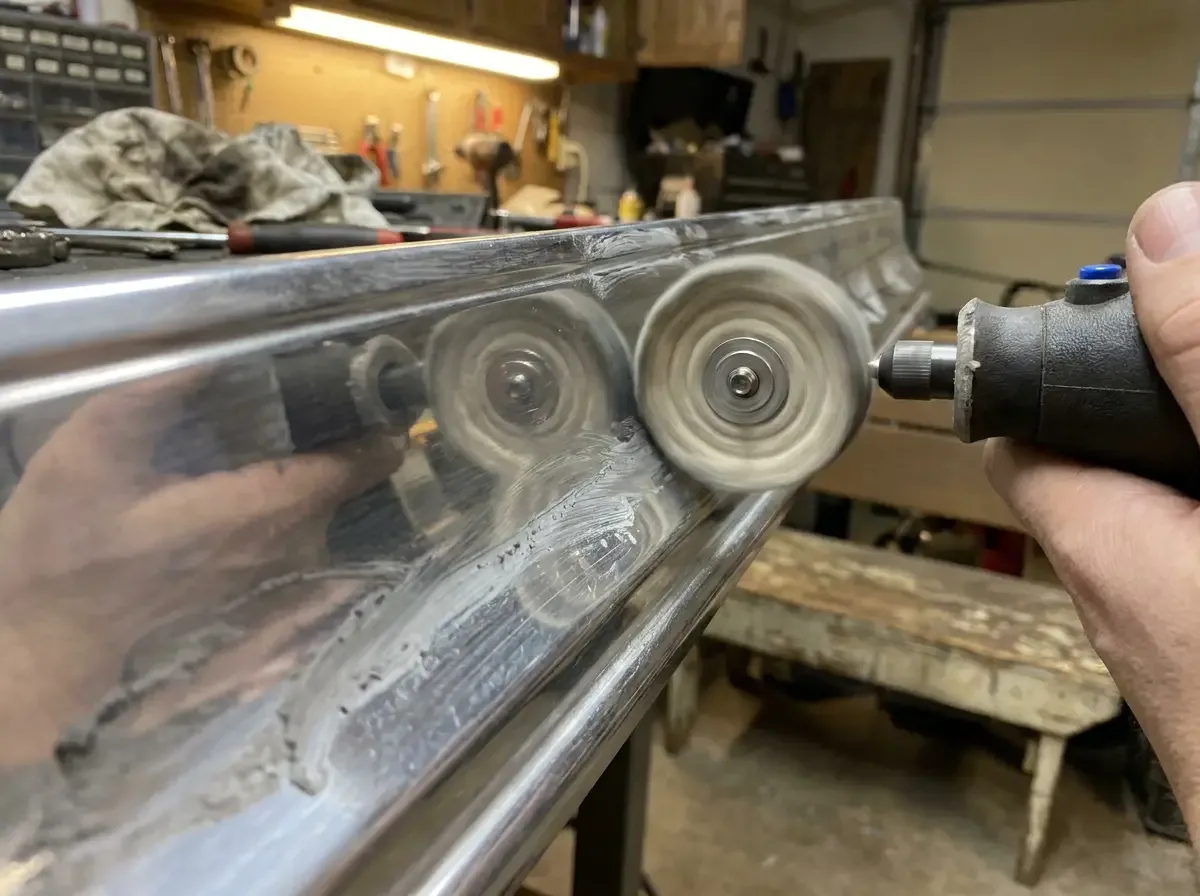
Once the surface is sanded through the finer grits, move to buffing wheels with a progression of compounds, starting with a cutting compound on a stitched wheel and finishing with a finer polish on a soft loose wheel. Keep the piece moving and don't let any one spot sit under the wheel too long, since aluminum heats up fast and a piece that gets too hot can actually warp, especially thinner trim. Let it cool between passes if you feel real heat building in your hand.
A mirror finish on bare polished aluminum won't stay that way forever without some kind of protection, since exposed aluminum will start to haze again within months of driving. A coat of a good aluminum-specific wax or a clear protective coating made for polished metal buys you real time between refinishing, and it's a lot less work than doing the whole sanding and buffing progression again in two summers.
Reinstalling without undoing the work
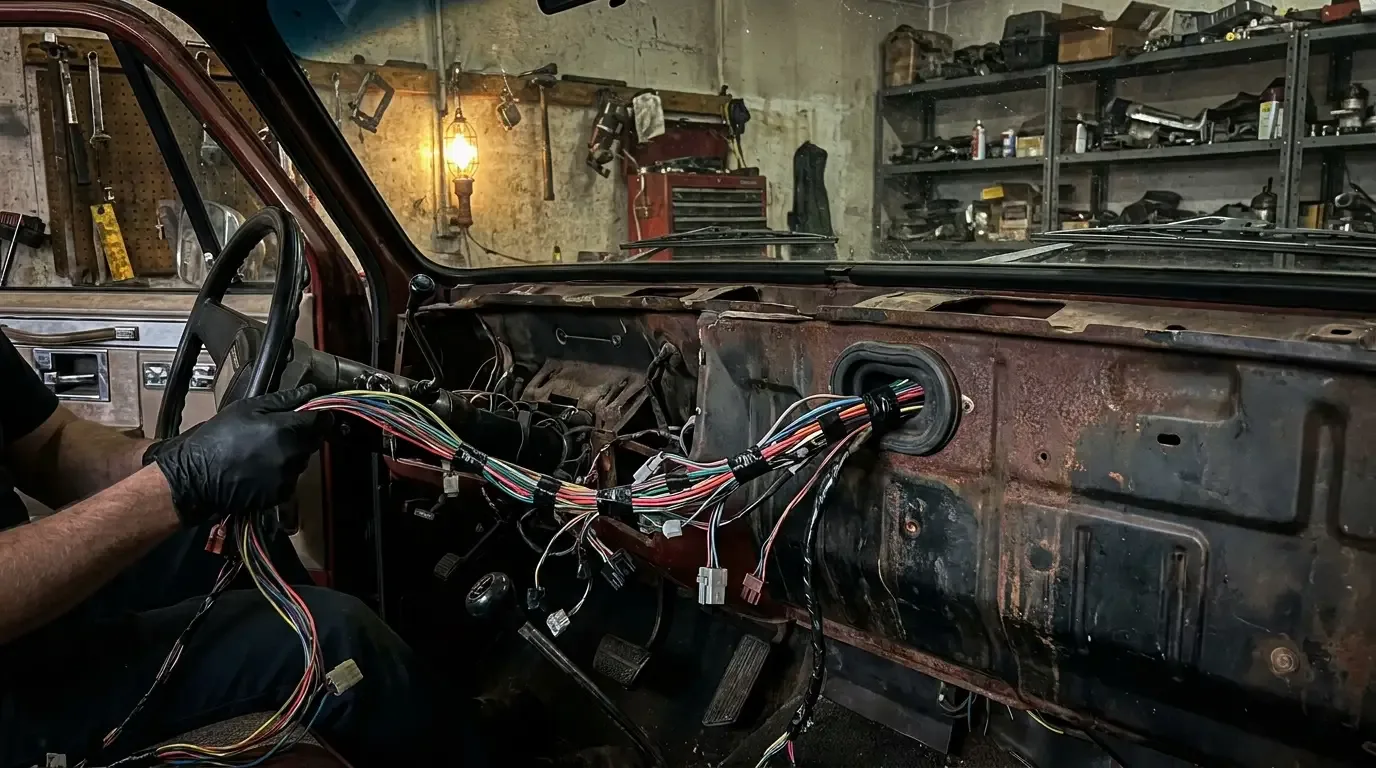
Once the trim is polished, protect it before it goes back on the truck. Fresh fasteners, new clips where the originals are brittle, and new gaskets where the trim seals against the body all matter more than people expect, since a piece that rattles or sits slightly proud of the body will wear through a fresh finish faster than one that's properly seated. This is also a good point in the project to think about what's happening behind that trim, electrically, since some pieces route wiring for marker lights or clearance lamps, and it's a lot easier to deal with that while the trim is already off than after everything's buttoned back up.
Handle freshly buffed trim with clean gloves during install. Bare hands leave oils that etch into polished aluminum faster than you'd think, and a piece you spent hours getting right can pick up fingerprints that need re-buffing before the truck's even done. It's a small thing, but it's the kind of small thing that separates a trim job that holds up from one you're redoing again in a year.
"People want to skip straight to the buffer because that's the part that looks satisfying. But the sanding is where the actual work happens. I've watched guys burn through a hundred dollars in buffing compound trying to polish out pitting that a few minutes of wet sanding would've handled in the first place."
Mike Sullivan
Trim work is usually one piece of a bigger restoration push, so if you're working through a truck piece by piece, it's worth checking the restoration guide to see where trim fits relative to paint, glass, and everything else that touches these panels. Doing trim before final paint, rather than after, usually saves you from masking headaches you don't need.
Sources and notes
Related Reading
Have a
Chevrolet C10
for Sale?
Reach thousands of serious classic car collectors across the US.
Sell It Here →
Are You a Classic Car Dealer?
List your full inventory and connect with targeted classic car buyers.
Join as a Dealer →

About the author
Mike Sullivan
Detroit-area muscle car enthusiast and restoration specialist with three decades of hands-on experience working on American iron.
Related Listings - Chevrolet C10
More in Restoration & Tech




Comments
Be the first to comment on this article.