
A C10 bed takes more abuse over fifty years than almost any other panel on the truck, and it shows in ways that don't always surface until you've stripped the paint off and are staring at bare metal. Grinding scale, surface pitting, old undercoating baked into the wood strip channels. None of that goes away with a coat of primer sprayed over the top of it. Do the surface prep wrong and you'll be repainting this bed again in a few years, wondering why the new paint is bubbling in the exact same spots the old paint failed.
Restoration & Tech
7 min read
How to Sandblast and Prep a C10 Bed for Primer
How to sandblast a C10 bed correctly, treat the bare metal before it flash rusts, and prime it so the paint job actually holds.
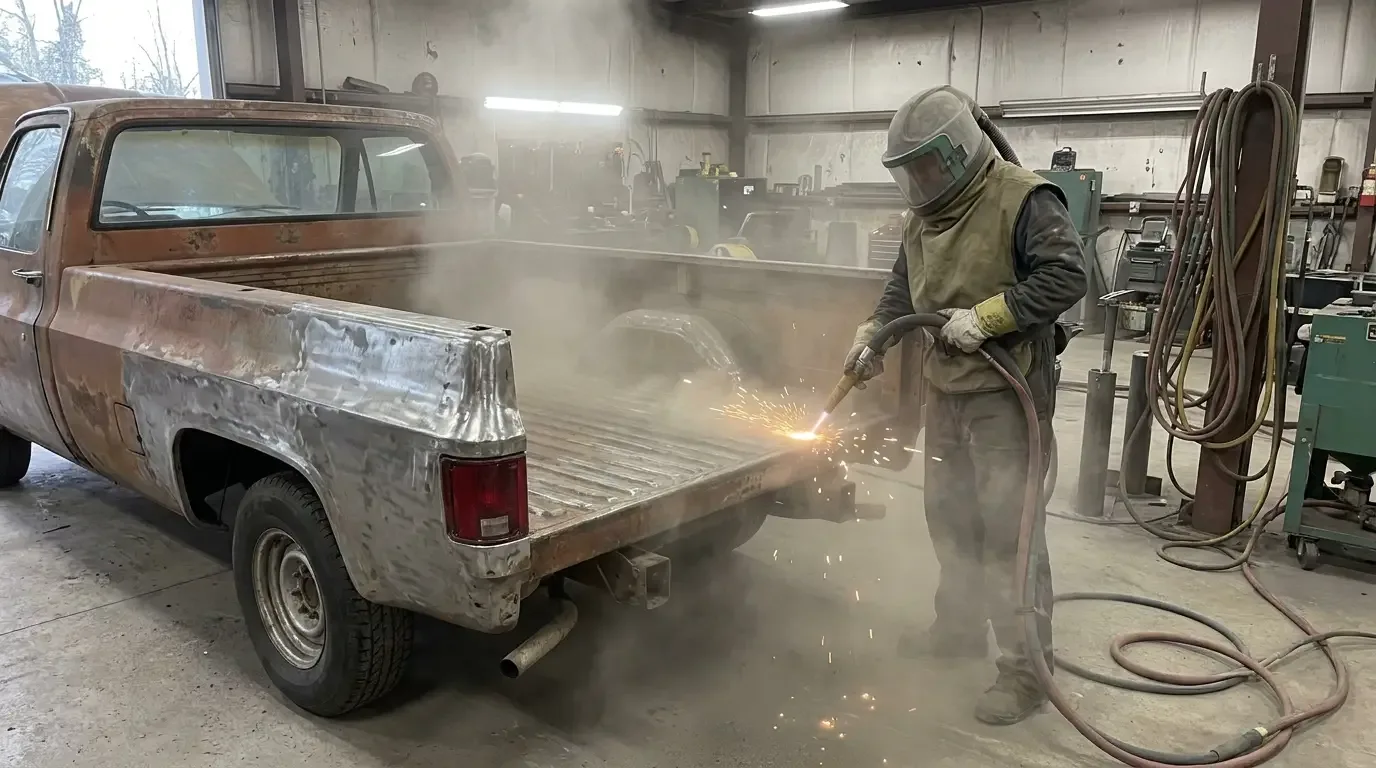
Sandblasting gets a bed to bare metal faster than almost any other method, but it's also the method most likely to warp a panel or leave a surface that flash rusts before you can get primer on it, if you don't know what you're doing. This is a job where technique matters as much as equipment, and skipping steps here is exactly how a nice looking paint job goes bad from underneath.
Why bed surface prep matters more than people assume
Paint failure on a truck bed almost never starts with the paint itself. It starts with what's underneath it. Rust that wasn't fully removed, oil residue left in the metal's pores, or a primer coat applied over a surface that was already starting to flash rust before it got sealed. Any of those will telegraph through the paint eventually, usually as bubbling or lifting right where the original problem started. I've seen beds that looked great for two summers and then bubbled up right along a seam that was never properly stripped, just scuffed and painted over.
A bed floor, its stake pockets, front panel, and wheel tubs all hold moisture differently depending on how they were built. Stamped ribs on a fleetside bed floor trap grit and old sealer in the low spots. Stepside beds have their own problem areas around the fender to bed seams. Prep has to account for where each section actually holds contamination, not just where it's visible from the top, and that's the part people skip when they're in a hurry to get to the fun part of the job. Get the whole sequence right, including the frame and structural work underneath, and this fits into the same build order laid out in the C10 restoration guide.
Sandblasting versus other stripping methods
Sandblasting with silica sand is fast and cheap, and it's also the method most likely to warp a thin bed floor panel if you linger in one spot too long. The heat and impact energy from sand blasting can work harden and distort sheet metal that's only a fraction of an inch thick, especially on the flatter floor sections where there's nothing behind the panel to back it up.
Media blasting with something softer, crushed glass bead or walnut shell depending on what you're removing, is gentler on thin panels and still gets you to bare metal on most surface rust. Soda blasting is another option for panels carrying old undercoating or seam sealer, since soda is water soluble and rinses away afterward, and it's soft enough that it doesn't embed in the metal the way sand can. For a full bed tub with structural ribs and stake pockets, I'd lean media or soda over straight sand, and save the aggressive sand blasting for the frame and any heavily scaled areas where warping isn't a concern.
Blasting the bed correctly
Start with the underside of the bed floor and the stake pockets before moving to the top surface. Those areas usually carry the worst of the old undercoating and rust, and doing them first means the mess from the ugly work doesn't land on a section you've already cleaned. Work in overlapping passes, holding the nozzle at a consistent distance and angle rather than pointing straight into the metal, which cuts faster but is exactly the technique that gouges and warps a panel.
Pay close attention to the wood strip bed's mounting channels and any factory seam sealer along the floor to side panel joints. That sealer hides rust that's been working underneath it for decades, and it needs to come out completely, not just get blasted smooth on the surface. A pick and a wire wheel on a die grinder gets into corners the blast nozzle can't reach cleanly.
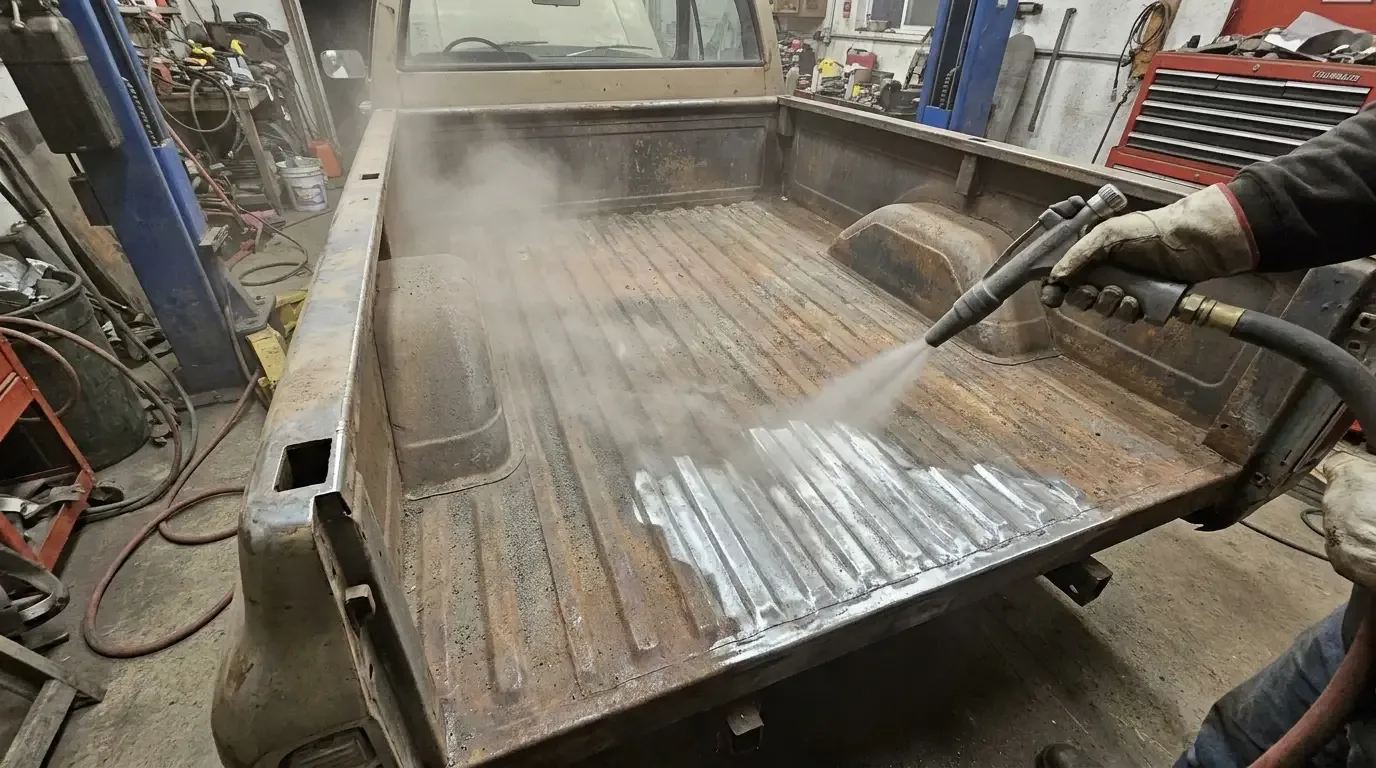
Once you've hit bare metal everywhere, blow the whole bed out with compressed air to clear residual media out of every seam and channel. Trapped media under a stake pocket or in a hem flange works its way out months later and telegraphs through fresh paint, which is a frustrating thing to discover after the truck is already back together.
Treating bare metal before it flashes rust
Bare steel starts oxidizing again almost immediately, and in anything above moderate humidity you can watch a faint orange bloom appear within a few hours if the metal sits untreated. The window between finishing blast work and getting protection on the metal is the part people underestimate most, especially if they blast on a weekend and figure they'll prime sometime that week.
A metal conditioner or phosphoric acid based prep solution etches the surface and leaves a light protective layer that buys some time, but it's not a substitute for getting epoxy primer on within the same day if you can manage it. Wipe the bed down with a wax and grease remover first, since blasting alone won't strip oil that's soaked into pitted areas, and any residue left behind shows up as fisheyes or adhesion problems once primer goes on.
Priming and protecting the finished surface
Epoxy primer is the right call for a freshly blasted bed because it seals bare metal and creates a genuine chemical bond, rather than sitting on top mechanically the way some primer surfacers do. Two coats, applied within the primer manufacturer's recoat window, gives you a sealed surface you can build the rest of your paint process on without worrying about what's happening underneath it.
Don't skip priming the underside of the bed just because it won't be visible once the truck's back together. Unprotected bare metal under the bed is exposed to road spray and moisture for the rest of the truck's life, and it's a lot easier to shoot epoxy on it now than to pull the bed again down the road because it's rusted through from underneath.
"Guys get in a hurry to see color on a bed and skip the boring part. The boring part is the whole job. I'd rather look at a bed with mediocre paint over metal that was actually stripped and sealed right than a beautiful paint job sitting over a shortcut."
Mike Sullivan
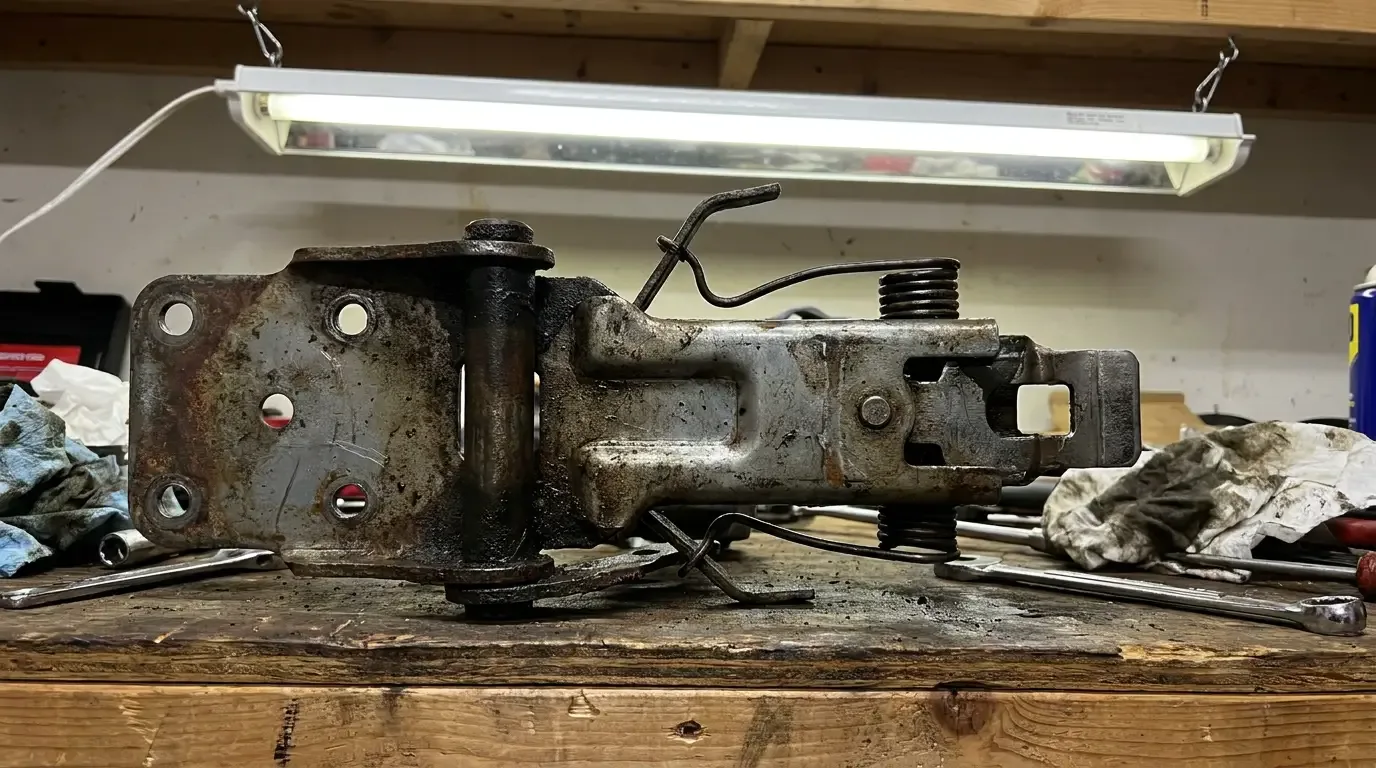
Once the bed's primed and protected, the wood strips or replacement bed floor go back in, and then it's time to deal with the tailgate hardware that goes back on after everything else. Loose hinges and worn latch mechanisms are common enough on these trucks that it's worth sorting them out before you bolt fresh hardware to a freshly painted bed.
Sources and notes
Related Reading
Have a
Chevrolet C10
for Sale?
Reach thousands of serious classic car collectors across the US.
Sell It Here →
Are You a Classic Car Dealer?
List your full inventory and connect with targeted classic car buyers.
Join as a Dealer →

About the author
Mike Sullivan
Detroit-area muscle car enthusiast and restoration specialist with three decades of hands-on experience working on American iron.
Related Listings - Chevrolet C10
More in Restoration & Tech




Comments
Be the first to comment on this article.