
Nobody notices the heater box until it fails, and then everybody notices it. A sweet smell that turns out to be coolant instead of anything you want inside a cab. Fogged windows on a cold morning that won't clear no matter how high the fan's turned up. Air that blows from the wrong vent entirely because a blend door's foam seal has disintegrated into dust. It's a part of these trucks that sits buried behind the dash and gets ignored right up until it makes itself impossible to ignore.
Restoration & Tech
7 min read
Rebuilding the Heater Box in a Square Body C10
How to diagnose a failing square body C10 heater box, pull it from behind the dash, and rebuild the core, blend door foam, and seals so airflow and heat work right again.
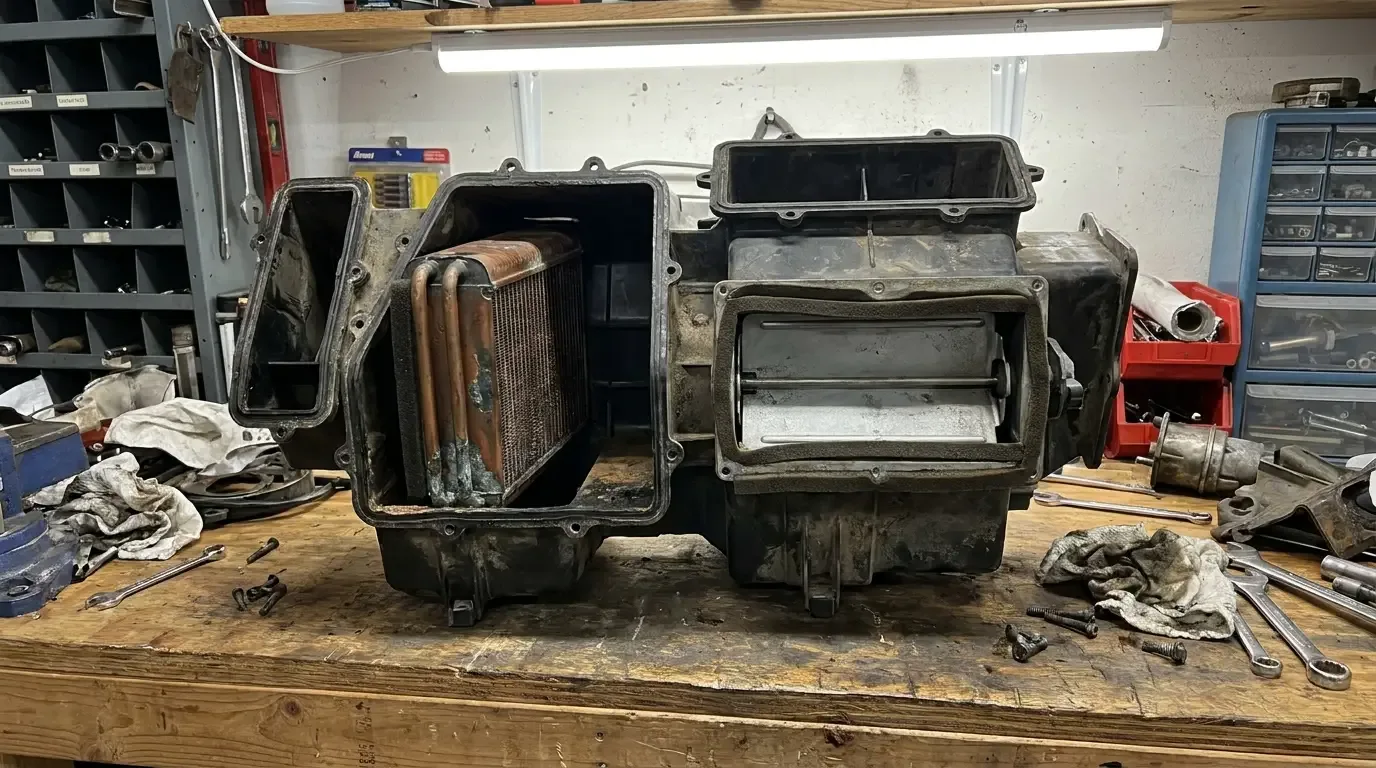
The heater box on a square body C10 isn't a complicated assembly by modern standards, but getting to it means real dash work, and once you're in there, it's worth doing the whole rebuild rather than patching the one symptom that finally got your attention. A box that's leaking coolant at the core is usually also dealing with degraded foam and a housing that's had fifty years to crack somewhere you haven't found yet.
Why heater boxes fail on these trucks
The heater core itself is the most common failure point, since it's a small radiator running hot coolant through thin tubes, and decades of heat cycling eventually finds the weak spot in a seam or a tube wall. A core that's leaking internally shows up as a wet passenger floor and a sweet coolant smell, and once it's leaking it only gets worse, never better.
Beyond the core, the plastic housing itself gets brittle with age and heat exposure, and it's common to find cracks around mounting points or where the housing halves join together. The blend door foam, which seals the door against the housing to control whether air goes to the vents, the floor, or the defroster, breaks down into a crumbly mess after enough years of heat cycling, and once that foam is gone, air leaks past the door regardless of where the control is set, so you get some defrost air even when you asked for floor heat, or the reverse.
Getting the box out
This is not a job you do without pulling significant dash trim, and depending on your specific truck's configuration, you may need to drop the steering column partially and remove the glovebox and lower dash panels to get clearance. Drain the cooling system completely before disconnecting any heater hoses, and expect some coolant to still find its way out when you finally separate the core from the box, so have rags ready and don't do this over carpet you care about.
Photograph everything before disconnecting, the vacuum lines that operate the blend doors on vacuum-controlled setups, the cable routing on cable-controlled trucks, and exactly how the box mounts to the firewall. These details matter more than they seem like they should once the box is sitting on your bench and you're trying to remember which vacuum port went where.
Rebuilding the core, doors, and seals
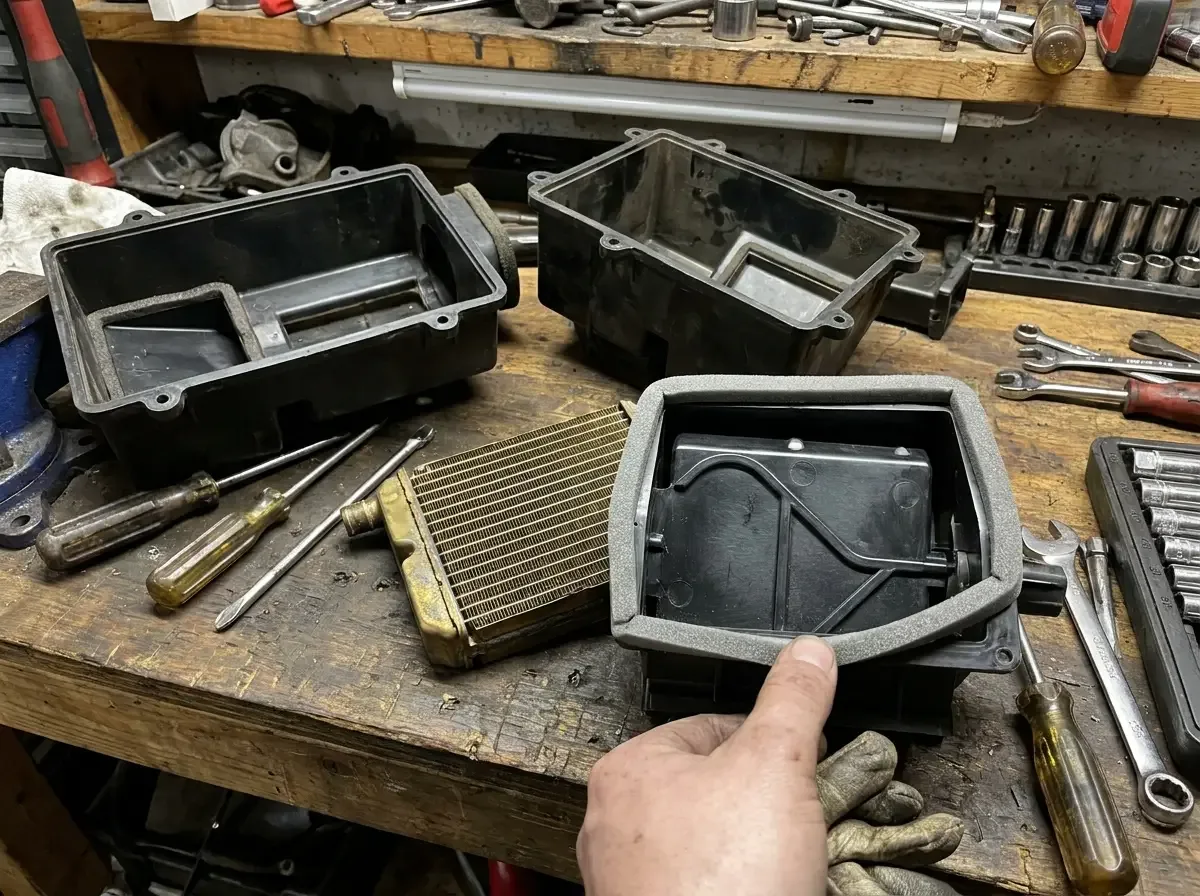
Once the box is apart, pressure test or replace the core outright rather than trying to nurse along one that's already shown a leak. A new core is a known quantity, and the labor to get back to this point is significant enough that reusing a questionable core to save money on the part itself is a bad trade. Clean the housing halves thoroughly and inspect every seam and mounting tab for cracks, since plastic that's been baking behind a dash for decades gets brittle in ways that aren't always obvious until you flex it.
Replace the blend door foam with fresh weatherstrip-style foam cut to match the original door dimensions, since this is the part most responsible for air actually going where you set the control to send it. Take your time getting the foam seated evenly around the door's sealing edge, because uneven foam thickness creates the same air-leak symptom you're trying to fix, just in a different spot on the door.
Check every seal where the box meets the firewall and where the core tubes pass through the housing. These gaskets and grommets are cheap compared to the labor of getting back in here if one fails in a year, so replace them as a matter of course rather than reusing anything original that's showing age.
Controls, cables, and vacuum lines
Whether your truck uses vacuum or cable control for the blend doors, test the actual control mechanism before you reassemble everything, since a rebuilt box with a bad vacuum actuator or a frayed control cable will still leave you with the same complaint you started with. Vacuum lines that have hardened with age should be replaced as a set while you're in here, since one failed line often means the rest aren't far behind, and chasing a vacuum leak after the dash is back together is a miserable way to spend an afternoon.
Worth being precise on which door does what before you order parts: on these trucks the temperature (hot/cold) blend door is cable-actuated on both A/C and non-A/C trucks alike, while the mode doors that decide whether air comes out the vents, the floor, or the defroster are what run off engine vacuum through the control head's vacuum switch. So "vacuum or cable" isn't really a year-specific fork on the same door, it's two different doors doing two different jobs in the same box, and confusing the two is the most common reason people replace the wrong part.
Reinstalling and testing for leaks
Reinstall the box following your photos, reconnect coolant hoses with fresh clamps rather than reusing corroded originals, and refill the cooling system completely before running the engine. Check carefully for drips at every hose connection and at the firewall pass-through once the engine's up to temperature, since a slow leak that shows up under heat and pressure won't always be obvious with the engine cold.
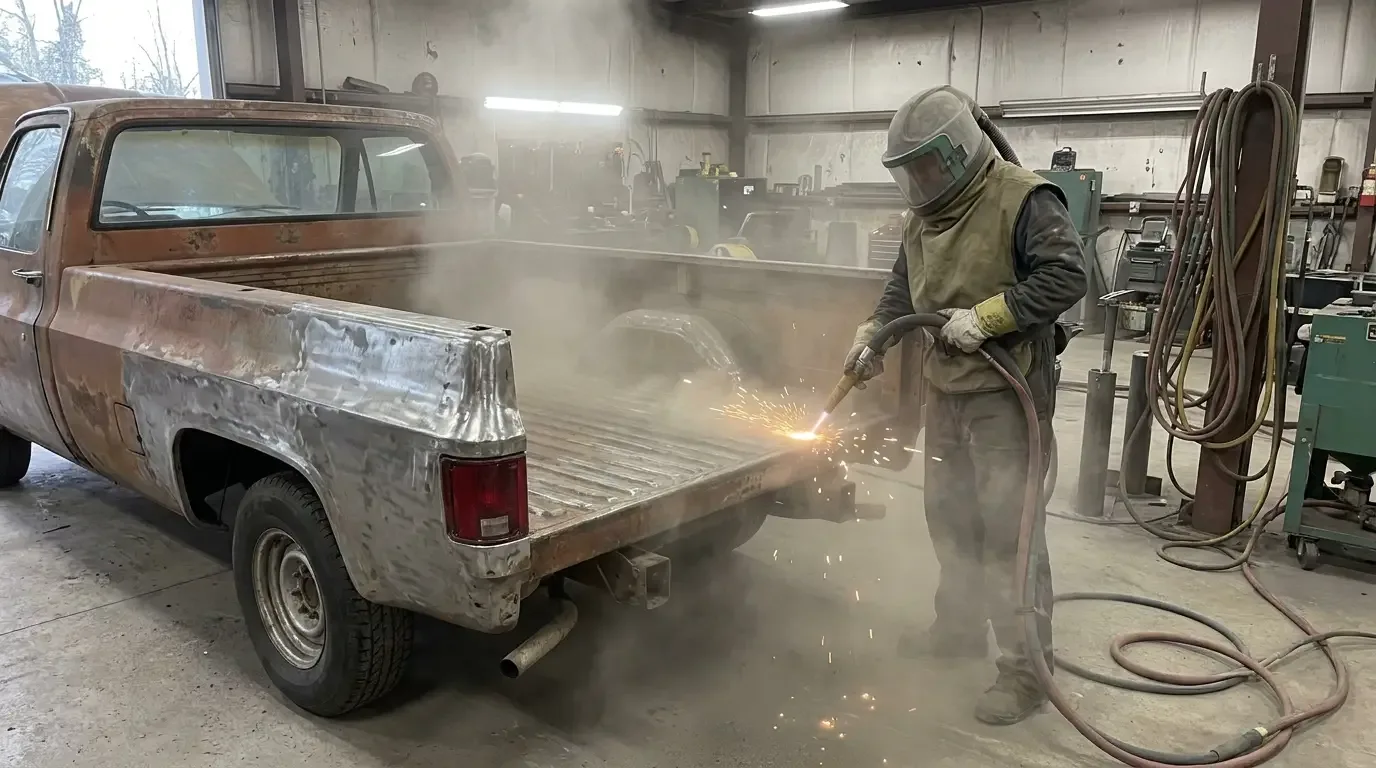
Run the system through every setting, defrost, floor, vents, both hot and cold, and confirm air actually comes from where you expect at each setting. This is the real test of whether the blend door foam and seals are doing their job, and it's a lot easier to pull the box back out now for an adjustment than after the whole dash is reassembled and trimmed out. While the cab's torn apart for this kind of work, it's also a reasonable time to think about prepping the bed while the cab's apart, since running two projects in parallel keeps the truck off the road for one stretch instead of two separate ones.
"A heater box is one of those jobs nobody wants to do because of how much has to come apart to get to it. But half-fixing it just means you're back in there again in a year, and the second time through is never faster than the first."
Mike Sullivan
These trucks carry Chevrolet's half-ton legacy forward in a way that's meant to be driven and used, not babied, and a heater that actually works is part of what makes one of these usable as a real truck rather than a fair-weather project. For the full sequence of where this job fits alongside everything else that involves dash and interior teardown, the C10 restoration guide lays out the order that saves the most redundant labor.
Sources and notes
Related Reading
Have a
Chevrolet C10
for Sale?
Reach thousands of serious classic car collectors across the US.
Sell It Here →
Are You a Classic Car Dealer?
List your full inventory and connect with targeted classic car buyers.
Join as a Dealer →

About the author
Mike Sullivan
Detroit-area muscle car enthusiast and restoration specialist with three decades of hands-on experience working on American iron.
Related Listings - Chevrolet C10

More in Restoration & Tech




Comments
Be the first to comment on this article.