
Paint is the first thing anybody sees and the last thing most people get right. On a muscle car, restoring the factory paint means more than picking a color off a chart and laying it down glossy. The factory used specific codes, specific sheens, and specific finishes in places you might not think about, and getting those wrong is how a nice-looking car loses points and value. I have watched cars with gorgeous paint get marked down hard because the shade was off, the engine bay was too shiny, or somebody painted parts the factory left bare.
Restoration & Tech
7 min read
Restoring Factory Paint and Finishes
How to restore factory paint on a classic muscle car: find the correct code, match original finishes, prep the metal right, and keep originality intact.
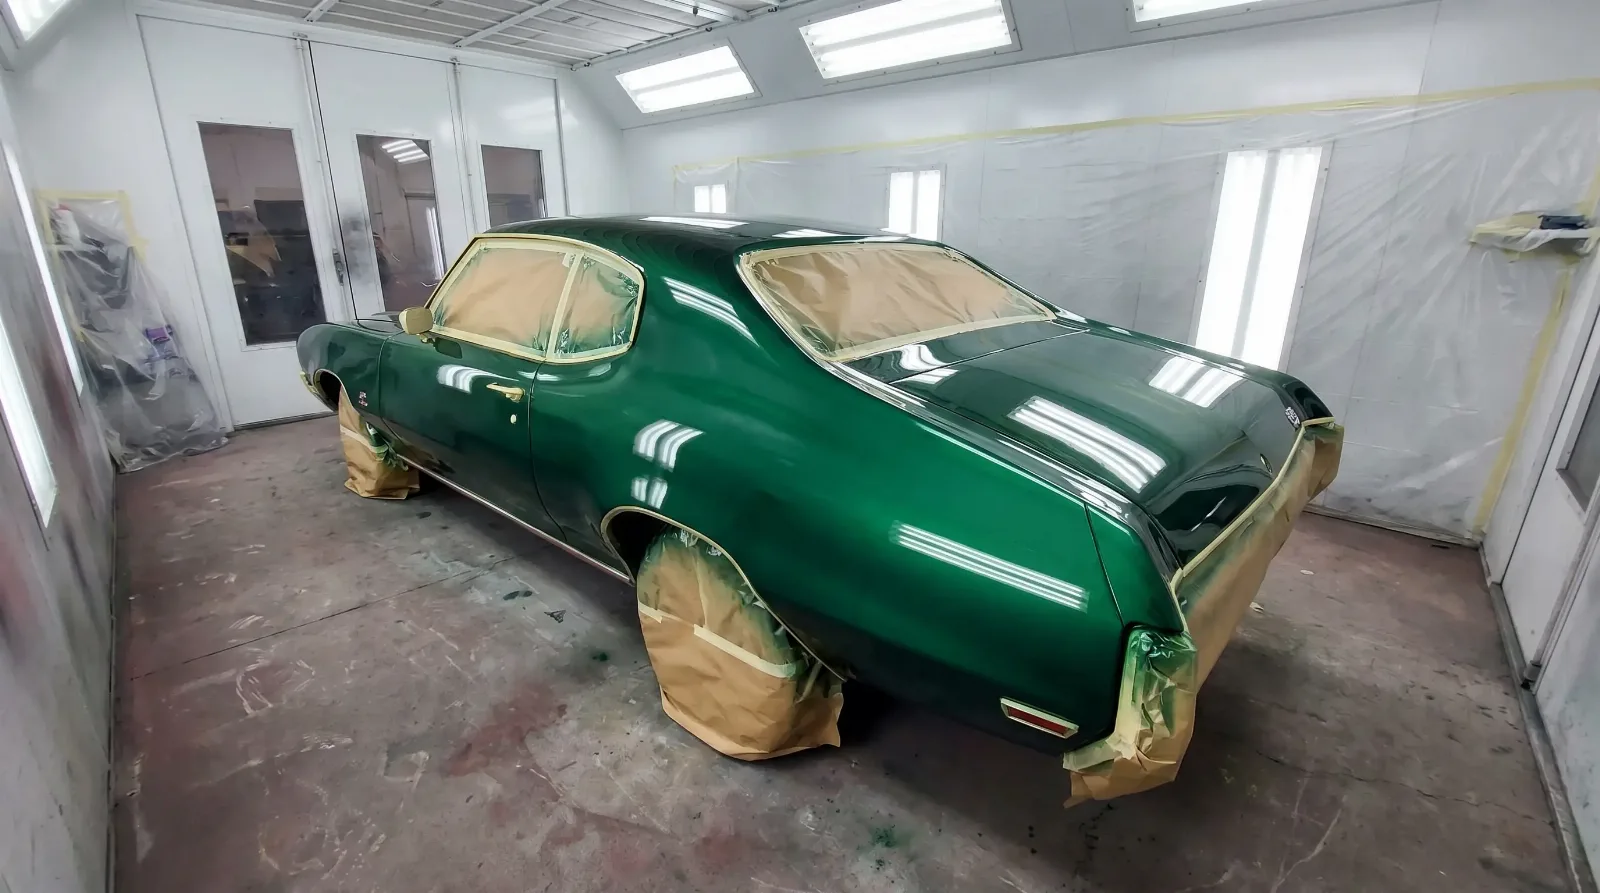
Doing it right starts with knowing what the car left the plant wearing. Every muscle car carried a paint code, stamped on the trim tag or cowl tag, that tells you the exact factory color. Match that first. This is one piece of the bigger picture, and the muscle car restoration explainer covers where paint fits alongside the mechanical work. For the whole arc, see the muscle car restoration explainer. Here I want to stay on the finish itself.
Find the factory code before you pick a color
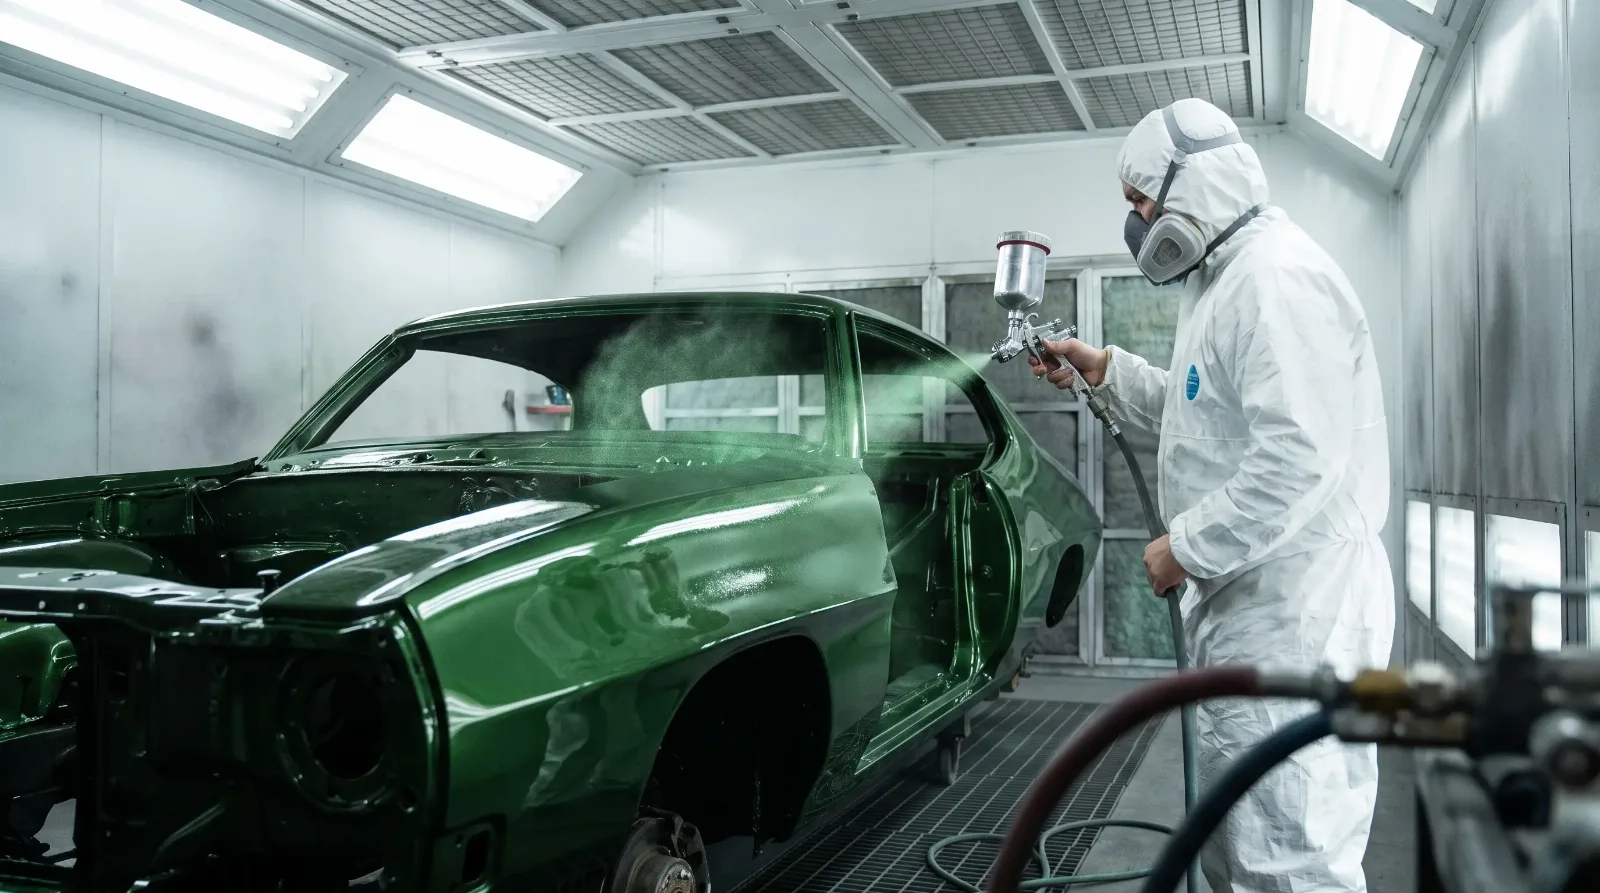
Do not eyeball the color. The trim tag or cowl tag on these cars carries a paint code, and that code points to the exact factory formula. Faded, resprayed, or sun-baked panels lie to you about the real shade, so the tag is your source of truth. Once you have the code, a good paint supplier can mix it, and the better ones can pull period-correct formulas rather than a modern approximation that reads slightly off to anyone who knows the color.
Original single-stage enamel and modern base-coat clear-coat do not look the same. The old finishes had a particular depth and, on some colors, a specific level of gloss that a thick clear coat does not replicate. Concours-focused restorers often go single-stage to match the factory look. A driver-quality car usually gets base-clear because it is more durable and easier to fix. Neither is wrong. It depends on what the car is for, and it is worth deciding before the gun ever comes out.
The prep under the paint is the real work
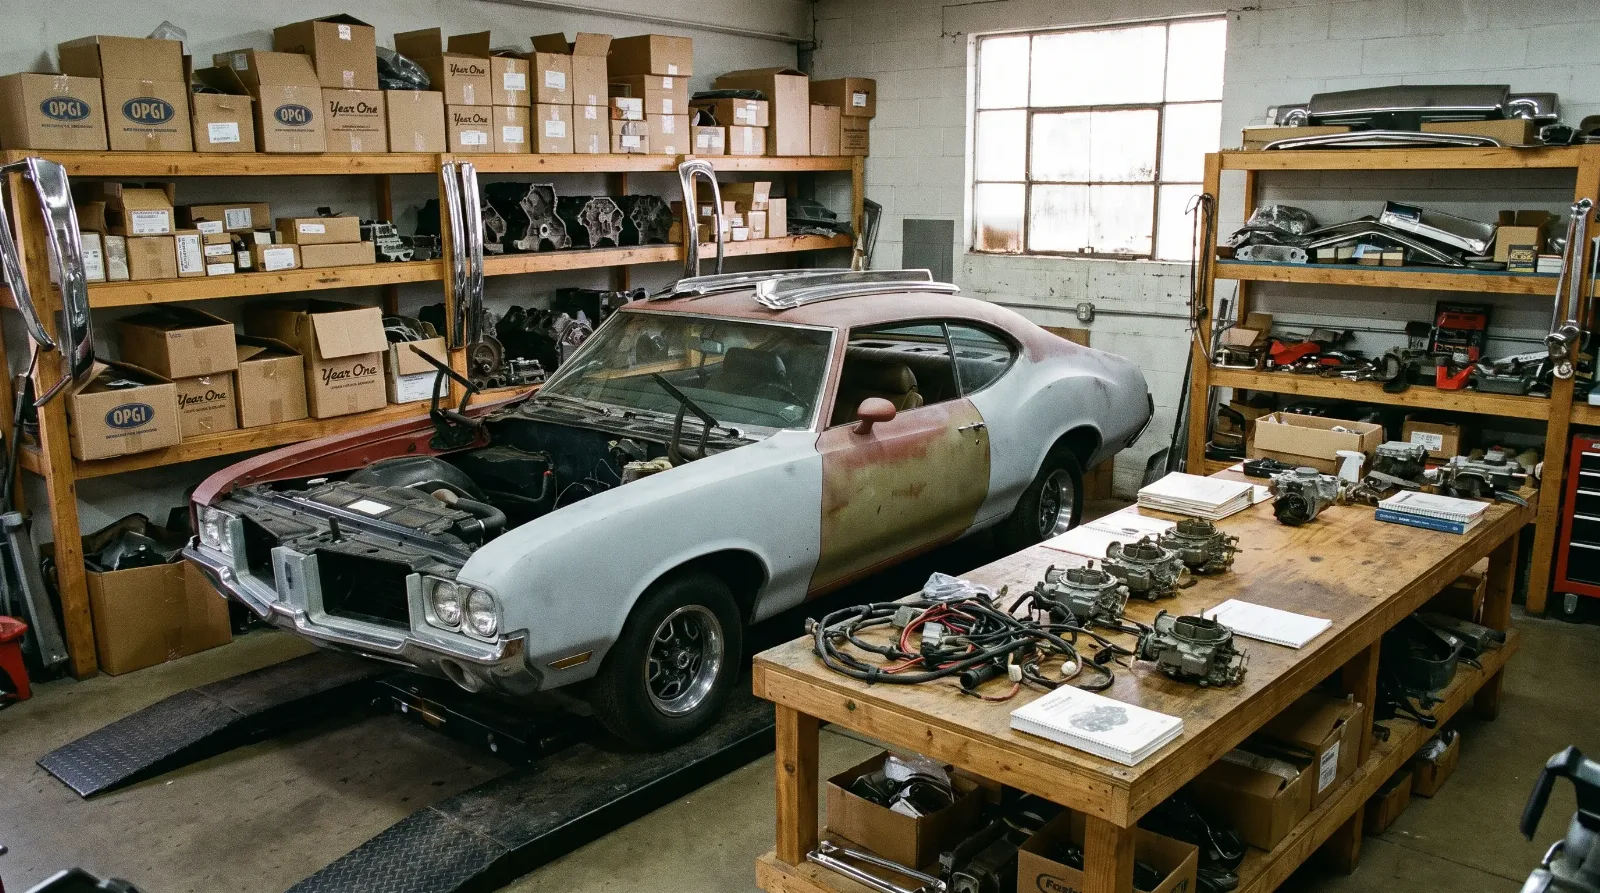
Paint hides nothing and reveals everything. A cheap job over bad bodywork looks fine in the booth and terrible in six months when the filler telegraphs and the low spots show up in sunlight. The finish is only as good as the metal and prep underneath it, and that is where the hours and the money actually go. Strip the old paint to see what you are working with. Fix the metal properly instead of burying it in filler. Get the panels straight in bare metal, then prime, block, and repeat until the reflections are true.
Rust is the thing that comes back. Paint over it and it works its way out from underneath within a year or two, and now you are redoing a fresh paint job. Cut it out, treat what remains, and do the metal work before anything gets color. This is unglamorous and it takes longer than the painting itself, but it is the difference between a finish that lasts and one that fails.
🔧 Inspection Priorities
- Rust under the old paint. Buried rust bleeds back through fresh paint within a season. Cut it out before color, or repaint the whole panel later.
- Wrong paint code. An off-shade respray tanks originality points and value. Verify the trim tag code before mixing.
- Filler over metal work. Thick filler cracks and telegraphs in sunlight. Straighten the metal, keep the filler thin.
- Incorrect sheen on components. Over-glossy engine bay or suspension parts read as wrong. Match the factory finish, not a show shine.
- Missing factory paint marks. Inspection marks and overspray patterns are part of originality. Photograph them before strip so you can replicate them.
Getting the details and finishes correct
The body color is the easy part. The details are where knowledgeable people separate a correct car from a pretty one. The factory did not paint everything to the same gloss. Engine bays, inner fenders, suspension components, and brackets each had their own finish, and much of it was flatter and rougher than a restorer's instinct wants to make it. Chassis parts were often semi-gloss or flat black, not chrome and not high-gloss. Some brackets and hardware were left in bare metal or plated, not painted at all.
Factory inspection marks, the paint dabs and grease-pencil marks applied on the line, are part of originality too. On a car being judged, replicating them correctly matters. This is exactly why you photograph everything before you strip the car, so you can put those marks back where they belong. Sourcing correct paints and the right materials for these finishes takes some legwork, and knowing where to look saves a lot of trial and error. For that, read the full story on finding the right suppliers.
Deciding how far to take it
How correct you go depends on what you want from the car. A concours restoration chases the factory look down to the overspray and the inspection marks, single-stage paint and all. A driver-quality job aims for a clean, durable finish in the right color without agonizing over whether the engine bay overspray is period-perfect. Both are legitimate. What gets people in trouble is spending concours effort on a driver, or slapping a driver-grade respray on a car that deserved better and losing the originality that made it special.
Whatever level you pick, the fundamentals hold. Verify the code, fix the metal, prep it right, and match the factory finishes rather than chasing shine the car never had. A correct paint job in the right color, done over solid metal, holds its value and its looks. And when the car is done, keep it out of the weather, because good paint left in a damp barn does not stay good for long. If you want more of these on the market to study, discover muscle cars for sale and look closely at how the paint reads.
"The factory never painted these cars like a show car. Bury the rust, over-polish the bay, chrome the wrong bracket, and you have built something prettier than correct. On a real one, correct wins."
Mike Sullivan
Restoring factory paint is patience more than talent. Match the code, respect the finishes the factory actually used, and put in the prep hours nobody sees. Do that and the paint carries the whole car, on the show field and at resale both.
Related Reading
Have a
Classic Car
for Sale?
Reach thousands of serious classic car collectors across the US.
Sell It Here →
Are You a Classic Car Dealer?
List your full inventory and connect with targeted classic car buyers.
Join as a Dealer →

About the author
Mike Sullivan
Detroit-area muscle car enthusiast and restoration specialist with three decades of hands-on experience working on American iron.
More in Restoration & Tech




Comments
Be the first to comment on this article.