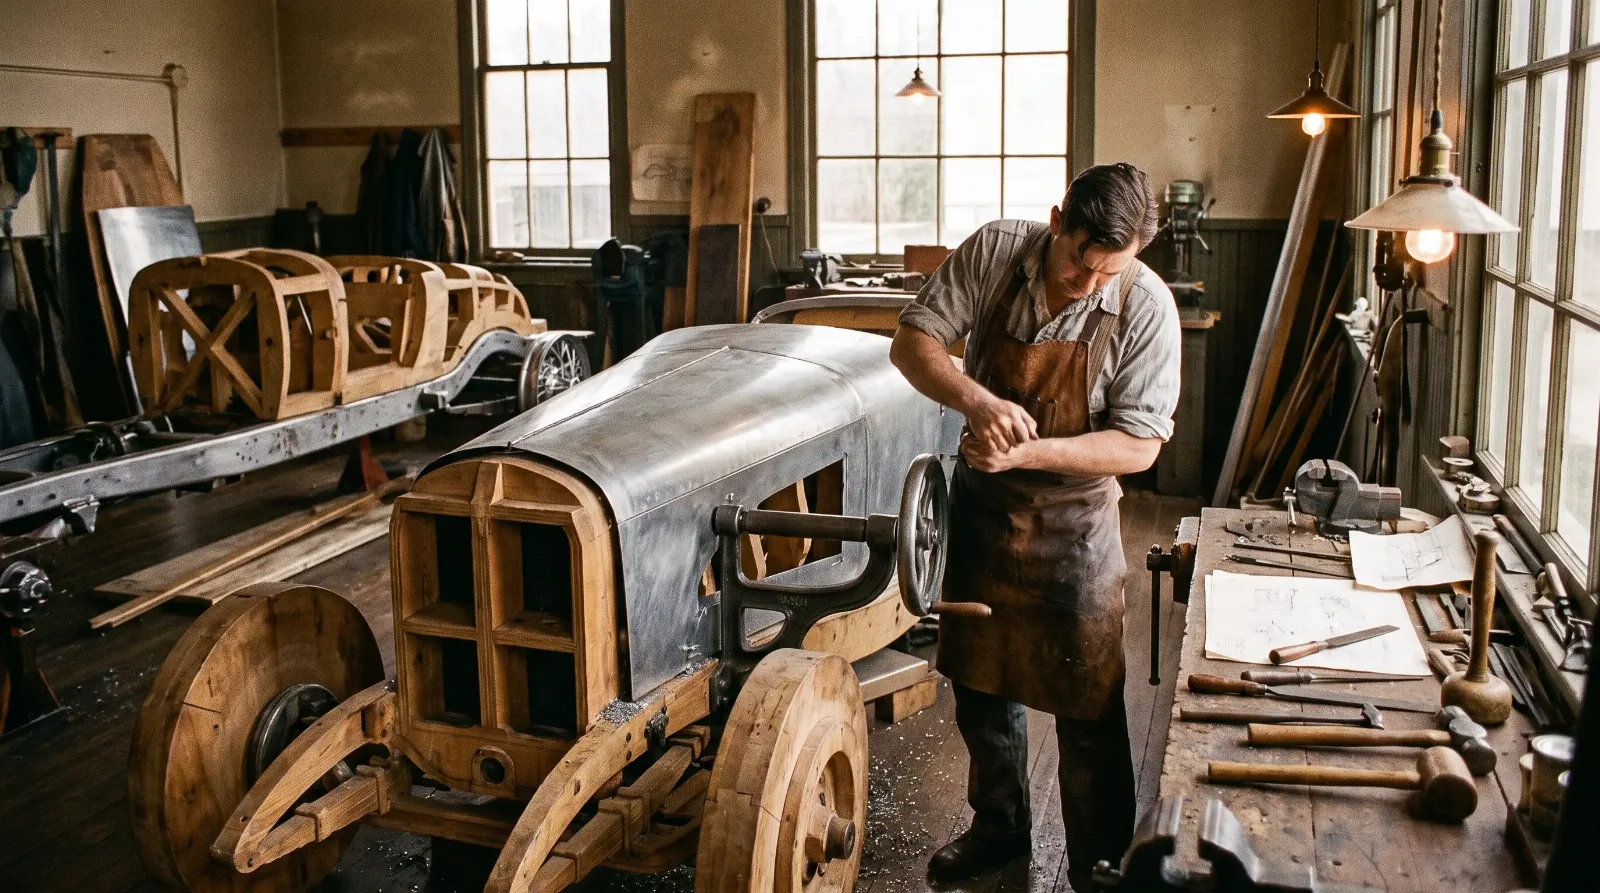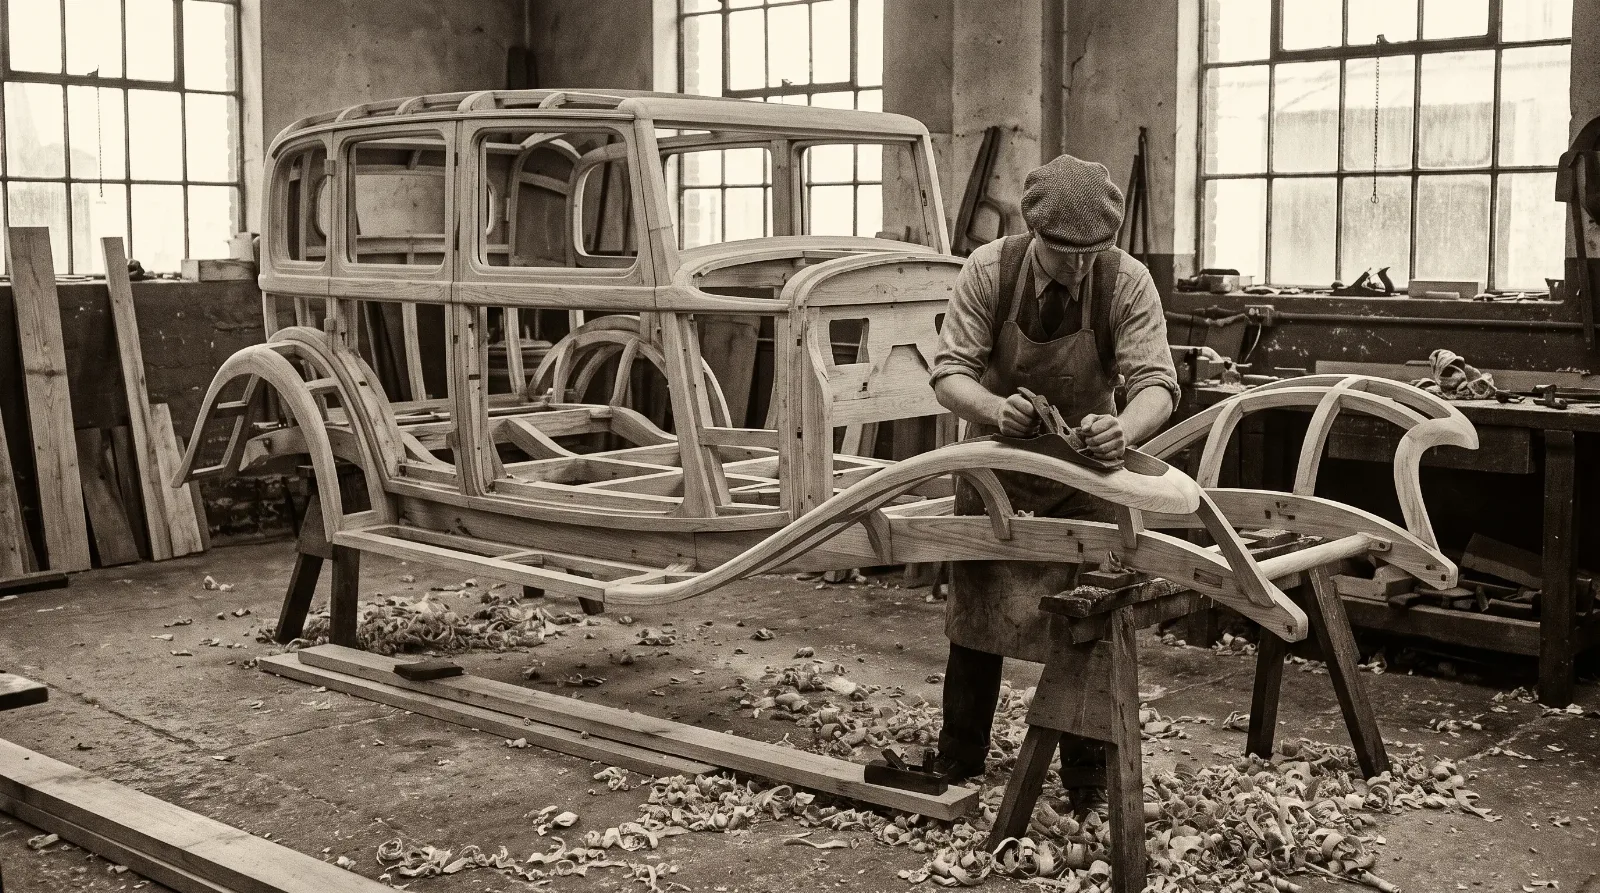

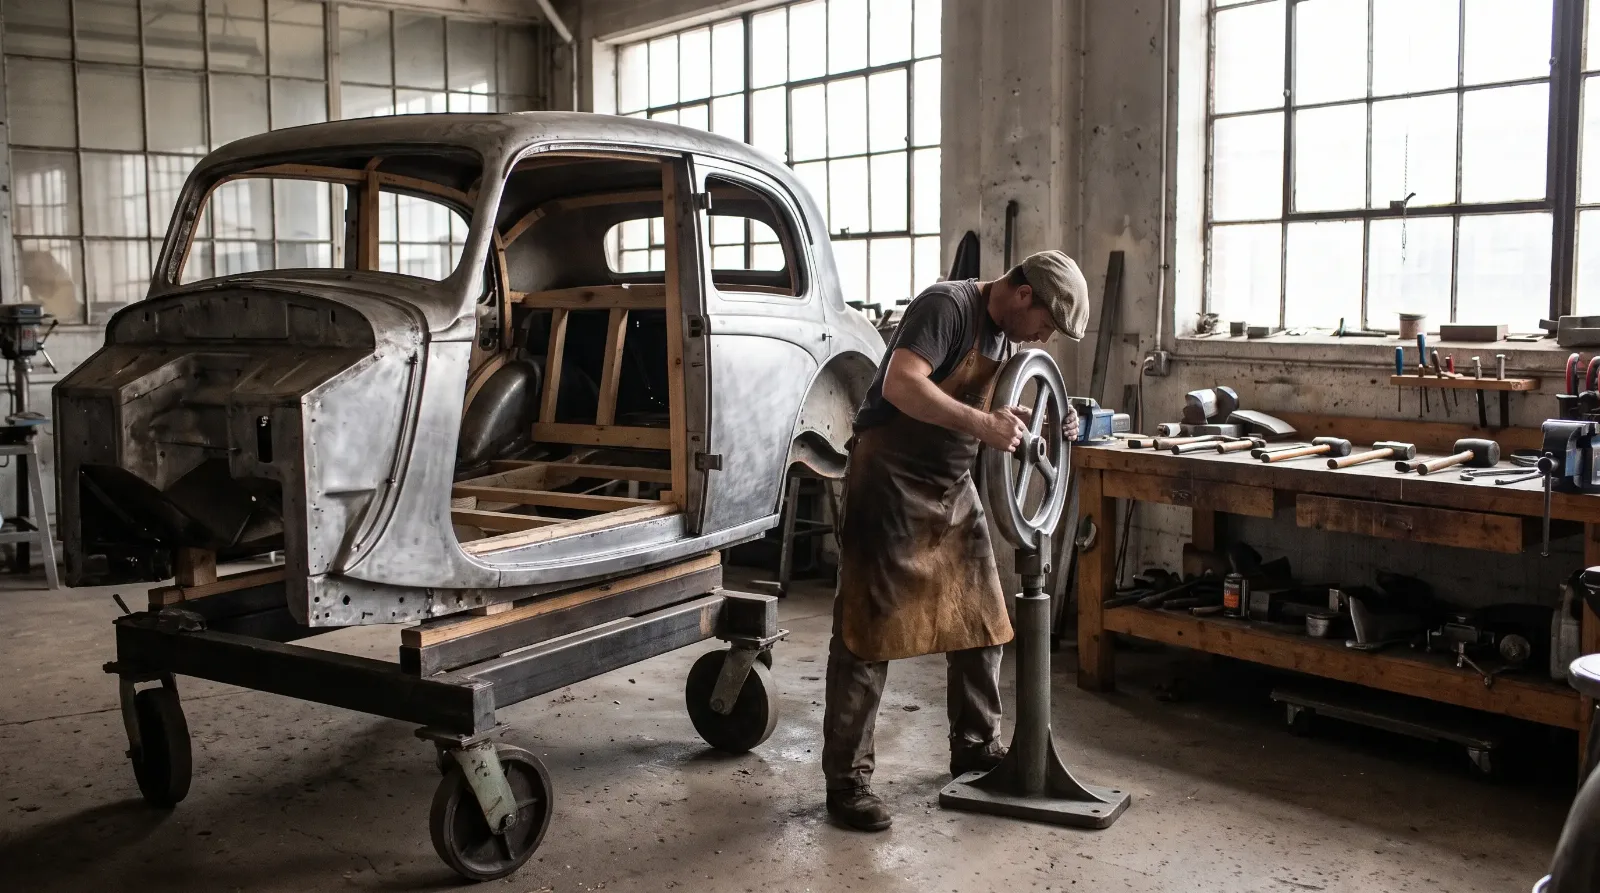
Most of the people who could build these bodies from scratch are gone. That is not an exaggeration meant to make the work sound more romantic than it is. The specific combination of skills, hand-shaping a wooden frame with carriage-trade joinery, wheeling metal panels to fit that frame by eye, and finishing it all to a standard that would satisfy a coachbuilder's own quality inspector, was never common even when these cars were new. Today the number of people who can do all three at a professional level is genuinely small, and that scarcity is the first thing anyone restoring a coachbuilt body needs to understand before they start.
If you have not read how these bodies were originally constructed, start with the coachbuilt restoration guide. Once you know how the wood and metal fit together, the restoration process makes a lot more sense.
Assessing before you cut anything
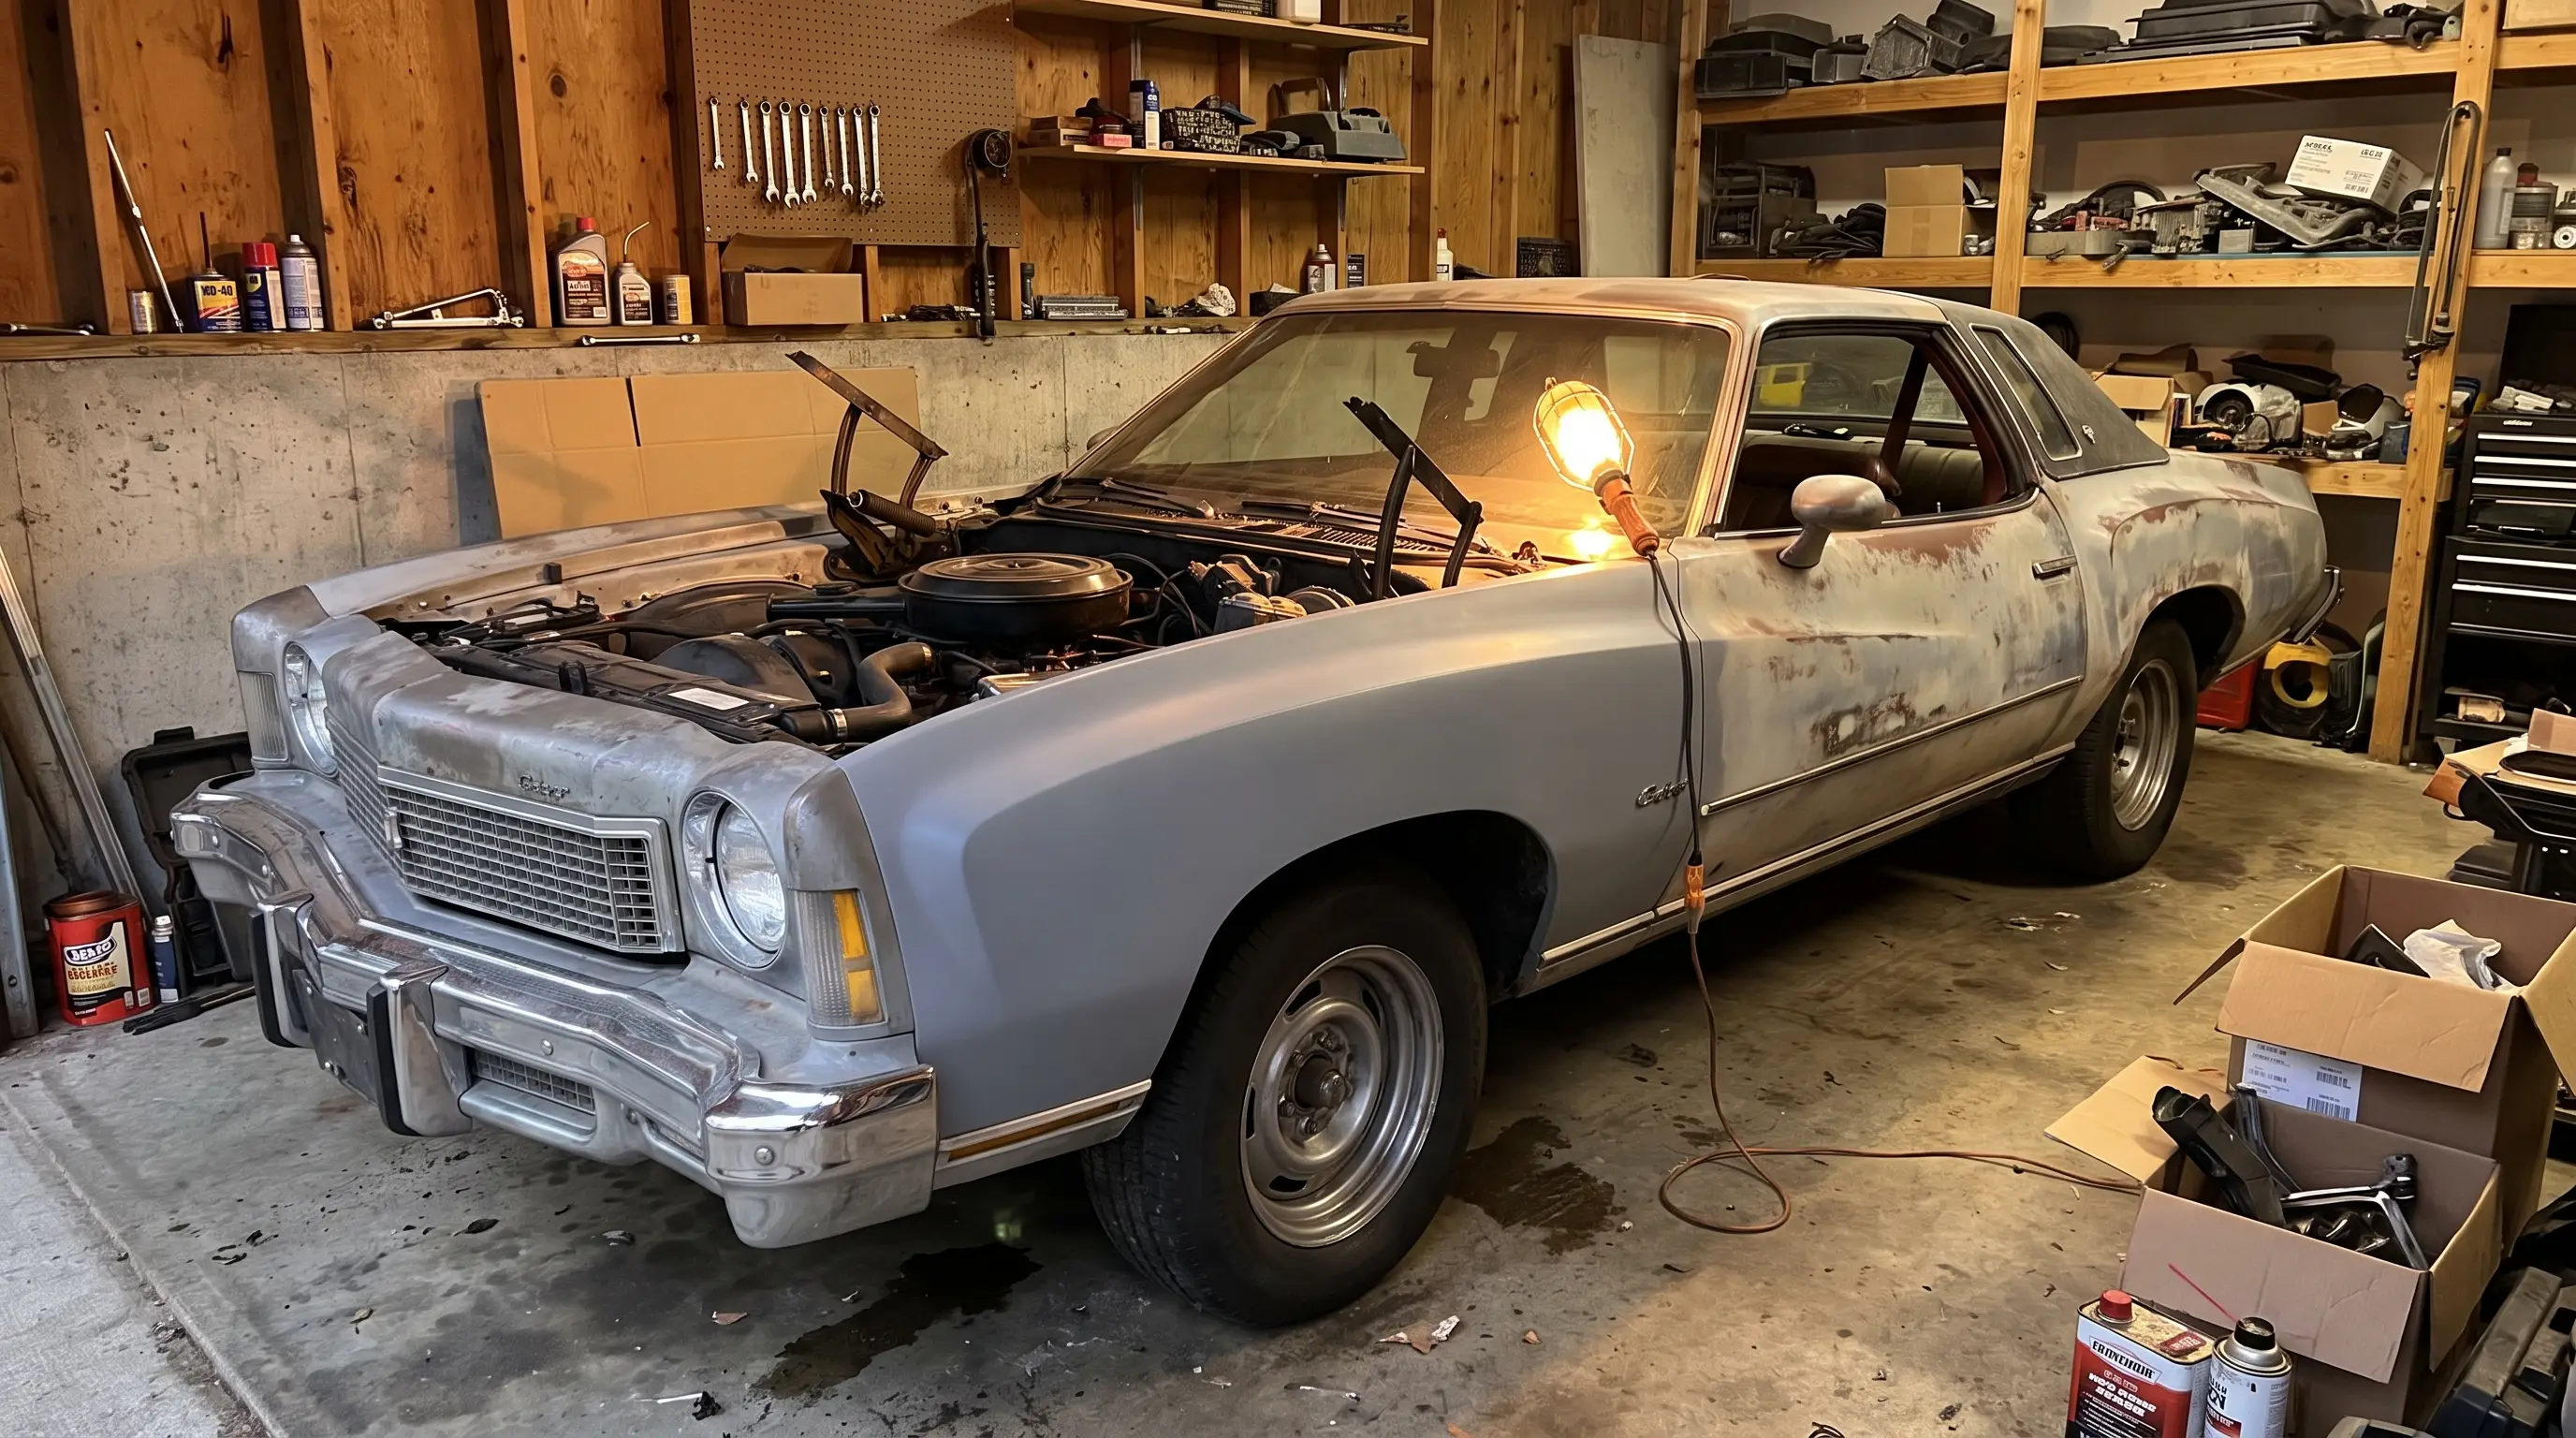
The first real work on any coachbuilt restoration is not repair. It is diagnosis. Every trim panel that can safely come off should come off, and every section of the wooden frame needs to be probed and mapped before a single piece gets replaced. I keep a running chart of every member in the frame, marked good, questionable, or gone, before I let anyone near it with a saw. Skip this step and you will find rot you missed halfway through reassembly, which means undoing finished work to get back into a section you thought was done.
Matching the original wood species and joinery
Ash is the most common framing wood on American coachbuilt bodies, chosen for its combination of strength and flexibility, and a proper restoration replaces rotted members with the same species, cut and seasoned the same way the original coachbuilder would have specified. Using a substitute wood because it is easier to source is one of the quiet ways a restoration loses value without anyone noticing at first glance. The joints matter as much as the wood. Mortise and tenon construction, cut by hand to match the original member's dimensions, holds the body the way it was designed to be held. Screwing a butt joint together because it is faster is a repair, not a restoration, and it will not carry load the same way over the next fifty years.
Sequence matters more than most people expect going in. I never let a crew work the metal before the wood underneath it is finished and cured, because panels fitted to a frame that is still settling will end up with gaps that open back up within a year or two. The same goes for finish work. Paint goes on only after the body has been test-fitted to the chassis, doors hung and rehung until the gaps read even, because chasing a paint flaw after final assembly means undoing work that should have been locked down earlier. A shop that rushes this order to hit a deadline is the single most common reason a coachbuilt restoration looks right at delivery and starts showing problems within a few seasons.
Rebuilding the metal skin correctly
Once the frame is sound, refitting the panels is its own long process. Original panels that survive intact should stay on the car wherever possible, since original hand-worked metal carries value that a recreation cannot match. Where a panel is too far gone, a correct replacement is wheeled and hammered by hand to match the original's shape, not stamped or formed by shortcut methods that leave a subtly different surface. The eye can tell the difference even when the measurements look identical, because hand-worked panels have a slight variation in their curves that a die-formed panel does not.
🔧 Inspection Priorities
- Frame member count and condition. Map every structural piece before starting. A partial assessment leads to rework later, which costs more than doing it right the first time.
- Wood species match. Confirm replacement wood matches the original species and seasoning method. A substitute weakens both the structure and the eventual value.
- Joint type. Verify mortise and tenon joinery is being replicated, not replaced with screws or brackets alone.
- Panel originality. Retain original hand-worked panels wherever the metal allows. A full repanel should be a last resort, not a default.
- Fastener placement. Original fastener patterns and puttied heads should be matched, since visible modern fasteners are an easy way to spot a rushed restoration.
"A restoration should be invisible when it is done right. If you can point to the repair, the shop did not finish the job. The whole point is that the car looks like nobody ever touched it, even though somebody spent a year inside it."
— Ray Delgado
Finding the right shop for the job
Not every restoration shop that does excellent work on steel-bodied classics has the skill set for a wood-framed coachbuilt car, and I tell clients to ask pointed questions before committing. Has the shop worked on a body from this specific coachbuilder or era before. Can they show finished examples of hand-cut mortise and tenon joinery, not just describe it. Do they season their own wood or source it from a mill that understands coachbuilding standards. A shop that hesitates on any of those questions is probably going to learn on your car, and a coachbuilt body is an expensive place to let someone learn.
What a proper restoration costs, and why it is worth it
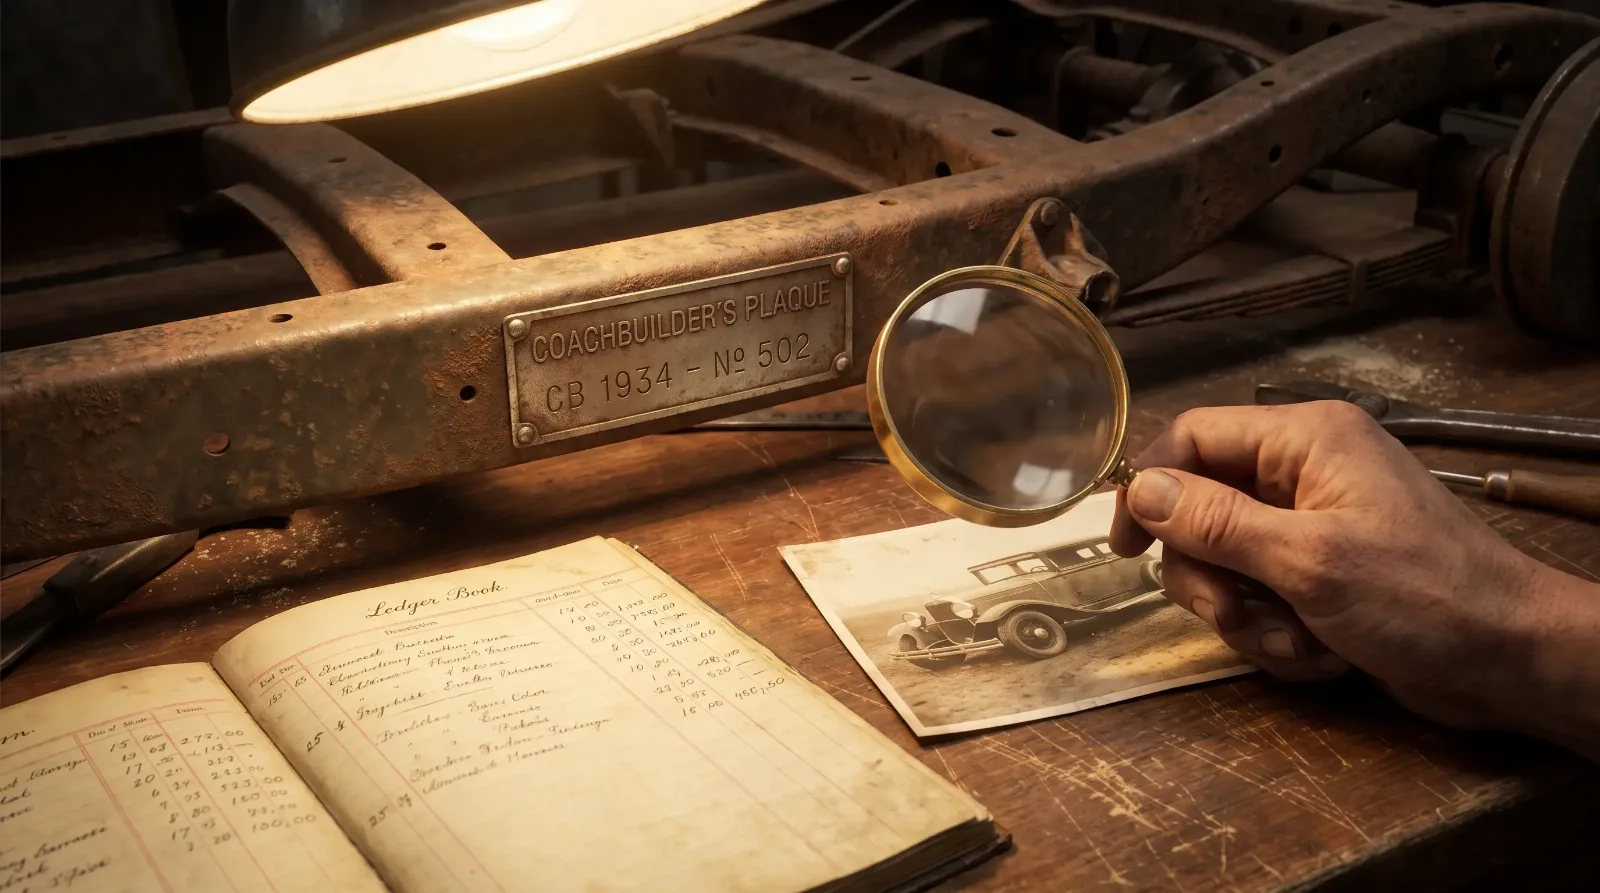
Restoring a coachbuilt body correctly, with matched wood species, hand-cut joinery, and hand-worked panels where needed, is slow and expensive work. It can run into six figures on a serious case with extensive frame damage, and there is no honest shortcut around that number if the goal is a body that holds its value and its structure. What you are paying for is not just labor hours. You are paying for a shop that still holds the specific combination of skills that a coachbuilder's own workshop had a century ago, and there are not many of those left. Once the body work is done, the question of proving what you actually restored, and what the car originally was, becomes the next challenge. That authentication process is the next story, and it matters just as much as the restoration itself.