
Here is how most restorations go wrong, and it has nothing to do with welding or paint. The truck comes apart in a weekend. Every bolt, bracket and bit of trim ends up in a box, a coffee can or a pile on the shop floor. Two years later, the body is done, the engine is back, and you are standing over a hundred loose pieces trying to remember which of them held the glove box door. Nobody told you that taking a truck apart is the easy half. Putting it back together is the part that rewards a little bookkeeping.
Restoration & Tech
7 min read
Storing and Cataloging Parts During a Restoration
Photos, labeled bags, a simple log and the right storage spot keep a restoration from stalling. A practical system for organizing car parts during a long project.
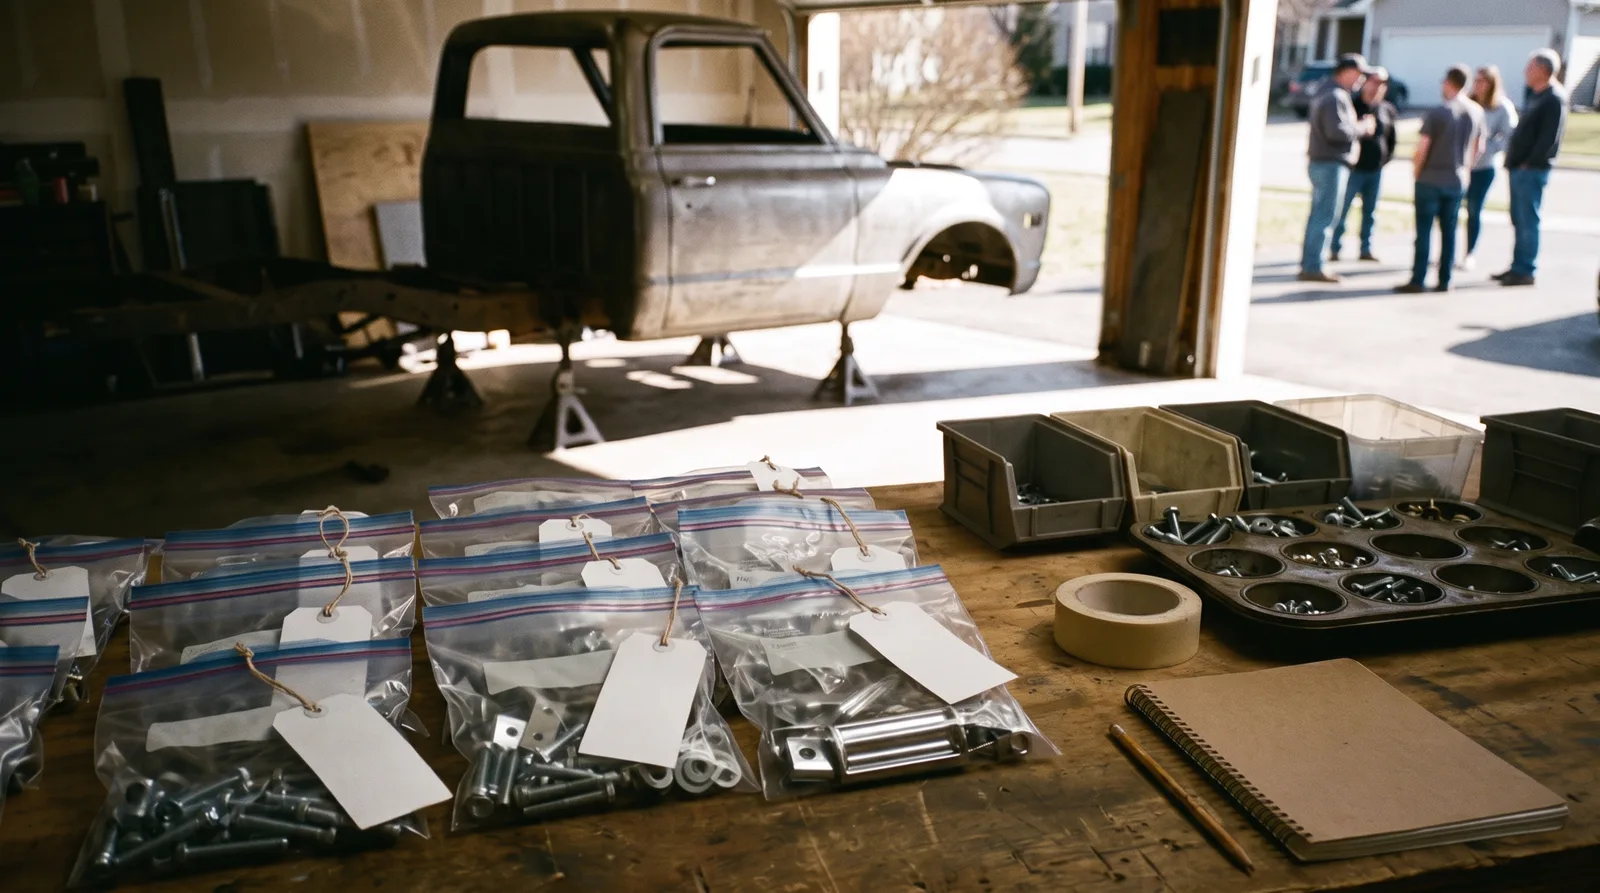
Plenty of hobbyists learn this the hard way, and the fix is not complicated. It is a habit, started on day one, of knowing where every piece is and what it belongs to. Before we get to the system, it helps to know what you are cataloging, and the guide to restoration parts covers the sourcing side of that question.
Start before the first wrench turns
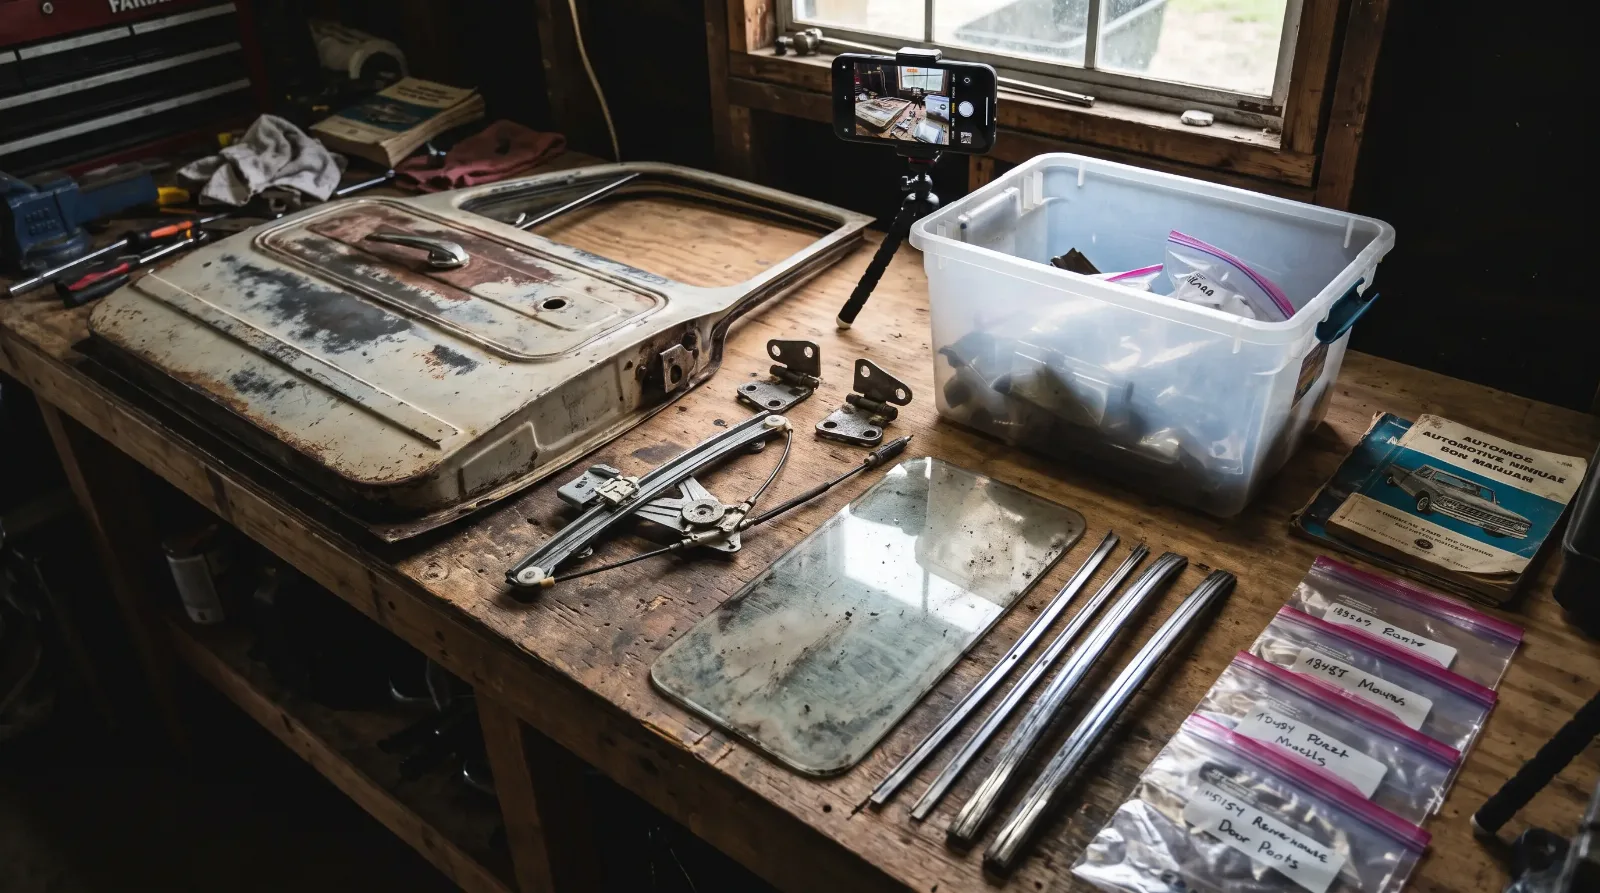
The best cataloging starts with photographs. Walk around the vehicle and shoot every angle, inside and out, under the hood and under the chassis. Then, as you remove each assembly, shoot it again. Take far more pictures than you think you need, because storage is cheap and a missing photo is expensive. Wide shots show how things relate. Close shots show how brackets sit and which way a clip faces.
Keep a notebook or a simple spreadsheet. Each entry gets a number, a short description, the date of removal, and a note on its condition. If you paint or plate the part later, add that too. A paper log works fine in a dusty shop, and a phone photo of each page gives you a backup.
Bag, tag and sort
The old method still works, and it works well. Use heavy zipper bags in several sizes, plus permanent markers and paper tags. Every bag gets a label with the assembly name, the side of the vehicle, and the date. Put the fasteners in with the part they hold, and tie or tape the bag to the part when you can. If a part is too big to bag, a wire tag with a number matches it to your log.
Keep left and right separate, which sounds obvious until you have six nearly identical brackets on the bench. Mark them L and R, and mark front and rear. Where a part could mount more than one way, note its orientation in the log, with a photo.
| Container | Good for | Watch out for |
|---|---|---|
| Zipper bags with labels | Fasteners, clips, small trim | Ink fades and cheap bags can break down over years, so use permanent marker plus a paper tag |
| Plastic totes with lids | Complete assemblies such as a door or dash | Moisture trapped in a closed tote |
| Metal shelving, labeled | Heavy parts such as brackets and castings | Weight limits per shelf |
| Cardboard boxes | Short term only | Pests and damp in a garage or barn |
Where you store it matters
In a place like Texas, a shed or a metal building can reach brutal temperatures in summer, and that does a lot of damage to rubber, plastic and glued trim. A garage that swings between hot days and cool nights also invites condensation, which attacks bare steel. Pick the driest, most stable spot you have, and keep parts off bare concrete, which wicks moisture.
Bare steel parts need protection from rust. A light coat of oil or a rust preventive spray works for the short term, and wrapping a part in a clean, dry cloth or paper keeps dust off. Rubber and wiring should stay out of direct sun and away from solvents. Glass and chrome trim need padding, because a scratch from a stray bolt is permanent.
A cataloging system that scales
A small project can live in a notebook. A full restoration usually cannot, so most people move to a spreadsheet with columns for part number or description, location, condition, source, and cost. Add a column for status, with simple values such as removed, at plater, at paint, ready, or installed. Sorting by status tells you at a glance what is left to do.
Give every storage spot its own code, such as shelf A bin 3, and write the code in the log next to each part. Then finding a piece takes a minute, not an afternoon. Photographs can live in a folder named for each assembly, with file names that match your log numbers.
- Number every bag and tote, and keep the number in your log.
- Log each part when it leaves your control, such as sent to a plater, with the date.
- Record the cost of new purchases, since you will want the total when the work is done.
Track the money as you go
A catalog doubles as a budget tool. When you log what you buy, you see how costs creep, and you can spot items you have bought twice. That matters when parts are scarce and expensive. A rare piece that gets lost and has to be purchased again can hurt the budget. Take a particular look at the high priced items, and keep an eye on NOS prices, since a lost new original piece can cost more than the labor of a careful inventory ever would.
Keep receipts and part numbers with your log. If you sell the vehicle later, a documented inventory of what was purchased, restored and installed adds credibility to the story you tell a buyer.
"A truck is a puzzle you took apart yourself. Write down the picture on the box while you still remember it."
Robert Halloran
Plan the reassembly while you disassemble
Think in sub assemblies. Remove, label and store a door with its hinges, glass, regulator and trim as a group, so that rebuilding it is a matter of opening one tote. The same goes for the dash, the steering column, the seats and the front end. Bring each group to a finished state, and install it as a unit.
Before reassembly, lay out parts on a clean bench in the order they go on. Check your photographs for each step. When something does not fit, stop and look back at the photograph rather than forcing it. Forced parts crack, and cracked parts on an old vehicle are costly to replace.
None of this is glamorous, and none of it will show up in a magazine photograph of the finished vehicle. It is still the difference between a project that gets finished and one that sits under a tarp for another decade.
Sources and notes
- Popular Restorations, organization and storage of car parts, labeling bags and trays by location, photographing parts as they come off, and keeping everything until reassembly
- Popular Restorations, documenting a teardown, high and low photo angles, marking which side of the car an assembly came from, and bagging hardware with the part
- Moss Motoring, organizing a restoration, inventory spreadsheets, labeling boxes and bags, backing up records, and bags that break down over years
- Legendary Auto Interiors, classic car disassembly guide, photographing the car before teardown and marking and bagging parts by system
- Zerust, protecting bare steel parts, cleaning and drying parts before packaging and the role of condensation in corrosion
Related Reading
Have a
Classic Car
for Sale?
Reach thousands of serious classic car collectors across the US.
Sell It Here →
Selling a classic? Here's how: compare the places to sell classic cars
Are You a Classic Car Dealer?
List your full inventory and connect with targeted classic car buyers.
Join as a Dealer →

About the author
Robert Halloran
Texas-based classic truck enthusiast with decades of experience buying, restoring, and writing about American pickups from the 1940s through the 1980s.
More in Restoration & Tech
Comments
Be the first to comment on this article.