
Every car has a face, and on a classic the face is made of small metal pieces. The script on the fender, the crest on the nose, the letters across the trunk lid. When we walk up to a car at a show, those are the first things our eyes land on, and when they are tired, pitted or wrong, the whole car looks off, no matter what the paint cost. So the question every restorer eventually faces is simple to ask and hard to answer. Do you restore the originals you have, or buy reproductions and start fresh?
Restoration & Tech
7 min read
Emblems and Badges: Restore the Originals or Reproduce
Pot metal rot, pitted chrome and worn enamel force a choice on every restorer. Here is how to decide between restoring original emblems and buying reproductions.
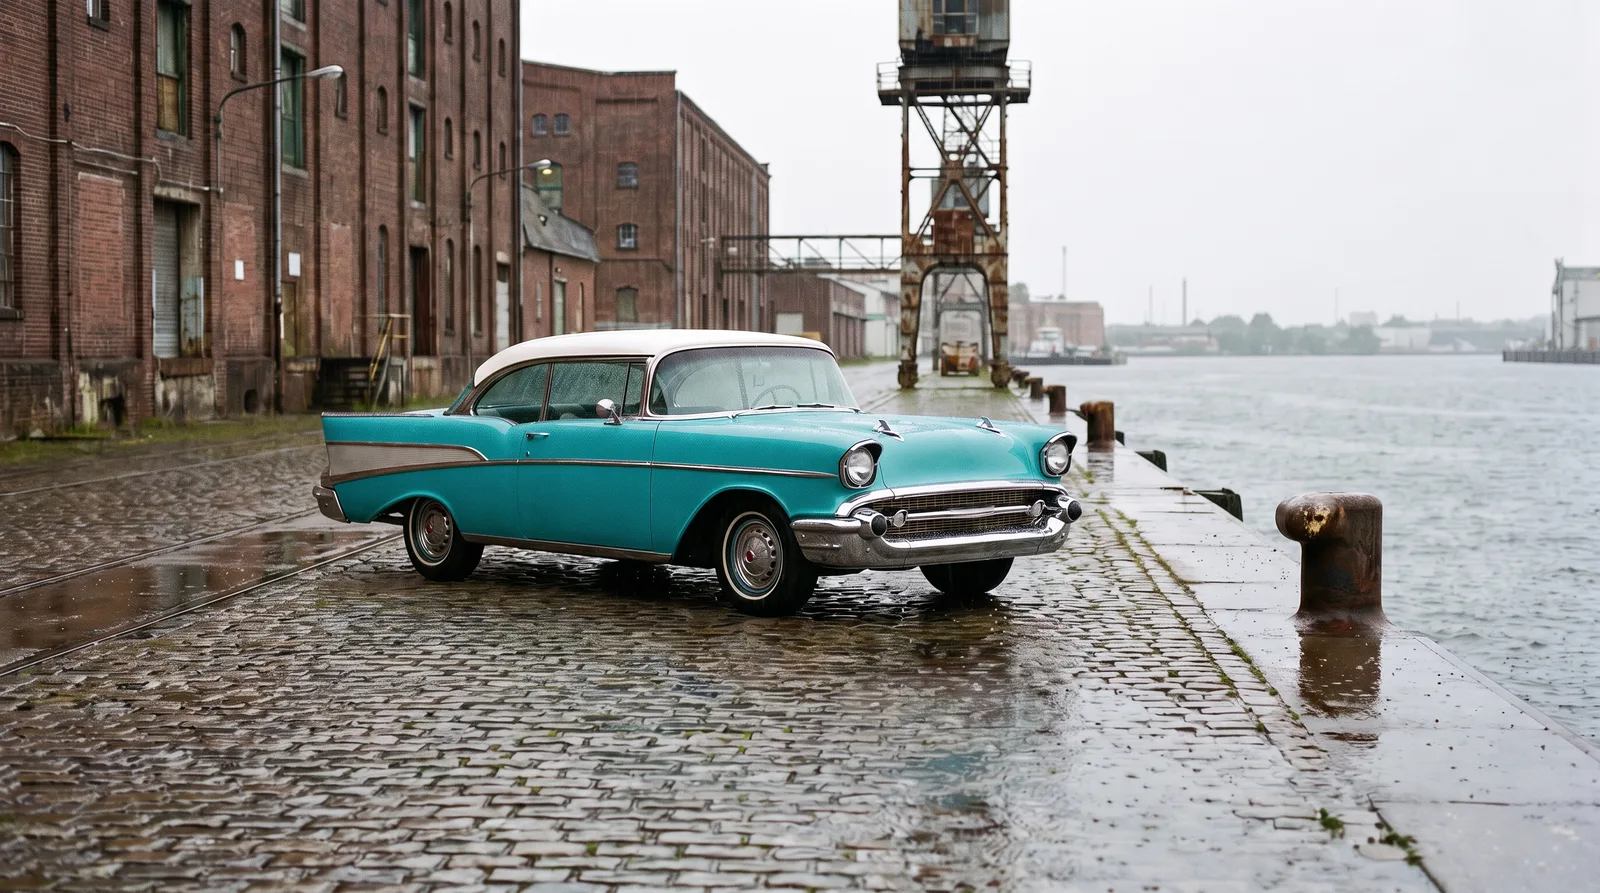
There is no single right answer, but there is a right way to decide. It starts with looking closely at what you actually own.
What an emblem is made of
Emblems come in a handful of constructions, and the construction decides what can be saved. Many classic emblems were die cast zinc alloy, often called pot metal, which was plated with copper, nickel and chrome. Others were stamped steel, brass or aluminum, sometimes anodized. Plastic and enameled inserts show up too, with colored fill held in recessed areas of a metal frame.
Pot metal is the problem child. Over decades, moisture gets under the plating, the zinc swells and corrodes from within, and the part blisters, cracks or crumbles. A pitted chrome emblem can often be repaired. Zinc alloy corrosion of this kind, known as zinc pest, is irreversible once it starts, and affected castings can warp, turn brittle and eventually crumble. It has been documented on automobile trim of the 1920s and 1930s, and a casting that has begun to swell often cannot be saved without extensive repair work. Stamped aluminum and brass pieces are more forgiving, since they dent and scratch but do not rot from the inside.
When restoring the original wins
Restore when the part is rare, when reproductions do not exist or are poor copies, and when the car's value depends on originality. A date coded or factory stamped piece, a limited edition badge, or an emblem with a supplier mark is worth saving even at a higher cost, because a reproduction cannot carry that history. Restoration also keeps the correct fit, since originals were made to the car's own tolerances and mount points.
Typical restoration work includes stripping old plating, repairing pits and cracks with solder or filler, polishing, and replating. For painted or enameled emblems, the colored fill is cleaned out and refilled with a period appropriate paint, applied with a fine brush or a small tool. This is skilled hand work, and the cost reflects it. Chrome work is labor intensive because of the many steps involved on each piece, and quotes vary widely with the car and the amount of repair needed. Even a handful of damaged pieces of aluminum trim has been described as costing well over a thousand dollars to repair and polish at a professional shop, so a full set of emblems across a car adds up quickly.
| Option | Typical cost per piece | Best when |
|---|---|---|
| Restore original, light work | Lowest of the four, mostly labor | Surface wear, good casting |
| Restore original, heavy repair | Highest of the four, filling and replating | Rare piece, no alternative |
| Reproduction, new | Often well below restoring, varies by model | Common part, available copy |
| Good used original | Varies widely with rarity and condition | Clean piece, correct for year |
When reproduction makes sense
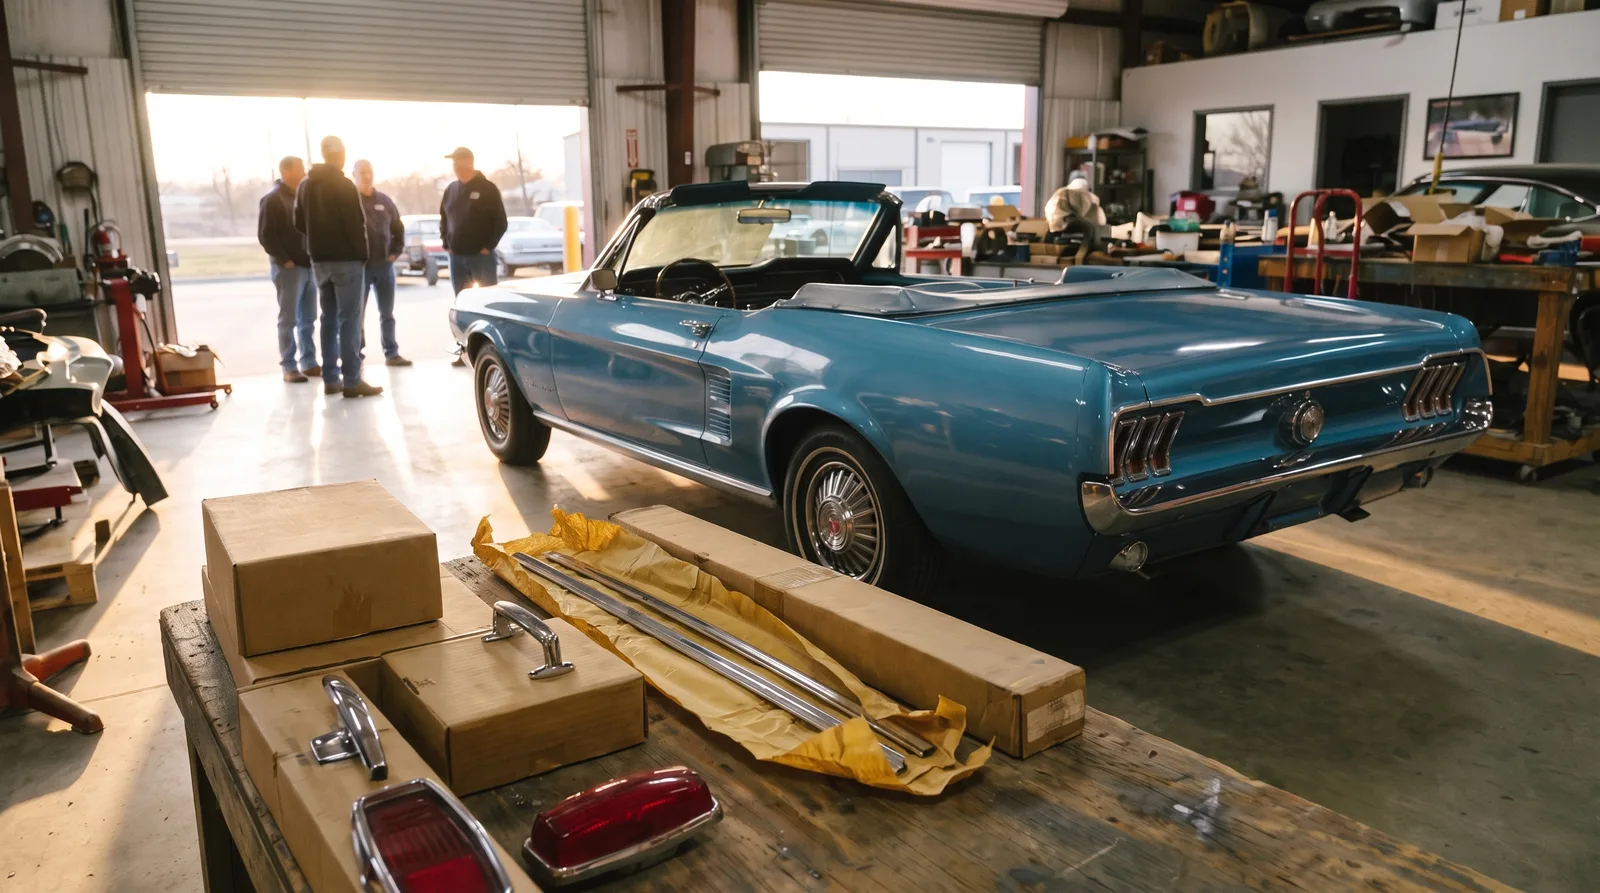
Reproduce when the original is too far gone, when the part is common and the copy is good, or when the car is a driver rather than a concours entry. Modern reproductions can be very close, and for many popular models the quality is high enough that all but the sharpest eyes cannot tell. The savings in time alone can be considerable, since a restoration shop may have a long queue.
The risks are real, though. Some reproductions are slightly off in size, thickness, the shape of the lettering, or the finish. Others are cast from a worn original, which carries every flaw forward. Before you buy, compare the new part to a photograph of a known good original or to the part itself, and measure the mounting posts or studs. Reproduction mounting hardware can also differ, so test fit before anything is painted or installed.
The balance between the two is the same one you face with every other component, and our guide to original vs reproduction parts walks through how to weigh it across the whole car.
Working with a shop
Few people do this work at home, because plating requires chemicals, equipment and permits. Specialists in plating, polishing and emblem repair exist in most regions, and some also handle paint fill and mounting. If your car has a lot of trim, finding shops that refinish trim early in the project saves time later, since good ones book months ahead.
Ask a shop for photographs of finished work on a comparable part, ask how they repair pitting before plating, and ask what the warranty or expectation is for the finish. A polished and plated piece should look like it came from the factory, with crisp edges and no rippling under the chrome. If you see a wavy surface in the samples, move on.
Coordinating with paint and brightwork
Emblems do not exist in isolation. They sit against paint, trim and glass, and a mismatch shows up quickly. If your car is being repainted, plan the sequence so the emblem mounting holes are drilled or plugged as the original did, and so the finish around each badge is not scratched on installation. We cover how to plan paint and brightwork together in a separate guide, and the short version is to keep trim off the car until the paint has cured.
A common mistake is to install emblems before final polishing, then try to buff around them. Do the reverse. Finish the paint, then install the emblems with fresh gaskets or pads where the factory used them, so the badge does not trap water against the body.
"We do not just fix a badge. We carry a little of the car's story forward, and people see it right away."
Hector Morales
Keeping track of all those little pieces
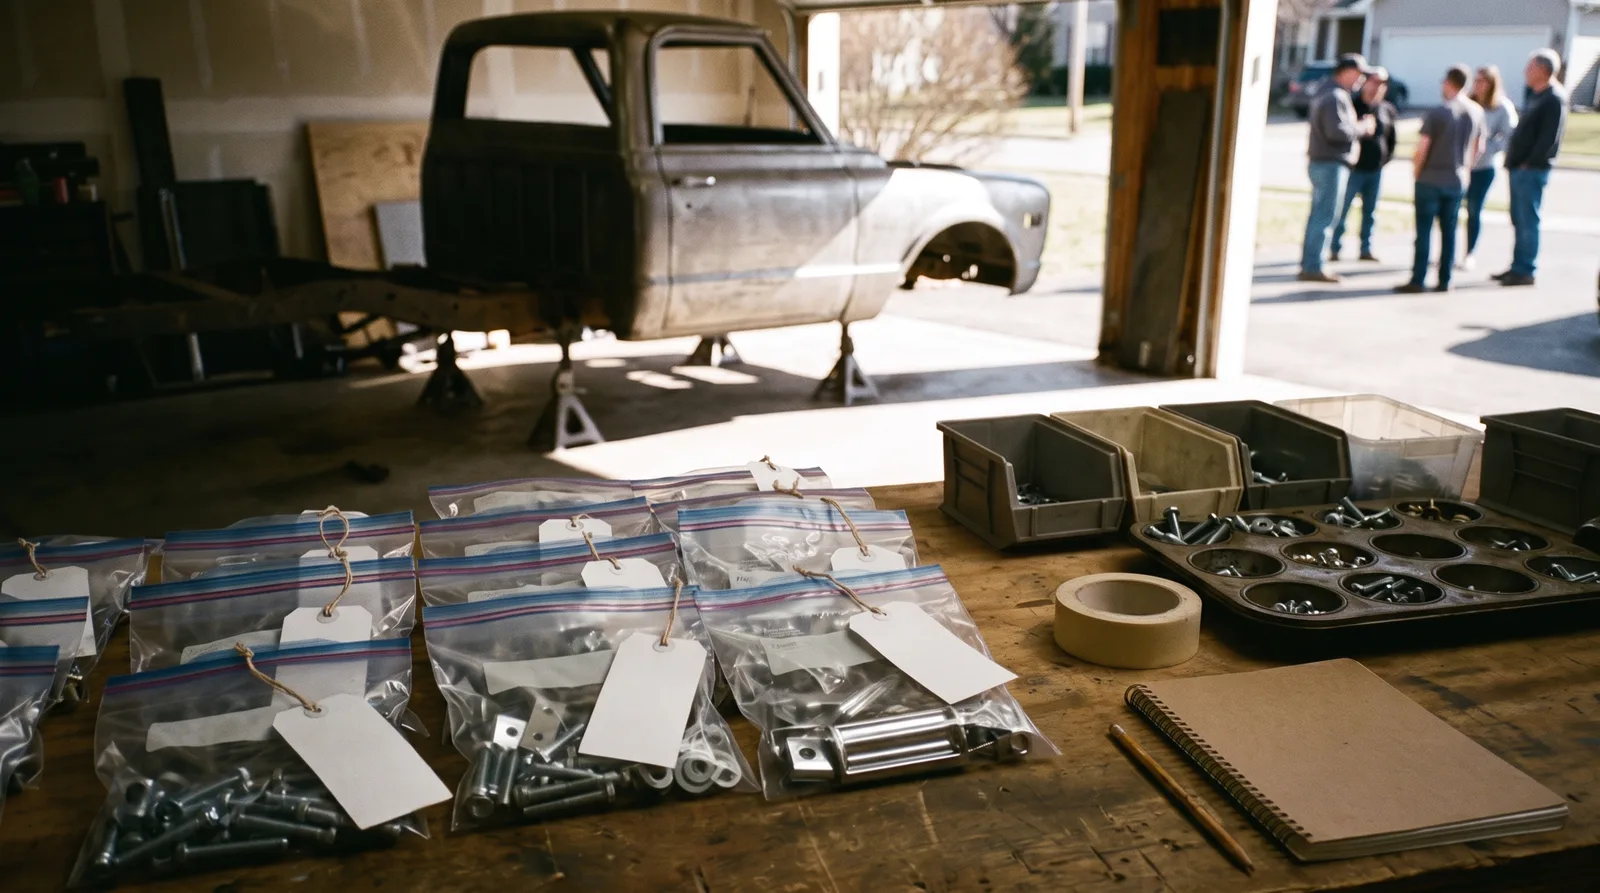
Trim is the kind of thing that gets lost. A badge goes into a coffee can, the coffee can goes onto a shelf, and two years later you cannot tell which clip belongs to which emblem. A little discipline at the start saves a great deal of searching later, and we dig into organizing parts in the next piece of this series.
- Photograph each emblem in place before removal, from two angles.
- Bag the emblem with its clips and nuts, and label the bag by location.
- Wrap fragile pieces in soft cloth so the surface is not scratched during storage.
Whether you restore or replace, the goal is the same: a car that looks right at a glance and still holds up when someone leans in for a closer look.
Sources and notes
- Zinc pest (Wikipedia), irreversible corrosion, swelling and cracking of zinc alloy castings, including automobile trim of the 1920s and 1930s
- Chrome plating (Wikipedia), copper, nickel and chromium layers, zinc alloys as a base material, and the labor-intensive preparation
- Street Tech: how to get your bumpers re-chromed, dents and cracks must be repaired before plating, and quotes vary widely
- Popular Restorations: chrome plating article, why plating is expensive and varies so much between cars
- All Chevy Performance: 1966 Chevy II aluminum side trim restoration, stripping anodizing, sanding and buffing aluminum trim, and the professional cost comment
- EPA: chromium electroplating emission standards, decorative chromium electroplating is a regulated process
Related Reading
Have a
Classic Car
for Sale?
Reach thousands of serious classic car collectors across the US.
Sell It Here →
Selling a classic? Here's how: compare the places to sell classic cars
Are You a Classic Car Dealer?
List your full inventory and connect with targeted classic car buyers.
Join as a Dealer →

About the author
Hector Morales
East LA lowrider builder and lifelong member of the car-club scene, writing lowrider culture, hydraulics and custom paint from the inside.
Repro emblems on a driver, all day. Spend the plating money where it counts: EFI, disc brakes, maybe a 4L60. Nobody at cruise night checks badge thickness.