
A 4th gen Camaro restoration does not start with a media blaster. It starts with a flashlight, a cooling-system pressure tester and a garden hose. The 1993 to 2002 car was built differently from the steel Camaros before it, and the jobs that eat your weekends are different too: a split dashboard, a T-top that drips on your knee, and on the LT1 cars an ignition unit buried behind the water pump. Get the order of operations right and these cars are straightforward. Get it wrong and you do the same job twice.
Car Features
8 min read
Restoring a Fourth-Gen Camaro: Cracked Dashboards, T-Top Leaks and the Opti-Spark
How to restore a 1993 to 2002 Camaro in the right order: composite panels, split dashboards, leaking T-tops and the LT1 Opti-Spark and water pump job.
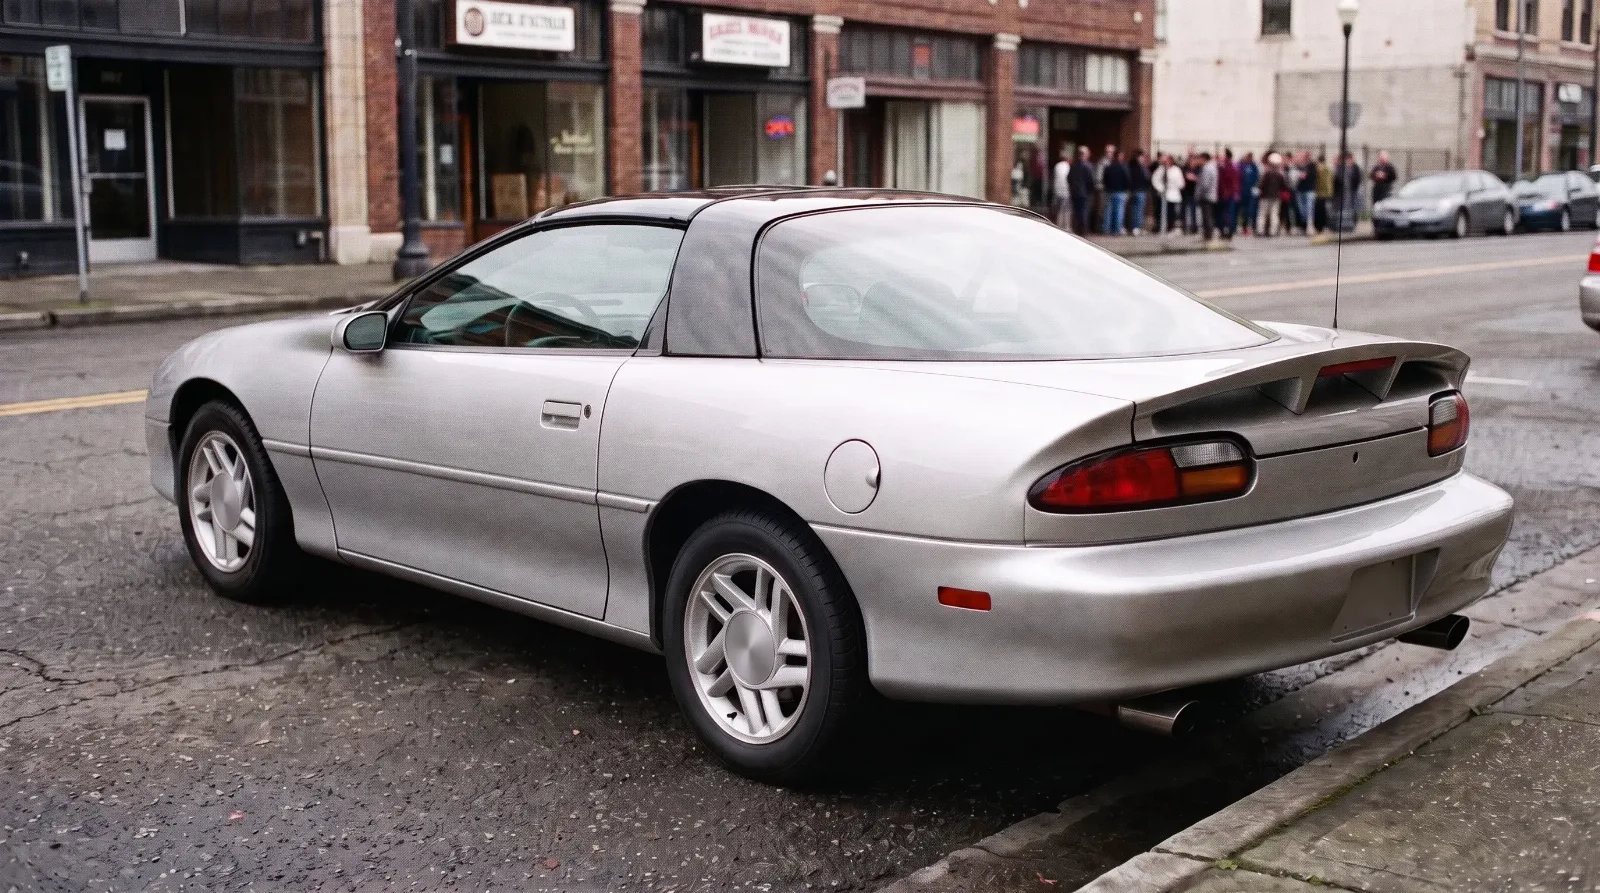
If you are coming from an older car, the general approach in our Camaro restoration story still holds: assess, document, plan, then wrench. What changes on a fourth gen is where the trouble lives. Rust is a smaller part of the story. Plastic, rubber and heat are the bigger part.
Planning a 4th gen Camaro restoration around the body
Before you buy a single part, learn what the body is made of. On the 1993 to 2002 coupe the roof, doors, hatch and spoiler are sheet molding compound, a chopped fiberglass and polyester resin material. The hood and the rear quarters are steel. Whether the front fenders count as composite is disputed between sources, so check yours with a magnet before you plan bodywork.
That split decides your tools. The SMC panels will not rust, but they crack, chip and craze, and they want composite repair materials, not lead or steel patch panels. The steel hood and quarters take normal metalwork. Do your body inspection panel by panel and write down which material each one is. It sounds fussy. It stops you from grinding a composite door with a disc meant for steel.
One thing that looks like damage and is not: the bump in the passenger floor. It was there to clear the catalytic converter on 1993 to 1995 cars. Dual converters arrived for 1996 with OBD-II, but the floor stamping never changed. Do not cut it out to make the floor flat.
Cracked dashboards and tired plastics
Hagerty's buyer's guide is blunt about the cabin: look for splits in the dashboard, sagging headliners and visors, leaking T-tops, broken plastic switches and a glovebox that won't lock. Every one of those is a plastic or adhesive problem, and every one gets worse with sun.
The dash is the job most owners put off. Here is the sequence I use. First, photograph every connector and screw location before anything comes apart; the fourth-gen dash has a lot of hidden fasteners and they do not all look the same. Second, pull the trim with plastic trim tools, not a screwdriver, because the clips are brittle by now and a screwdriver turns one broken clip into three. Third, decide between repair and replacement once the pad is on the bench, where you can see whether the split runs through the foam or only the skin.
A skin crack can be filled, textured and dyed. A split that has opened the foam underneath usually means a dash cap or a replacement pad. Where the job goes wrong is heat. People chase a crack with a heat gun to soften the vinyl and melt the texture flat. Keep the gun moving and keep it back.
Switches and bezels are the same story on a smaller scale. A plastic welder and a tube of two-part epoxy save a lot of broken tabs. Clean every repair with a degreaser first. Epoxy on a dashboard that has been wiped with protectant for 25 years will not hold.
T-top leaks: seals, alignment and panel storage
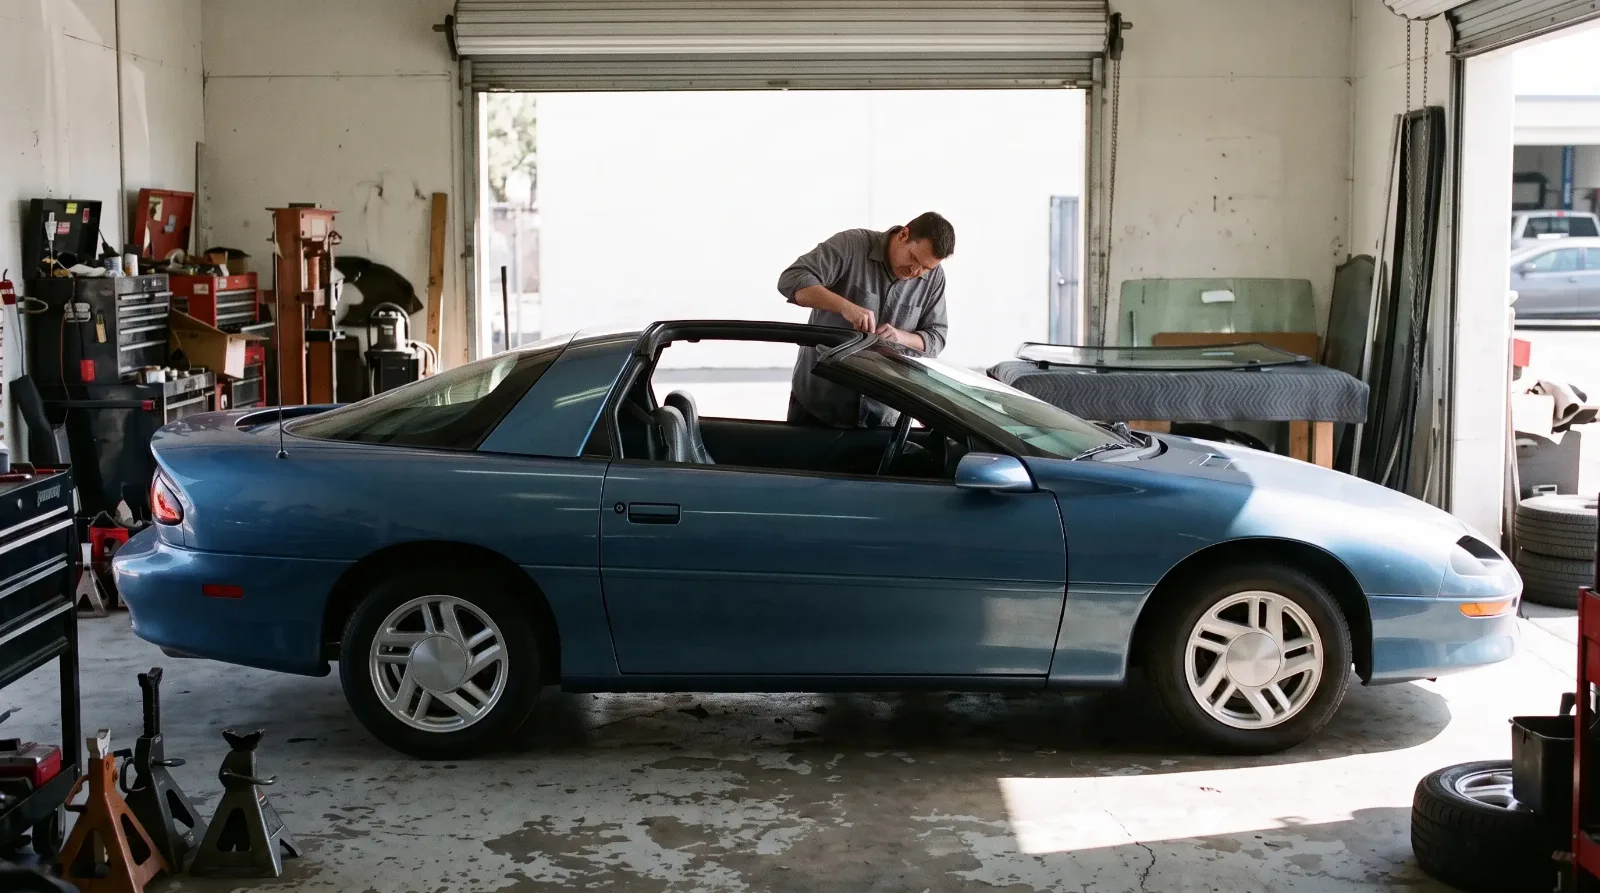
A leaking T-top is rarely just the weatherstrip. Work the problem in order. Start with a hose at low pressure and a helper inside the car with a flashlight, and run the water from the bottom of the seal upward so you find the lowest leak first.
Next, check panel fit before you blame the rubber. A panel that sits proud or low will leak through a brand new seal. Then check the panels themselves for warping. Targa panels can warp if they are stored on their side in the sun, which is exactly how many owners stored them for years. A warped panel will never seal, so do not throw a set of weatherstrips at it.
Only then replace the seals. Remove the old adhesive completely, test-fit the new strip dry, and glue it in sections. Water that sat in a fourth-gen cabin for years soaks the carpet pad, so lift the carpet and look at the steel floor underneath while you are there.
The Opti-Spark job, in the right order
Every LT1 Camaro has one, and so does the rare 1997 LT4 SS: that means the Z28 from 1993 to 1997 and the SS for 1996 and 1997. It went away when the LS1 arrived for 1998. The Opti-Spark sits at the front of the engine, driven off the nose of the camshaft, beneath the water pump and behind the harmonic balancer. That location is the whole problem. Moisture upsets the optical sensor and causes misfires, and high voltage tracks through that moisture and burns the rotor or the slotted disc. Coolant from a leaking water pump finishes the job.
Know your version before you order parts. The 1993 and 1994 Camaro used an unvented unit with a small drive hole and a short cam dowel. A vented unit, which uses vacuum to draw air through from the throttle body, came to the F-body for 1995. Match the replacement to your engine's drive and dowel, and on a 1995 or later car make sure the vent hoses are present and not cracked.
| Step | Operation | Where it goes wrong |
|---|---|---|
| 1 | Disconnect the battery, drain the coolant, remove the serpentine belt | Coolant left in the block runs straight into the new unit later |
| 2 | Remove the water pump | Gasket material dropped into the timing area |
| 3 | Pull the harmonic balancer with a proper puller | Prying it off with bars damages the balancer and the seal |
| 4 | Unbolt the Opti-Spark and inspect the cam drive and dowel | Ordering the wrong drive style for the year |
| 5 | Fit the new unit, new seals, new water pump | Reusing the old pump that caused the failure |
| 6 | Install the balancer with an installer tool, torque to the service-manual spec | Hammering the balancer on |
There is no mechanical timing adjustment on this unit, so there is nothing to set with a light afterward. The water pump and the crank pulley have to come off to reach the cap, the rotor or the unit itself, which is why replacing the pump and the Opti together is the standard advice. While the front of the engine is open, look at the rear intake manifold seal too; it is a known oil leak on the LT1.
"The Opti-Spark gets the blame, but the water pump above it is usually the one that started it. Fix the leak, replace both, and stop treating the ignition as a wear item you buy every two years."
Ray Delgado
Paperwork, cooling and where the money goes
Two more LT1 habits are worth building into the plan. Reverse-flow cooling sends coolant to the heads first and lets the oil run hot, so synthetic oil and an oil cooler are the usual advice. On V8 manual cars the T56's hydraulic clutch is slow to release, which is hard on the synchros and on the 10-bolt rear, so bleed it properly before you judge the gearbox. For the wider history of these cars, the fourth-generation story covers the fourth-gen chapter year by year.
Paperwork matters here, but it looks different from an older car. The stamped plates and broadcast sheets discussed in the build sheet paper trail belong to an earlier era. On a fourth gen, keep the original window sticker, the dealer invoice and every service record, and photograph the car before teardown.
Spend your money in this order: cooling system and ignition on LT1 cars, water management on T-top cars, then the cabin plastics, then paint. Paint first is the most common mistake on these cars. A fresh finish on a car that still leaks water or coolant is a fresh finish you will be taking apart again.
Sources and notes
- Hagerty: fourth-gen F-body buyer's guide and values (Paul Duchene)
- Getting to know the Optispark (Ray T. Bohacz, GM High-Tech Performance reprint)
- Corvette Magazine: replacing the Optispark on an LT1
- WS6.com F-body FAQ: year-by-year changes
- RAC: Chevrolet Camaro 1998 to 2002 review
- Wikipedia: Chevrolet Camaro (fourth generation)
Related Reading
Have a
Chevrolet Camaro
for Sale?
Reach thousands of serious classic car collectors across the US.
Sell It Here →
Selling a classic? Here's how: where to sell your classic car online
Are You a Classic Car Dealer?
List your full inventory and connect with targeted classic car buyers.
Join as a Dealer →
#chevrolet camaro
#camaro restoration
#lt1
#T-tops
#restoration tips
#fourth-generation Camaro
#Opti-Spark

About the author
Ray Delgado
Metal fabricator and chassis builder who has spent 25 years turning flat sheet and mild steel into hot rods, gassers and restomod underpinnings.
Related Listings - Chevrolet Camaro
Comments
Be the first to comment on this article.