
A second generation Camaro resto mod starts the same way every time: with the car on a lift, the front subframe unbolted, and a long look at a leaf-spring rear axle that was designed in the late 1960s. Pro-touring takes a classic muscle car and upgrades the suspension, brakes, drivetrain and looks so it can run with modern performance cars, and then it gets driven, on the street, at autocross, on track. The 1970 to 1981 Camaro is a good base for that, with a few specific problems you need to plan around. This is how those builds are put together, in the order the work should happen. For the broader restomod picture, read more here.
Car Features
7 min read
Second-Gen Camaro Pro-Touring Builds
How a second generation Camaro resto mod is built: the stock chassis, the subframe and four-link package, real builds and the order of work.
What a second generation Camaro resto mod is built on
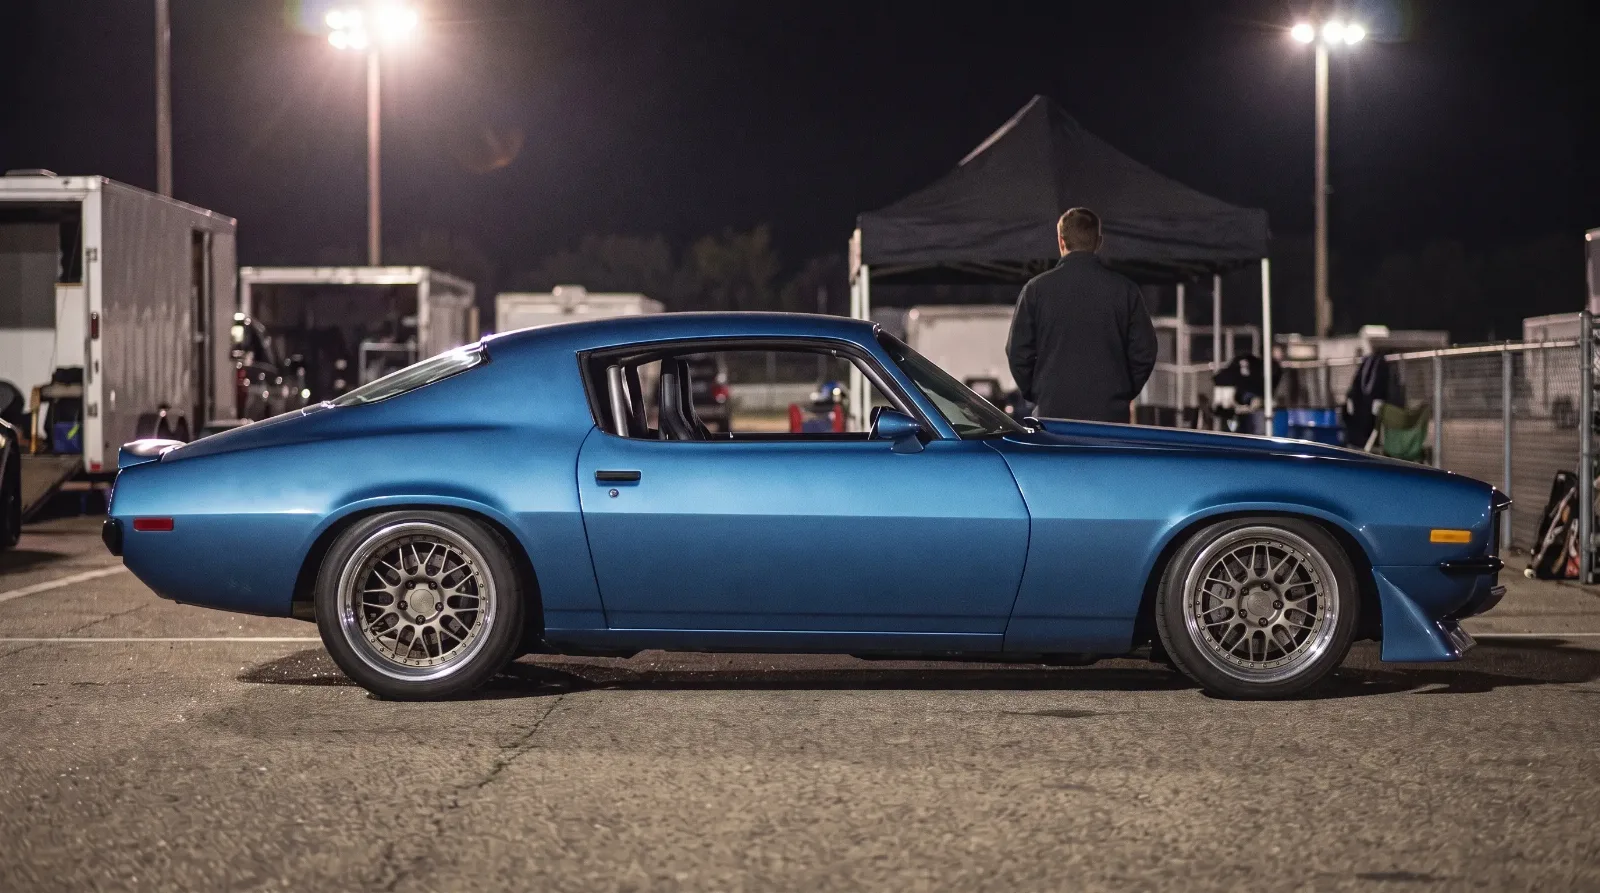
Know the stock car before you start buying parts. The second-gen Camaro is a unibody with a bolted-on front subframe. Up front it uses A-arms with coil springs. Out back it has a solid axle on leaf springs. It rides on GM's F platform and was built only as a coupe. A 1970 car has a 108-inch wheelbase, is 188 inches long and 74.4 inches wide, and the commonly quoted curb weight is 3,310 lb, trim not stated.
That layout tells you where the money goes. The bolted subframe means the whole front suspension, steering and engine cradle can come out as one unit and be replaced as one unit. The leaf-spring rear is the part pro-touring builders replace first, because a leaf spring locates the axle and springs the car at the same time, and it does neither job as well as a modern link setup. If you want the factory history of each model year before you pick a donor, our generation guide has the second-gen years in detail.
Why builders pick the early split-bumper cars
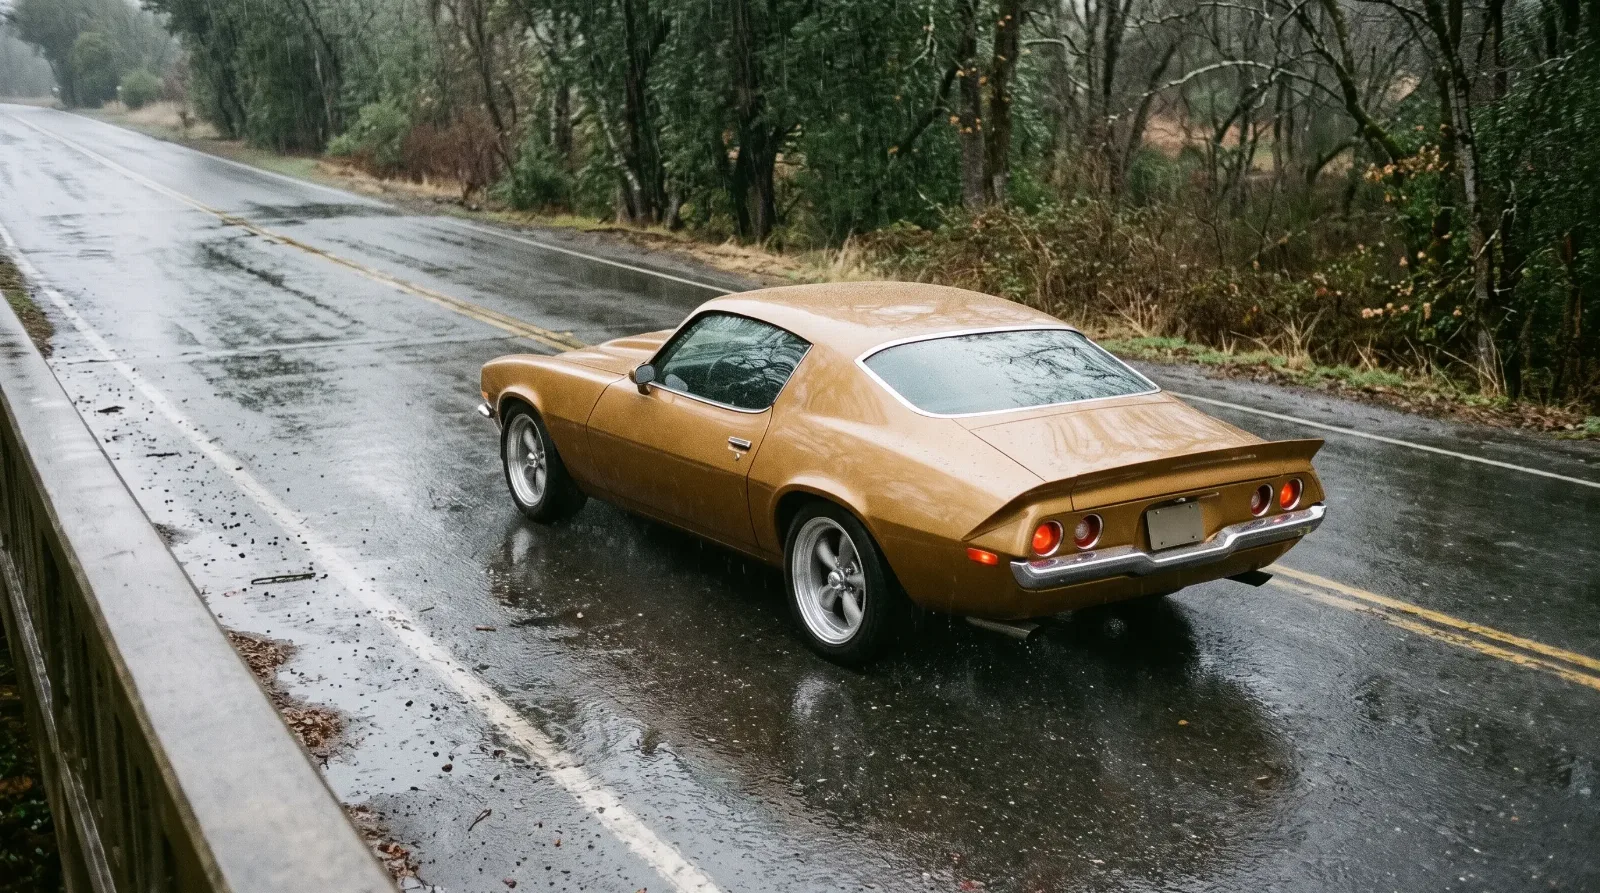
First-gen Camaros are still the builders' preferred base. Second-gens have grown in popularity, and within the generation the early cars get most of the attention. Collectors describe the 1970 to 1973 car's long hood, egg-crate grille, Frenched headlights and chrome bumperettes as arguably the purest of the breed. 1973 was the last split-bumper year. From 1974 the car grew 7 inches with its new bumpers, and later years changed the rear window and the bumper material, so a 1970 to 1973 body and a 1974 to 1981 body need different panels.
Pick the donor for its metal, not its options. A pro-touring build throws away the stock suspension, brakes and usually the engine, so a numbers-matching Z28 is the wrong car to cut on. A rust-free base coupe with straight rails is the right one.
The chassis package and the order to install it
The common second-gen chassis package on featured 1970 builds pairs a Detroit Speed hydroformed front subframe with a Detroit Speed QUADRALink rear, a four-link that replaces the leaf springs. Other builders use Ridetech, Hotchkis or similar systems. Detroit Speed does list its hydroformed subframe for 1970 to 1981 Camaros and Firebirds as a bolt-in replacement for the stock part, but the big-block version calls for 17-inch or larger wheels and C6 Corvette brakes, and Summit Racing lists it at $11,999.95. Whatever brand you choose, confirm fitment for your exact year, engine and wheel size with the maker before you order.
The sequence matters more than the brand:
- Fix the body first. Floors, rockers and rear rails have to be solid before you weld suspension brackets to them. A four-link puts its loads into the rails, not into a spring hanger.
- Square the body. Put it on a frame table or a level floor, take diagonal measurements, and write them down. Every bracket location is measured from these points.
- Mock up the wheels and tires before any cutting in the rear. The tire size decides whether you need to modify the inner wheelhouses, and that decision has to be made before the four-link brackets go in.
- Install the rear suspension, then the front subframe, then set ride height and pinion angle with the car at its finished weight, or as close as you can get it.
- Paint last. Every mock-up step leaves grinder marks somewhere.
The subframe swap is mostly bolts, but the body mounts are where it goes wrong. The factory subframe sits on rubber body-mount bushings. Inspect the body-side mount pads before you hang a new subframe on them, and replace or repair anything that is cracked or thin. A stiff aftermarket subframe on a tired mount pad just moves the flex somewhere you cannot see it.
"Bolt the wheels on before you touch the rear of the car. I have watched people weld in a four-link, paint the wheelhouses, and then find out the tire they bought rubs the frame rail. That is two weekends of cutting out work that was already finished."
Ray Delgado
Three finished cars, part by part
Real builds show the range better than any parts catalog. Two are high-end show cars; the third is a moderate-budget street car that sold at a public auction.
| Build | Engine and gearbox | Suspension | Brakes and wheels |
|---|---|---|---|
| Travis Alford 1970, 2024 Goodguys Muscle Machine of the Year | 416 ci LS3 by Dedicated Motorsports, 532 hp, 11.3:1; TREMEC TR-6060 six-speed | Detroit Speed subframe and QUADRALink; JRi double-adjustable coilovers | StopTech 14-in rotors, 6-piston front, 4-piston rear; Forgeline AL307 18x10 front, 19x12 rear |
| Forgeline 1970, built by Smitty's Custom Automotive (2019) | Lingenfelter-tuned LT4; Bowler-modified TREMEC T56 with ZR1 gears; 3.89 rear | Ridetech Instinct electronic shocks and TigerCage | Baer Extreme 6R 14-in discs all round; Forgeline GX3R 18x11 and 18x12; BFGoodrich Rival S |
| 1972 LS3 street car, sold for $42,800 on Hagerty Marketplace, 17 Oct 2023 | 6.2 L LS3; TR-6060 | Hotchkis Stage II | KORE3 brakes; 10-bolt rear with 3.73 gears |
Look at what the three share. All of them run a modern GM V8 with a six-speed manual, all of them replaced the factory suspension, and all of them use big discs. The difference between the show cars and the street car is mostly in the adjustability and the finish, and the Alford car took seven years to build. The 1972 car kept a 10-bolt rear; if you plan to add power to a build like that, the axle is the first thing to look at.
Where these builds go wrong, and what to start with
Most second-gen pro-touring projects that stall do it for the same reasons: the body was not solid enough when the brackets went on, the wheel and tire choice changed halfway through, or the engine went in before the chassis was finished. Do the work in order and none of those happen.
Pro-touring is also not the only way to modify one of these cars. A drag-focused build puts the money into the rear end and the tires instead of the corners, and the Pro Street Camaro is the opposite philosophy. Owners of 1982 to 1992 cars face a different set of problems, starting with the torque arm and the transmission mount, and the third-gen LS swap covers that platform.
If you are still shopping for a starting point, look at second-generation Camaros for sale with your inspection list in hand: rails, floors, rockers, then everything else. The suspension you can buy. Solid metal you have to find.
Sources and notes
- Pro-Touring, Wikipedia: definition, origins and platform preferences
- Road & Track (2021): Mark Stielow and the 1969 Camaro Tri-Tip
- All Chevy Performance: Travis Alford's 2024 Muscle Machine of the Year 1970 Camaro
- The Shop (2019): Forgeline's 1970 pro-touring Camaro by Smitty's Custom Automotive
- Hagerty Marketplace: 1972 Camaro LS3 pro-touring sale, October 2023
- Summit Racing: Detroit Speed hydroformed subframe for 1970 to 1981 Camaro and Firebird
Related Reading

Have a
Chevrolet Camaro
for Sale?
Reach thousands of serious classic car collectors across the US.
Sell It Here →
Are You a Classic Car Dealer?
List your full inventory and connect with targeted classic car buyers.
Join as a Dealer →
#chevrolet camaro
#ls swap
#restomod
#pro touring
#camaro suspension
#second generation Camaro
#four-link

About the author
Ray Delgado
Metal fabricator and chassis builder who has spent 25 years turning flat sheet and mild steel into hot rods, gassers and restomod underpinnings.
Related Listings - Chevrolet Camaro

Comments
Be the first to comment on this article.