
Picture the person who will buy your car. It is late on a weeknight somewhere a few states away, the house is quiet, and they are scrolling with the patience of someone who has been looking for this exact model for a year. They will never smell the interior or hear the door close. Everything they come to believe about your car, before they ever send you a message, will arrive through a small rectangle of glass. Your photographs are the car, as far as that person knows.
That is why learning how to take pictures of a car to sell deserves an afternoon of its own. The how to sell classic car fast guide covers pricing, listing copy and replies, and it sketches the basic shots. This piece goes further and gives you the whole list: every frame, in the order you walk around the car, with what each one is meant to prove. Print it, bring it outside, and tick the shots off one by one.
Before the first frame: light, place and a clean car
Good photographs of an old car begin long before you lift the phone. Wash the car the day before so you can wipe away the water spots. Clean the glass, vacuum the carpets, take the air freshener off the mirror and empty the door pockets. Skip any shiny spray on the dash or the vinyl. On camera it reads as wet, and to a careful buyer it reads as hiding something.
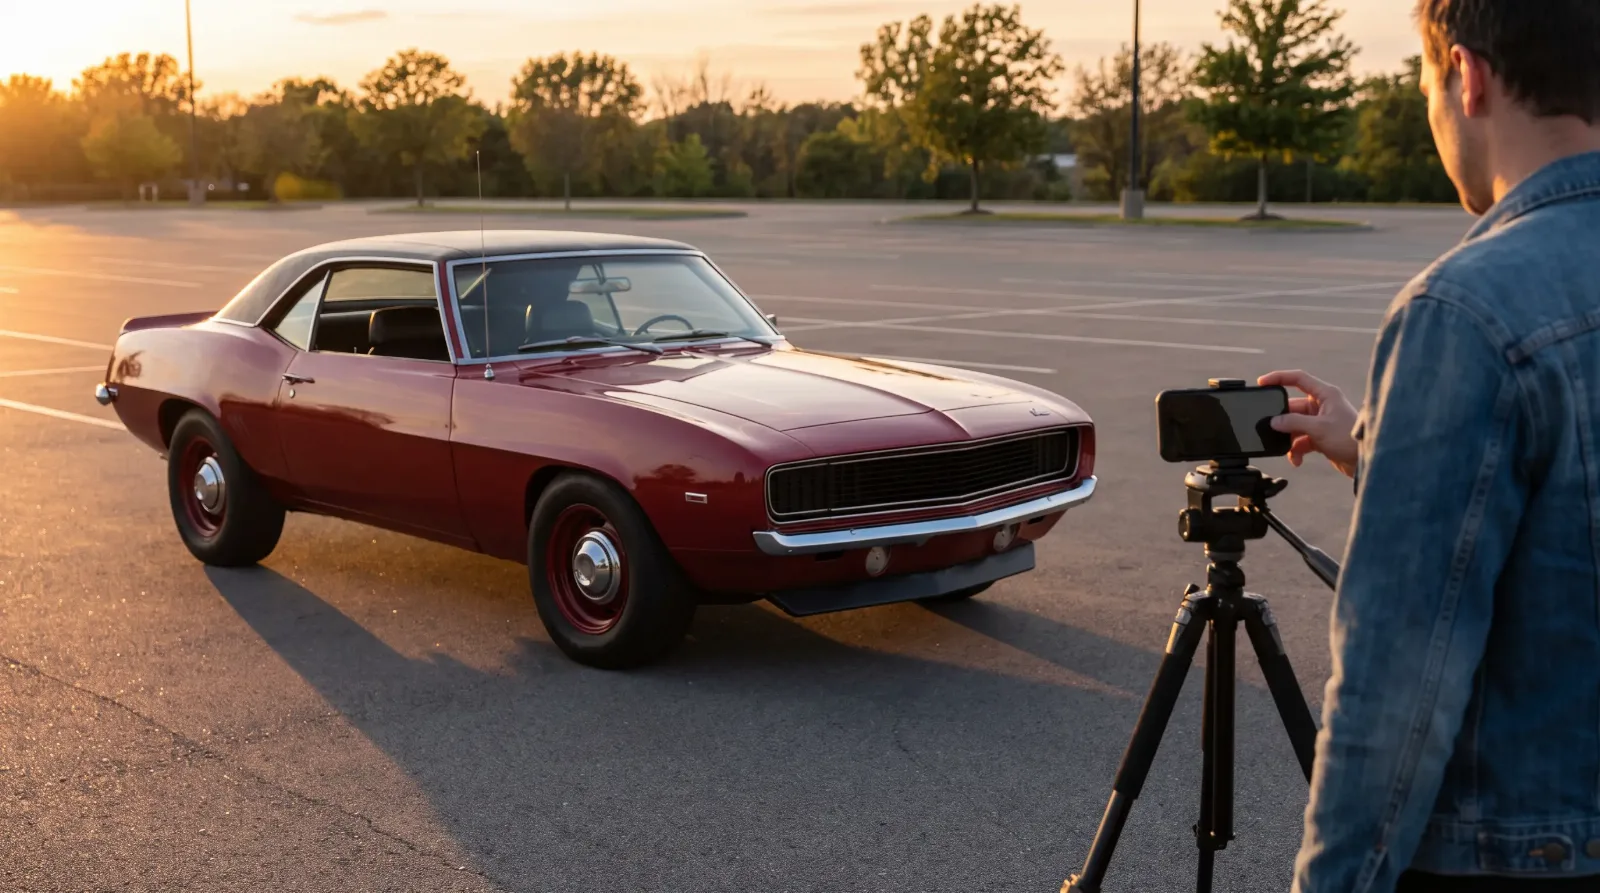
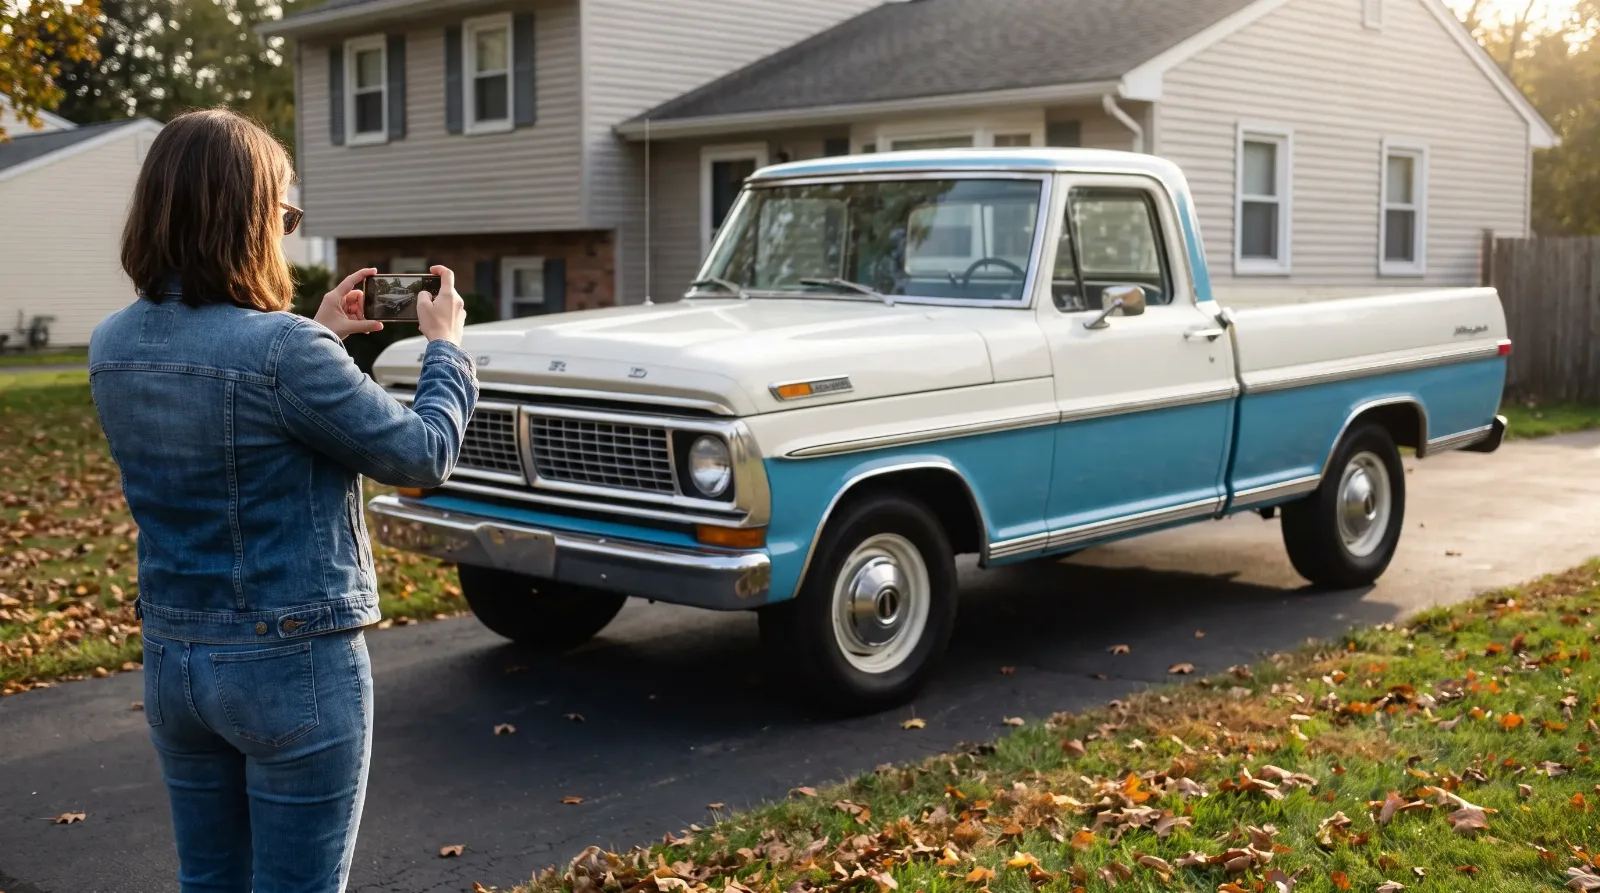
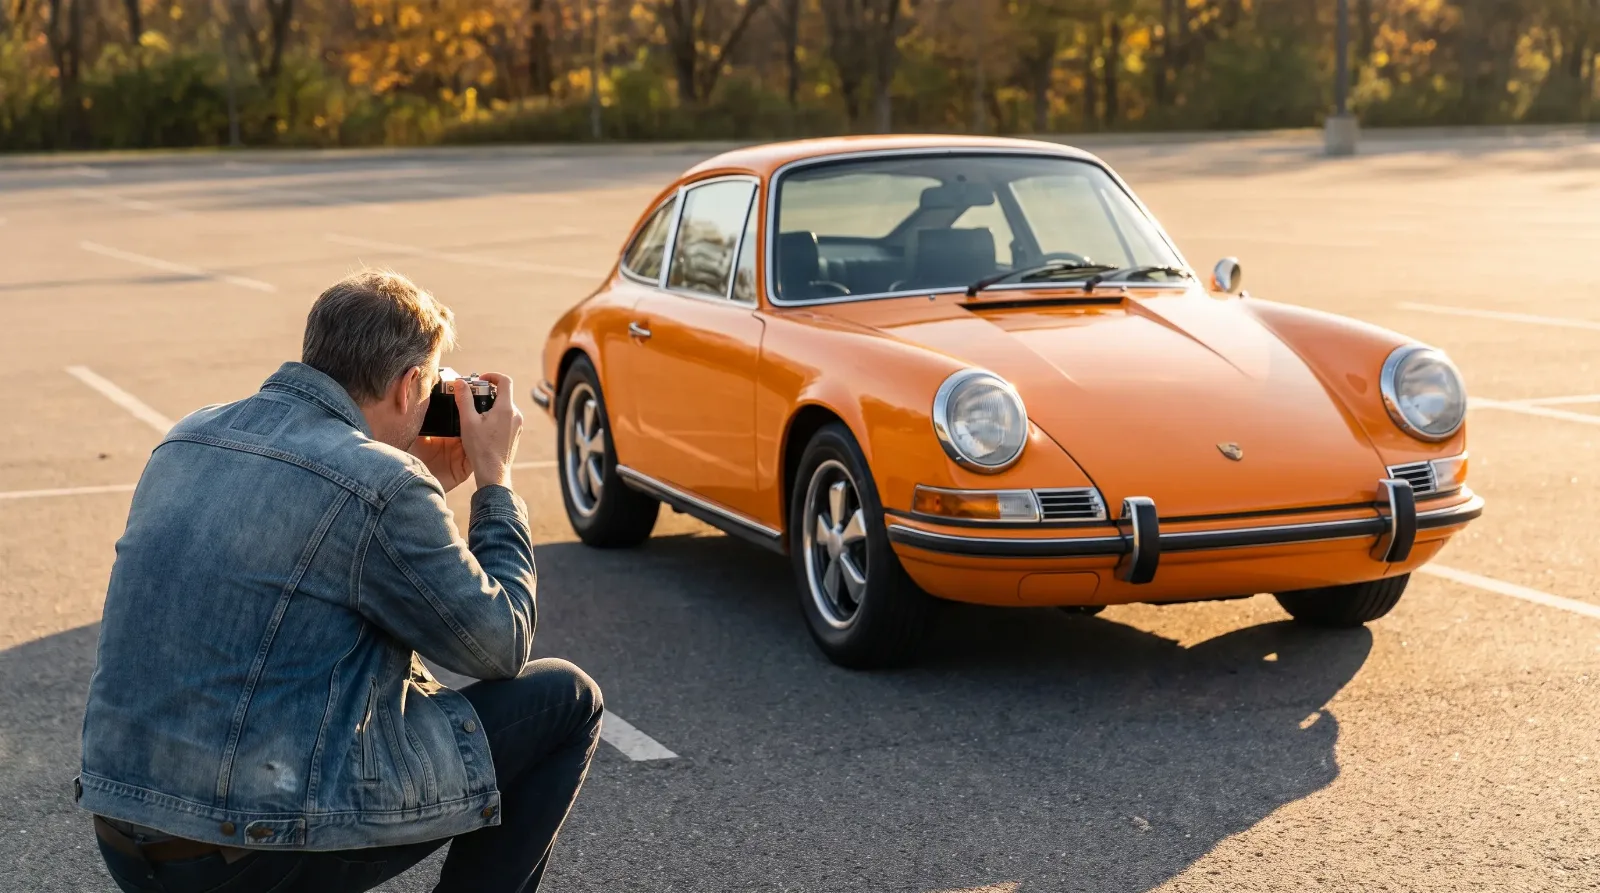
Choose a place before you choose an angle. An empty parking lot on a Sunday morning, a quiet stretch of road with nothing behind it, a plain wall that does not compete with the paint. Avoid your cluttered garage, a row of other cars, or a busy street where your license plates and your neighbor's house end up in every frame. Leave room to step back about twenty to thirty feet, because shooting from farther away and zooming in a little keeps the proportions honest. Wide lenses up close stretch the nose and shrink the tail, and buyers who know the model will notice.
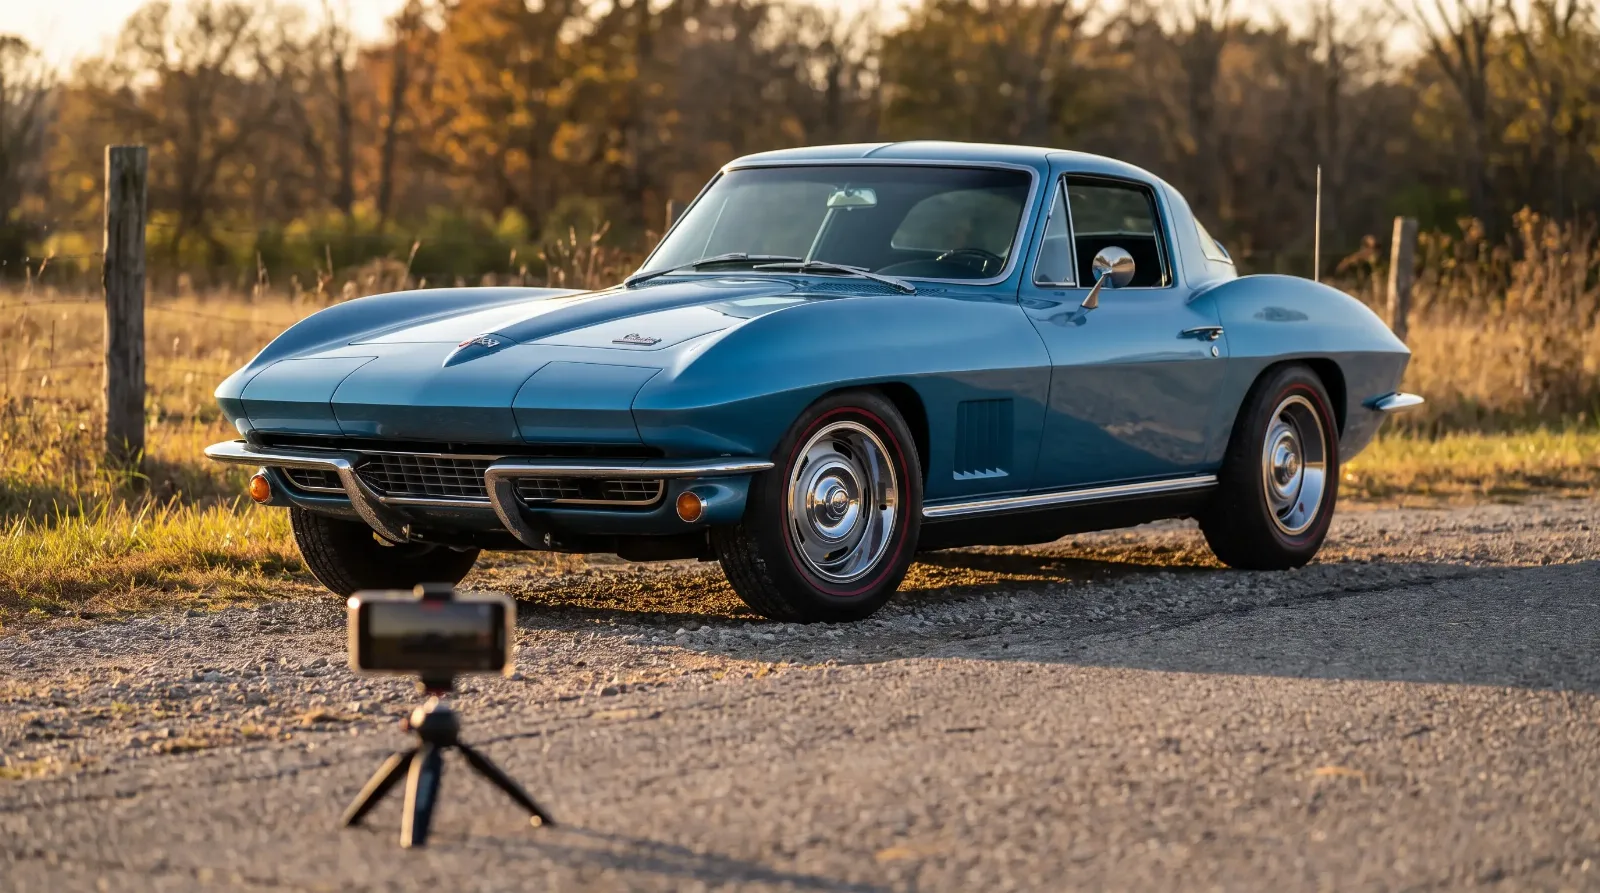
Then wait for the light. Open shade or the soft hour after sunrise and before sunset is kind to paint and honest about it. Midday sun burns reflections into every panel and throws hard shadows into the wheel wells. An overcast day is better than people think: flat, even light shows the true color and the true condition, which is exactly what a careful buyer wants to see.
The shot list, in the order you walk around the car
Work around the car in a single loop, then move inside, then underneath. Following the same order every time means nothing gets forgotten, and it also means the photos upload in a sequence that feels like a walkaround to the person viewing them. Hold the phone horizontally, at roughly the height of the headlights for exterior shots, and keep the whole car in the frame with a little space around it.
| # | Shot | How to frame it | What the buyer is checking |
|---|---|---|---|
| 1 | Front three-quarter, driver side | Wheels turned slightly so the face of the rim shows | Overall stance and first impression. This is usually your lead photo |
| 2 | Straight side profile, driver side | Camera level with the middle of the door, car square to the lens | Ride height, panel gaps, straightness of the body line |
| 3 | Rear three-quarter, driver side | Same distance and height as shot 1 | Quarter panel shape, tail lights, bumper fit |
| 4 | Straight rear | Centered on the trunk lock or tailgate handle | Symmetry, sag, exhaust tips, chrome |
| 5 | Rear three-quarter, passenger side | Mirror of shot 3 | The side most sellers forget to show |
| 6 | Straight side profile, passenger side | Mirror of shot 2 | Damage or color mismatch on the less visible side |
| 7 | Front three-quarter, passenger side | Mirror of shot 1 | Fender and door fit on the passenger side |
| 8 | Straight front | Centered on the grille, headlights level | Grille, bumper, trim, any lean to one side |
| 9 | Each wheel and tire, close | Fill the frame with one wheel, sidewall readable | Wheel style, curb rash, tire wear and brand |
| 10 | Paint along each side, low angle | Camera near the rocker, looking down the length of the car | Ripples, waves and filler under the paint |
| 11 | Lower edges and rockers | Crouch at each corner, light on the panel | Rust bubbles, dents, undercoating |
| 12 | Driver door open, wide | From outside, showing seat, door panel and sill | Interior condition and wear on the entry side |
| 13 | Dashboard, full width | From the back seat or the open door, level | Cracks, warping, original radio and switches |
| 14 | Gauges with the engine running | Close, sharp, odometer readable | That the instruments work and what the odometer shows |
| 15 | Front seats | Both seats in one frame, then each bolster close | Tears, sagging, upholstery type |
| 16 | Rear seat or cargo area | From the open rear door or over the seatback | Wear, stains, condition of the rear trim |
| 17 | Headliner and carpet | Looking up, then looking down at the footwells | Sagging, water stains, worn carpet at the heel pad |
| 18 | Door panels and sills | Each door open, one frame per door | Panel damage, kick-plate wear, tag on the door jamb |
| 19 | Trunk, lid open | Wide, showing mat, spare and jack | Completeness and general condition |
| 20 | Trunk floor with mat lifted | Straight down, flash on if needed | The rust or patch panels sellers sometimes hide |
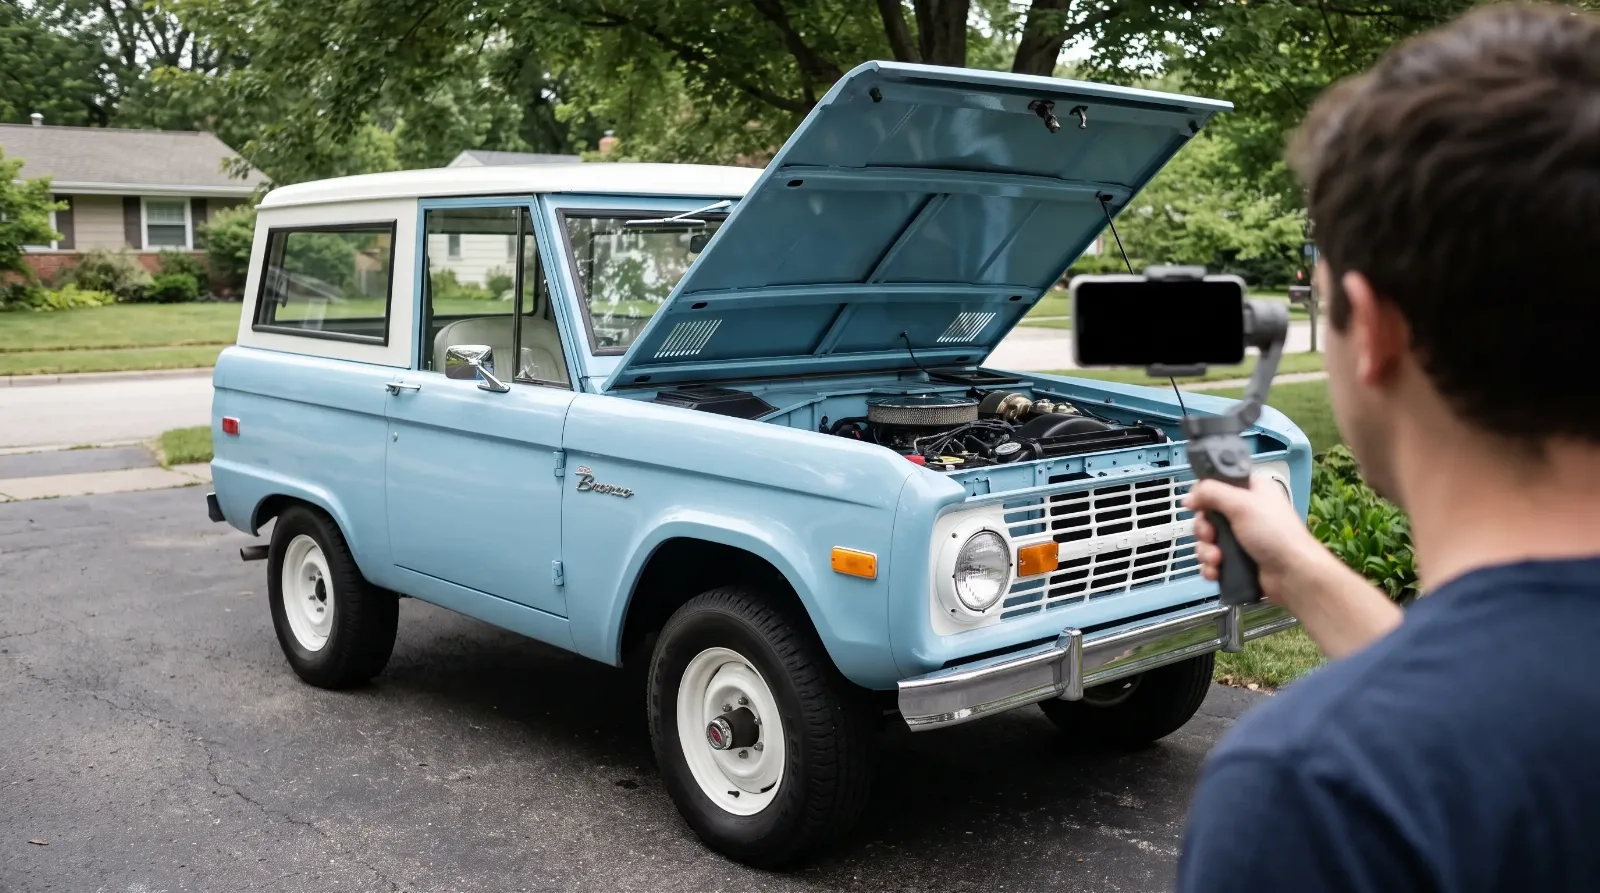
| 21 | Engine bay, wide | Hood fully open, from the front, slightly above | Overall care, originality, obvious leaks |
| 22 | Engine bay, each side close | One frame driver side, one passenger side | Wiring, hoses, aftermarket parts |
| 23 | Engine numbers and casting marks | Close and sharp, cleaned before shooting | Whether the engine is the one the car left the factory with |
| 24 | Undercarriage, front | Phone on the ground under the bumper, angled back | Front frame rails, steering, oil leaks |
| 25 | Undercarriage, middle and rear | From each side, aimed at the floors | Floor pans, rockers from below, exhaust, rear axle |
| 26 | VIN plate and trim or data tag | Straight on, every character readable | Identity of the car and its factory build |
| 27 | Title, with personal details covered | Flat on a table, owner name and address hidden | That a clean title exists and matches the car |
| 28 | Documents and receipts | Spread out in one frame, then key pages close | Service history, restoration work, provenance |
| 29 | Keys, manuals and extras | Laid out together on a plain surface | What comes with the car |
| 30 | Every flaw, close | One frame per flaw, with a wider frame showing where it is | That you have hidden nothing |
Thirty frames is a full set for a driver-quality car. A restored car with a thick folder of receipts may earn ten more, and a rough project may need extra underside and rust shots in place of interior detail. The list bends to the car. The habit of walking it in order does not.
Photos that read as honest
The quiet goal of every frame is trust. A buyer studying your pictures is not only asking what the car looks like. They are asking whether you are the kind of seller who shows everything. The fastest way to answer yes is shot 30. Photograph every chip, every dent, every tear and every rust bubble, close enough to see it and paired with a wider frame that shows where on the car it lives. A flaw that appears in your photos and your description becomes a known quantity. A flaw a buyer discovers in person becomes a reason to wonder what else you left out.
Leave the filters alone. No warm tones, no added contrast, no portrait mode blurring the background, no cropping that happens to cut off a fender. If the color on screen differs from the color in the driveway, a buyer who drives four hours to see a car that is not the shade they expected will lose faith in everything else you showed them. Keep the white balance natural, and if your phone makes the paint look brighter than it is, shoot on an overcast day to bring it back to the truth. The reasoning behind why more pictures tend to move a car faster is in our piece on classic car listing photos, and honesty is the whole reason it works.
Video, order and the final upload
A photo shows what the car looks like. A short video shows what it is like. After the stills, record a slow walkaround in the same light, then a cold start with the camera first at the tailpipe and then at the engine bay. Keep it unedited and a few minutes long at most. Buyers listen for the start, the idle and the first few seconds of exhaust more than they watch for cinematic angles.
When you upload, put the strongest front three-quarter first, since that frame becomes the thumbnail in search results and decides whether anyone clicks. After that, keep the walkaround order from the table, then interior, engine, underside, documents and flaws. A buyer who scrolls through photos that move around the car the way a person would walk it feels like they have already seen it in person. Check how many images the site accepts before you choose your final set; caps vary widely, and if you are still deciding where to list, every option compared lays out the differences.
"The photographs that sell a car are rarely the beautiful ones. They are the patient ones, taken in plain light by someone willing to show the rust under the trunk mat. A stranger can feel that patience through a screen."
— Nora Beckett
Putting the shot list to work
Set aside two hours, not twenty minutes. Charge the phone, wipe the lens, and bring a flashlight and a piece of cardboard to lie on underneath. Shoot more than you need, then cull the blurry and the repetitive, and edit nothing beyond straightening a crooked horizon. Keep the full set in a folder; the same photos will serve your listing, your posts in owner groups and the follow-up messages when a buyer asks to see the passenger floor one more time.
On ClassicCarsArena you pay one flat listing fee with no commission, and the listing stays up until the car sells, so the work you put into these thirty frames keeps doing its job for as long as it needs to. When the folder is ready, start selling and let the photographs make the first introduction.
Sources and notes
- ClassicCars.com: private seller packages and photo limits
- ClassicCars.com: how to sell a classic car or truck (photo and description advice)
- eBay: fees for selling vehicles on eBay Motors
- AutoTrader.ca: how to photograph your used car for sale
- Apple: iPhone 17 technical specifications (main camera 26mm, 2x at 52mm)