
Everyone who has restored a car says the same thing: the last ten percent takes half the time. Bodywork is done, paint is cured, the engine runs on the stand. Then the car can sit for many more months. This article explains why, and what to do about it. The comparisons below are rough field impressions, not measured data.
Restoration & Tech
6 min read
Reassembly: Why the Last 10% Takes Half the Time
Reassembly is where most car restorations stall. See why the final stretch eats so much time, how to sequence the build, and how to plan the shakedown.
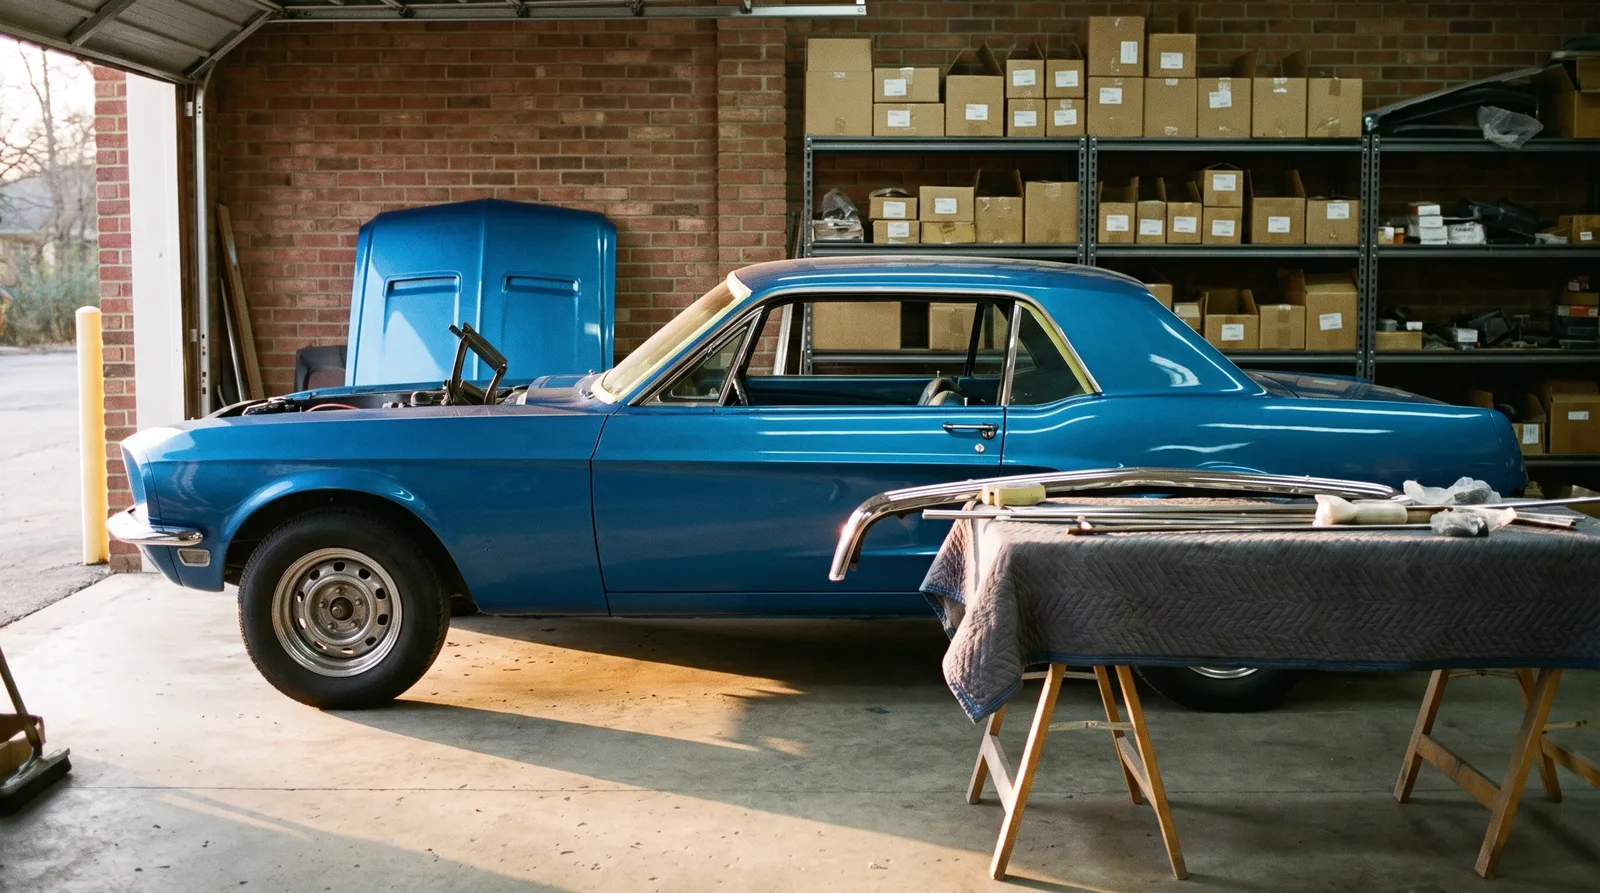
Why the end of the job drags
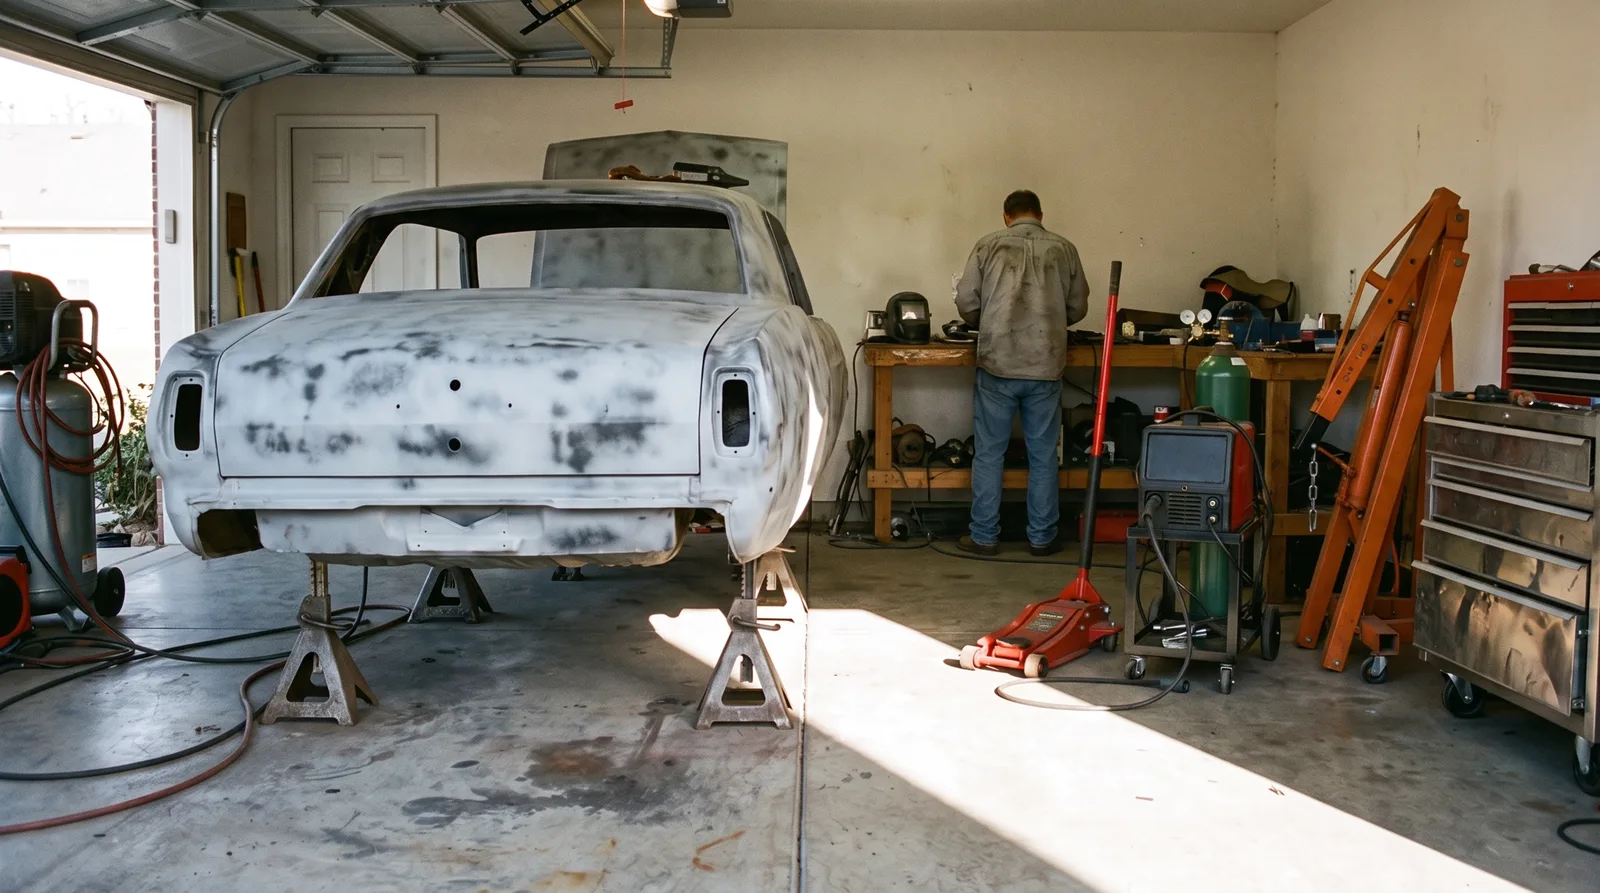
Early phases have large, visible progress. A stripped shell becomes a straight shell becomes a painted shell. Reassembly progress is made of hundreds of small steps, each one invisible from across the garage. Every part goes in once. Every part also has to fit, seal, clear its neighbors and survive the first drive.
Fit problems also surface late. A reproduction panel that was close enough in primer is 3 mm off with fresh paint on it. A bracket that bolted up to the old car does not line up with the new one. Parts that were sent out for rebuilding return with a different bolt pattern, and no one noticed because nothing was dry fitted.
The bag-and-tag lie
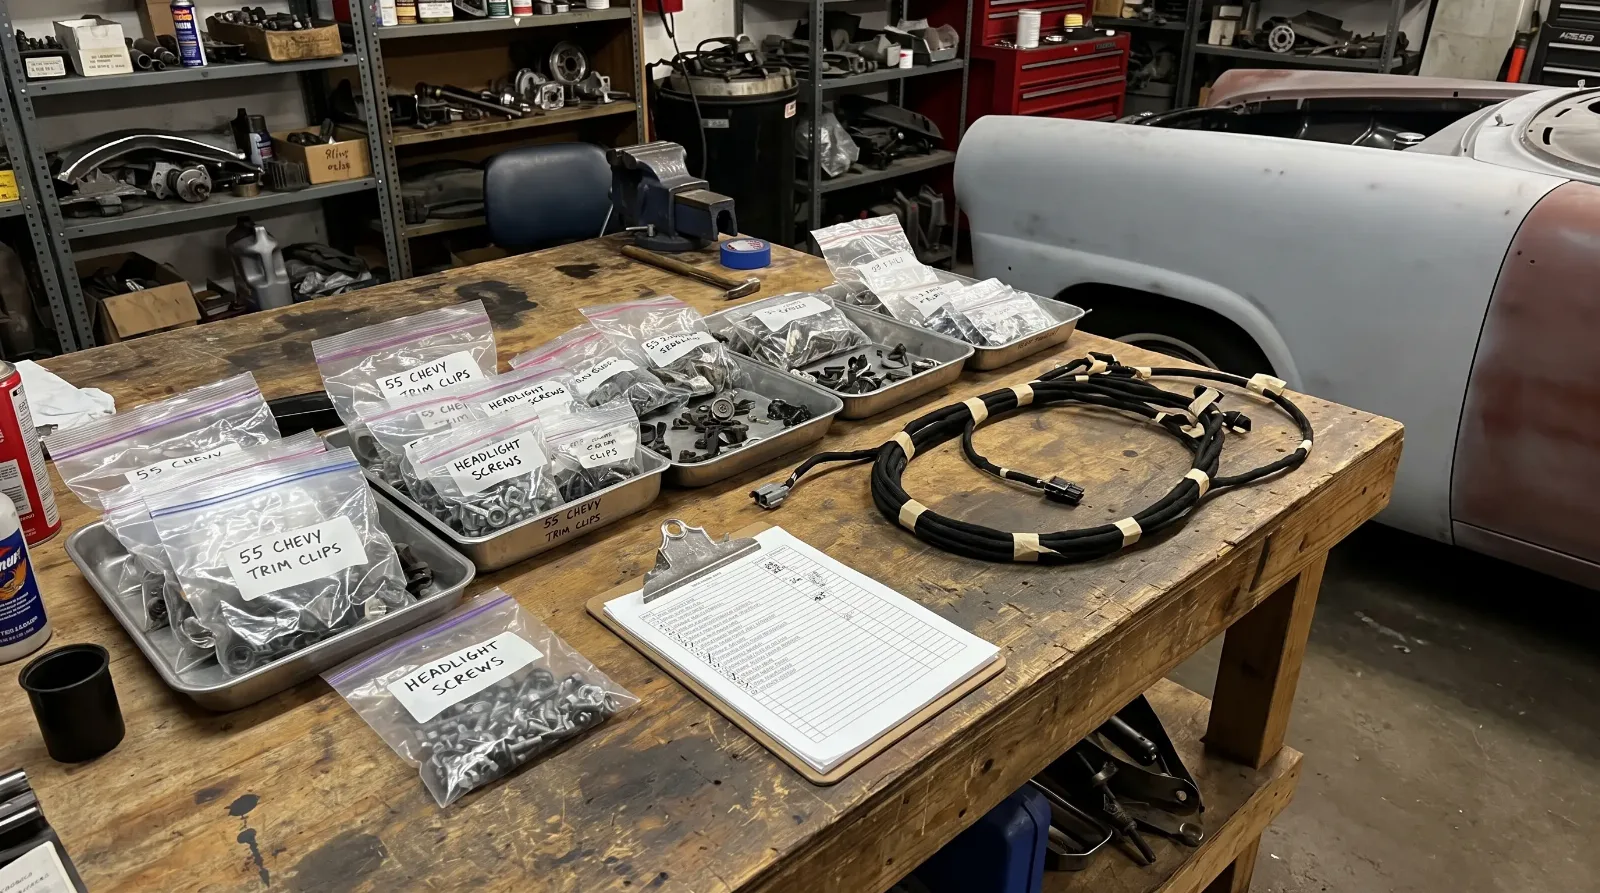
Disassembly photos and labeled bags feel like a complete record. They rarely are. Photos miss the hidden side of a bracket. Bags get split between boxes. By the time a car is two years into a restoration, a carefully labeled bag of fasteners reads "misc front end" and nobody remembers which one held the horn relay. Build a parts inventory on a spreadsheet at the start and check parts off as they go back on.
Order of assembly
The correct sequence matters more than speed. Install wiring harnesses, brake and fuel lines and sound deadener before the dash, glass and interior. Fit the glass and the weatherstrip before final trim, and check door and trunk fit with seals in place. Install fragile items such as chrome trim and badges last, after the car has been through its first shakedown and the leaks have been found.
Almost every restorer has a story of installing something twice. The windshield goes in before the dash pad, the dash pad is wrong, and now the windshield comes out. A written sequence, taped to the garage wall, prevents most of it.
The parts that stall a build
- Reproduction chrome and trim that does not fit without adjustment
- Wiring harnesses with a wrong connector or a missing circuit
- Glass and weatherstrip that need trial fitting before paint, not after
- Fasteners, clips and small hardware that nobody listed
- Rebuilt components that came back late or wrong
Shakedown, not delivery
A new restoration is not finished when it first starts. Plan on a shakedown period of several hundred miles, during which fluids are rechecked, bolts are retorqued, brakes are bedded and leaks are chased. Parts fail in early use that were fine on the bench. Budget time for it, and set aside some money for the fixes it will find. Many builders recheck fasteners after the first few hundred miles and go easy on the brakes while they bed in.
| Phase | Share of visible progress | Share of calendar time (qualitative) |
|---|---|---|
| Teardown and metalwork | Large | Substantial |
| Paint and body finishing | Large | Moderate |
| Mechanical rebuild | Moderate | Moderate |
| Reassembly and shakedown | Small per step | Often the largest share |
The calendar column is a qualitative impression based on how restoration projects commonly run, not a published study. The point is the shape: the last phase has the biggest share of the clock.
Sourcing and the small stuff
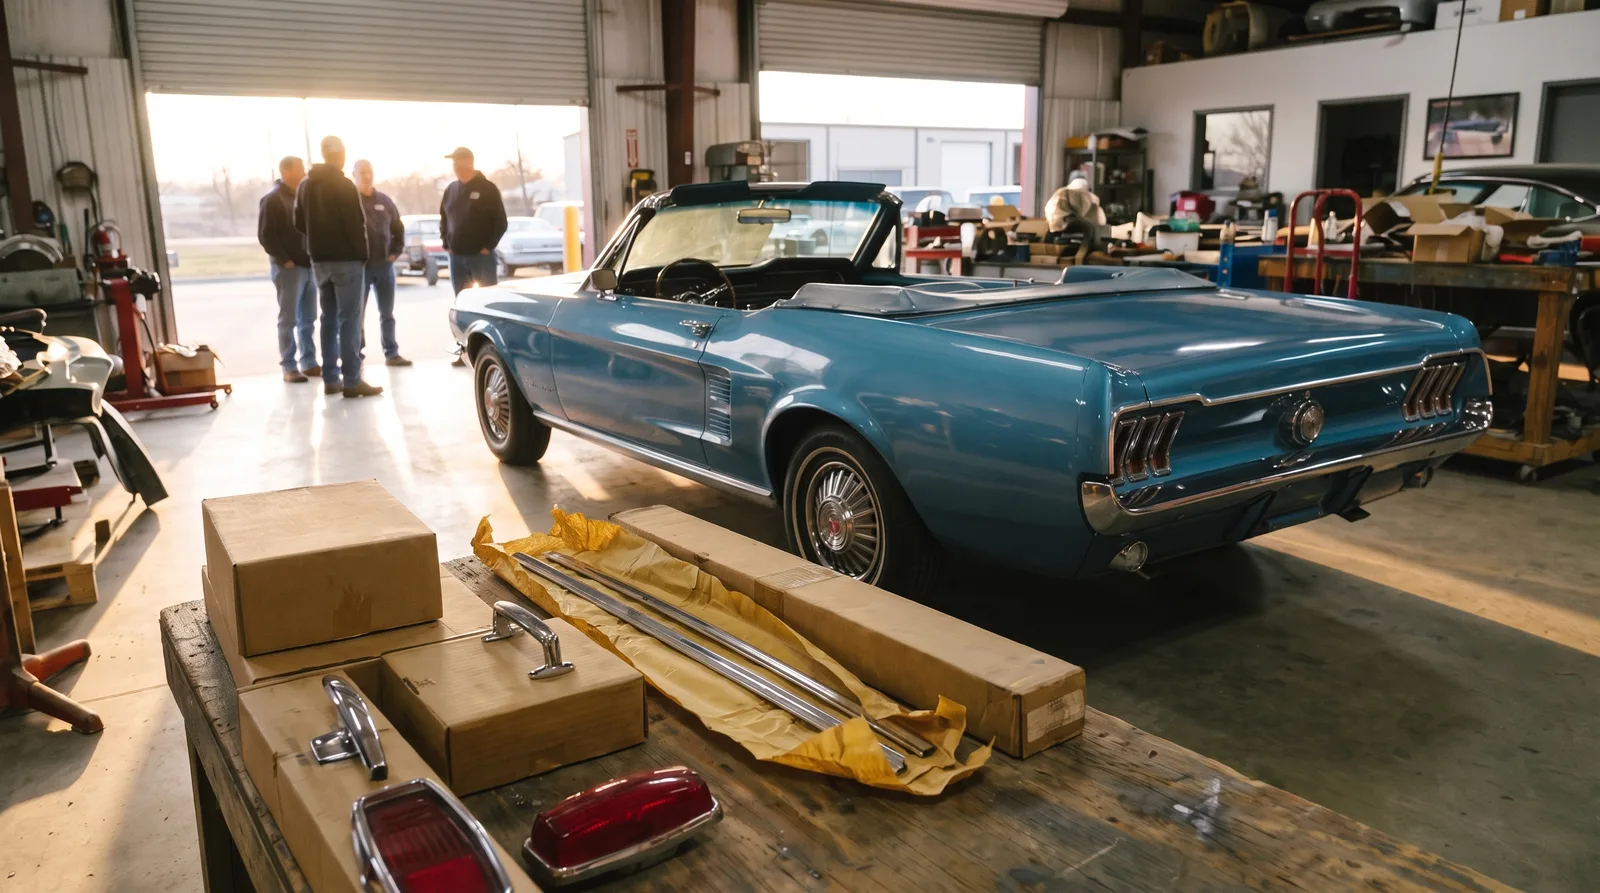
Small parts cause more delay than big ones. Clips, grommets, screws, brackets, weatherstrip and lenses are cheap, but each one has its own supplier, and some are no longer made. A car that is finished except for one missing window crank is still not finished. Order small parts early, and keep a short list of what is on backorder so a delay does not catch you by surprise at the end.
Reproduction quality varies a lot. When a part arrives, fit it to the car at once, even if that is months before assembly. Returns are far easier within a few weeks of purchase than a year later. Photograph and label every part that comes back from a plater, a machine shop or an upholsterer, and check it against the original before signing off.
Keep a running punch list in the final stretch. Number every item, from a misaligned door to a missing screw, and cross them off as they are fixed. It sounds tedious. It is the difference between a car that is done and a car that is always almost done.
How shops handle it
Good shops order every part before paint, dry fit the entire car, and then take it apart again. That doubles some labor, but it is cheaper than finding a problem after the paint is on. If you are hiring out the work, look for a shop with a reassembly record: finished cars you can see, drive and ask owners about. A shop that shows you only shiny bodies has not shown you the hard part.
What to do at home
Decide your finish level early, because it governs how much is worth the effort. A show car lives or dies on small fit details. A driver can accept a few cosmetic compromises. Our guide to restoration levels from driver to concours explains the tiers so you can pick before the first bolt is removed.
Then set up for the long stretch. Clear a bench, put up shelves, and keep a notebook of every part ordered, received and installed. And make sure your garage has the tools you need before the car is assembled, because trimming a door gap or torquing a hub nut with the wrong tool in the last month will cost more than any of the earlier work.
"Ninety percent of the car looks done. The last ten is where you find out what you forgot to write down. Do the dry fit, keep the list, and do not rush the shakedown."
Dan Reeves
Finish properly and the car will hold up for decades. Rush the end, and every rattle and drip will remind you which shortcut caused it.
Sources and notes
- Tips for vehicle reassembly (AutoRestorer), reassembly usually runs opposite to the disassembly order, and a written list of missing clips and screws helps
- 5 top tips for reassembling a car after having it painted (Mighty Car Mods), cataloguing parts early, cleaning threads and protecting fresh paint at the jambs
- Dry fitting and seam sealing (Classic Car Restoration Club), the case for fitting every component together before paint
- Bedding your brakes (Old Cars Weekly), bedding procedure and avoiding heavy braking for the first 400 to 500 miles
- Finding the gremlins in a rebuilt 1974 Oldsmobile Omega (The Drive), a rebuilt car first drive turning up a pulling brake, a linkage needing adjustment and tire vibration
Related Reading
Have a
Classic Car
for Sale?
Reach thousands of serious classic car collectors across the US.
Sell It Here →
Selling a classic? Here's how: sell my classic car
Are You a Classic Car Dealer?
List your full inventory and connect with targeted classic car buyers.
Join as a Dealer →

About the author
Dan Reeves
Performance engine builder from North Carolina's motorsports corridor, focused on swaps, forced induction and making real, repeatable power.
More in Restoration & Tech
Comments
Be the first to comment on this article.