
A fellow at our local club once swore his speedometer was off by a mile a minute, and for a year the whole parking lot argued about it. Then somebody put a handheld GPS on the dash and the argument ended, because the needle was fine. The cable was kinked and the drive gear was dry. The paperwork was a shop invoice from twelve years earlier, and it said exactly that. Gauges usually fail in small, boring ways, and gauge restoration mostly means working out which small way you have.
Restoration & Tech
6 min read
Gauge and Instrument Cluster Restoration
How to restore a classic gauge cluster: diagnosing dead needles, cleaning and repainting faces, fixing the voltage limiter, and handling odometer work the legal way.
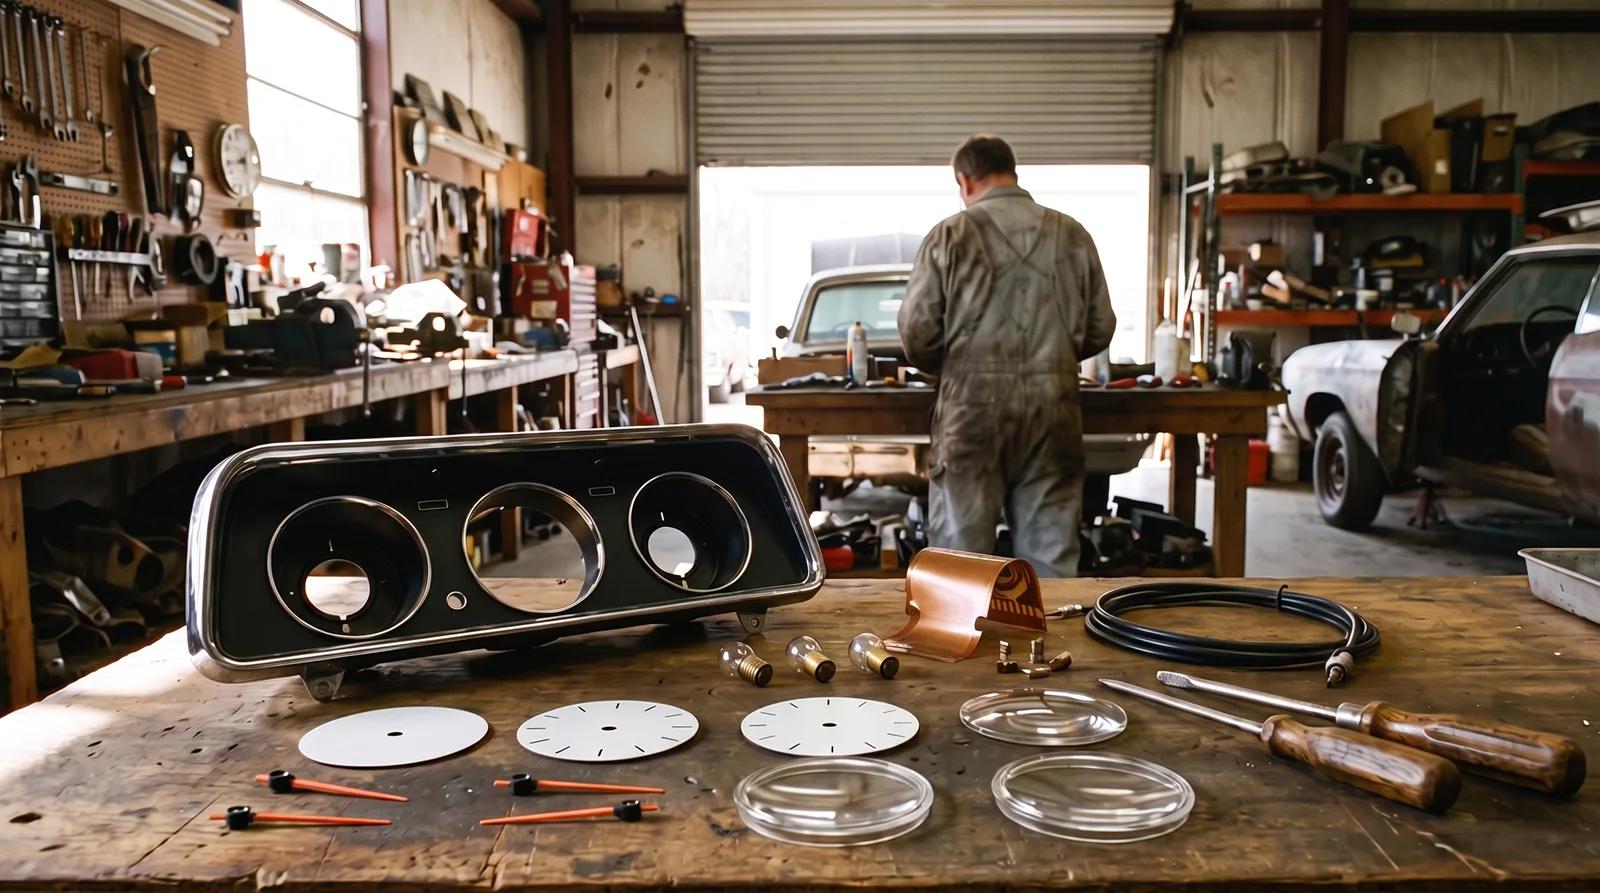
The cluster is also one of the most looked-at parts of the cabin. The faces, the lenses and the lighting set the tone for the whole interior, which is why it belongs in the plan for the rest of the interior rather than being treated as an afterthought.
Diagnose before you disassemble
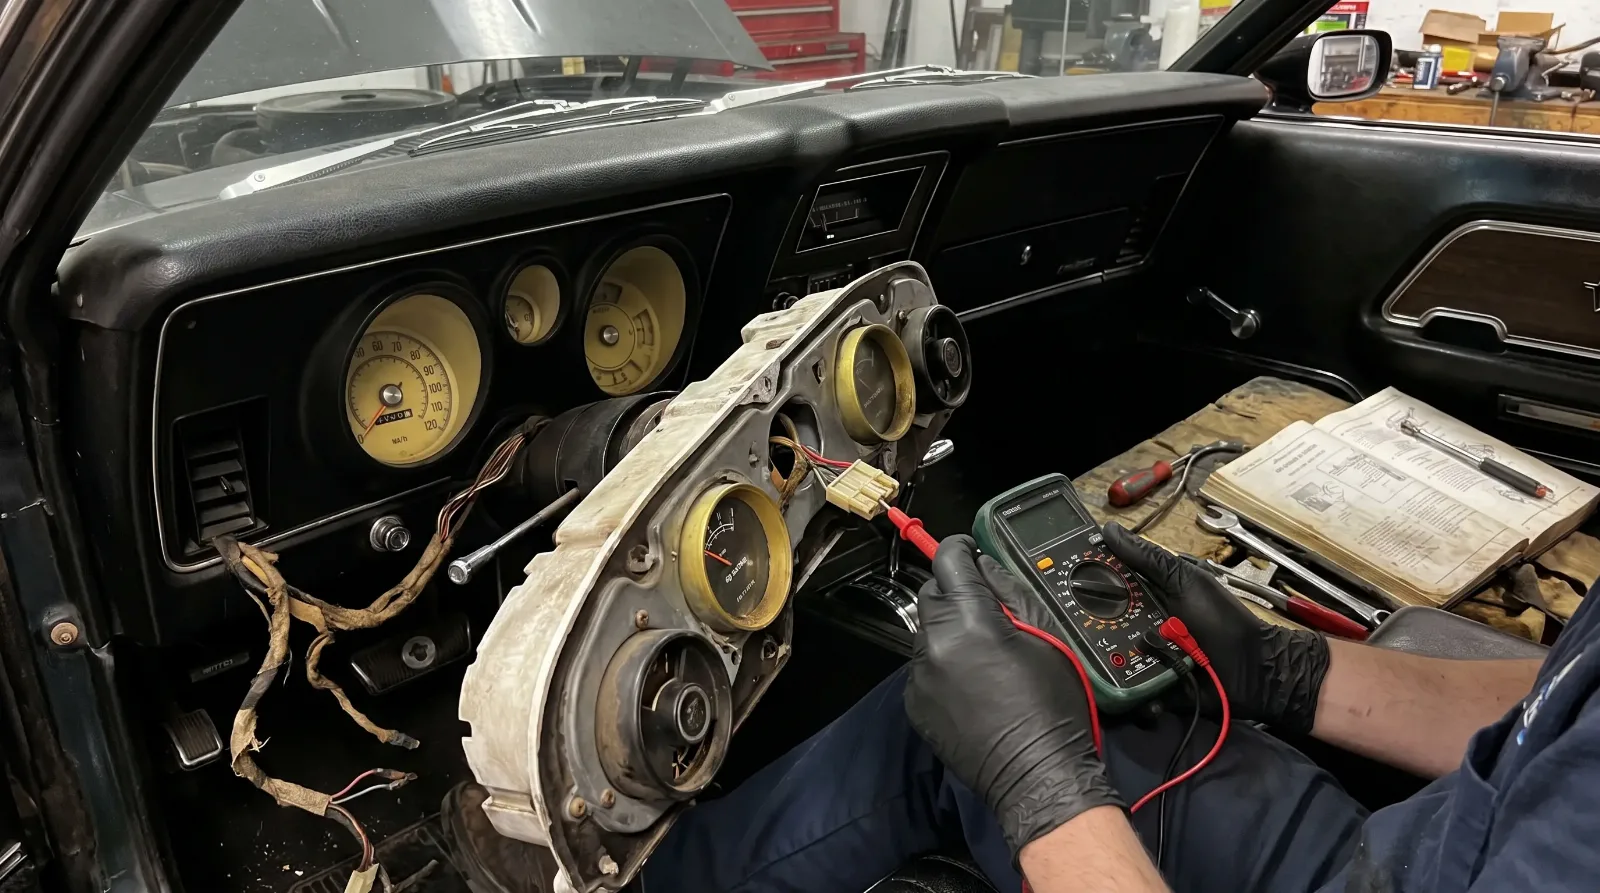
Dead gauges are rarely dead. On many 1960s and 1970s American cars the fuel, temperature and oil readings run through a single instrument voltage regulator, a small bimetallic device whose heating coil opens and closes contact points to hold the average supply to the gauges at a few volts (figures of about 4 to 5 volts are quoted, depending on the design). When it sticks or its contacts burn, the gauges it feeds misread together, and the fault is often a small, inexpensive part rather than a cluster rebuild.
Work down a short list before you pull anything. Check the ground at the cluster and at each sending unit, then the supply fuse, then the regulator, then the sender. Only after those pass should you condemn the gauge itself.
| Symptom | Likely cause | First check |
|---|---|---|
| All gauges read high or low together | Voltage limiter | Replace the regulator |
| One gauge pegged or dead | Sender or wiring | Ground the sender wire, watch the needle |
| Speedometer needle jumps or sways | Dry or kinked cable | Lubricate, re-route, test off the car |
| Odometer will not count | Worn plastic drive gear | Inspect and replace the gear set |
| Dim or uneven lighting | Bulbs, sockets, printed circuit | Replace bulbs, clean sockets, check traces |
The sender is the part people forget. A fuel sender with a corroded float arm or a worn resistance track will mimic a broken gauge, and bench testing it with a multimeter takes five minutes.
Faces, lenses and needles
Once the cluster is on the bench, the cosmetic work starts. Faded faces, yellowed lenses and flaking needle paint are what most owners see, and each has a fix. Original faces are often printed paper or painted aluminum, and the correct approach depends on how much printing survives. A clean face with minor aging is better left alone, since reprinting loses period character and the right typeface is hard to reproduce.
For faces beyond saving, reproduction overlays and printed faces exist for many popular models, and a few specialist shops can duplicate a face from the original art. Needles are repainted with a luminous or fluorescent paint matched to the original color, and fitted at the correct zero position, which you must mark before removal.
A word of caution on very old dials. Some older dial instruments used radium based luminous paint on the numerals and needles, and flaking radium paint is hazardous if inhaled or ingested. If a face glows faintly in the dark with no light source, or shows a flaking greenish deposit, do not sand it or breathe the dust. Have it assessed by someone who handles such parts, and do not repaint it at the kitchen table.
Lenses are usually plastic and yellow with age. Light polishing helps on scuffs, but crazed or cloudy lenses should simply be replaced. A new lens can brighten an entire dashboard.
Odometers, legality and honesty
This is where restorers get into trouble. Fixing a stuck odometer is legal. Winding a number back to improve a sale price is not, and it is a federal offense, and a knowing and willful violation can carry up to three years in prison. If a cluster repair involves rolling the odometer, document the reading before you start, photograph it, and keep the shop paperwork with the car.
Many buyers now ask for that paper trail. A repair invoice with before and after mileage can settle a mileage question years later, much as a build sheet settles an option argument. If the original odometer cannot be repaired, the replacement should be labeled correctly and the change recorded in the car's file.
"Every number on the dash is a claim about the car. Write down what you did to it, and the next owner will trust the rest."
Wayne Coburn
Keeping it original or modernizing
Some owners prefer a modern cluster with accurate electronics, a tach that actually works and a built in warning set. That is a legitimate choice on a driver, and a growing number of builds go that way. If you are curious how those conversions look in practice, browse restomods with modern gauges in the current listings, and our feature on digital gauge and audio upgrades walks through what the conversion involves.
For a restoration that has to stay correct, the decision is simpler. Keep the original cluster, repair what is failing, and store any removed parts with the car. Sender and wiring problems often overlap with the electrical and mechanical work under the hood, so it pays to plan the two together, especially if the engine is out and the harness is exposed.
Reinstallation and final checks
Reassemble the cluster on the bench and test it on a battery before it goes back in the car. Calibrate against a known speed if the speedometer was serviced, because a GPS or a radar sign will tell you quickly whether the drive ratio is right.
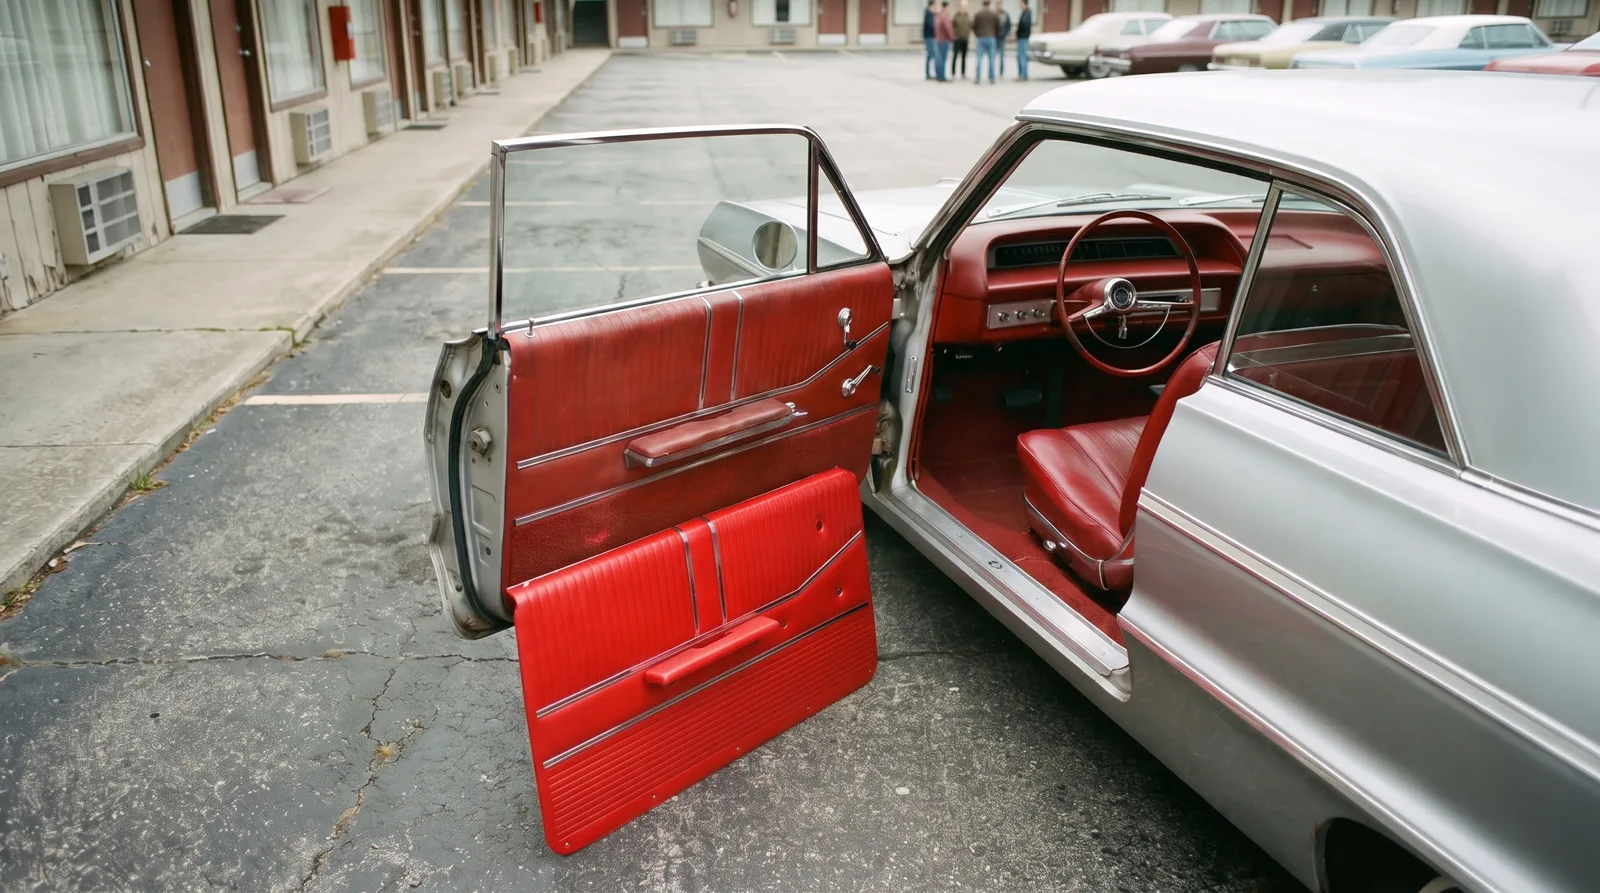
Then move on to the surrounding trim. With the dash open, it is a sensible moment to look at door panels, since both jobs share wiring, clips and matching trim finishes.
Sources and notes
- 49 U.S. Code 32704, odometer service, repair and replacement, supports the zero reset and left door frame notice rule
- 49 U.S. Code 32703, prohibited odometer acts, supports the ban on altering an odometer to change the mileage it shows
- 49 U.S. Code 32709, penalties and damages, supports the criminal penalty of up to three years
- Early A-body instrument regulators (Slant Six Club), explains the bimetal pulsing voltage regulator feeding fuel and temperature gauges
- Radium dial (Wikipedia), background on radium luminous paint on instrument dials and the hazard of flaking paint
- NRC backgrounder on radium, history of radium luminous paint and its health risks
Related Reading

About the author
Wayne Coburn
Longtime Corvette owner, judge and club figure who knows the cars, the records and the people behind them.
More in Restoration & Tech



Comments
Be the first to comment on this article.