
A fellow I knew spent a winter rebuilding a set of valve covers, and he was proud of them. Fresh paint, new gaskets, and a handful of shiny bolts from a hardware store bin, all the same grade, all the same bright zinc. At the next judged meet a judge walked past the paint, crouched, and tapped one bolt head with a pencil. The factory had used a dull, slightly gray finish on a stamped head, and the judge could see the difference from three feet away. He lost points on a part nobody notices until somebody does. That is the whole story of fasteners in a restoration: they are small, they are everywhere, and they are one of the first places a rebuilt car gives itself away.
Restoration & Tech
7 min read
Correct Fasteners and Hardware: Head Markings and Plating
Head markings, grades and original plating decide whether restored hardware passes a close look. Learn what to keep, replate or replace, and where safety overrides originality.
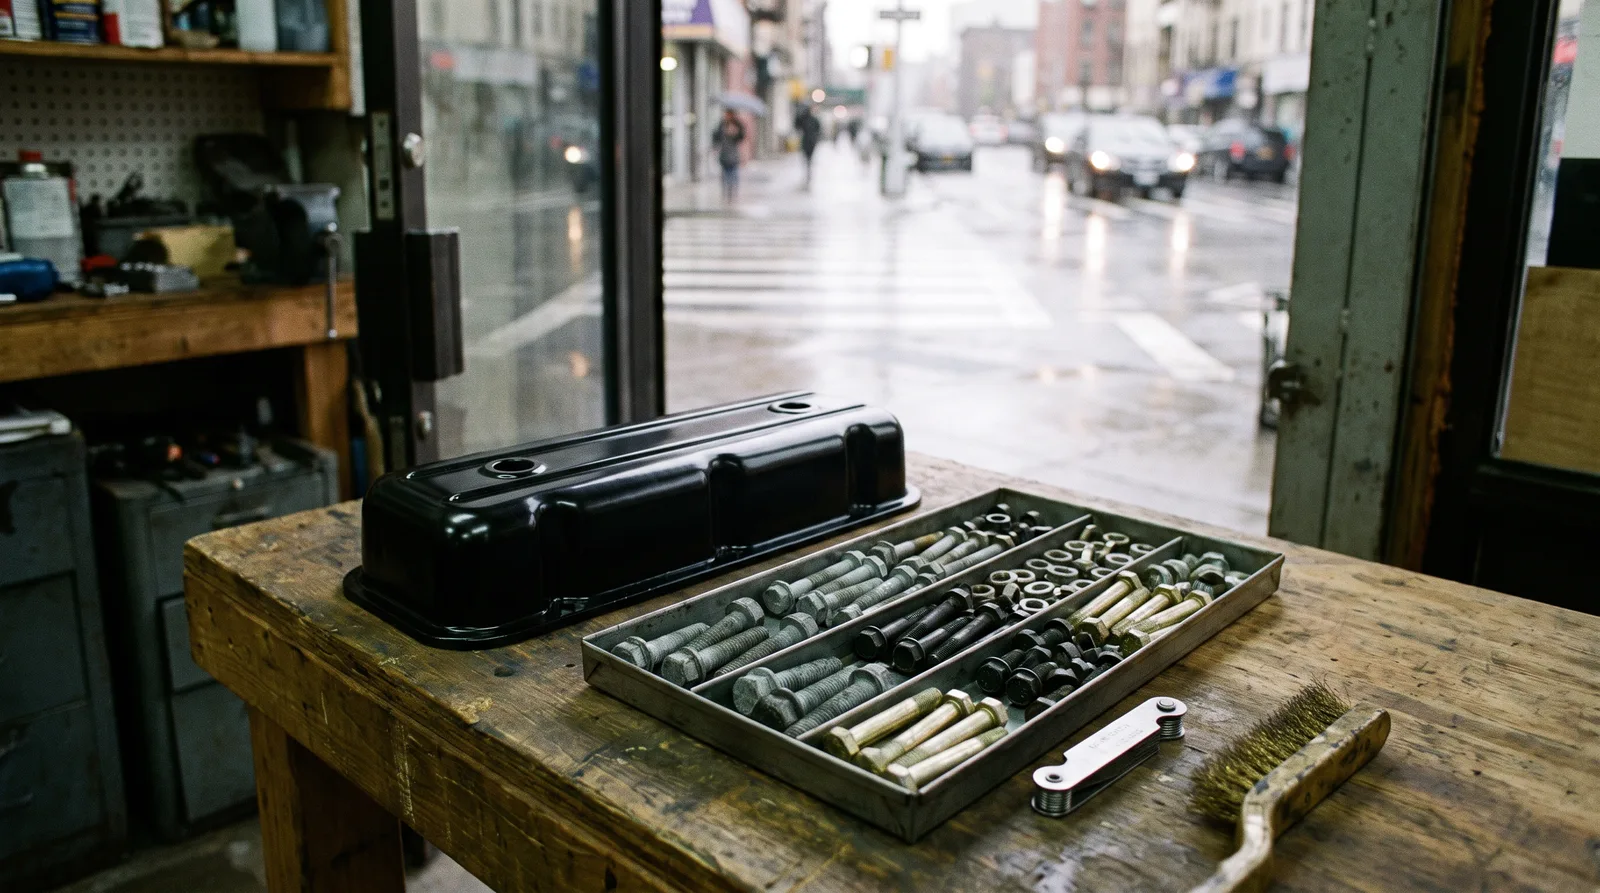
Sourcing hardware is part of choosing the right parts for the whole project, and this article stays on the screws, bolts, nuts and washers themselves, what the markings on them mean, and how the original finishes were applied.
Reading head markings
Most bolts tell you something about themselves if you look at the head. On American cars of the muscle era, inch series bolts carry SAE grade markings. A plain head with no lines is a low strength grade, three radial lines indicate grade 5, and six radial lines indicate grade 8. Those marks describe strength, and a restorer who swaps a grade 8 bolt in where the factory used a plain one has made the car stronger and less correct at the same time.
Metric hardware, which turns up on imports and on later domestic cars, uses numbers on the head instead of lines, such as 8.8 or 10.9 for property class. Many bolts also carry a manufacturer mark, a small logo or letters, and some of those marks are exactly what a knowledgeable judge looks for. Original equipment suppliers stamped their own symbols, and reproduction bolts often leave them off or use a generic one.
The practical lesson is to photograph and bag every fastener before you remove it, with a note on where it came from. A head marking you did not record is a head marking you will guess at later.
What the factory actually used
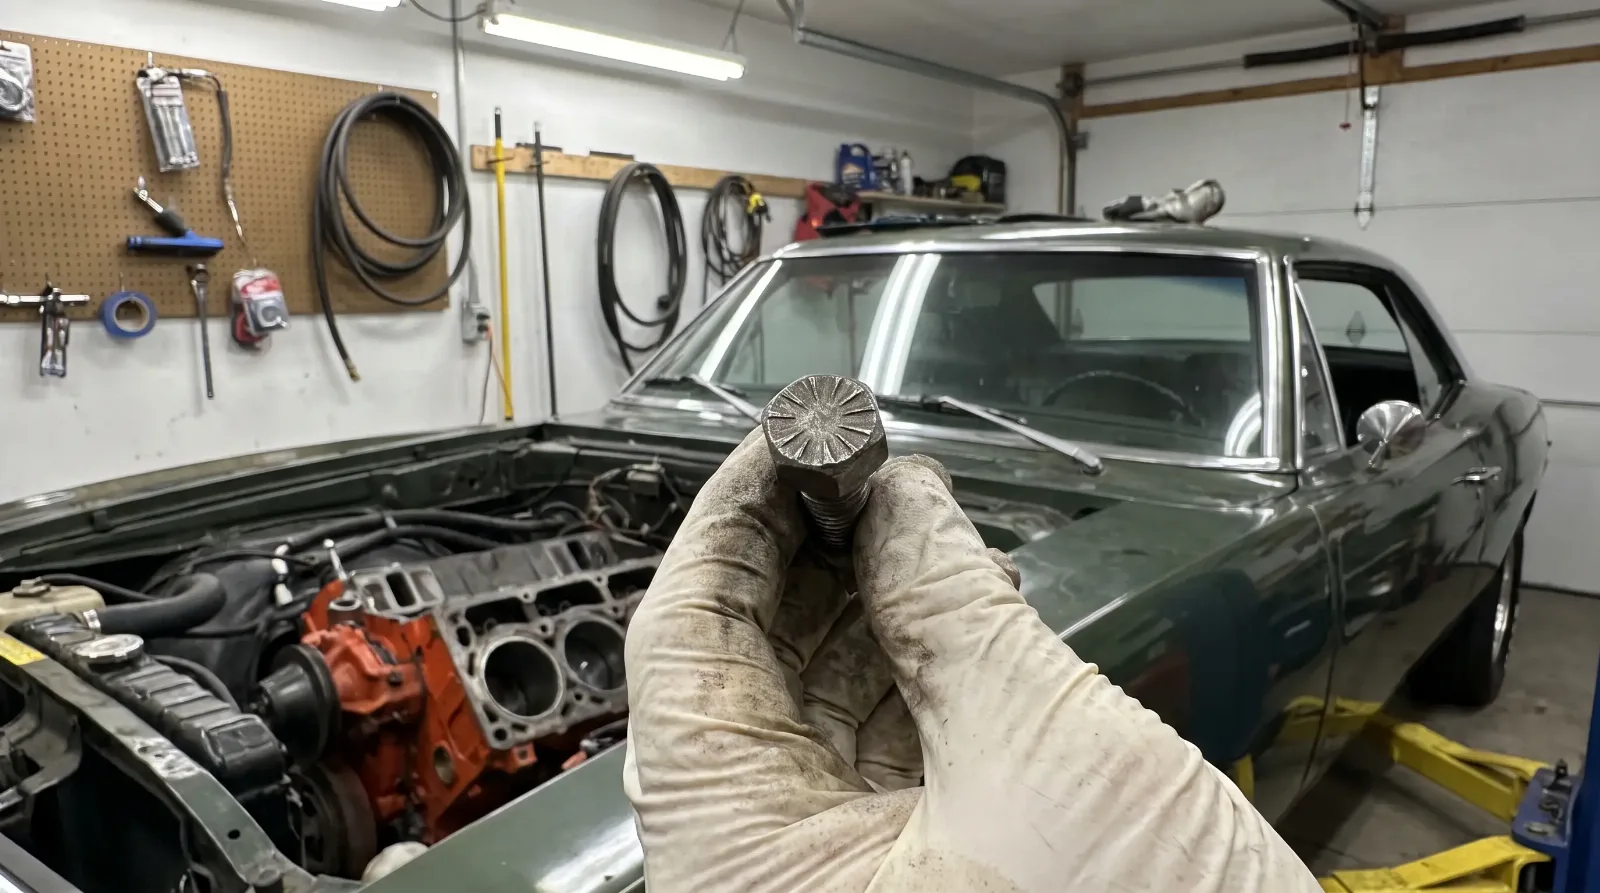
People assume old cars were bolted together with fine, uniform hardware. They were not. Assembly plants used what was on the line, and a single car can carry several finishes and head styles in neighboring places. Hex heads, flange heads, slotted hex washer heads and Phillips pan heads each appear where the engineers and the line workers needed them. Sheet metal screws, body bolts and trim screws each had their own conventions, and those conventions varied by maker and model year.
Because specifics shift by make and year, the best references are the factory assembly manual for your car, an owner organization judging guide where one exists, and a clean unrestored example you can look at in person. Do not rely on a single forum post. Cross check with at least two sources before you spend money on a bulk order of one style.
| Marking or finish | What it usually tells you | Restoration note |
|---|---|---|
| No lines on head | Low strength, common on brackets and trim | Do not upgrade unless safety demands it |
| Three radial lines | SAE grade 5 | Common on chassis and engine accessories |
| Six radial lines | SAE grade 8 | Typical for high load points such as suspension |
| Numbers such as 8.8 or 10.9 | Metric property class | Match the original class for safety |
| Bright zinc | Common modern plating | Can look brighter than the original, so compare first |
| Dull gray or black phosphate | Used on many factory fasteners | Check your car's original finish before choosing |
Plating and finish
The finish matters as much as the head. Factory fasteners were commonly zinc plated, phosphate coated, or in some applications cadmium plated, and the look of each is different from the bright, almost chrome like zinc sold in most hardware stores today. On zinc, a chromate dip produces colors that run from clear or blue through yellow and gold to olive drab and black, while phosphate gives the dull gray or black coating often seen on factory hardware. Which one a given car used depends on the maker and the year, so verify before you commit.
You have three realistic options. Buy reproduction hardware sold in factory correct finishes by specialty suppliers, send your original fasteners out to be replated, or use a home process for small batches. Replating originals keeps the head stamps, which is worth a lot if your car is going to be judged. A reputable plater can duplicate the common period finishes, but ask what process they use and whether it is the right one for your car. Cadmium plating in particular uses a toxic metal and is being phased out in many applications, so ask whether a shop offers it at all, and expect some suppliers to sell substitutes that mimic its look.
Where correctness matters and where it does not
Not every bolt deserves the same level of attention. Under the hood, in plain view, and along the visible underside of a car that will be shown on a lift, fasteners get seen. Inside a door cavity, behind a trim panel, or deep in a frame rail, nobody will look, and a safe, correctly sized replacement is a reasonable choice. Spend your correctness budget where eyes will be.
Safety is the line you do not cross. Brake, steering, suspension and seat belt mounting hardware should never be downgraded to match a look. If the original bolt was stripped, rusted or stretched, replace it with a bolt of equal or higher strength and the same thread, even if the finish has to be fixed afterward. A car that is correct but unsafe has failed at the one thing a restoration owes the person driving it.
A system that keeps the work honest
Treat fasteners like parts, because they are. Bag them by location with a labeled card, photograph the bag next to the assembled area, and keep the card until the final tightening. When you reuse a bolt, wire brush it, check the threads with the mating nut, and discard any with rounded corners or visible stretch. When you replate, send them in labeled batches so the grade and length stay with the right section of the car.
- Check thread pitch with a gauge, never by eye, before ordering replacements.
- Measure length from under the head to the tip, and note whether the catalog length for your style includes the head.
- Keep a small tray of identified extras, because you will lose a few during the project.
"Everybody argues about the paint. The judge who really knows the car looks at the bolt heads."
Wayne Coburn
Finishing the details
Once the hardware is right, the visible trim has to follow. Small brightwork, nameplates and decorative pieces have their own correctness questions, and next we cover emblems and badges, since a badge mounted with the wrong nut or clip undoes careful work on the metal around it.
Do the fasteners well and they disappear, which is exactly the point. Do them badly and they are the first thing anyone sees.
Sources and notes
- Popular Restorations, disassembly and storage, sorting hardware by location in labeled boxes, bags or trays with photos and diagrams
- Popular Restorations, documenting a teardown, bagging and labeling hardware and taking extensive photos during disassembly
- Moss Motoring, organizing a restoration, recording fastener size, thread pitch and application so replated hardware goes back correctly
- Screw (Wikipedia), metric property class numbers such as 8.8 and 10.9 and the SAE head marking patterns
- Chromate conversion coating (Wikipedia), color range of chromate finishes on zinc from clear and blue to yellow, gold, olive drab and black
- Cadmium plating (Wikipedia), toxicity of cadmium and its being phased out in many uses
Related Reading

Have a
Classic Car
for Sale?
Reach thousands of serious classic car collectors across the US.
Sell It Here →
Selling a classic? Here's how: where to sell your classic car online
Are You a Classic Car Dealer?
List your full inventory and connect with targeted classic car buyers.
Join as a Dealer →

About the author
Wayne Coburn
Longtime Corvette owner, judge and club figure who knows the cars, the records and the people behind them.
More in Restoration & Tech


Comments
Be the first to comment on this article.