
Everybody has a story about a Corvette that looked perfect until somebody ran a hand along the quarter panel and felt a ripple. The seller swore it was original. Then the owner of the next car over, who had done this work himself, said a single word: filler. Fiberglass hides history differently than steel does. There is no rust to give away a bad repair, so the evidence lives in cracks, ghost outlines, and paperwork. Learning fiberglass body repair on classic cars starts with knowing what you are looking at, and ends with knowing which jobs you should leave to someone else.
Restoration & Tech
7 min read
Bodywork on Fiberglass Classics (Corvette and Beyond)
Reading cracks, crazing and old repairs on fiberglass classics, plus the repair sequence, costs and paperwork that separate an honest body from a hidden one.

What fiberglass classics are actually made of
The Corvette began the American fiberglass story in 1953, with a body built from glass fiber reinforced plastic laid up by hand in molds. That fundamental recipe, glass fiber saturated with resin, carried through the solid axle and Sting Ray years. Some later cars used sheet molding compound on certain panels, a pressed glass-reinforced polyester that behaves differently from hand-laid glass, so ask a specialist which kind of panel you have. Other fiberglass classics include the Studebaker Avanti, which wore a fiberglass body over a modified steel Studebaker Lark chassis, and a range of kit and small production cars built on Volkswagen platforms.
Two points matter for repair. First, panel thickness varies widely, from thin where the mold did not fill well to heavy in bonding areas. Second, the resin used in the original build is usually a polyester type, which accepts new polyester repairs but can react badly to some modern sealers and paints applied without proper prep.
Reading the damage
Fiberglass fails in a handful of recognizable ways. Learn them and a walkaround turns into a diagnostic.
- Stress cracks and star cracks. Radiating cracks around a hard point such as a door hinge, bumper bracket, or a spot that took a blow. They often look small and run deeper than they appear.
- Crazing. A network of fine hairline cracks in the gel coat or paint, usually from age, flex, or too thick a paint build.
- Blisters and pops. Moisture or solvent trapped under the surface, which can leave pinhead craters after sanding.
- Print through. Mat pattern, rib lines, or old repair edges showing through the paint, a sign that a previous repair was not left to cure and shrink before finishing.
- Fisheyes. Craters in new paint caused by silicone or wax contamination, which fiberglass absorbs more stubbornly than steel.
A paint thickness gauge is useless on fiberglass because there is no metal to read through. Use your eyes and a bright raking light, and run your hand over every panel with your eyes closed. Waves and soft spots tell you more than a spreadsheet will.
The repair sequence, in plain terms
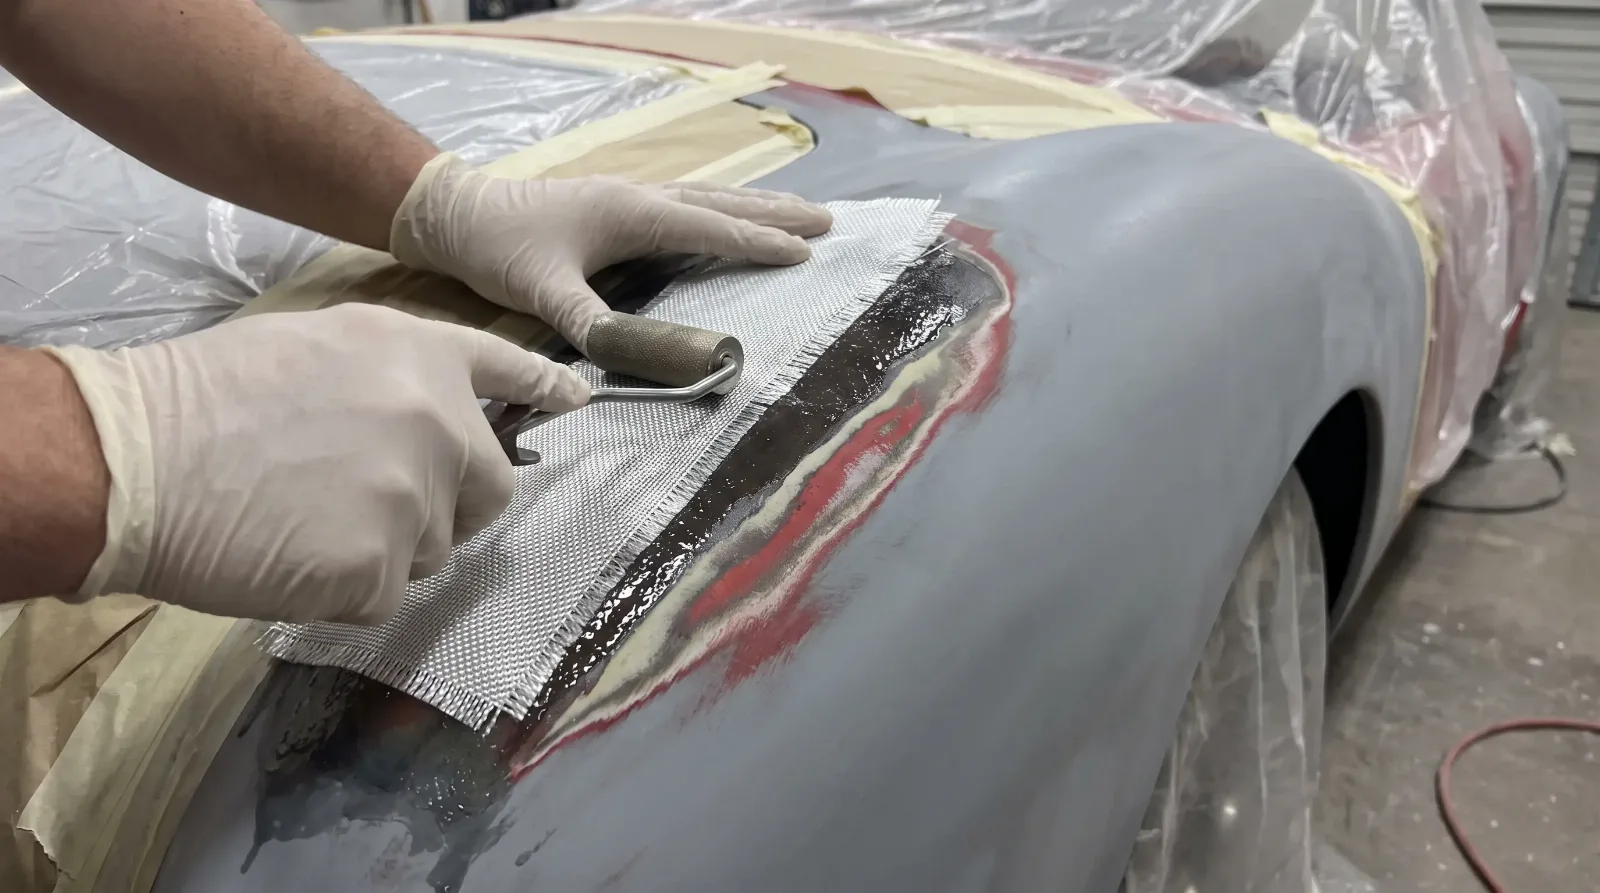
A correct repair does not start with filler. For a crack, open it up with a grinder or rotary tool into a V shape, so new resin can reach the full depth. For a hole, taper the edge back at a long angle, grinding a tapered channel an inch or two out from the crack, with each layer of glass cut a little larger than the one before so the repair feathers out. Sand and clean the area with a solvent such as acetone, then lay fresh glass and resin in layers from smallest to largest. Many repairers prefer random-fiber mat over woven cloth, because a cloth weave can show through the finished repair, working out air bubbles with a roller.
When the structural layup has cured, a thin layer of body filler or a fiberglass-specific finishing putty evens out the surface. Prime with a high build primer, block sand, and repeat. The aim is little filler, not none. Heavy filler cracks as the panel flexes, which is why so many bad repairs come back. If the repair is on a flexing surface such as a nose, ask your paint supplier whether a flex additive suits the system you are using.
| Damage | Repair approach | Who should do it |
|---|---|---|
| Hairline crazing | Strip paint, assess, reprime | Careful prep is DIY friendly; the repaint is best left to a pro |
| Single stress crack | V grind, glass layup, finish | Manageable at home with care, and a good first repair |
| Collision damage, large hole | Section repair or panel replacement | Usually a specialist job; costs reach four figures quickly |
| Widespread blistering | Strip to glass, dry, rebuild | Specialist job, often the most expensive item on the list |
Paint, cure time, and the trap of rushing
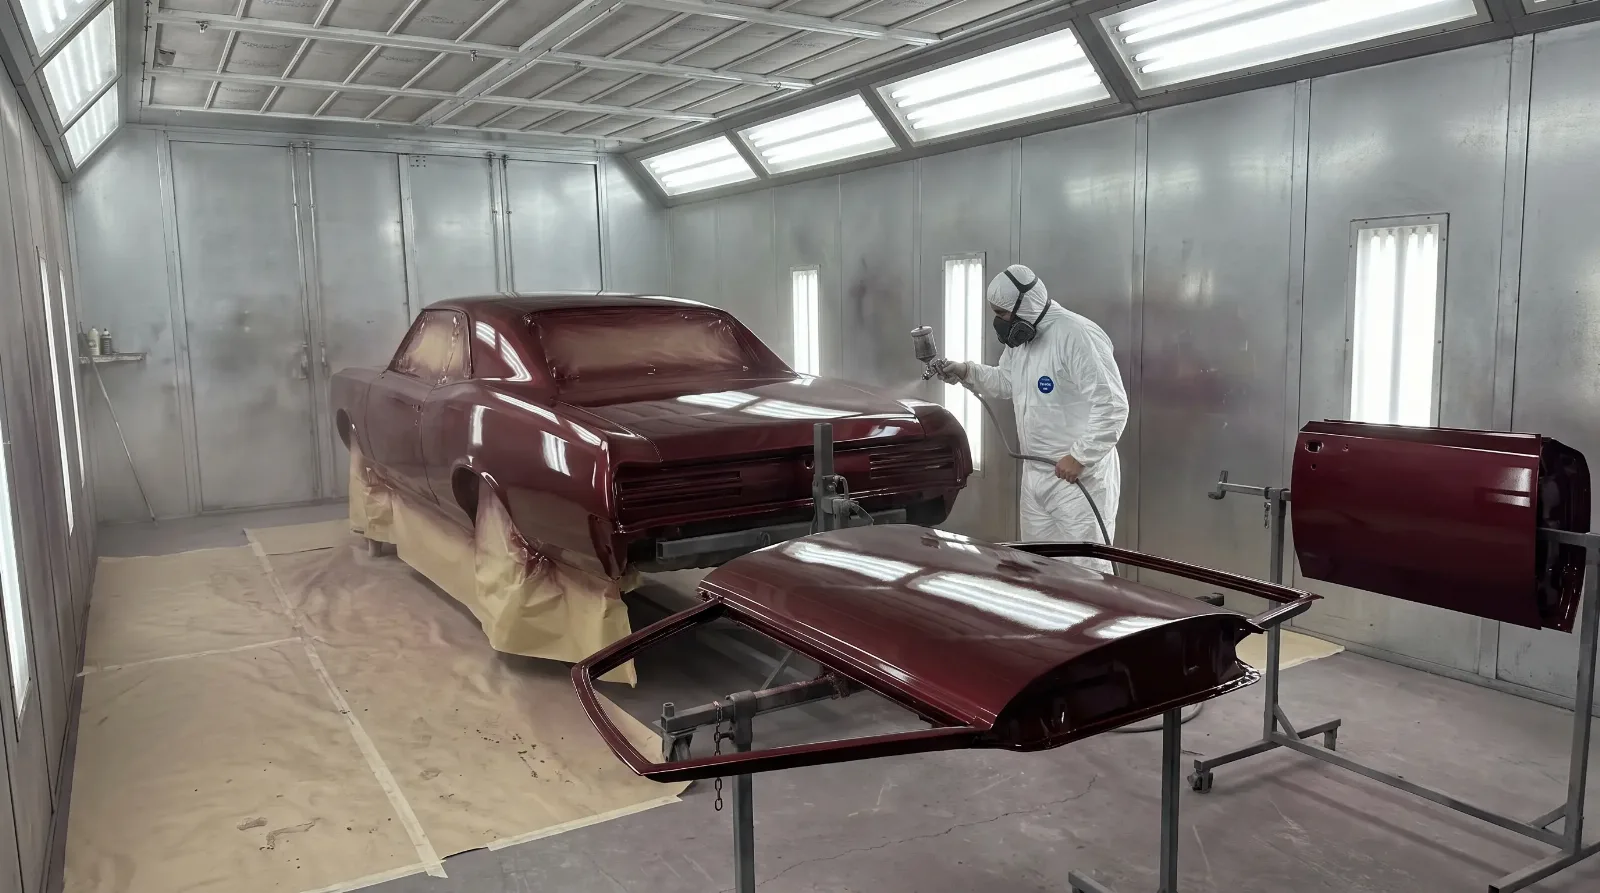
Fresh resin work can keep off-gassing and shrinking after it feels hard. Paint over uncured repairs and the finish can shrink and print through the repair lines. Many repairers wait at least 24 hours before grinding a patch flush, and follow the resin and paint makers' guidance on how long to wait before color, which is often longer than you would like. Then plan your color work around paint and body on a classic, because the substrate defines how forgiving the topcoat will be. A fiberglass car with thick primer and heavy filler layers will crack a premium paint job within a couple of seasons.
Once the car is finished, protect it. Our notes on caring for new paint apply doubly to fiberglass, where cure time determines whether you get a smooth shine or a ghosted pattern.
"The records settle most arguments. A body that was replaced under a warranty claim or rebuilt after a fire will have a story somewhere, and the sticker or build sheet tells you which story is real."
Wayne Coburn
Documentation, value, and what to buy
Original bodies carry value that replacement bodies do not, and fiberglass makes that hard to see. A new reproduction body or a heavily rebuilt original can both look flawless. Documentation is what separates them: build sheets, tank stickers, protect-o-plate or warranty paperwork, and photographs from the original repair. On a Corvette, matching numbers and judging references such as those from the NCRS help confirm originality. Serious buyers will have a specialist inspect the car before they commit.
If you are shopping, start with classic Corvettes for sale and judge each one by its panels first and its paperwork second. A car with small, honest crazing and a complete file is often a better buy than a spotless car with a vague history.
Sources and notes
- Chevrolet Corvette (C1), Wikipedia, hand-layup fiberglass body and why fiberglass was chosen for the 1953 car
- Studebaker Avanti, Wikipedia, fiberglass body on a modified Lark chassis
- Fibreglass, Wikipedia, polyester resin, hand lay-up, and irritation hazards from dust and styrene vapors
- Fiberglass front valance panel repair guide, MGA Guru, cloth versus mat, layering, and cure timing on a car panel repair
- Easy Automotive Fiberglass Repair, In The Garage, respirator use, grinding, mat and resin layers, finishing before filler
- National Corvette Restorers Society, originality judging standards and document validation services
Related Reading
Have a
Classic Car
for Sale?
Reach thousands of serious classic car collectors across the US.
Sell It Here →
Selling a classic? Here's how: where to sell your classic car online
Are You a Classic Car Dealer?
List your full inventory and connect with targeted classic car buyers.
Join as a Dealer →

About the author
Wayne Coburn
Longtime Corvette owner, judge and club figure who knows the cars, the records and the people behind them.
More in Restoration & Tech


Comments
Be the first to comment on this article.