
We all know the look. Door caps gone chalky, a dash pad faded from black to gray, seat vinyl with sun-bleached shoulders. In our world, a car's interior is part of its personality, and when the color is tired the whole car looks tired. Dye is how a lot of us bring that color back without tearing everything out, and when it is done right, nobody can tell it was ever done.
Restoration & Tech
6 min read
Dyeing Interior Plastic and Vinyl Trim
Interior dye can bring faded plastic and vinyl trim back to life, but only if the prep is right. A practical guide to products, prep, color matching and what to avoid.
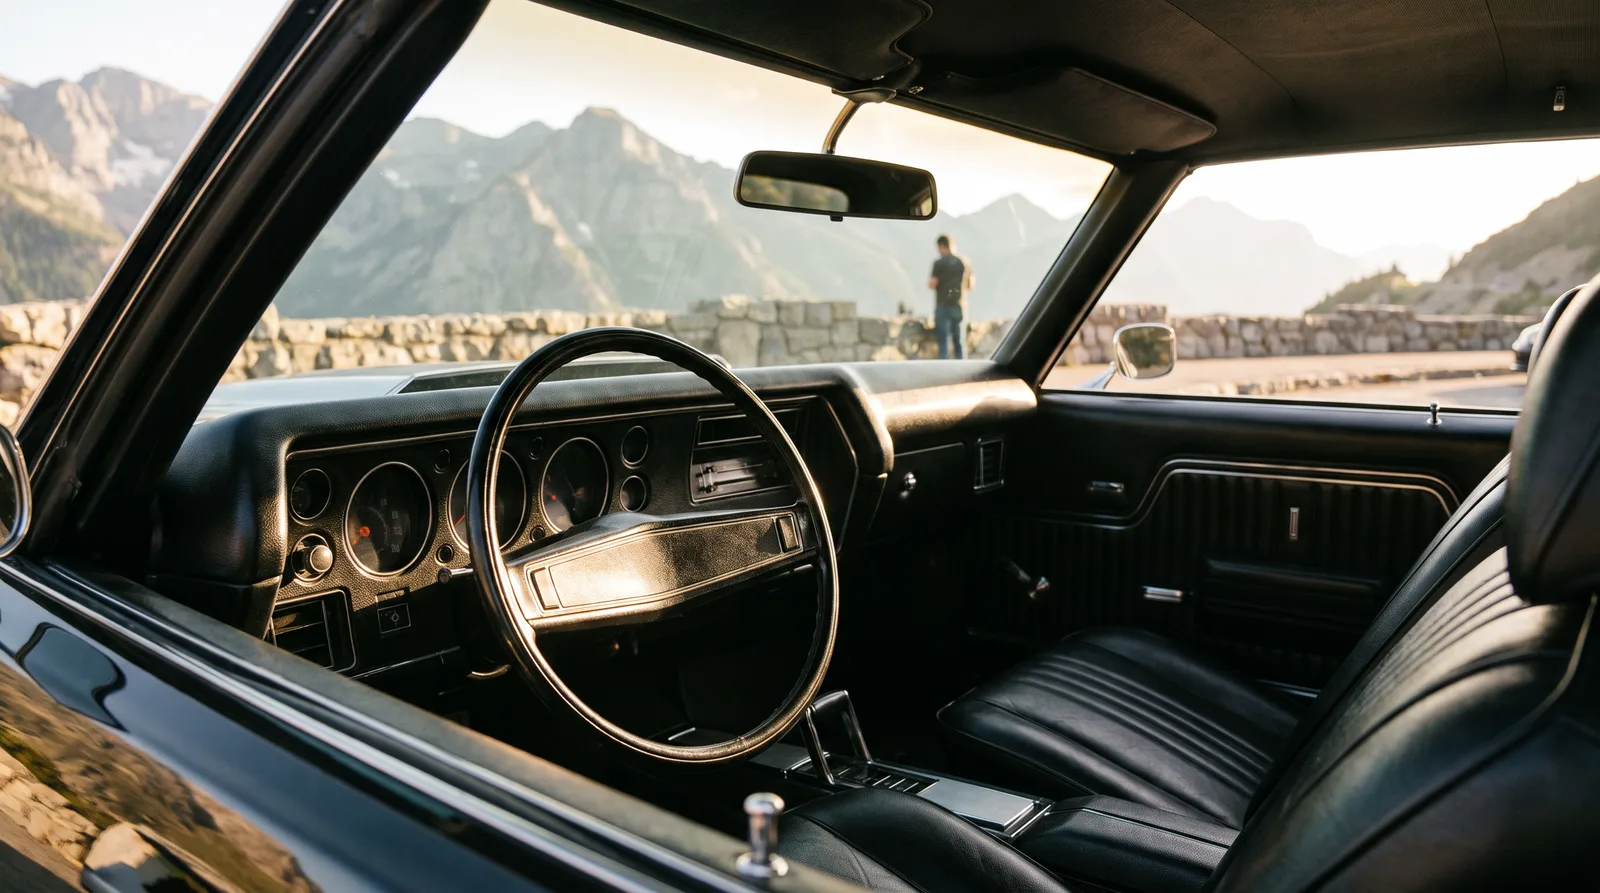
When it is done wrong, it peels in a month and you have made more work for yourself. The secret has little to do with the can. It is the prep. If you are planning a full interior restoration, dyeing is one of the cheapest steps on the list, and one of the easiest to botch.
Dye, paint or something in between
People use the words loosely, so let us sort them out. A true dye soaks into porous vinyl and leather and changes the color of the material itself. A flexible vinyl and plastic coating, often sold as vinyl paint or trim coating, forms a thin film that bonds to the surface. Both can work on interiors, but they behave differently. Dye feels factory-soft but needs a porous surface and strong prep. Coatings cover more flaws and handle plastic better, but a thick coat can crack on flexible parts if it is applied heavily, which is why manufacturers call for thin, misted coats.
Match the product to the material. Soft vinyl seats and door skins take flexible coatings or vinyl dyes. Hard plastics like dash caps, switch bezels and kick panels need an adhesion promoter and a coating made for plastic. Leather needs its own dye and a leather-safe finish. Check the product label for the surface it names, and never assume a can for vinyl works on rigid plastic.
Prep is ninety percent of the job
Strip everything you can out of the car before you spray. Masking a seat inside a car is a mess, and overspray finds every crack. Then clean in stages. A degreaser or wax and grease remover takes off the silicone and protectants that earlier owners probably sprayed everywhere. If those stay behind, dye will bead and fail. Follow with a scuff pad to dull the surface, rinse, let it dry fully, and wipe a final time with the cleaner the dye manufacturer recommends, such as a plastic and leather prep.
Repair damage first. Fill small cracks and gouges with a flexible vinyl repair compound, sand the edges flush, and feather them in. Dye hides color, not texture. A cracked dash pad dyed black is still a cracked dash pad. Where grain has worn smooth, a grain-matching product can bring it back before color goes on.
Matching color without guessing
Original interior colors fade unevenly, so the part in your hand rarely matches the car's factory code. Look up the trim tag or build sheet for the original color, then compare against an unfaded area, such as the underside of a door pull or behind a trim panel. Many suppliers sell dyes matched to factory codes for popular makes, and custom mixes are available from some specialists if you send a sample. Some coating makers offer mixing systems with factory-matched formulas.
Plan to dye the whole panel, not just the bad patch. Blending partial repairs into old faded vinyl nearly always shows. If you are changing the entire interior color, expect to treat nearly every visible piece, including pedal pads, seatbelt hardware and carpet edges, so the new shade is consistent.
| Surface | Product type | Key prep step |
|---|---|---|
| Soft vinyl seats and door skins | Vinyl dye or flexible vinyl coating | Degrease, scuff, repair cracks |
| Hard plastic dash and trim | Plastic-rated coating with adhesion promoter | Clean, scuff, apply promoter |
| Leather | Leather dye and leather-safe finish | Deglaze, light sanding where needed |
| Carpet and fabric | Fabric dye or replacement | Deep clean, test patch first |
Application and cure
Spray from about the distance on the product label, keep the can moving, and overlap passes by half. Build the color slowly. Most jobs need two or three light coats, and rushing leads to runs and a plasticky look. After the final coat, let the parts cure fully before reassembly, typically 12 to 24 hours even though each coat feels dry in about 10 minutes, because handling them early leaves fingerprints and tacky patches.
Materials are modest: a few cans of coating plus cleaner and adhesion promoter cover the visible trim in many interiors, depending on how many panels you have and how much prep product you use. Professional dyeing and refinishing shops charge labor on top of that, and quotes vary widely by shop and car, so ask for a written estimate.
Where dye goes wrong
The usual failures are the same ones we hear about at every meet. Skipped cleaning, so the dye never bonds. Sprayed too thick, so it cracks at flex points. Wrong product on the wrong plastic. Or color chosen from a faded sample, so it never matches the carpet. Fix those and most of the problem disappears.
It also pays to think about timing. Dye your trim after bodywork is complete, because dust and sanding residue from the shop will settle on a fresh finish. If the car is getting new exterior paint, finish the dirty work first, then bring the interior parts in last so they do not collect overspray or dust. And before the carpet and headliner go in, consider the next step, sound deadening, since it goes onto bare floor metal that is easier to reach with the dyed parts out of the way.
"Color is the part people remember. A well-prepped interior in the right shade tells everybody the car was loved, even before they sit down."
Hector Morales
Done carefully, dye is one of the best returns in the whole restoration. It costs little, it takes a weekend or two, and it can make a tired interior read as fresh without losing the original parts that make the car yours.
Sources and notes
- SEM: 4 easy steps to refinishing interior plastic, coating versus dye, cleaning, prep cleaner and adhesion promoter flash times
- SEM Color Coat product overview, surfaces covered, aerosol colors and the factory-matched mixing system
- The Infamous Project: automotive interior dye how-to, soap and scuff prep, thin coats, 12 to 24 hour wait before reinstalling
- Shun Auto: preparing a car interior for dyeing, temperature and humidity guidance, coats and drying between them
- Restomod Ninja: interior dye and paint with Dupli-Color, alcohol cleaning, adhesion promoter on plastic, flexible finish
- 73-87 Garage: interior paint and vinyl dye how-to, inspecting trim, stripping old dye, washing before dyeing
Related Reading
Have a
Classic Car
for Sale?
Reach thousands of serious classic car collectors across the US.
Sell It Here →
Selling a classic? Here's how: sell my classic car
Are You a Classic Car Dealer?
List your full inventory and connect with targeted classic car buyers.
Join as a Dealer →

About the author
Hector Morales
East LA lowrider builder and lifelong member of the car-club scene, writing lowrider culture, hydraulics and custom paint from the inside.
More in Restoration & Tech
Comments
Be the first to comment on this article.