
Most restorers meet the problem at the same moment. The engine is rebuilt, the body is straight, and then you discover that one small interior piece, a vent bezel or a window crank escutcheon, has not been made since the car was new, and the used market has none that are not cracked. For hard-to-find restoration parts like these, two routes have grown up in the last decade: 3D printing of new pieces, and remanufacturing of originals.
Restoration & Tech
7 min read
3D Printing and Remanufacturing Hard-to-Find Trim
When 3D printed classic car parts make sense, where remanufacturing wins, which materials survive a hot cabin, and how to commission a part that actually fits.
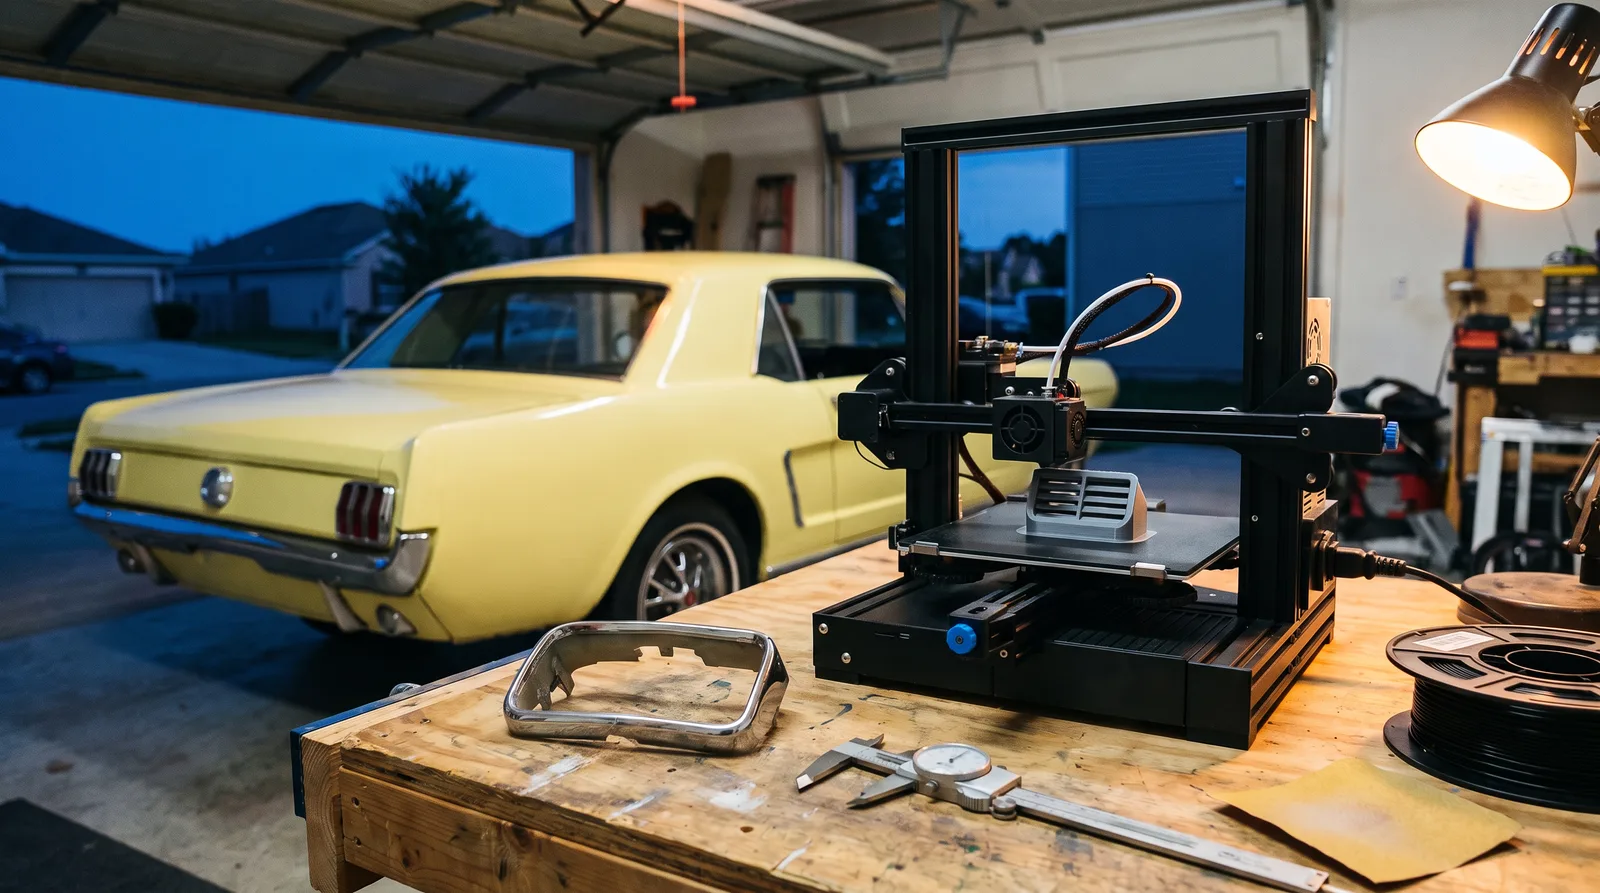
They sound similar and are not. Printing makes a new object from a digital file. Remanufacturing takes an original piece and brings it back to a working or visual standard. Choosing the right one depends on what the part does, where it sits, and how much heat, load, and sunlight it sees.
What printing does well
Printing suits parts that are small, hidden from heavy stress, and out of production. Typical examples are interior trim clips, switch bezels, knobs, glove box latches, air vent louvers, and brackets. The workflow starts with scanning a good original, or measuring one by hand, then modeling it in software and printing a test fit. A good maker will print several versions before the shape is right.
Material matters more than the printer. Common desktop plastics such as PLA soften at around 60 to 65 degrees Celsius (140 to 150 Fahrenheit), so a part left in a parked car in summer can warp. In a University of California San Diego and Arizona State study of cars parked in the Arizona sun, dashboards averaged 157 degrees Fahrenheit after an hour. Heat resistant materials such as ASA, nylon, and some resin blends are better choices, and metal printing through powder sintering is available for small brackets at a higher price.
| Material | Good for | Weak point |
|---|---|---|
| PLA | Test fits, display pieces | Softens in a hot cabin |
| ASA or ABS | Interior trim, bezels | Needs finishing for a factory surface |
| Nylon | Clips, gears, bushings | Absorbs moisture |
| Metal (sintered) | Small brackets, levers | Cost, surface finish |
Where printing stops
Do not print anything where failure injures someone. Brake components, steering parts, fuel system fittings, and structural mounts belong to forged, cast, or machined metal. Printed parts also lack the grain and surface of a molded original, so a visible piece needs sanding, priming, and paint or a textured finish to pass a close look. Judges at concours events may not accept a printed piece in a class that requires original or correct reproduction components, so check the rules of the class you plan to enter.
Remanufacturing and trim restoration
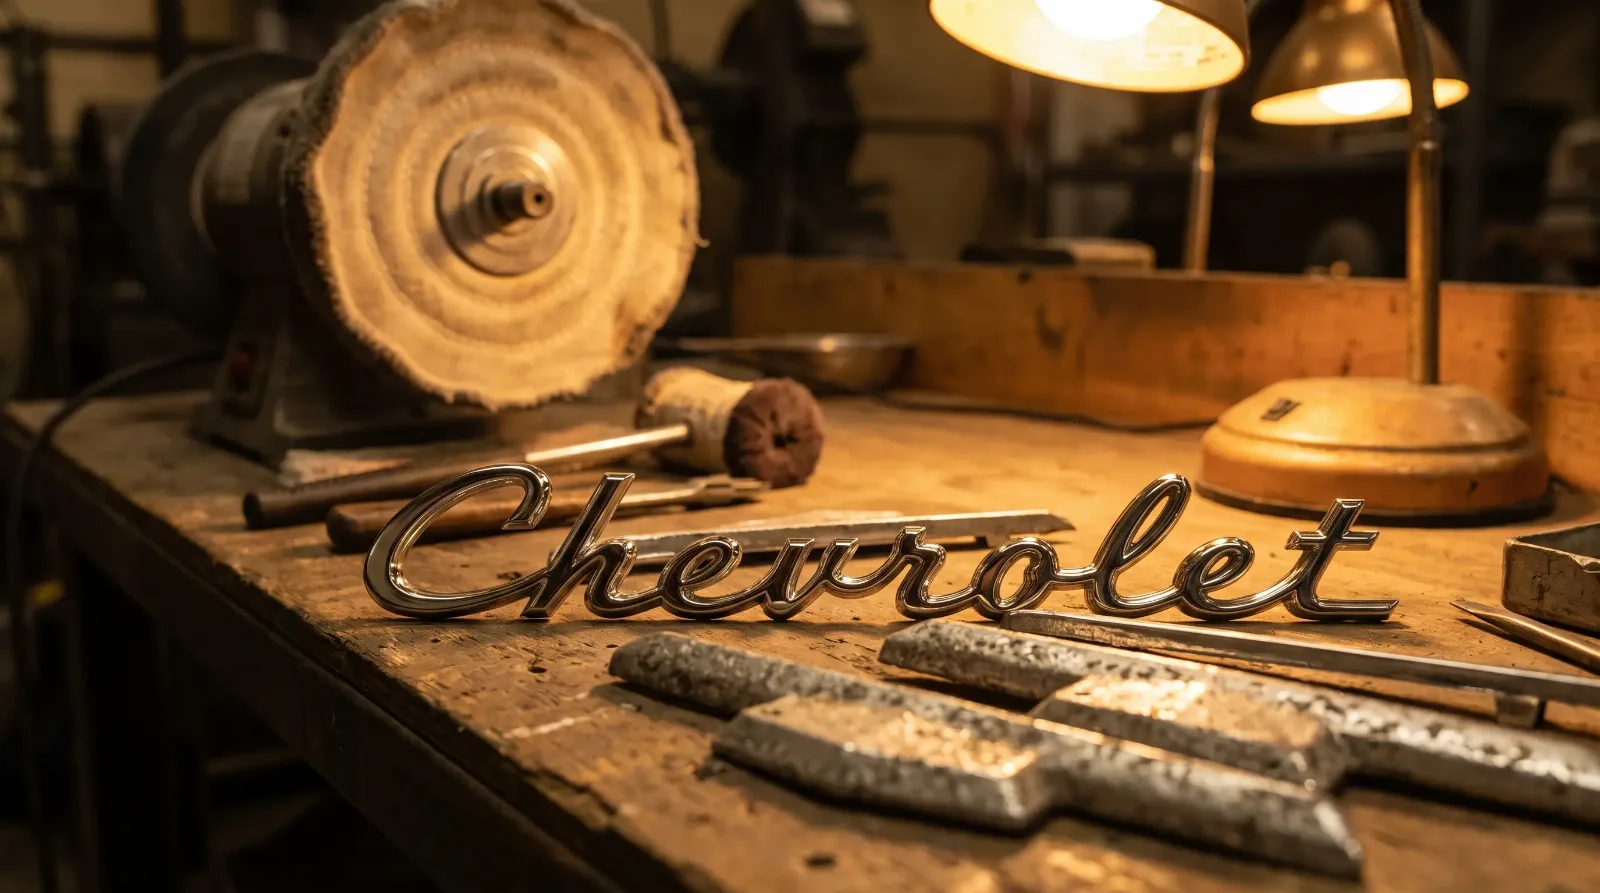
Remanufacturing is older and more proven. Chrome plating, re-silvering of lamp reflectors, rebuilt gauge clusters, recast pot metal, and re-vacuum metalized trim all start from an original and return it to standard. The advantage is authenticity: the part is the correct one, with the correct markings. The weakness is the core. A badly pitted bumper or a cracked pot metal piece can be impossible to save, and the cost of saving a marginal core can exceed the cost of a replacement.
Pot metal, the zinc alloy used for many mid century emblems and trim pieces, deserves particular care. Early zinc die castings were prone to zinc pest, an internal corrosion caused by impurities in the alloy, so older pieces can turn brittle and a plating shop may refuse a badly degraded casting. A specialist can sometimes repair and recast it, and some now produce new castings from a scanned original, which merges the two methods. If the piece is rare enough to matter, the same logic applies to orphan brands, where nothing is available off the shelf and every lost trim piece is a project.
How to commission a printed or remanufactured part
- Photograph the original from every angle and measure it with calipers. Hold on to the part so the maker can compare.
- Ask what material will be used and why, and what temperature it tolerates.
- Request a test print or sample before ordering a full set. Pay for iterations, not just for the final.
- Ask who owns the file. If the maker keeps it, you may be able to reorder later or share it with other owners.
- Confirm the finish: raw, primed, painted, or plated. Raw prints will not pass as factory trim.
Prices vary widely. A small printed bezel is usually modest in cost, though iterations and finishing add up. Replating varies enormously by car: quotes for a single steel bumper reported by owners range from several hundred dollars to a few thousand, and a full set of brightwork on a chrome-heavy car can reach five figures. Set the budget by comparing the cost of a rebuild against a correct used part, and be willing to pay the premium for the original when it matters to value.
"Print the part, then hold it against the original and put a caliper on both. If the numbers do not match, it does not matter how good the surface looks. A part has to fit before it can look right."
Ray Delgado
Decide by function first
Ask three questions. Does the part carry load or touch fuel and brakes? Is a correct original available at a sane price? Is the car judged for originality? If the answers are yes, no, and no, then use metal and a qualified shop for the first. If the part is a bezel or a clip and the answers are no, no, and no, a good printed or remanufactured piece is a sound way to finish the job. The method does not need to be modern or old, it needs to be right for the job.
A word on cost expectations. Printing is cheap per part but expensive in development, so a one off piece can cost more than a short run. If other owners need the same item, split the development with them, or ask a club to host the file. Remanufacturing has the opposite curve: setup is modest, but every unit carries labor. In both cases, getting a written quote that names the material, finish, and turnaround time avoids the most common disagreements between owners and makers.
Sources and notes
- Scripps Institution of Oceanography, hot cars study, dashboard temperatures of parked cars in the sun
- Plastic Ranger, PLA glass transition temperature, PLA softening range and unsuitability for hot dashboards
- AutoGuide, Porsche Classic and 3D printing, the 959 clutch release lever and printed spare parts
- Street Tech, how to get your bumpers re-chromed, the replating process and the spread in bumper quotes
- Popular Restorations, chrome plating, how plating cost varies widely between cars and often overruns
- Wikipedia, Zamak, zinc pest in early zinc die castings and automotive use
Related Reading
Have a
Classic Car
for Sale?
Reach thousands of serious classic car collectors across the US.
Sell It Here →
Selling a classic? Here's how: sell my classic car
Are You a Classic Car Dealer?
List your full inventory and connect with targeted classic car buyers.
Join as a Dealer →

About the author
Ray Delgado
Metal fabricator and chassis builder who has spent 25 years turning flat sheet and mild steel into hot rods, gassers and restomod underpinnings.
More in Restoration & Tech
Comments (1)
D
Dave Scarpelli
4 days ago
When my '67 was judged at an NCRS regional, the judge spent more time on a heater control bezel than on the entire engine bay. If a printed bezel is finished well enough to pass at arm's length, would you disclose it to the judges anyway, or simply let the class rules decide?
Disclose it. Judges are going to find it anyway, and they look where the owner does not: the back side. A printed part shows layer lines on hidden faces and around the edges of holes, while a molded original shows a parting line and usually a mold mark. Finish the back as carefully as the front, but tell them anyway. Before you print, read the class rules and ask the chief judge in writing whether a reproduction is allowed at all. Then put calipers on the original and match the print to it. If the bezel does not seat in the panel without forcing, no finish will save it. Fit first, then finish, then the conversation with the judge.