
There is a story every judge tells about the car that looked perfect from the front fender and gave itself away at the hose clamps. The owner had spent a fortune on paint and a fresh engine, then used shiny worm gear clamps from the hardware store on every hose. One glance and the judge knew the person doing the work had not checked the original. Engine bay restoration is full of moments like that. The big pieces are easy to get right. The small ones are where the points go.
Restoration & Tech
7 min read
Detailing a Restored Engine Bay: Correct Finishes, Decals, Clamps
Engine bay restoration is won in the small things: correct paint sheen, hose clamps, decals, and hardware plating. Here is how to get a bay judges and buyers believe.
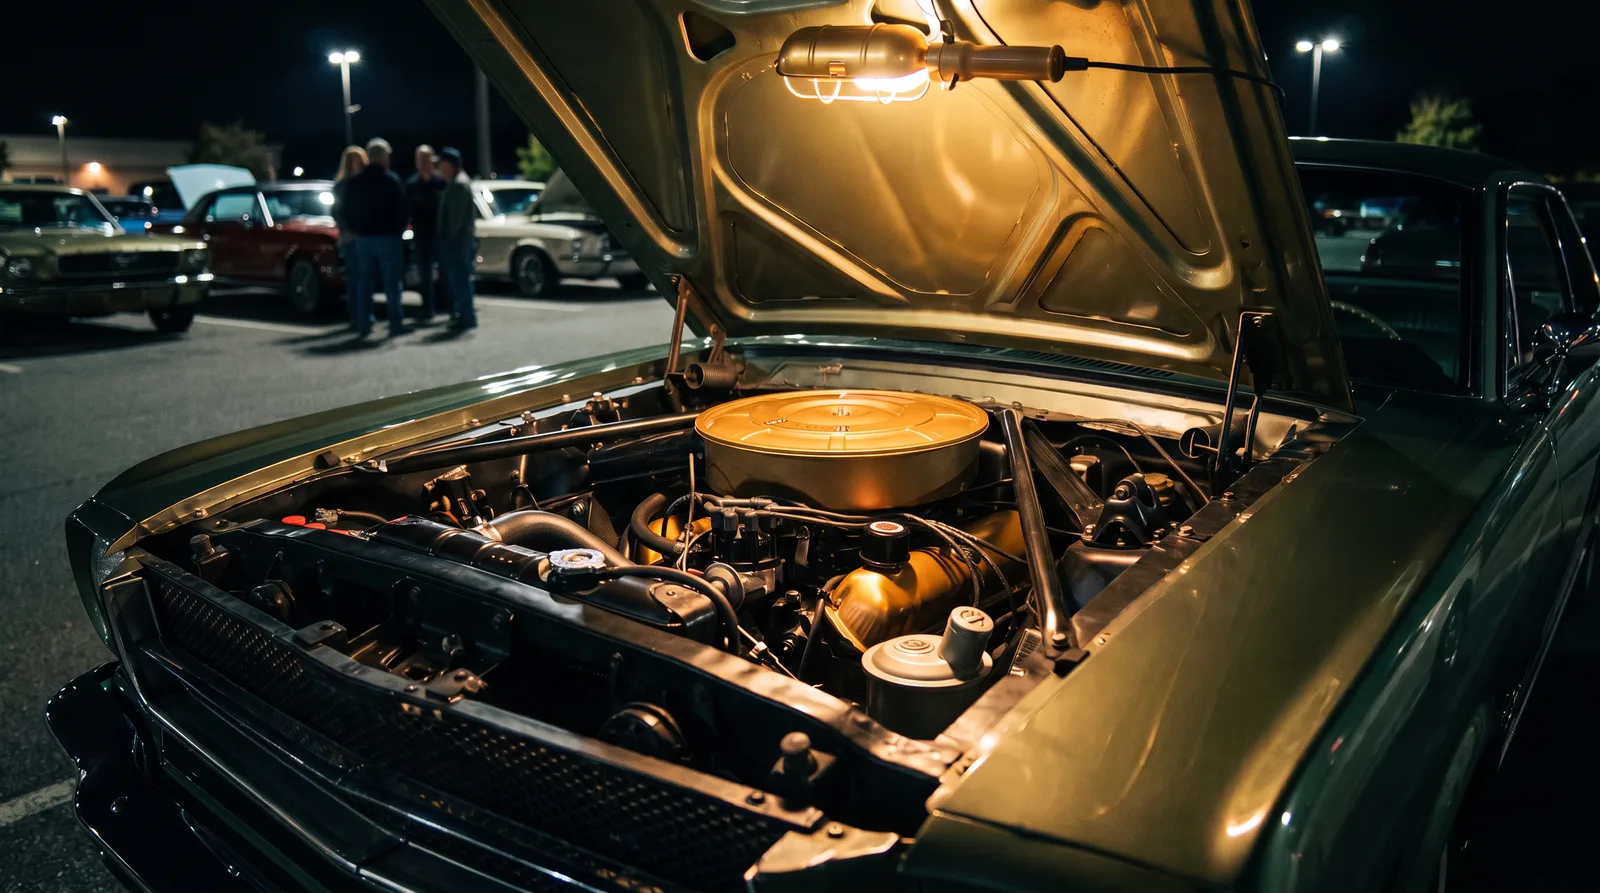
Start with research, not paint
Before anything is sprayed, find out what the factory actually did. Original photos, factory assembly manuals, and marque club judging guides tell you which parts were painted, which were bare metal, and which had a particular dip or finish. Many cars left the line with a mix of semi gloss black, bare cast iron, cadmium or zinc plated hardware, and parts that were simply left unpainted. Assuming everything was glossy black is the most common error in the hobby.
Take your own photographs and notes while you disassemble. Record where the paint overspray stops, where the decals sat, and which clamps were on which hose. Keep that record. It is cheap and it is the only proof you will have later.
Finishes: paint, plating, and bare metal
The engine itself is the center of the picture, and the finish needs to match the year and the assembly plant practice, which is why colors and finishes differ from one model to the next. Some manufacturers sprayed the engine after it was installed, leaving paint on the firewall edge or on parts bolted to the block. Others painted the engine before installation and then assembled accessories over the finish. Both are correct for their cars, and mixing them up is a flaw.
| Component | Typical original finish | Common restoration mistake |
|---|---|---|
| Cast iron manifolds | Varies by car, often bare or a plain, non-glossy finish | Gloss black or ceramic coating |
| Brackets and small stampings | Zinc or phosphate finish | Bright chrome plating |
| Fasteners | Zinc or cadmium plating, color varies by year | Shiny zinc on everything |
| Air cleaner | Body color, engine color, or painted gray by model | Wrong sheen or powder coat |
| Firewall and inner fenders | Body color or semi gloss black by year | Overly glossy clear coat |
Sheen matters. Original engine enamel was often semi gloss rather than a deep clear coat, though it varies by make and model. A show shine reads as wrong to anyone who has seen an unrestored example. Use a paint matched to the correct color and sheen, and test on a spare part before committing. Powder coating looks excellent and lasts, but it can have a texture and gloss that originals did not, so reserve it for driver quality cars unless your judging class allows it.
Plating is a separate craft. Cadmium plating is being phased out because of its toxicity, and most hardware today is zinc plated, so many shops offer zinc with a gold or clear chromate as a substitute that reads close to cadmium. Be aware that traditional chromate baths contain hexavalent chromium, which is itself a recognized carcinogen, so shops are moving toward trivalent alternatives. Ask the plater which finish they use and request a sample. Replating a full set of engine bay hardware typically costs a few hundred dollars, and more for a large volume of parts or a special finish.
Clamps, hoses, and wiring clips
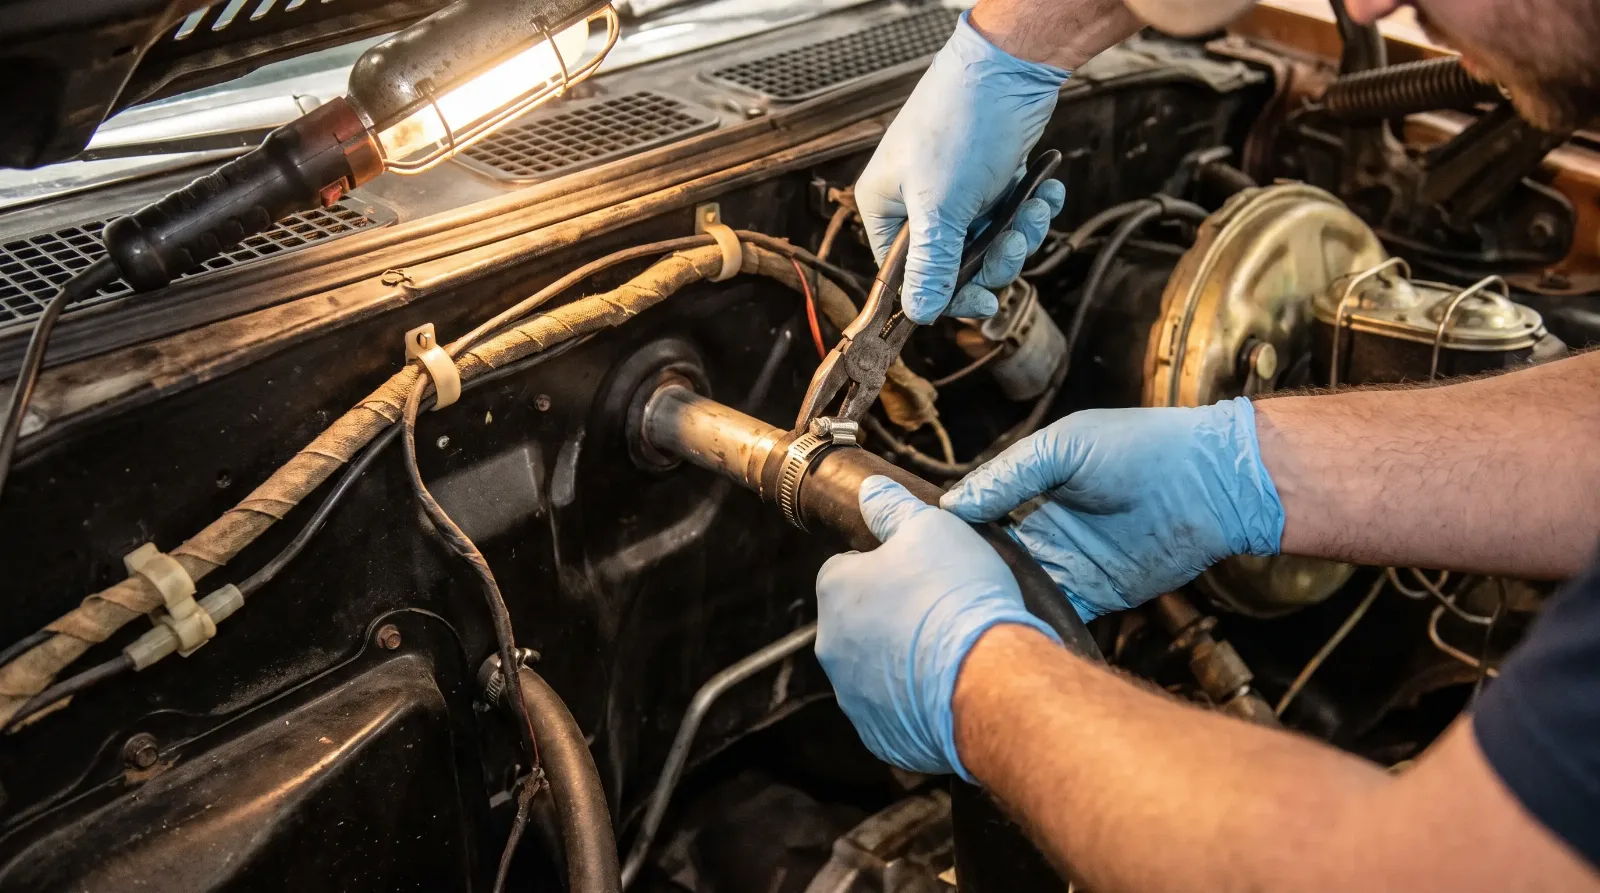
This is where reputation is made. Original cars used spring clamps, crimped band clamps, or rolled edge clamps, depending on the manufacturer and the year. Worm gear clamps came into wide factory use later. If your car shipped with spring clamps, use spring clamps, and make sure the size and the finish are correct.
Hose markings help too. Many cars used hoses with a molded or printed ID, and reproduction suppliers sell hoses that copy those markings. The date coding on original hoses is a niche detail, but some judges check it. Wiring should follow the factory routing with correct clips. Do not zip tie a bundle that originally ran in a clip.
The same eye for correct hardware should guide your sourcing. Reproduction parts have become very good, but quality varies. Sort suppliers by whether they copy the original or only approximate it, and check the full guide to correct parts before you place a large order. A cheap reproduction clamp is no bargain if you must replace it for judging.
Decals and labels
Decals and stickers are the clues that the car has been done properly. Valve cover decals, radiator caution labels, air cleaner stickers, battery decals, and emissions information labels each have specific wording, color, and placement by year. Reproductions are available for most popular models. Position them using your original photos, not a guess. A decal that is a quarter inch off its location is something a trained eye sees at once.
Keep any original decals, even if they are damaged, so a supplier can match the artwork. Apply new decals before the final clear coat if that was the factory sequence, or after, if it was not. Check your judging guide.
Cleaning and preparation
All the finish work depends on preparation. Strip old coatings with soda blasting or a chemical stripper instead of aggressive grit on thin sheet metal. Remove grease completely and prime with a good epoxy primer. Mask threads and gasket surfaces before you paint. Dry assemble the engine bay after finishing each major component so you do not scratch a fresh finish with a wrench during final assembly.
"Everybody argued about the clamp until somebody dug out the assembly manual. After that, nobody had a theory left."
Wayne Coburn
Where the engine itself fits in
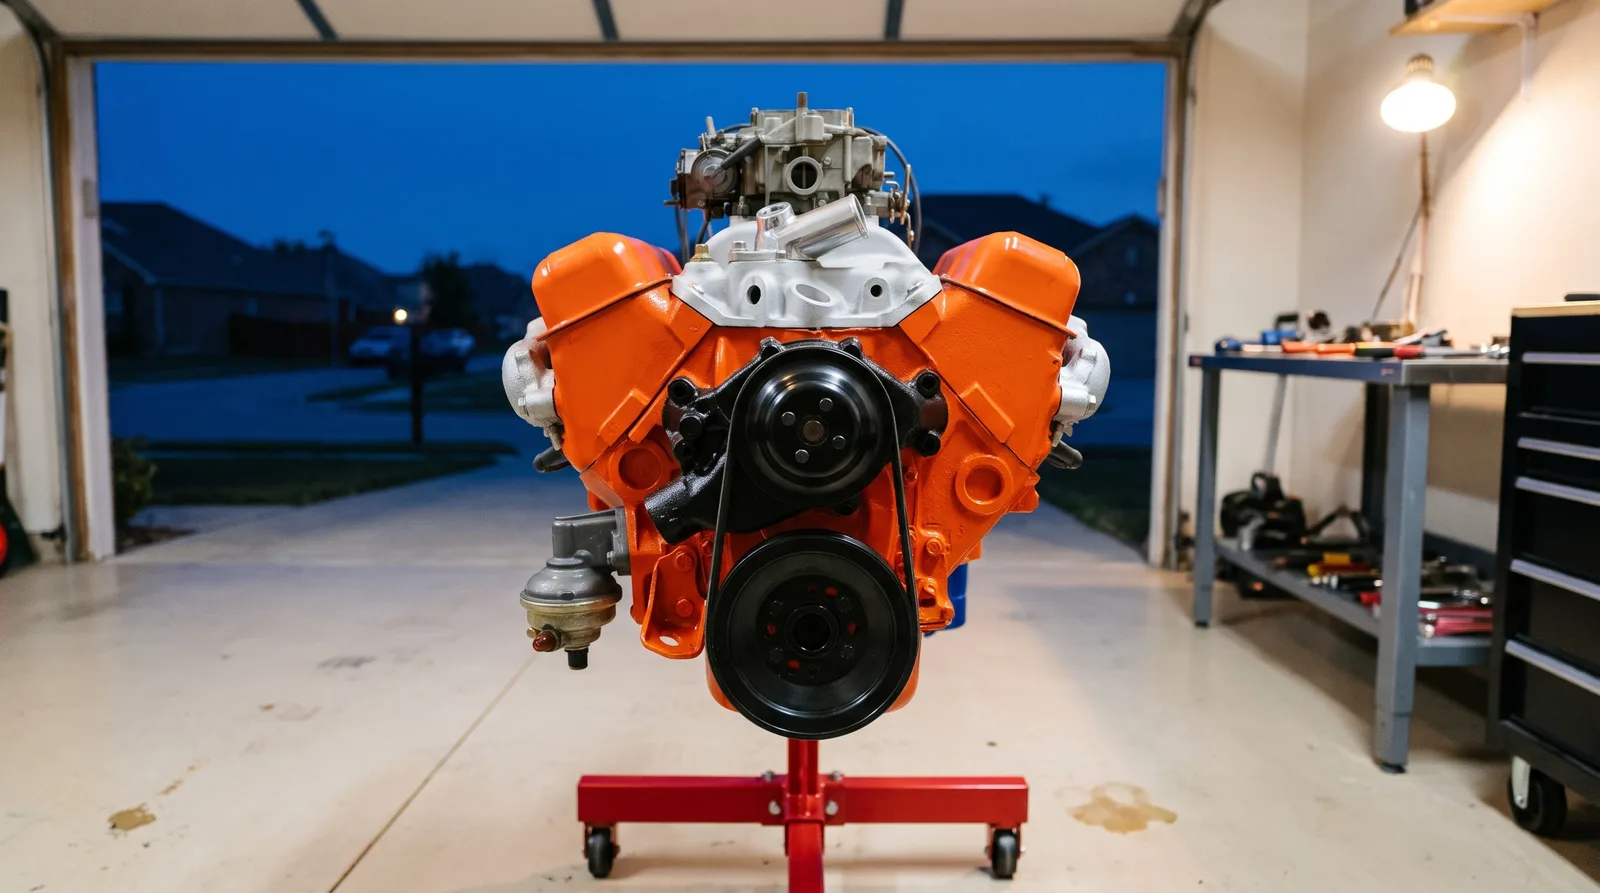
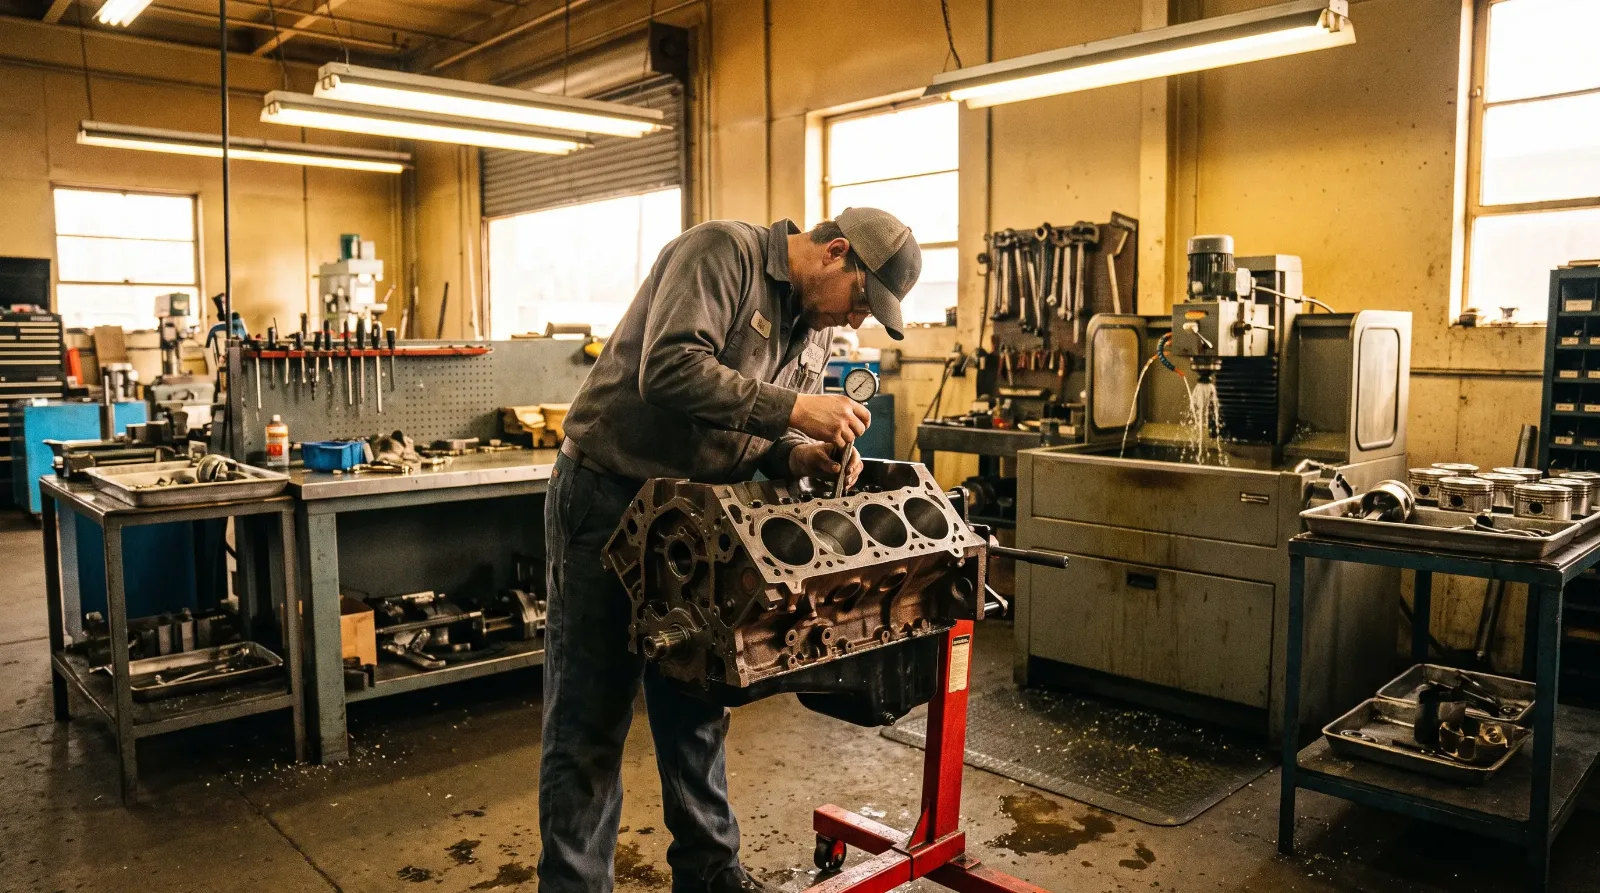
An engine bay can only look as good as the engine in it. If the bay is being finished as part of the engine rebuild, schedule the painting after the machine work and before final assembly, so you do not paint over parts you will need to remove again. And if the car is being judged on originality, think about the stamped casting and date codes on the original block, because the finish you choose should leave those numbers readable and undamaged.
Driver quality versus concours
You do not have to restore every bolt to factory finish. A driver can have a clean, correct looking bay with durable coatings and honest hardware. A concours car needs the full research and every clamp. The mistake is spending concours money for a driver result, or the reverse. Decide the target before you buy the first can of paint. A well done driver bay is usually a few thousand dollars in parts and finishes, while a fully researched concours bay costs far more once plating, reproduction parts, and labor are counted, with shop labor at about $85 to $150 an hour at most independent shops.
Whichever route you take, document it. Photographs of the work and a binder of receipts and sources will be worth money when the car changes hands.
Sources and notes
- Classic Car Hub, engine bay detailing and restoration guide, what is painted and what is not, hoses, wiring, zinc or phosphate fasteners, black on body-colour cars
- Wikipedia, cadmium plating, toxicity and phase-out, most hardware zinc plated
- Wikipedia, chromate conversion coating, yellow and gold colors on zinc, hexavalent chromium concerns
- Wikipedia, hose clamp, spring, worm-drive and wire clamp types
- MAFCA Model A supplemental judging sheets, deduction codes for incorrect finish and over-restored parts, hoses and clamps scored separately
Related Reading
Have a
Classic Car
for Sale?
Reach thousands of serious classic car collectors across the US.
Sell It Here →
Selling a classic? Here's how: sell my classic car
Are You a Classic Car Dealer?
List your full inventory and connect with targeted classic car buyers.
Join as a Dealer →

About the author
Wayne Coburn
Longtime Corvette owner, judge and club figure who knows the cars, the records and the people behind them.
More in Restoration & Tech
Comments
Be the first to comment on this article.