
A frame is the one part of a car you cannot fake. Body panels can be replaced and paint can be redone, but if the frame is bent, cracked or rotted, everything bolted to it inherits the problem. That is why the moment the body comes off is the best opportunity you will ever get to make the car straight.
Restoration & Tech
7 min read
Frame Repair and Straightening During a Frame-Off
How to check, repair and straighten a classic car frame once the body is off: measuring, jig work, crack and rust repair, boxing, and when a frame is beyond saving.
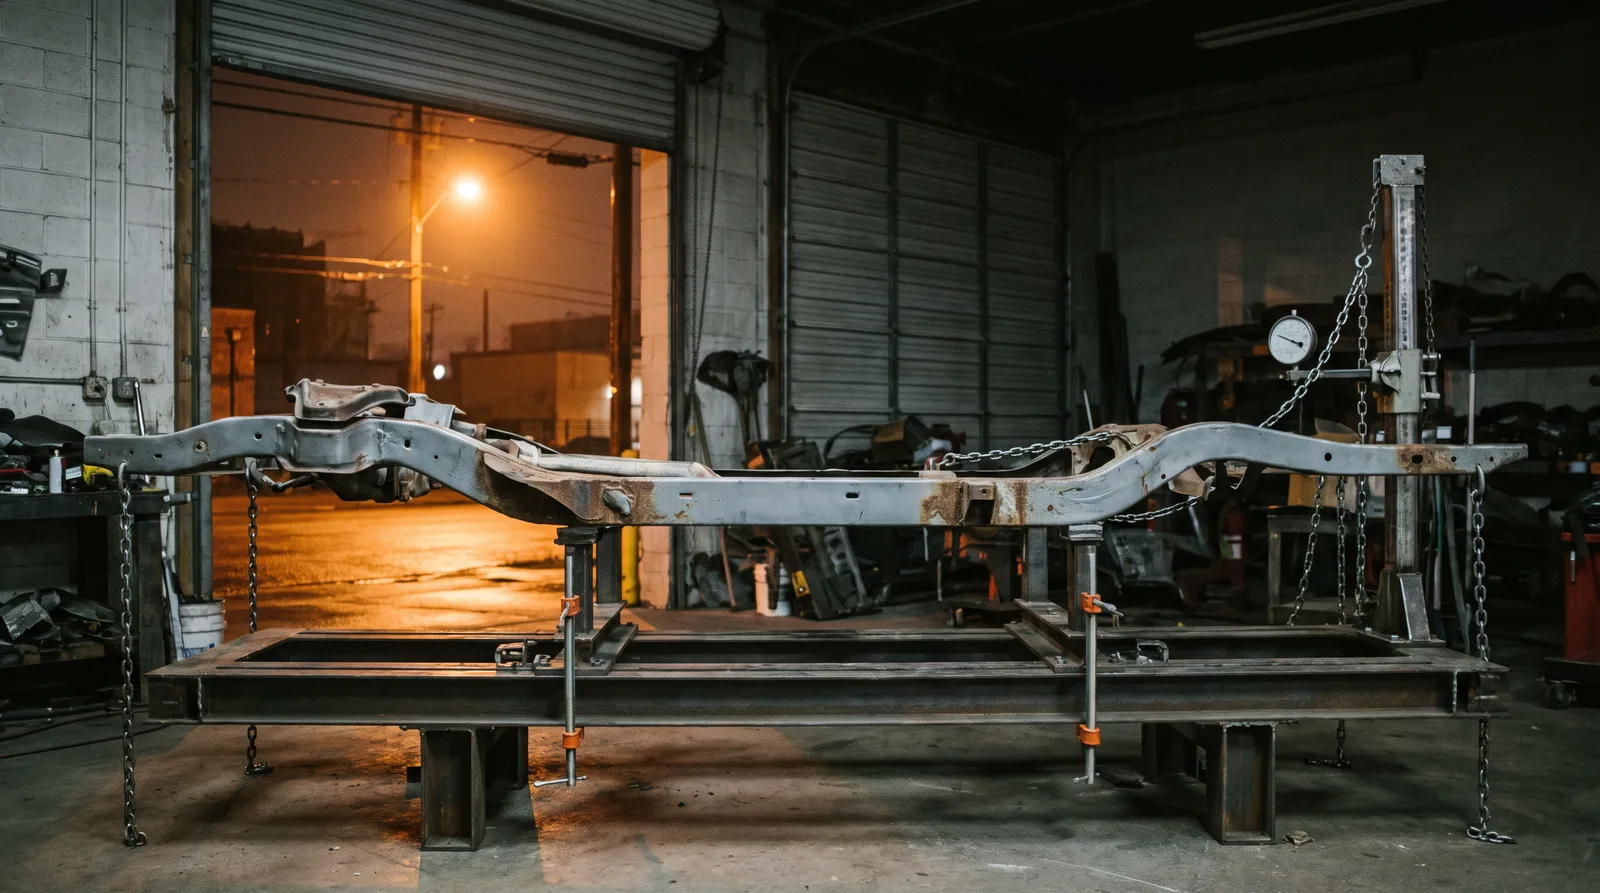
Here is how I approach frame repair and straightening on a frame-off job, in the order the work should go. If you are still deciding whether to pull the body at all, the overview of frame-off restoration explained covers that choice.
Inspect before you strip
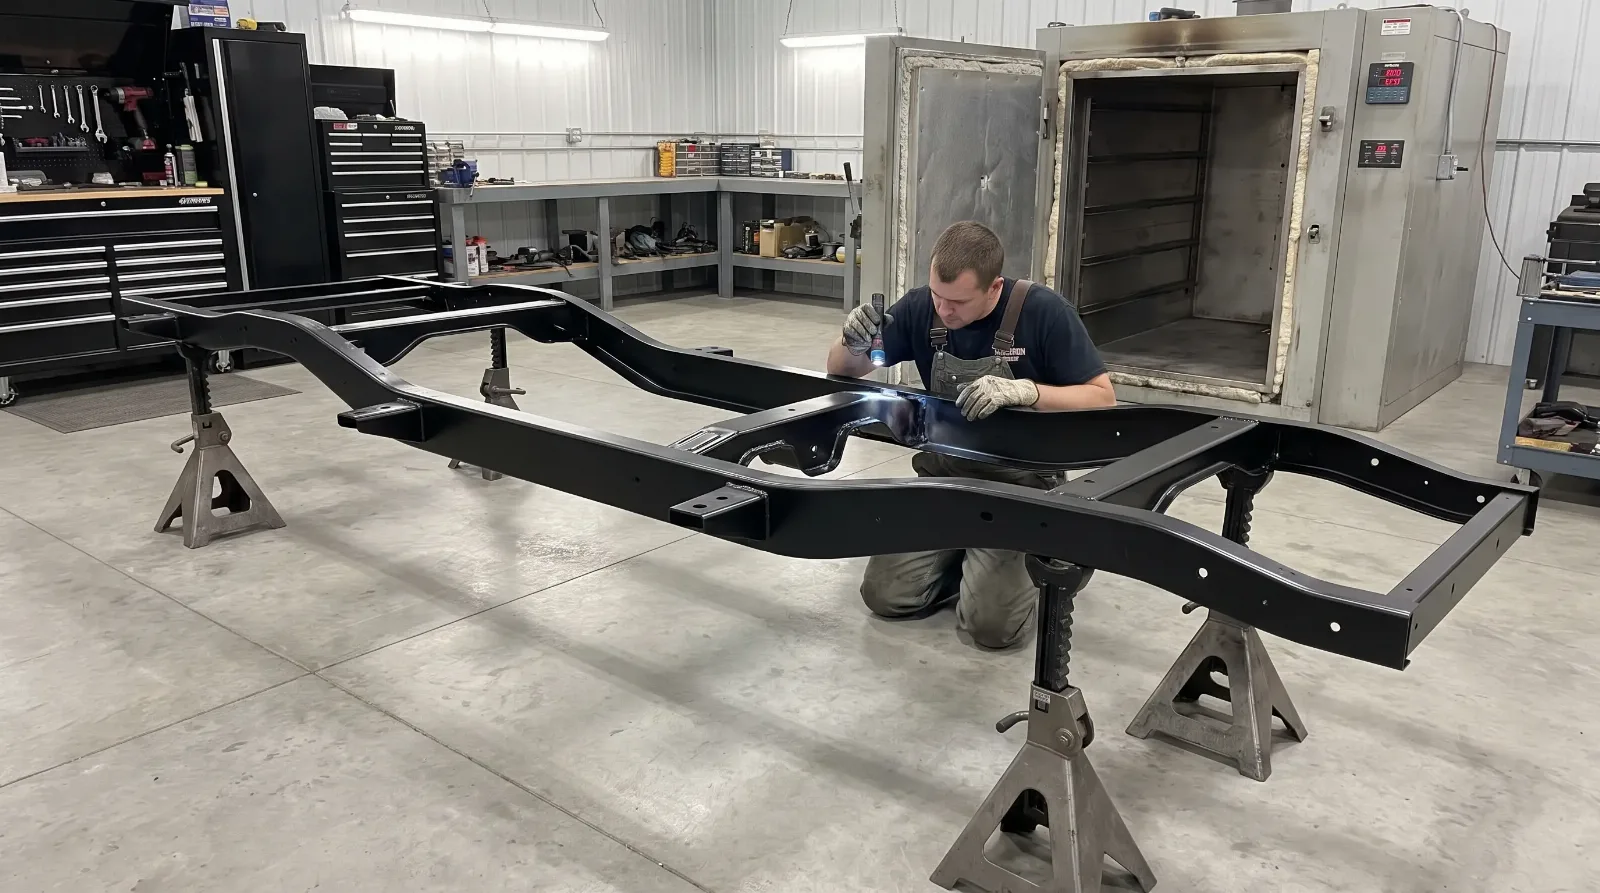
Start with a visual survey while the frame is dirty. Fresh cracks leave clean edges. Old repairs show weld beads, patch plates and different paint. Look closely at the areas that carry load: spring perches, shock mounts, steering box mounts, body mounts, crossmember joints and the curved sections over the rear axle on many full-frame cars.
Check for evidence of collision damage. Kinked rails, wrinkled metal, stretched holes and mismatched weld types all point to a past hit. Then check for rust, especially on boxed rails where moisture collects inside. Tap along the length with a small hammer. Solid steel rings. Thin steel thuds.
Measure the frame, not your eye
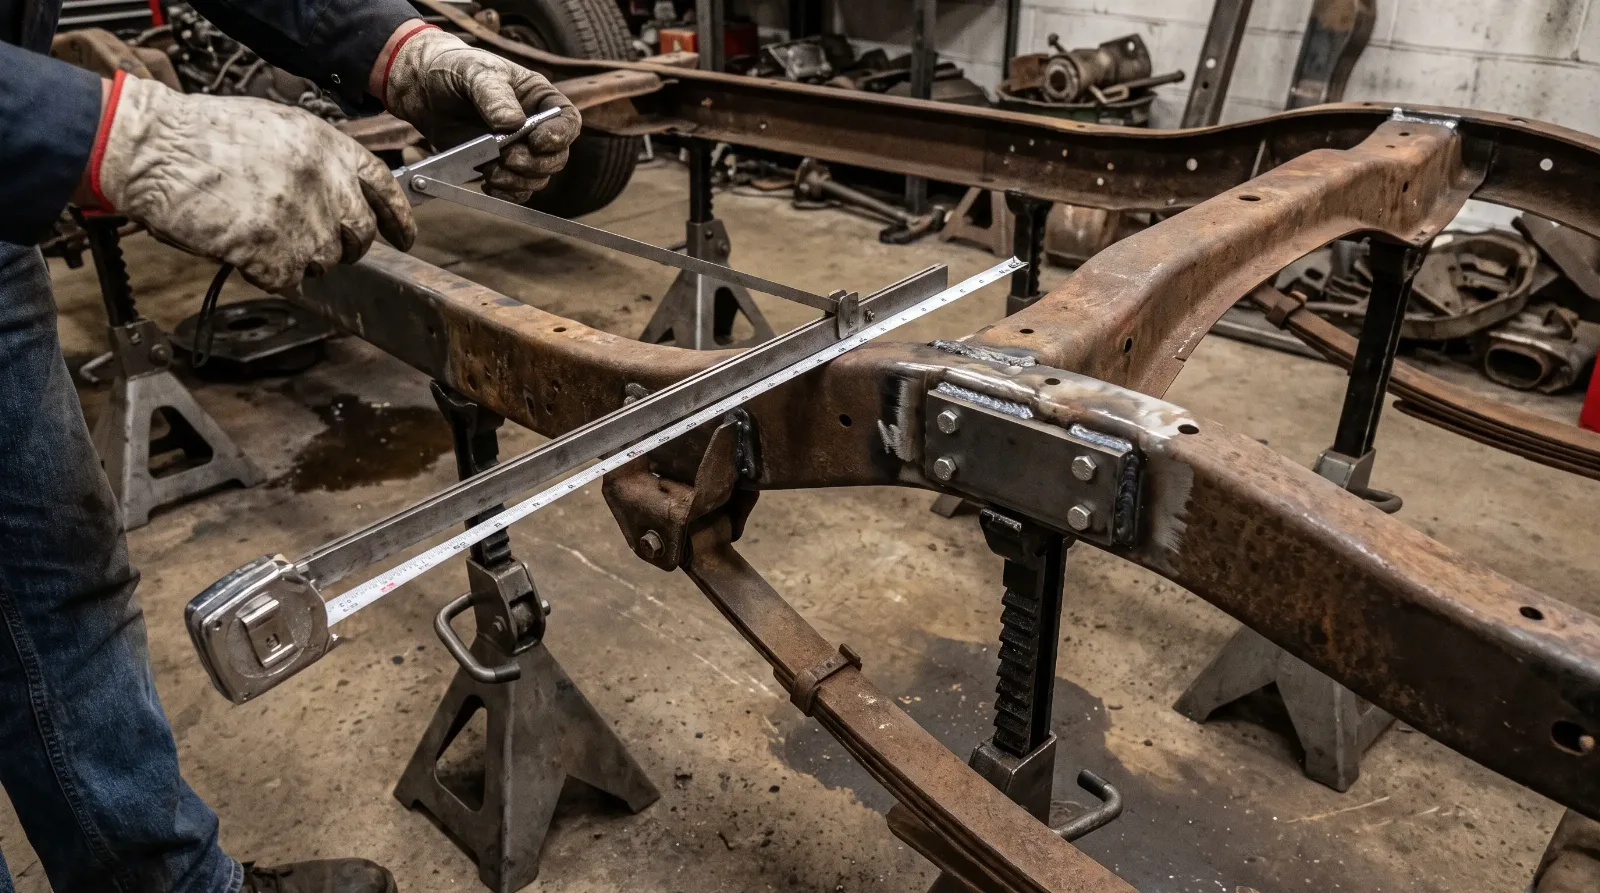
Do not trust a straightedge and a hunch. Diagonal measurements tell you quickly whether the frame is square. Measure corner to corner between matching points on each side, then compare the two diagonals. A difference beyond a small tolerance (many guides allow about a quarter inch) means the frame has been pushed out of square. Make sure both diagonals run between exactly corresponding points. The factory service manual for many cars lists the frame dimensions and checking points, so use it as your reference.
Check height too. Set the frame on level stands and measure from the floor to matching points along the rails, looking for sag, twist or a rail that has been pushed up. Plumb bobs, a long level and a tram gauge are the traditional tools, and a laser or computerized measuring system does the same job faster at a frame shop. Measure first, repair second, and measure again after every pull.
| Defect | How to spot it | Typical fix |
|---|---|---|
| Out of square | Unequal corner to corner diagonals | Controlled pulling on a jig |
| Sag or twist | Uneven heights over level stands | Straightening with chains and clamps, then re-measuring |
| Cracks | Clean line near mounts or crossmembers | Grind out, weld, add fish plate where appropriate |
| Rust through | Soft or thin steel when tapped | Cut out and weld in new section |
| Old collision damage | Kinks, wrinkles, stretched holes | Straighten or sectionally replace |
Straightening on a jig
Real straightening happens on a flat, rigid surface. A frame table or jig with anchor points lets you clamp the frame down, attach chains or hydraulic pullers and apply controlled force in the direction opposite the damage. Pull slowly. Steel has memory, and it tends to spring back, so you usually overpull a little and then relax the force and measure.
Heat is a tool, not a hammer. Localized heat can help relieve a stubborn kink, but too much heat weakens high-strength steel, and some frames use steel that does not respond well to it. If you do not know the metal, use cold pulls or have a frame shop do it. A frame that looks right but has been cooked is worse than one with a visible bend. And straighten the frame bare, with the body and suspension off, since that is how you avoid hiding a problem inside a crooked car.
Repairing cracks and rust
Cracks get ground out to sound metal and drilled at the ends to stop them traveling. Weld them fully, then reinforce with a fish plate or a boxed section where the design allows. A weld bead sitting on a crack without prep is a bandage. On a frame it will open up again.
Rust repair follows the same logic as bodywork. Cut out the weak steel completely, make a patch from material of equal or greater thickness, and weld it in. Rust that has eaten through the bottom of a rail often continues inside, so open it up and check. Many of the same habits apply as in rust and panel repair on the body, except that here the stakes are structural. Plug welds, stitch welds and full seams each have a place, and the right one depends on how the factory originally joined the metal.
On cars that had open C-channel frames, boxing the rails is a common upgrade to stiffen the chassis. Do that only if the goal allows it, because a boxed frame is not original and will cost points in a judged restoration. Weld in plates carefully to avoid distortion, and seal the inside with a rust preventive so moisture cannot sit in the new cavity.
When a frame is beyond saving
Some frames should be replaced, not repaired. A frame with extensive rust, multiple old collision repairs or repeated cracking costs more in labor than a replacement. Donor frames, reproduction frames and complete aftermarket chassis exist for many popular models, though reproduction quality and availability vary widely, so check before you commit.
A rough rule is that repair makes sense when the damage is local and the metal is sound, and replacement makes sense when the damage is everywhere. The price gap narrows quickly once you add up cutting, fabricating, welding, and straightening time, and a badly distorted frame is often cheaper to replace than to repair. Get a written estimate for both paths and choose the one with fewer unknowns.
Finish before you reassemble
Once the frame is straight and sound, finish it. Media blast to bare metal, inspect again, prime and coat. Whether the right finish is paint or powder is its own decision, and the comparison of whether to powder coat or paint lays out the trade-offs. Either way, do it while the frame is bare and accessible, before a single suspension part goes back on.
"Measure it, pull it, measure it again. If you skip the second measurement you did not straighten the frame, you moved it."
Ray Delgado
The takeaway
A straight frame is the foundation of every other stage. Inspect it dirty, measure it with real references, straighten it on a jig, repair rust and cracks properly, and replace it when the repair costs more than the benefit. Do that and the rest of the build goes together the way it should.
Sources and notes
- How To Align Your Imperial's Frame, diagonal measuring, quarter-inch comparison, factory manual dimensions, replace versus repair
- Body-on-frame, Wikipedia, history of separate frames and their long life on trucks and large US cars
- Vehicle frame, Wikipedia, C-channel and boxed rail construction, frames before the 1930s
- Ladder frame, Wikipedia, C-channel versus boxed rigidity and torsional behavior
- Shop Talk: Frame Off Restorations, The National WWII Museum, separate frames on most older vehicles, unitized bodies appearing from 1934, and the access gained by separating body and frame
- What is frame-off restoration? Wilson Auto, the body lifted off the frame and the bare frame addressed component by component
Related Reading
Have a
Classic Car
for Sale?
Reach thousands of serious classic car collectors across the US.
Sell It Here →
Selling a classic? Here's how: where to sell your classic car online
Are You a Classic Car Dealer?
List your full inventory and connect with targeted classic car buyers.
Join as a Dealer →

About the author
Ray Delgado
Metal fabricator and chassis builder who has spent 25 years turning flat sheet and mild steel into hot rods, gassers and restomod underpinnings.
Ray, my '57 210 frame measured three-eighths off corner to corner, and the old boy who looked at it first said eyeball it. That dog won't hunt. The second measurement saved me.