
It usually starts with a small thing. A corner of fabric lets go above the passenger door, and for a few weeks it hangs there like a loose bandage, brushing the top of your head on every left turn. Then one hot afternoon the whole panel sags into the cabin and the car feels ten years older than it did the day before. Anyone who has owned a classic for long enough has met that moment, and it is almost always the point at which a headliner stops being a minor chore and becomes a job.
The good news is that a classic car headliner is one of the more forgiving interior projects, provided you understand what you are replacing and respect the order of work. The bad news is that it is one of the least forgiving to rush. This guide covers the types of headliner you will meet, what to inspect before you cut anything, how the replacement goes, and what it costs in 2026. It sits within the larger sequence of interior restoration, and the headliner has a particular place in that sequence.
Know which headliner you have
Two basic constructions cover most classics. The first is the bow type, common on older cars and many 1950s and 1960s bodies. A fabric panel is sewn into a tailored shape with pockets, and thin steel bows run through those pockets and hook into the roof structure. The fabric is held under tension by the bows alone and by the trim strips around the edges. Nothing is glued across the middle, which is why a bow headliner can be taken out and reinstalled without wrecking the roof.
The second is the board type, which became common from the 1960s and was widespread through the 1990s. A molded or flat board, made from fiberboard, resin impregnated paper or fiberglass, is covered with a thin foam backed fabric and held in the roof with clips, screws or trim. The failure here is nearly universal. The foam layer between the fabric and the board crumbles into a yellow powder as it ages, and the fabric lets go. Gluing it back does not work, because you are gluing fabric to dust.
A third group, sometimes called a vinyl or perforated headliner, appears on certain 1960s and 1970s cars, and it behaves differently again. It often stretches onto the roof with adhesive and relies on a specific heat and tension technique. Check what your car used before you buy material, since the reproduction product for one type is wrong for another.
What to inspect before you start
A headliner hides things. Behind it sits the underside of the roof panel, the drip rails, the sunroof opening if there is one, and the wiring for the dome light. Most of the time you are only changing fabric. Sometimes you find that the sag was a warning.
Pull the panel and look at the roof skin for rust, especially along the windshield and rear window openings. Water finds its way in at the seals and runs forward or back to the lowest point. Check the sail panels and the area near the C pillar, and probe for soft metal. Anything you find gets repaired and primed before new fabric goes up, because a headliner glued over rust is likely to lift again.
Also check the insulation layer if the car has one, the dome light wiring, and any retaining clips and trim. Brittle plastic clips are cheap and worth replacing while the panel is out. Note the position of every part before removal, with photos, because the first reassembly mistake is nearly always a visor bracket or grab handle that lands in the wrong place.
How the replacement goes
Removal comes first. Take out the windshield and rear window trim only if the headliner tucks behind it, and in many cars it does. On a car with the glass in place, the fabric tucks into a channel and a skilled installer can reach it without removing the glass. Many shops will tell you that pulling the glass is cleaner, and it adds the cost of a new seal.
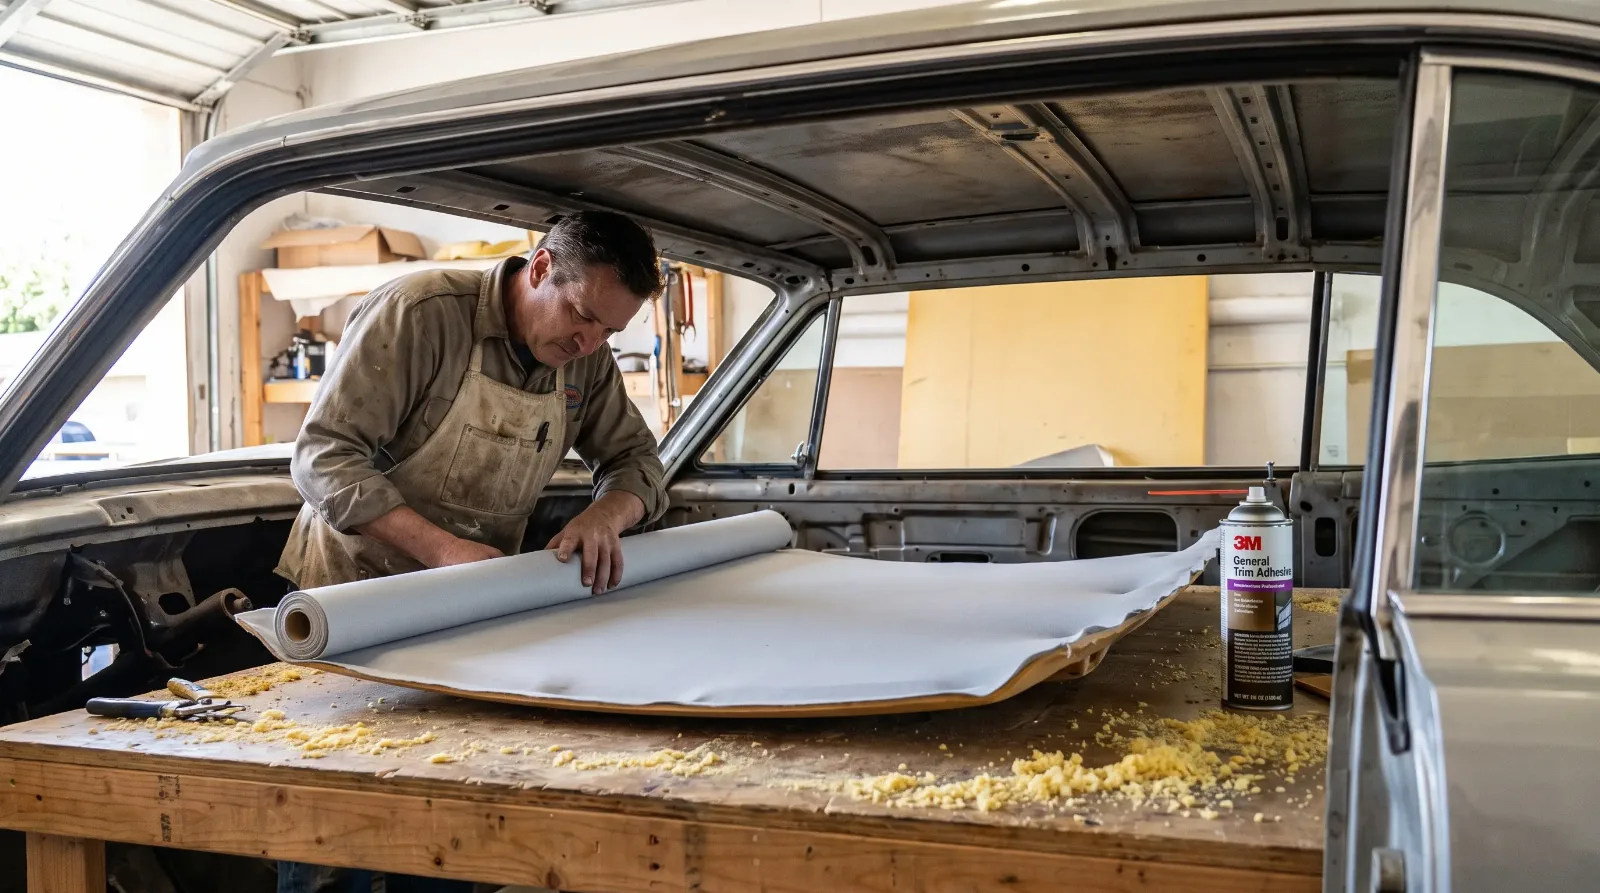
For a board type, the old fabric and foam come off the board, and this is the messy part. Scrape and brush every trace of foam dust and old adhesive from the board, because any lump telegraphs through new fabric. Check the board itself. A water stained or warped board may need replacement, and good reproduction boards exist for popular models. Wipe, prime if needed, then apply spray adhesive in even coats to both the board and the back of the new fabric, following the adhesive maker's instructions for tack time. Lay the fabric from the center outward, smoothing as you go and working toward the edges, and trim the excess only once the fabric has set.
For a bow headliner, the job is different. The new fabric panel arrives sewn, and your task is threading the bows through, setting them into their roof hooks, and tensioning the fabric evenly front to back and side to side. It takes patience and a second pair of hands, and the result is a panel that looks tailored and sits flat.
| Type | Typical era | Main failure | Typical shop cost |
|---|---|---|---|
| Bow type | Pre 1960s into the 1960s | Fabric rot, sagging, rust behind | About 500 to 1,200 dollars installed |
| Foam backed board | 1960s to 1990s | Foam turns to dust, fabric drops | Several hundred dollars, more if the board needs replacing |
| Vinyl or perforated | Selected 1960s and 1970s models | Shrinkage, tears, stains | Several hundred dollars, more with a sunroof or heavy water damage |
Materials, fit and the order of work
Choose fabric that matches the original weave and color for the model year, and buy it in the right width, since a headliner looks best as a continuous piece with no extra seam. Original headliner materials varied by era, from mohair cloth on many 1950s cars to vinyl in the 1960s and 1970s and foam backed velour or fiberboard in the 1980s and 1990s. Modern foam backed fleece is a poor match for a bow headliner. Matching tone matters because the headliner is the largest single surface in the cabin, and a shade that is slightly wrong colors the way the whole interior reads.
The order of work is where most amateurs go astray. A headliner should go in after the paint and after any roof or glass work, but before the door panels and carpet are fully installed, so that you can move around the cabin without damaging finished trim. Do the headliner, then the pillar trim, then the sun visors, then the rest. That ordering is the reason it sits ahead of carpet kits in a sensible schedule. A stray bit of adhesive on a new carpet is much harder to fix than the same drop on an old floor.
Be honest about the do it yourself question. A board headliner is within reach of a careful owner with a clean space and a weekend, and a typical DIY job runs on the order of one to two cans of headliner adhesive plus fabric, so the savings over a shop are real. A bow headliner is trickier and benefits from experience, and a car with a sunroof or complex curves is a job to hand to a trim shop. Most shops quote a range because of the unknowns behind the old panel.
"You only notice a good headliner when you stop noticing the roof. A bad one keeps reminding you that you cut a corner somewhere above your head."
Nora Beckett
When the new panel is in and the trim is back, follow the adhesive maker's cure time and keep the car out of hard sun until it has set. The fabric relaxes and any tiny wrinkle often disappears. After that, the roof is done for decades, and the cabin has the quiet, finished look that tells everyone who opens the door that someone cared.
Sources and notes
- Auto Restorer: How-to Replacing a Headliner, Pt. 2, board-type construction, foam breakdown, removal, adhesive amounts and center-outward application
- Auto Restorer: Make and Install a Custom Headliner, original headliners attached to rods like curtains on curtain rods
- Legendary Auto Interiors: DIY guide to replacing your classic car's headliner, scraping old foam, spray adhesive in two halves, trimming and reinstalling
- Heritage Parts Centre: Top tips for fixing classic car headliners, materials by era, foam disintegration, removing old adhesive before regluing
- Midwest Fabrics: Headliner replacement cost guide, general shop and DIY cost ranges and labor hours (modern vehicles)
- ThePricer: Car headliner repair cost, cost drivers such as board replacement and water damage