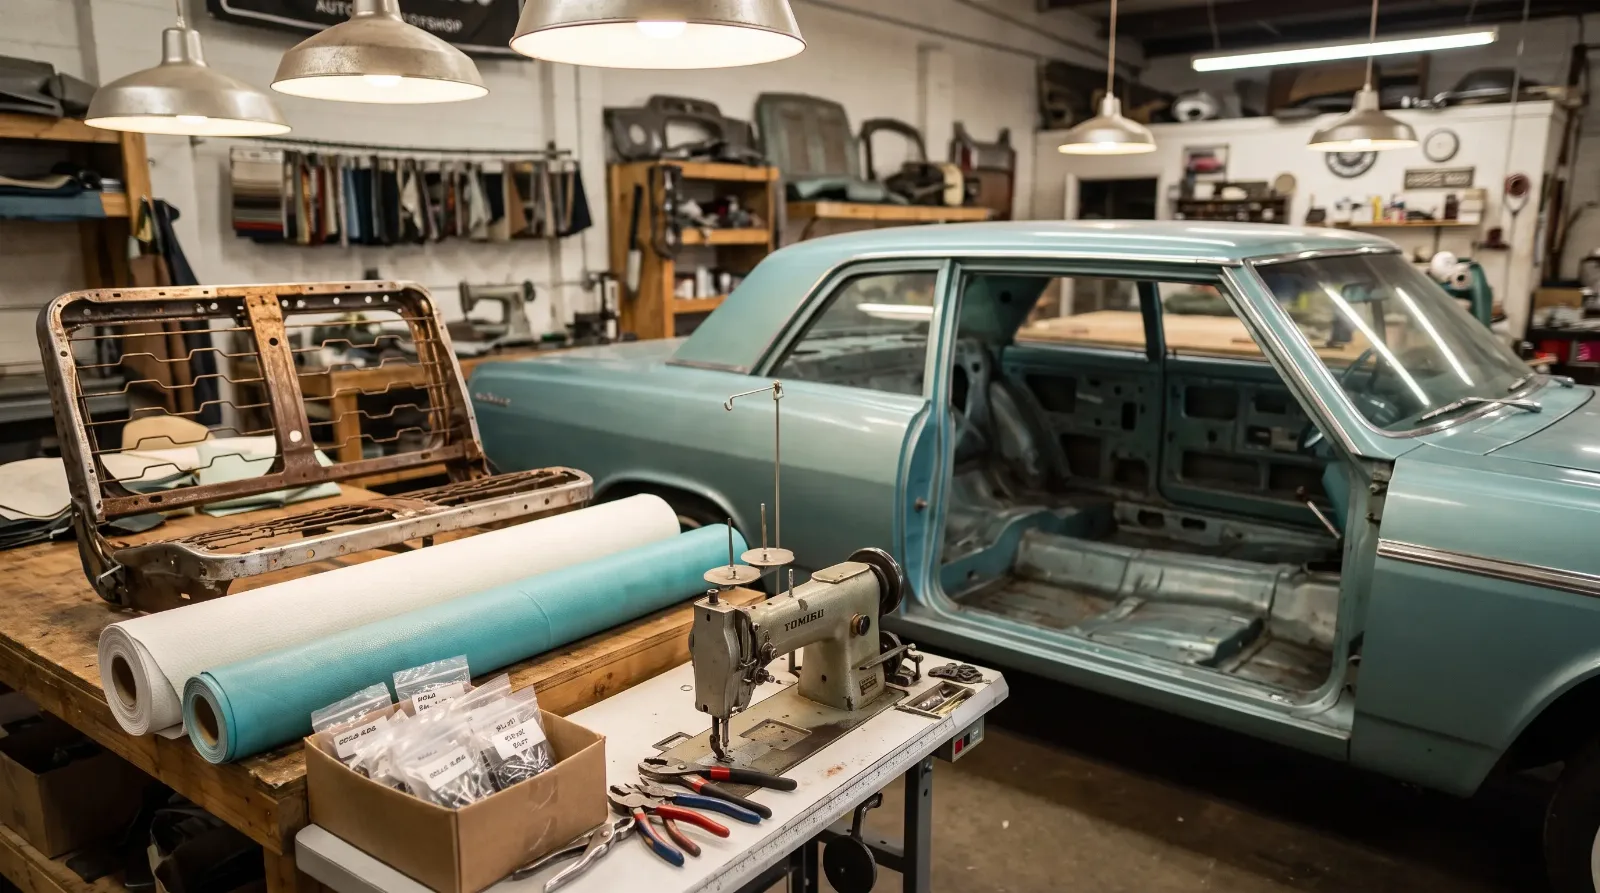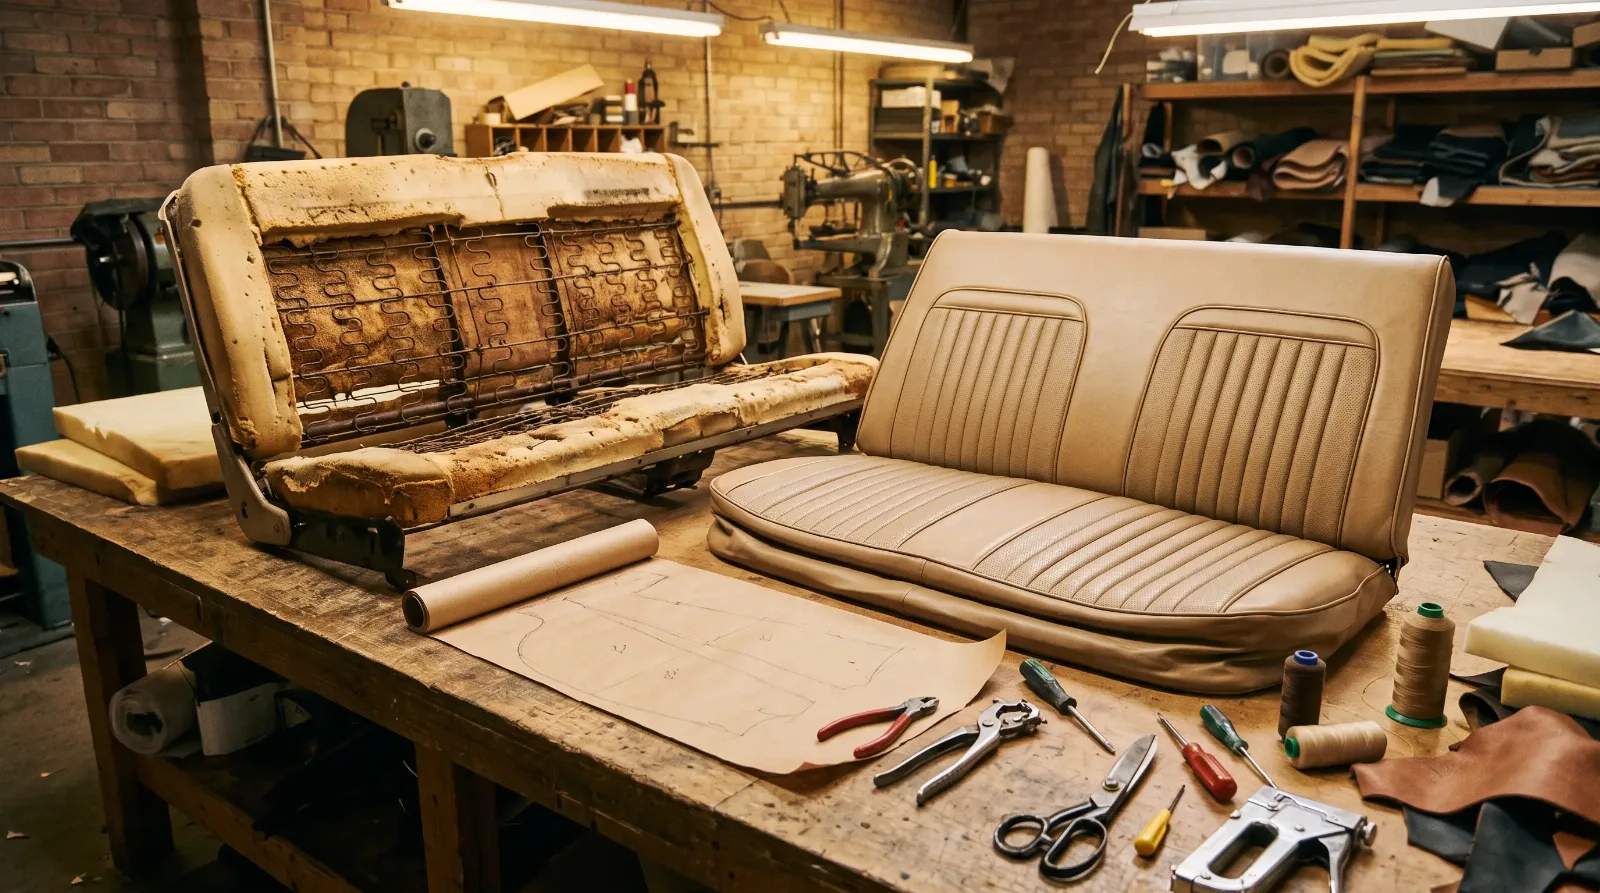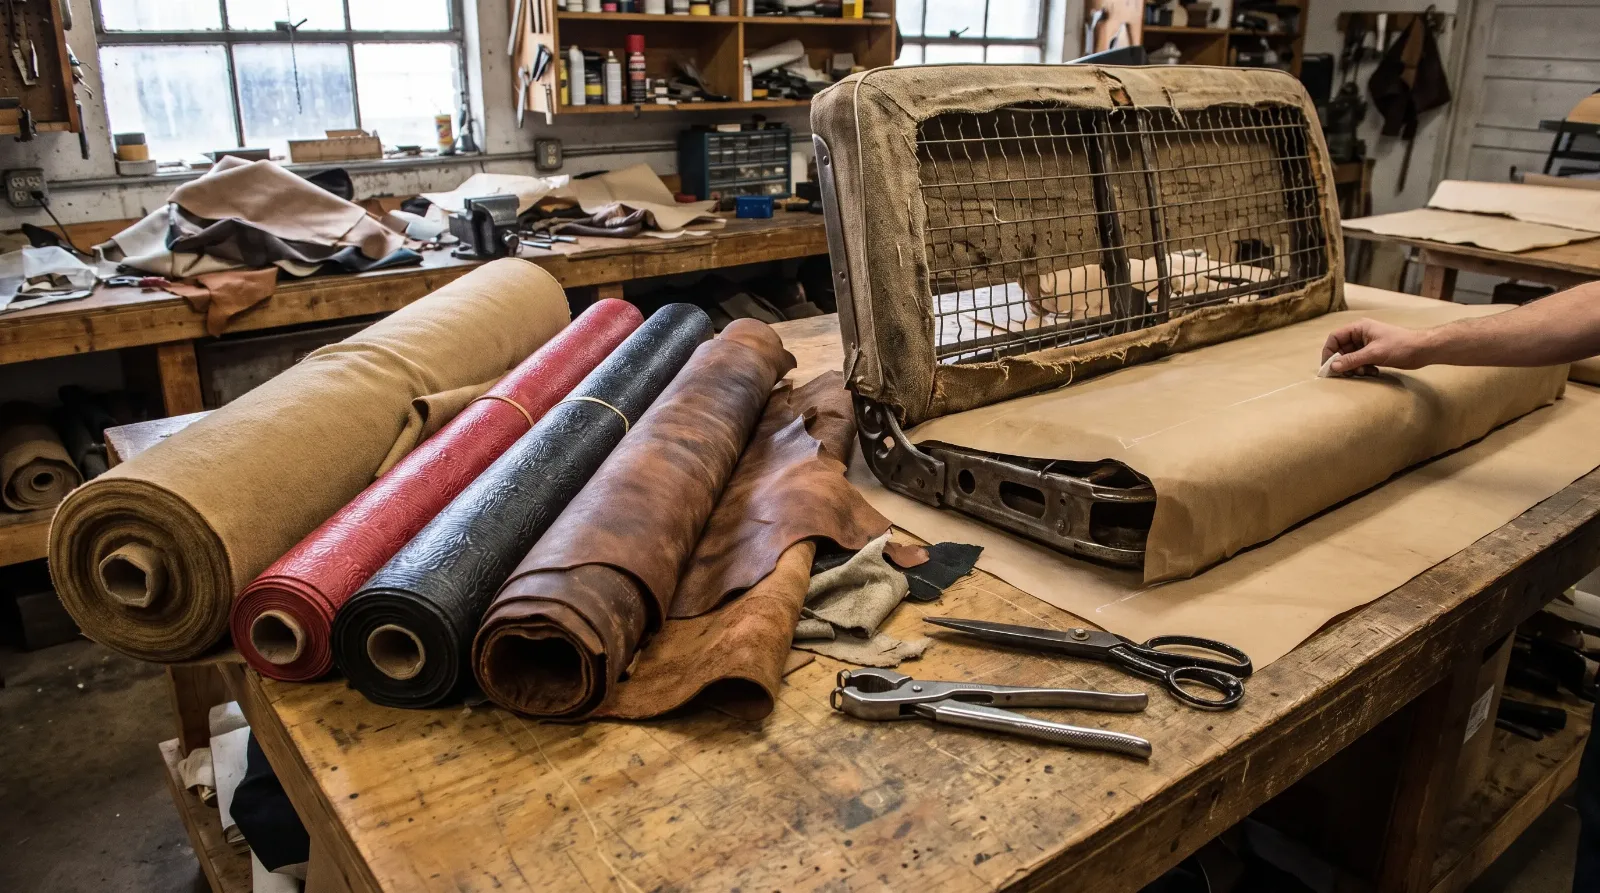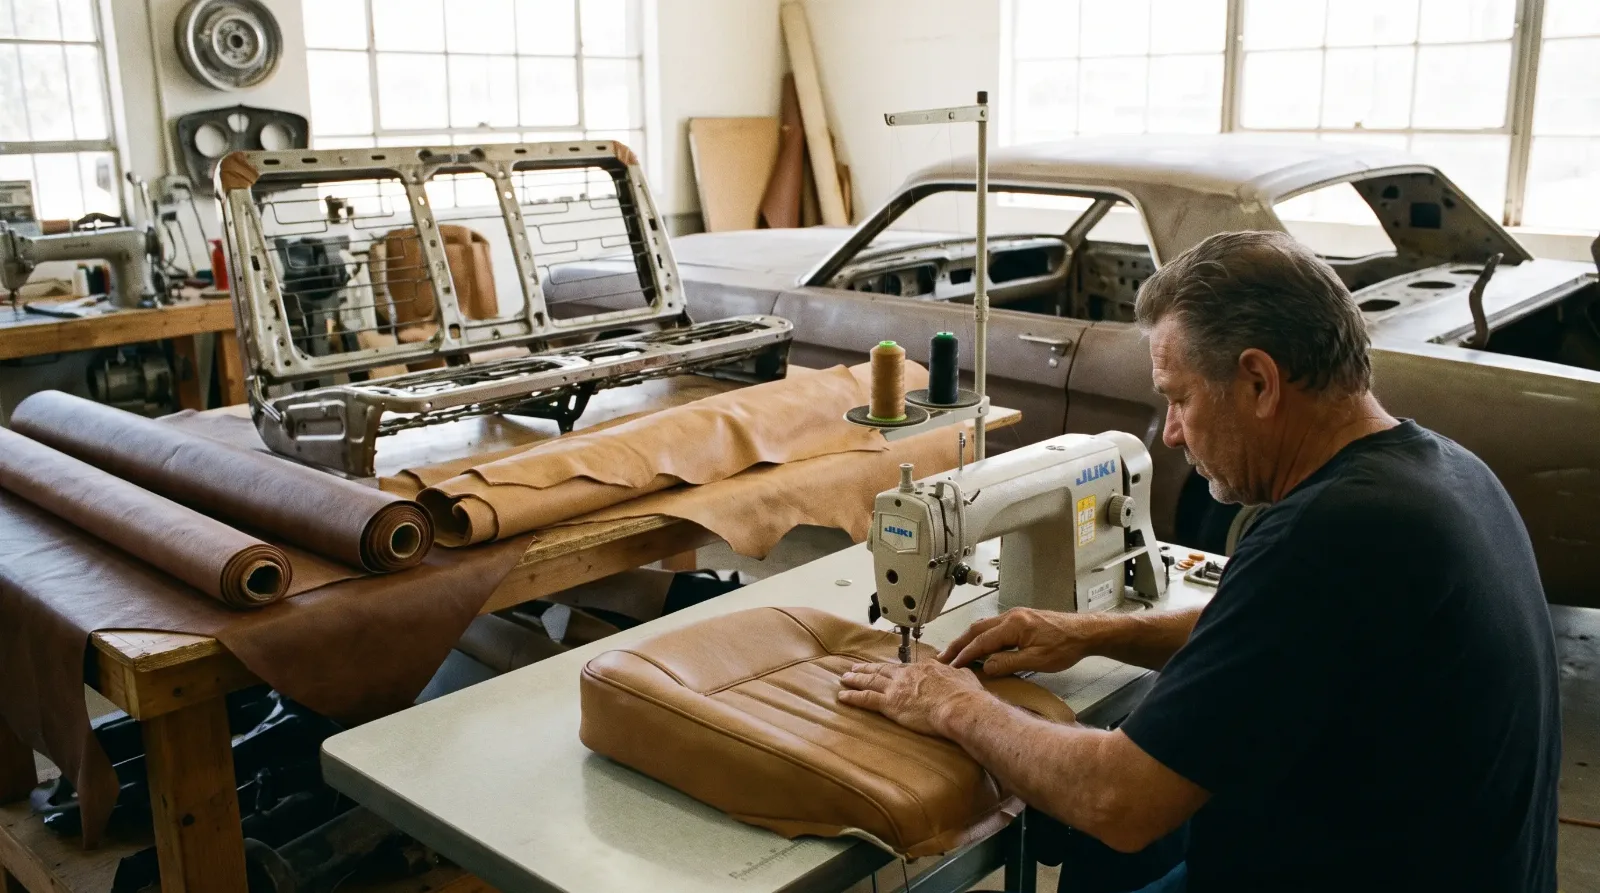

You settle into the driver's seat of a car you have just bought and feel a spring through the cover. Not a broken one, just a tired one, a hollow in the cushion shaped by decades of other drivers. That is what most seats are by the time they come to a trim shop. They are not ruined. They are worn into the shape of their history, and reupholstering them means deciding how much of that to keep.
Start with the structure, not the cover
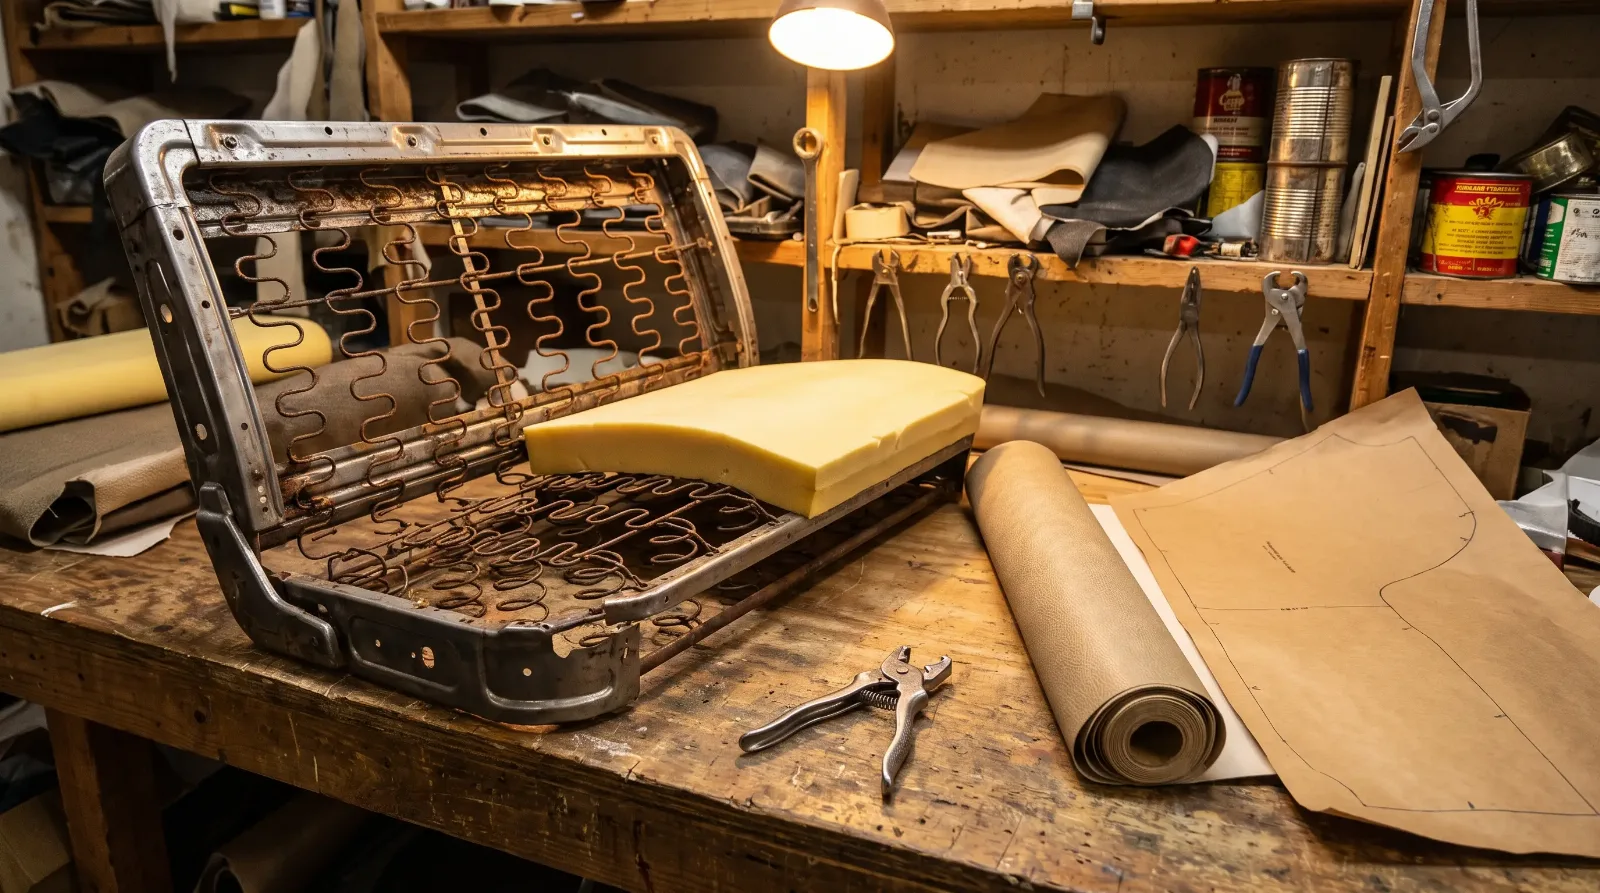
A classic car seat is a stack of parts: a steel frame, a spring system, padding, a cover, and often a layer of burlap or insulator between them. Most failures begin below the cover. Springs sag or snap, frames crack at the welds, and foam crumbles into dust. A new cover stretched over a collapsed base will look wrong and wear out quickly.
Strip the seat to the frame and inspect it. Check the welds, the mounting points, the slides, and the recliner mechanisms. Surface rust is normal and can be treated with a wire brush and a coat of paint. Cracked welds need repair by a welder, and bent frames need to be straightened before upholstery goes on. Take photos at every step so you can put things back as they were.
Springs and foam
Many seats from the 1950s and 1960s used coil springs or serpentine springs with cotton or hair padding, and later cars moved to molded foam. Springs can usually be repaired or replaced individually. Sagging springs lose tension, which can be corrected by reattaching, replacing, or adding support bands, and the correct approach depends on the design. Not every seat has springs at all: some later cars use foam alone on a steel frame. A seat with original spring suspension can often be restored to a comfortable state without altering its character.
Foam is the other big variable. Original foam breaks down with age, so most restorations replace it. Suppliers sell pre-molded replacement foam for popular models, and trimmers can cut and shape foam for others. Density matters. Firm foam on the bolsters and softer foam on the cushion gives a seat support without hardness, and a good trimmer will match the original profile rather than make it fatter. Overstuffing is a common mistake, and it makes the covers look tight and wrinkled around the stitch lines.
Choosing covers
Once the base is sound, you choose the covers. The decision is largely about original materials: what the car used when new, what is available now, and what you want to live with. Vinyl is durable and often original. Cloth gives period texture on cars that used it. Leather is a premium material on some cars and a modification on others. Match the grain, pattern, and color to the factory spec, using the trim tag as a guide if the car is to be judged.
Two of our earlier pieces go further into these choices. One looks at restoring leather and wood trimmed luxury interiors, and another covers restoring leather and fabric interiors, both useful if your car left the factory with something more than basic vinyl.
| Stage | What happens | Typical cost |
|---|---|---|
| Strip and inspect | Remove covers, check frame and springs | Mostly your own time, or a modest shop fee |
| Frame and spring repair | Weld, straighten, replace springs | From a few hundred dollars up, depending on how much welding and spring work is needed |
| New foam and padding | Replace foam, burlap, insulators | A few hundred dollars; a foam and cover kit for one bench seat has run about $600 in materials |
| New covers and install | Sew, fit, and stretch covers | Often the biggest share: roughly $250 to $750 per seat for covers and new foam installed, more for leather or complex bucket seats |
Doing it yourself, or not
Some of the work suits a patient owner. Stripping seats, cleaning frames, replacing foam, and installing pre-sewn kit covers are within reach with basic tools such as hog ring pliers, a staple gun, and a steamer. What takes years to learn is pattern cutting, sewing, and the feel for tension that makes a cover sit flat. A bad install shows up as wrinkles at the corners and uneven seams along the piping. If your car is rare or valuable, hand the covers to a professional and keep the disassembly for yourself.
A good trimmer is worth hunting for. Ask for finished seats from cars like yours, not only photographs, and get a written estimate listing materials and labor. Many of the best upholstery-capable restoration shops keep waiting lists, so plan the interior well ahead of the finish date of the rest of the car.
"The seat is the part of the car you actually touch for hours. Get the shape under the cover right, and the rest of the interior starts to feel like it belongs."
Nora Beckett
Finishing and care
Install the finished seats carefully. Scratches from bolts and slides are easy to make and annoying to fix. Use tape or covers on the sill and door panels, and tighten bolts to the specified torque rather than guessing. Once the seats are in, protect them from sun and heat. A windshield shade keeps UV off the cover, and a conditioner, applied to leather and appropriate vinyl, keeps them supple. Avoid sitting on new covers with rivets or sharp objects in your pockets for the first few weeks, while the material settles into its new shape.
A final point on timing. Seats go in after paint, headliner, carpet, and wiring are done. That keeps overspray, dirt, and solvent fumes away from the covers, and it spares your work from the wear and tear of the rest of the build. For the larger picture of how upholstery fits among the other interior jobs, read the interior restoration guide.
Sources and notes
- EngineerFix, How much does car upholstery cost, per-seat price range of about $200 to $750 and labor as a large share of the total
- Sports Car Market, 1967 Impala bench seat reupholstery, foam and cover kit with hog rings at about $606 and roughly four hours of professional install
- Street Tech, installing seat upholstery on a 1979 Trans Am, hog ring count, careful heat on vinyl, trash-bag trick
- Auto Restorer, restoring car seats, foam-only seats without springs, cutting foam oversize, marking hog ring points
- Wikipedia, Upholstery, coil and serpentine springs, polyurethane foam aging, traditional hessian and horsehair padding