
A coat of fresh paint does not stop rust. Most of the rot on an old truck starts inside the cab corners, the rockers, the doors, and the frame rails, in the places where water gets in and never fully dries out. Restore the outside and ignore the inside, and you have built a nice-looking car that will start dying again from within. Rust-proofing is the cheap, boring job that protects the expensive one.
Restoration & Tech
6 min read
Rust-Proofing a Restored Car: Cavity Wax, Seam Sealer, Undercoating
Where to spray cavity wax, how seam sealer and undercoating differ, what it costs and the right order of operations on a restored car or truck.
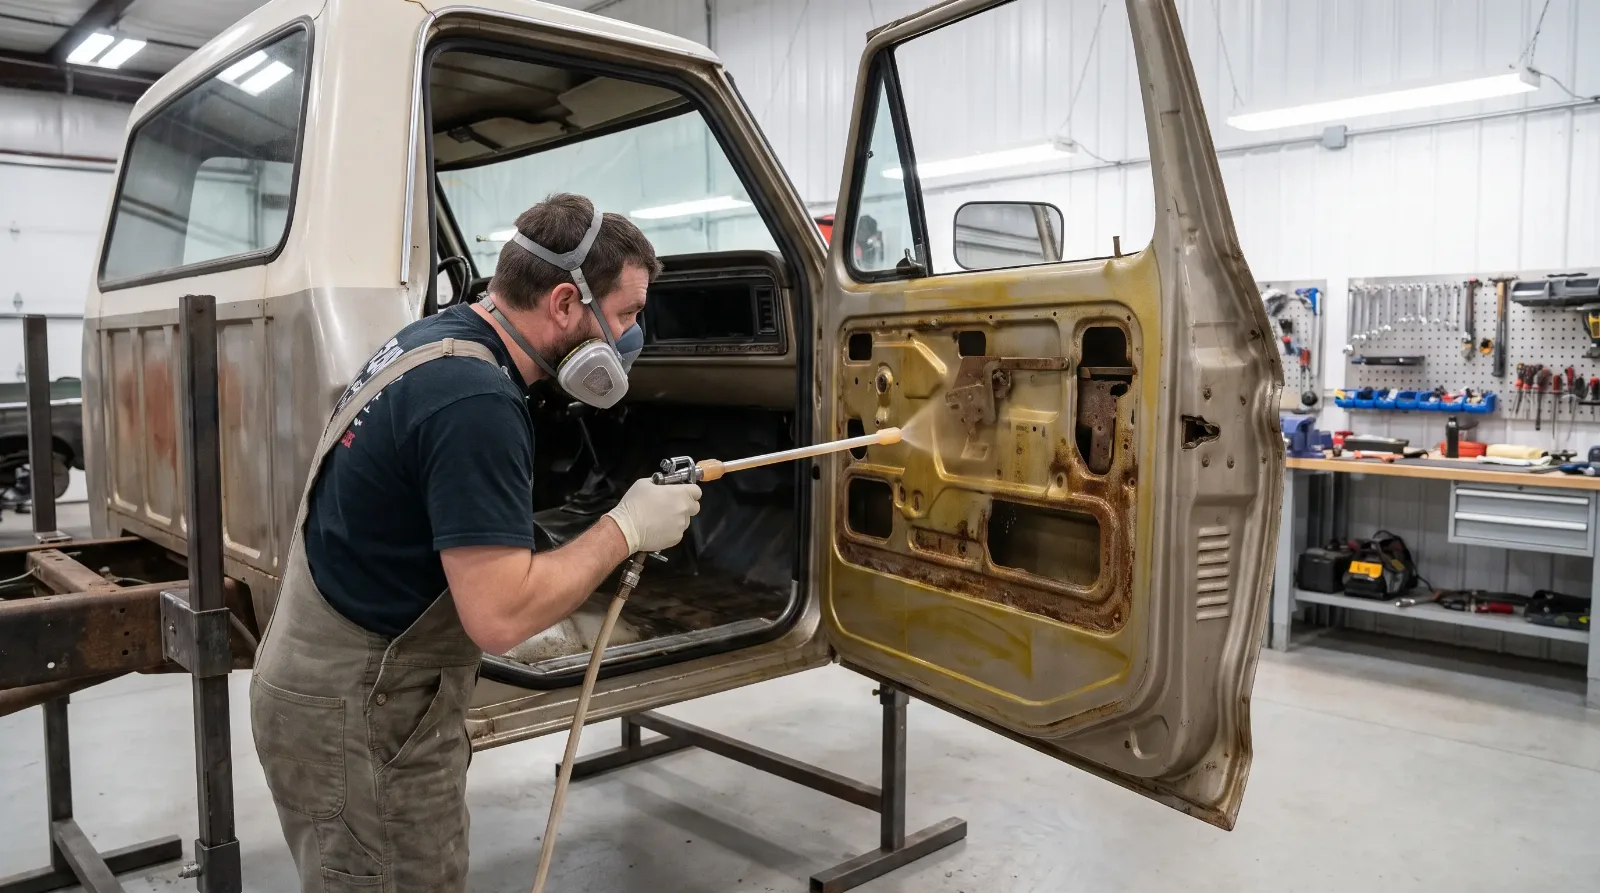
Plan this work early. Cavity wax and seam sealer have to go on before bolt-on parts and interior go back, and sometimes before the final topcoat. Done in the wrong order, you are masking and cleaning overspray for a week. Here is how I think about it, and what comes after the paint.
What cavity wax does
Cavity wax is a thin, waxy, creeping coating made to be sprayed into closed sections: inside doors, rocker panels, quarter panels, tailgates, frame boxes. It stays soft, flows into seams, and displaces moisture. Unlike hard undercoating, it does not crack and trap water, and it keeps working for years. Many products are sold in aerosol cans with a long flexible wand, and wand kits with 360-degree spray nozzles exist to coat all sides of an enclosed space. Shops also spray bulk wax through a pressure pot or gun with a flexible lance.
Before you spray, the inside of the panel needs to be clean and dry. Wax over rust scale or damp surfaces seals the problem in. If the panel has surface rust, treat it first with a rust converter or rust remover, then prime it, then use wax. Metal that is already thin does not get better with wax. It needs repair.
Where to spray
Focus on any boxed or double-wall area. On a truck that means the cab corners, the rocker panels, door bottoms, the inside of the bed sides, and the frame rails. On a car, add the lower fenders, trunk drop-offs, quarter panel bottoms, and the area behind the rear window. Look for factory drain holes and keep them clear. If a panel has no drain, drill small ones in the lowest point, and spray them afterward.
- Remove door panels and weatherstripping so you can reach the inner skin and the door bottoms.
- Use a 360-degree wand where you can, so the wax coats all surfaces, not only the side facing you.
- Let the first coat set, then add a second, thinner coat for coverage.
- Clean excess from paint right away with a rag and mineral spirits or a recommended solvent.
Seam sealer and its limits
Seam sealer is a different job. It is a flexible, paintable compound that fills gaps between welded or lapped panels, keeping water from creeping into the joint. Factory cars were sealed in specific spots, and a proper restoration reproduces the pattern. Sealer should be applied over bare metal or epoxy primer, not over rust or old filler. Use sealers made for automotive use (many are urethane-based) and follow the product data sheet for skin-over and paint-over times.
Do not use sealer to hide gaps that should have been fixed with metalwork. It is a seal, not a structural patch, and it tends to peel off bad weld joints. Where a panel was replaced, seal the lap and flange joints inside and out, and check them again after a few months of driving.
Undercoating, done right
Underbody coating comes in rubberized, asphalt, wax-based, and oil-based forms. For a restoration, I prefer a wax-based or lanolin-based coating on the floor pan and wheel wells, because it stays flexible and can be touched up easily. Rubberized and asphalt coatings are cheaper, but they can harden, crack, and trap moisture against the metal. If you want a factory look, many suppliers sell products that reproduce the original texture and finish.
The big rule applies here too: coat clean, dry, sound metal only. Spraying thick coating over dirt and old rust is how people make problems that are impossible to see until the floor falls out. Prime or paint bare steel first. Then coat. If you are working on a truck that was a ranch hand for forty years, expect to spend a day cleaning before you spray a single can.
Cost and upkeep
For a do-it-yourselfer, a full cavity wax and undercoating job usually costs a few hundred dollars in materials, depending on the vehicle and the products. A shop may charge anywhere from a few hundred dollars to four figures for professional application on a full vehicle, depending on how much disassembly is needed. That is small money next to a replacement rocker panel or floor.
Wax does not last forever. Check inside doors and rockers every year or two, and reapply where it has thinned or washed out. Cars driven in snow and road salt need more attention than a garage queen. A quick inspection with a light and an inspection mirror is enough to tell you whether you are due.
"Paint is for looking at. Wax and sealer are what keep the truck around long enough for somebody to look at it in twenty years."
Robert Halloran
Order of operations
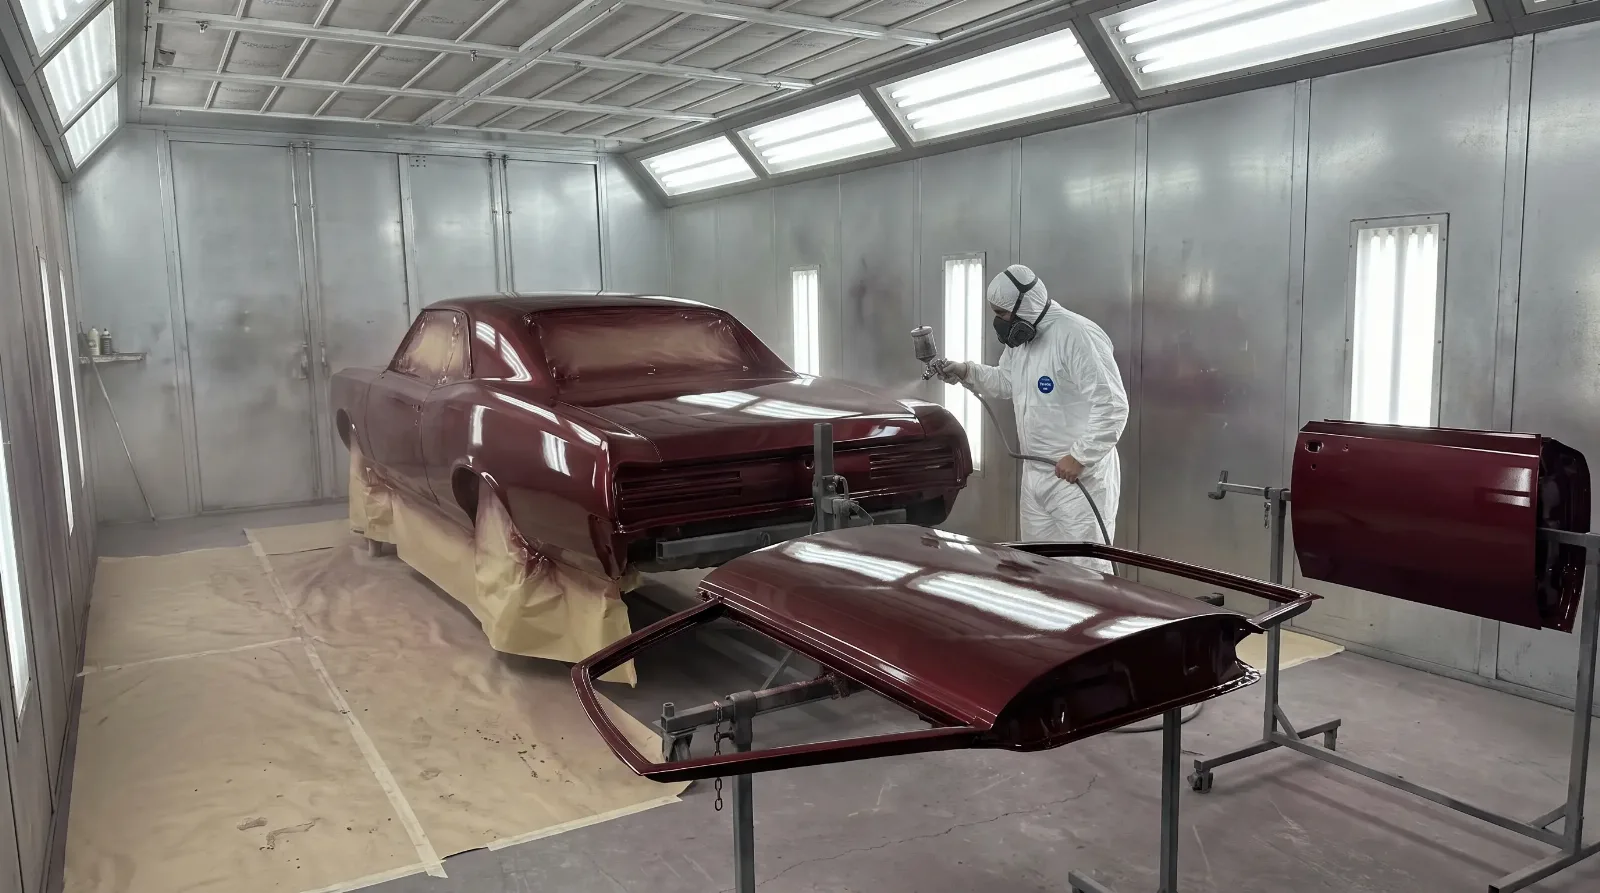
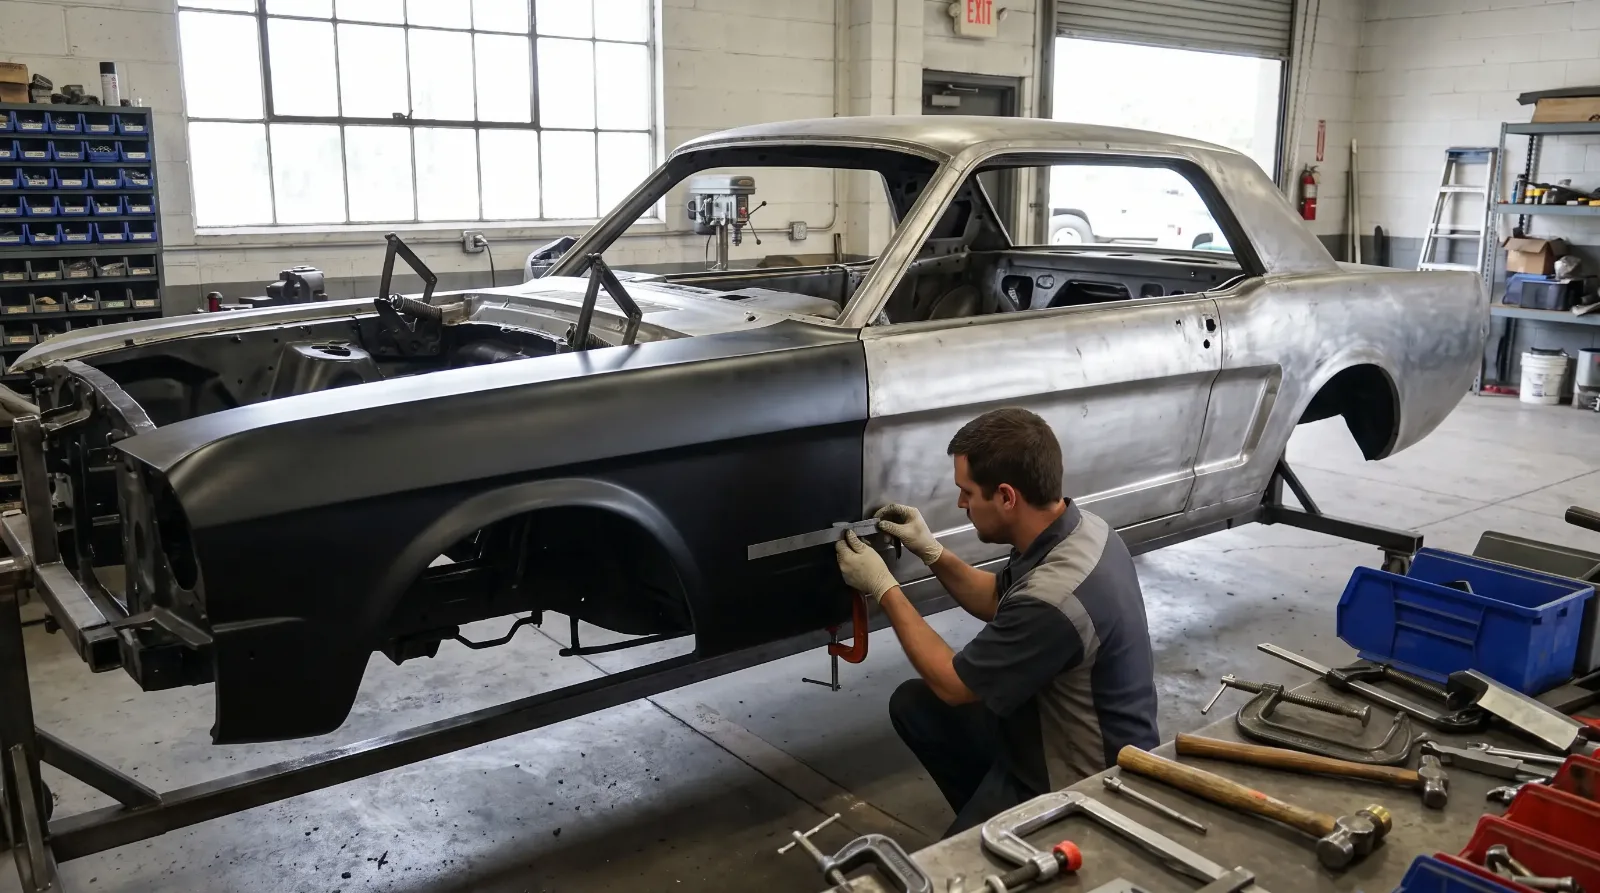
Do the metalwork and welding first, then epoxy prime the inside of every panel you can reach. Apply seam sealer, finish the body and paint, then use cavity wax after the paint has cured enough to handle masking. Undercoat last, before the drivetrain and suspension go in if you can. Reinstall panels, trim, and interior only after everything has dried. If you are replacing panels, you will run into fit trouble with some of them, and that is covered in our guide to reproduction sheet metal.
Finally, keep a simple record. Write down which products went into which cavities and on what date, and keep the cans' labels or data sheets with the build file. When you come back in two years to top up a rocker or a door bottom, you will know what is already in there and whether the new wax is compatible, instead of spraying over something that will not bond.
Sources and notes
- 3M Cavity Wax Plus applicator wand kit, wand lengths, 360-degree spray nozzles, and use in door skins, rockers, frame rails and concealed seams
- Rustproofing (Wikipedia), aftermarket undercoating and cavity wax, drain holes, factory e-coat, factors in corrosion rate
- Galvanized steel girds cars with corrosion-resistant properties (Christian Science Monitor, 1985), GM's 1986 galvanized models and the warranty competition
- History of galvanized steel in the automotive industry, import competition driving adoption and rust-warranty marketing
- Is rustproofing still worth it for modern cars? (Jalopnik), rustproofing as a barrier that is effective but not permanent
Related Reading
Have a
Classic Car
for Sale?
Reach thousands of serious classic car collectors across the US.
Sell It Here →
Selling a classic? Here's how: where to sell your classic car online
Are You a Classic Car Dealer?
List your full inventory and connect with targeted classic car buyers.
Join as a Dealer →

About the author
Robert Halloran
Texas-based classic truck enthusiast with decades of experience buying, restoring, and writing about American pickups from the 1940s through the 1980s.
More in Restoration & Tech
Comments
Be the first to comment on this article.