
Nobody tells you this when you order a new fender: it will not bolt on. Not cleanly. Reproduction body panels have made restoration affordable for cars that would otherwise be scrapped, and I would not want to go back to hunting rusty originals. But they come with fit problems, and the people who budget for that are the people who finish their projects.
Restoration & Tech
6 min read
Reproduction Sheet Metal: Fit Problems With Aftermarket Panels
Why reproduction body panels rarely fit out of the box, the common problems, how to test fit before welding, and when to send a panel back.
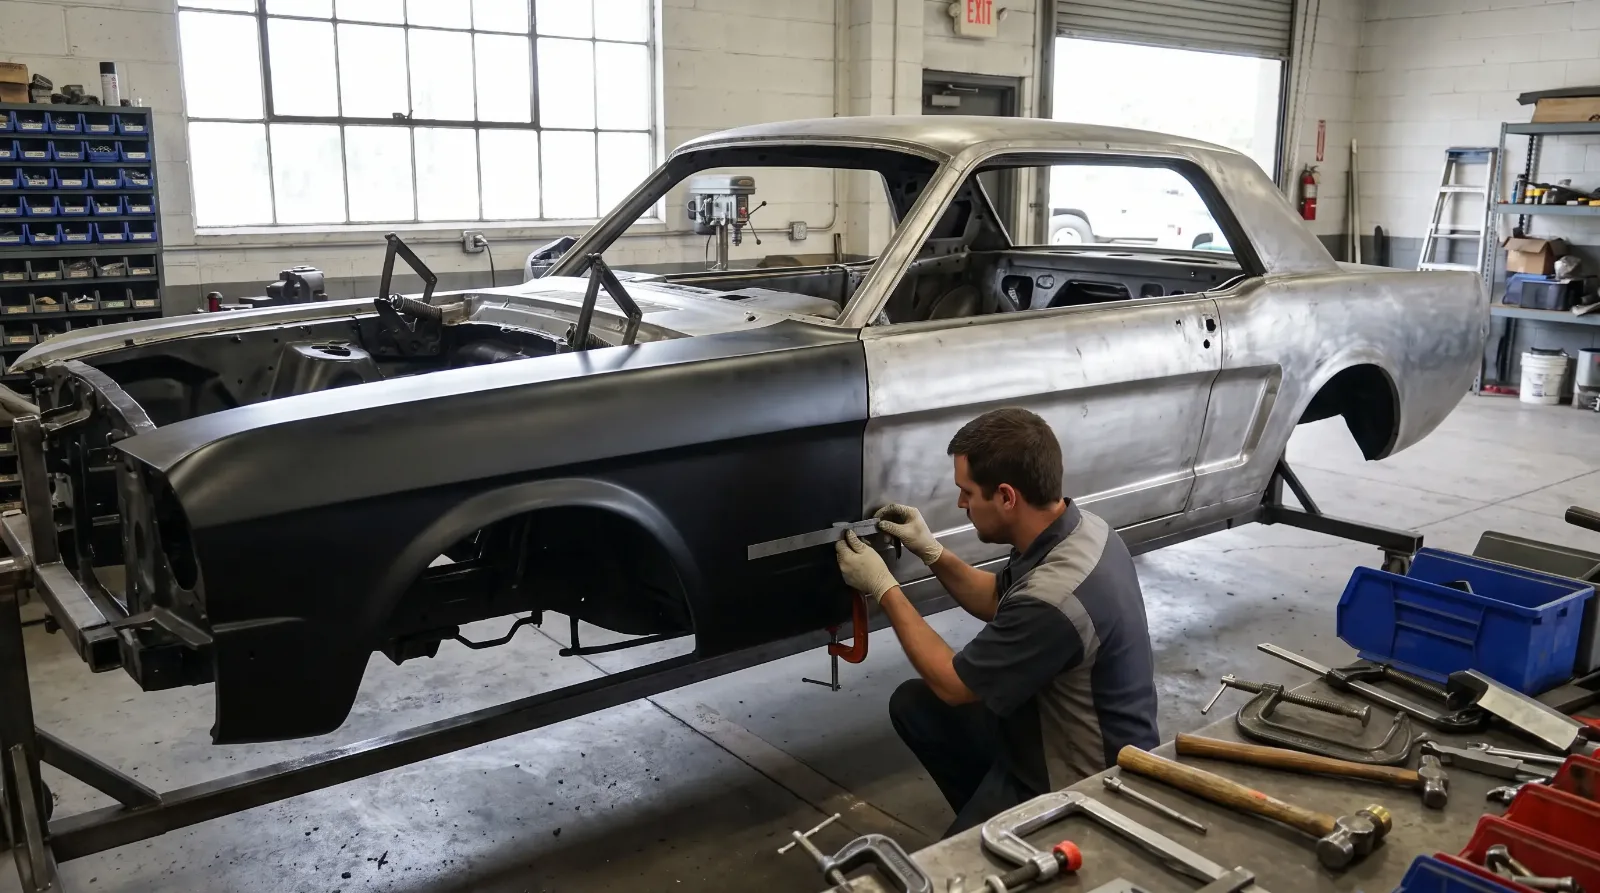
Why repro panels do not match the originals
The original tooling from the factory is mostly gone or worn out. Aftermarket makers build new dies, sometimes by scanning or copying an existing panel, and every copy of a copy can lose a bit of accuracy. Some use short-run tooling that softens with use, so panel features can fade as a die wears. Add in cheaper steel, thinner gauge in some cases, and different stamping methods, and you get panels that look right at ten feet and fight you at the edges. Quality varies a great deal between suppliers and even between production runs from the same supplier. Large parts suppliers say it themselves: there is no such thing as a direct-fit body panel on an older car, and minor shimming or hole adjustment is considered normal.
Some parts are licensed and made to a high standard, and those typically cost more. Others are imports sold at a discount. Neither is guaranteed. What you pay does not always predict what you get, so ask around in owner forums and with the shops that do this every day. Look for shops experienced with repro panels, because they will tell you which brands they trust and which they avoid.
Typical problems you will meet
- Uneven gaps. A hood or door can have a gap that tapers from one end to the other, or sits proud at a corner.
- Wrong body lines. Character lines that do not match the adjacent panel, so the line breaks at the seam.
- Flange mismatch. Mounting flanges that are the wrong depth or angle, so a weld seam will not close.
- Warped or wavy metal. Panels that arrive with oil-canning or kinks from shipping.
- Missing or misplaced holes. Bolt holes and trim holes that are off by a fraction or absent altogether.
- Thin or brittle steel. Metal that dents easily or tears when you hammer on it.
I have seen quarter panels that needed an hour of reshaping before the first weld, and door skins that were a half inch off at the bottom corner. That is not unusual. It is the job.
Test fit before you do anything permanent
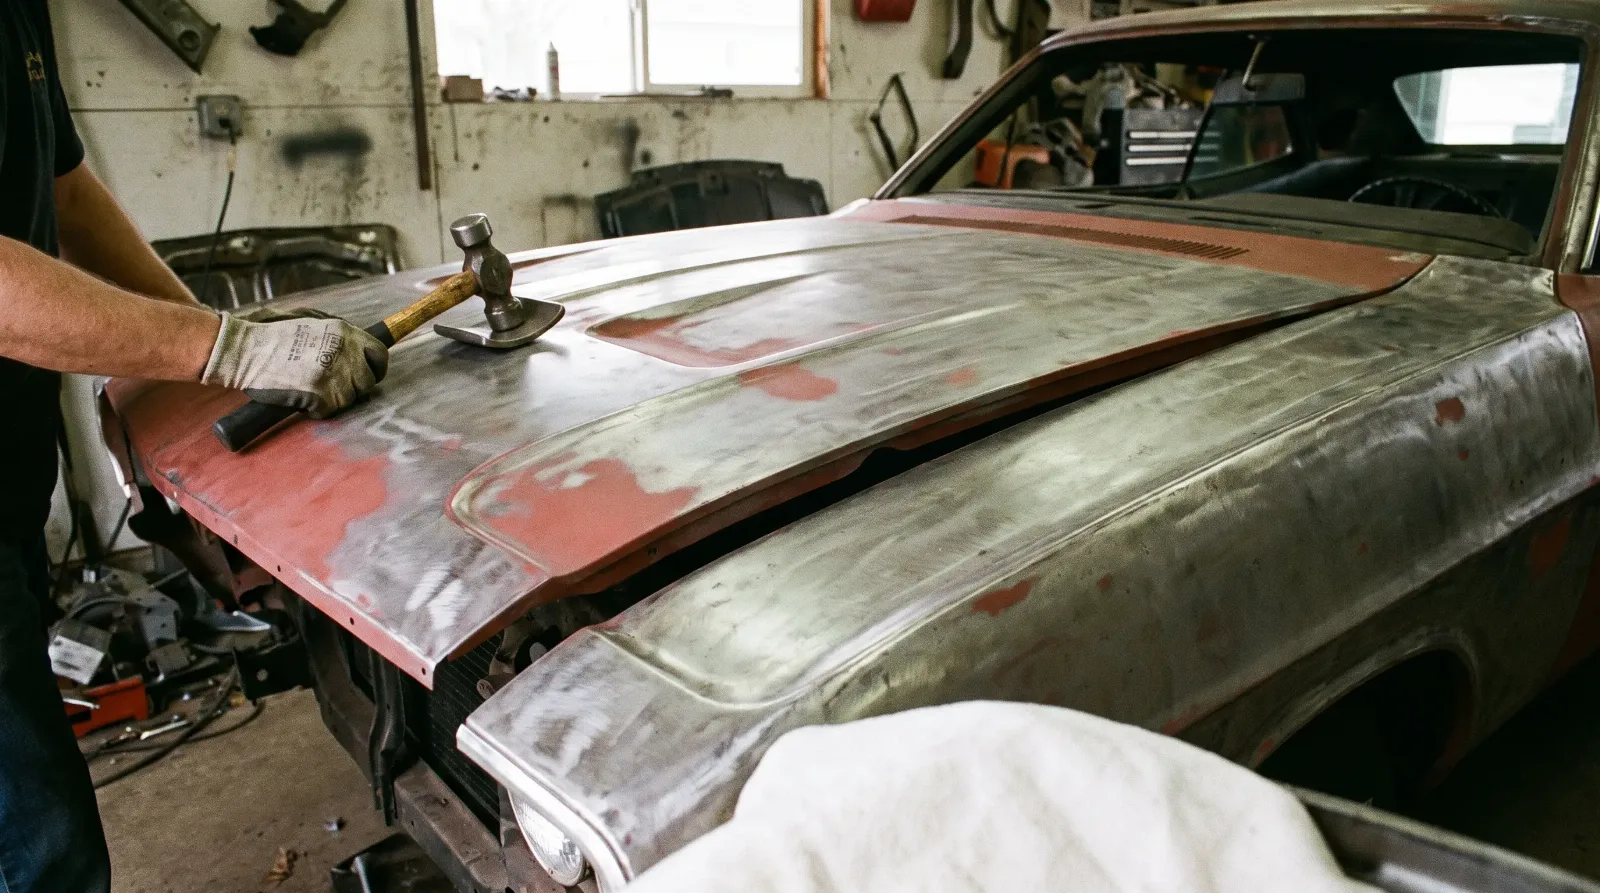
This is the single most important habit. Mock up every panel on the car before you cut, weld, or paint. Bolt on the fenders, hood, doors, and trunk lid with the hinges and the latches, and check the gaps against your reference points. Use clamps and temporary screws, not welds. Compare the gaps from side to side and against factory specs if you can find them. Many shops use a body jig or a set of measured diagonals to confirm that the structure itself is square before panels go on.
If you find a problem, fix the mismatch in metalwork, not with filler. Thick body filler is a common bandage for poor fit, and it cracks and shows through paint later. A reasonable skim of filler is normal. A quarter inch is not.
Fixing common fit problems
Most problems come down to a few techniques. For a bad body line, a hammer and dolly, or a shrinking disc, can nudge the metal back into shape. For a flange that does not close, trim, bend, or add metal in the right spot. Where a gap is too tight, a few passes with a body file or grinder may be enough. Where it is too wide, you may have to weld on a small strip and dress it down.
The order matters. Start with the panel closest to the structure and work outward: inner structure, quarter panels or fenders, then doors, then hood and trunk lid. A door that fits the opening perfectly will still look wrong if the fender next to it is off. Hang everything loosely first, adjust, then tighten down one panel at a time.
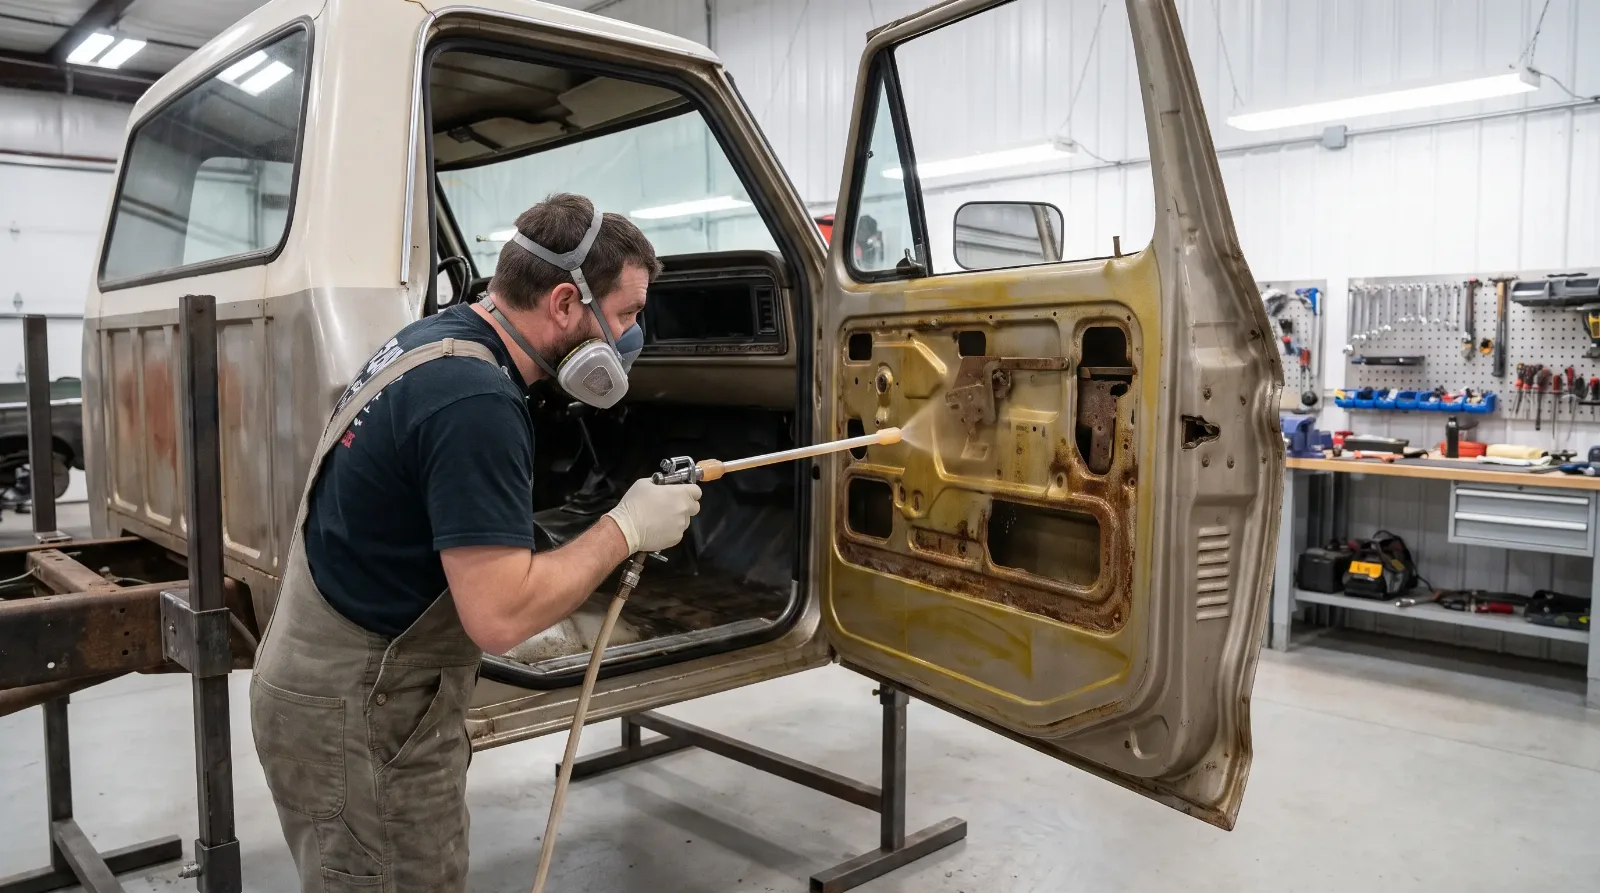
Work your way through the whole car before you commit to final welds. Tack welds can be cut and repositioned. Full seam welds cannot, at least not easily. Prime bare metal edges as soon as you finish welding, because new steel starts to rust fast, and that is where the problems later come back.
Cost and when to walk away
Panel prices swing widely with the model, the brand, and whether the part is licensed. A single fender or door skin is a modest purchase, but a full set for a popular model adds up to real money. Labor to fit a bad panel can easily cost more than the panel itself. A shop may bill several hours of metalwork per panel on a poor fit, and most independent restoration shops charge roughly $85 to $150 an hour, about $125 being typical, with marque specialists higher.
Sometimes the smartest move is to return a bad part. Check each panel on arrival, photograph damage, and keep the packaging until you have confirmed the fit. A good supplier will exchange a panel that is clearly out of spec, but suppliers generally will not replace a panel that is merely normal to adjust, so contact them before you ship anything back. A good used original in decent shape may also beat a poor reproduction. If the car has a strong parts supply, a deeper look at reproduction parts will help you decide where it is worth buying new.
"Plan on fitting every new panel twice. Once to see how bad it is, and once to make it right. The guys who skip the first step pay for it at the paint shop."
Mike Sullivan
Plan the rest of the job around it
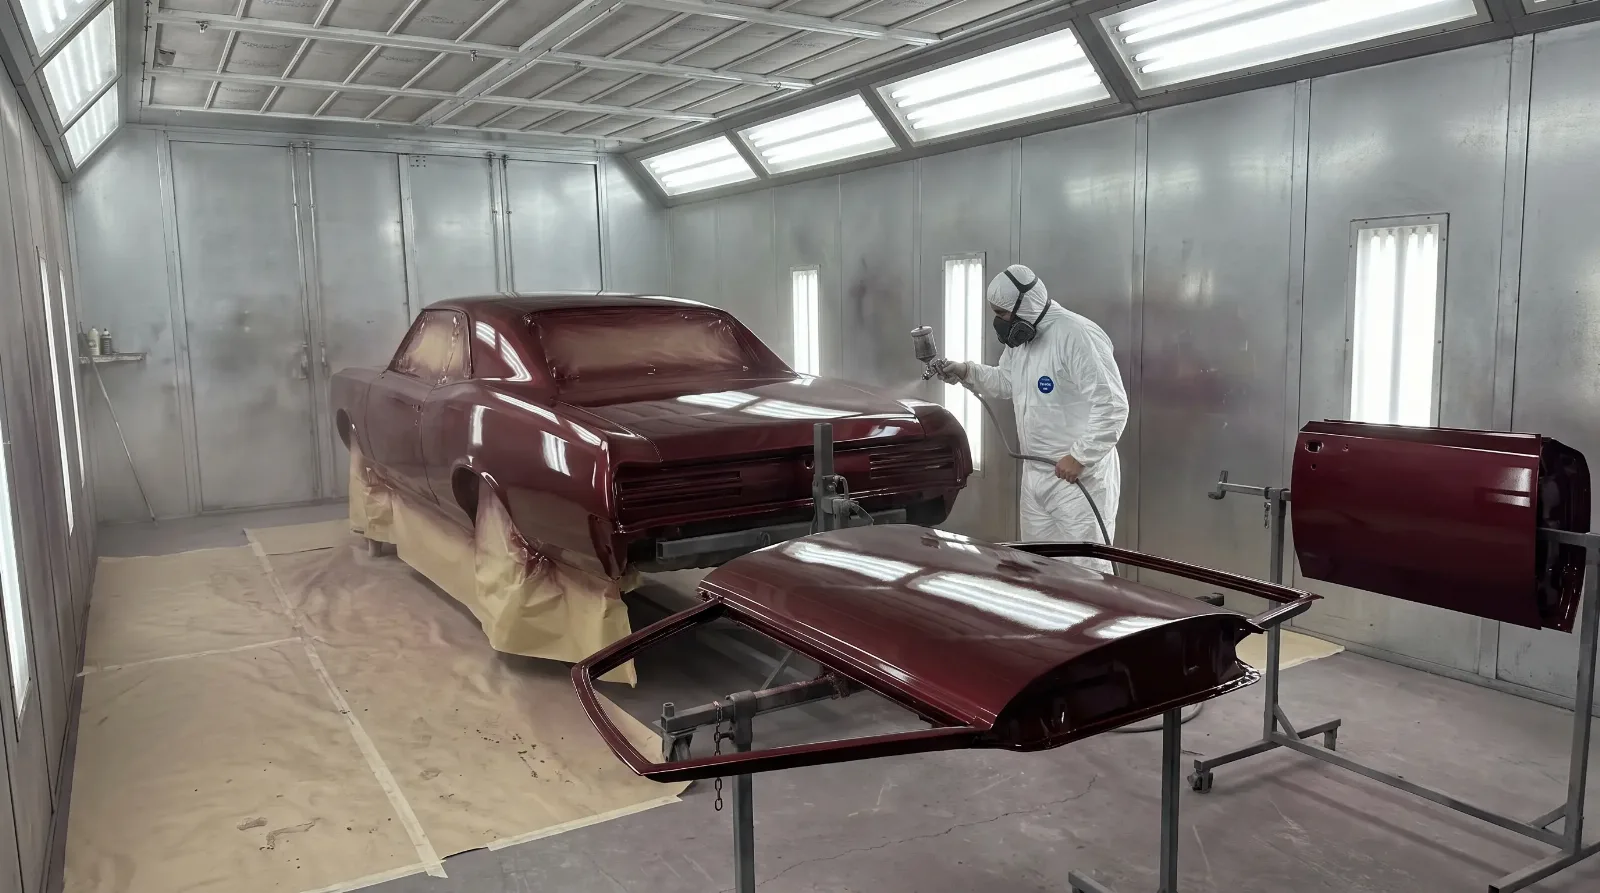
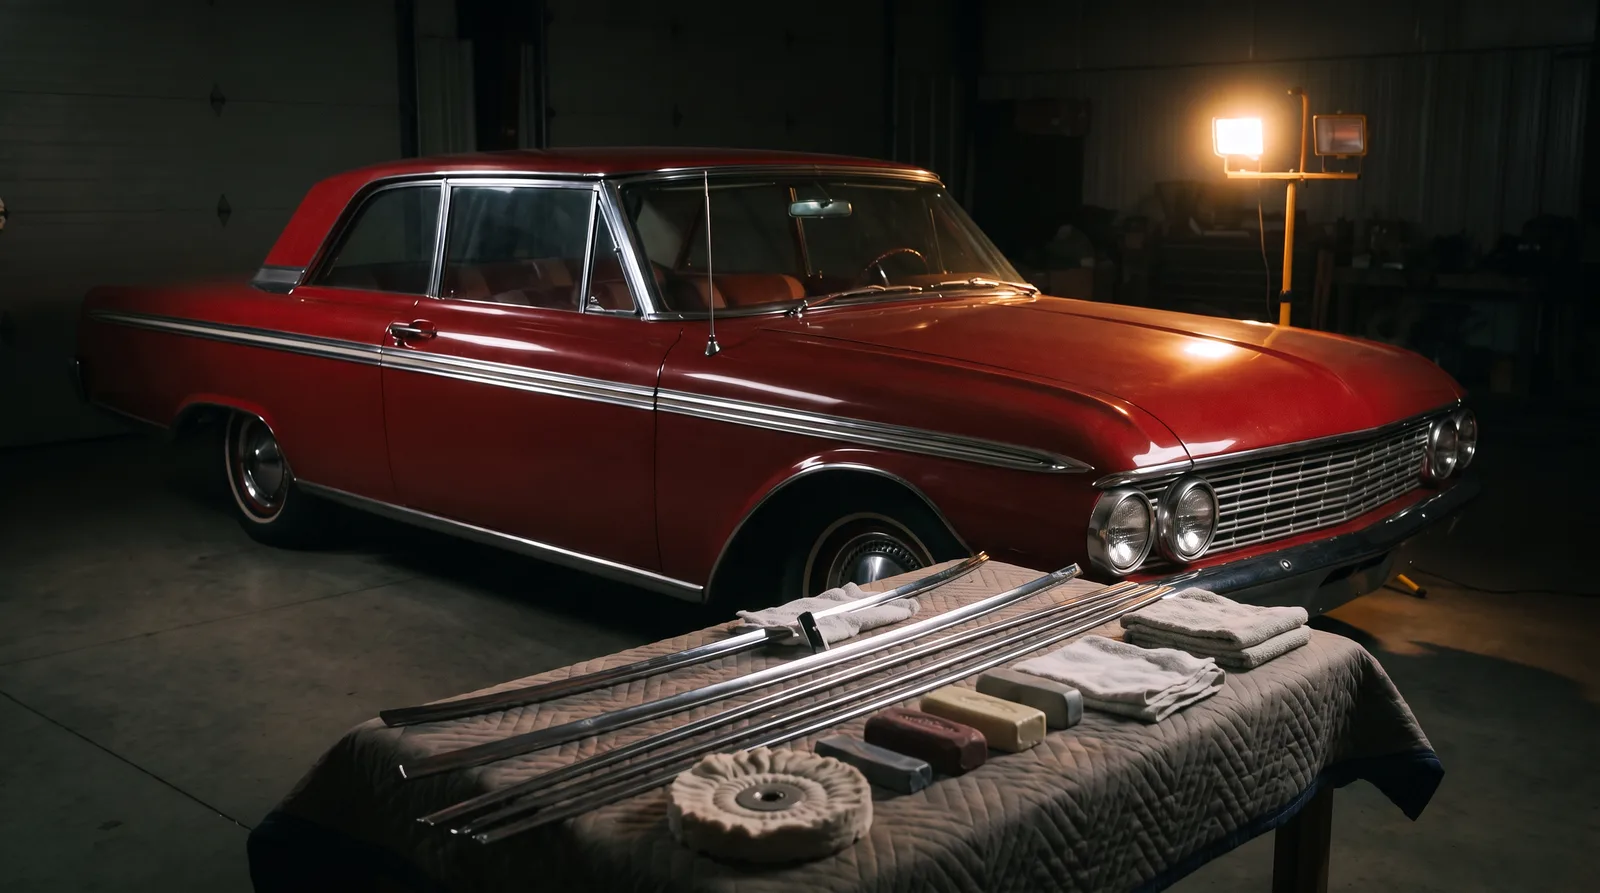
Fit problems add time, so build slack into the schedule and the budget. Tell your painter early which panels were reworked, because extra metalwork can mean more sanding and priming. Our bodywork guide covers what to expect from panel prep through paint. And when the metal and paint are done, the finishing touches matter too, from polishing trim to the last bit of chrome that returns the car to its original look.
Sources and notes
- Classic Industries: panel damaged or defective, test fit before paint, no direct-fit panels on older cars, return policy
- OER: determining whether a sheet panel is defective, tolerances on older vehicles, minor modifications as normal, contact before returning
- Dynacorn, manufacturer claims about new tooling and fit (a maker's own statement, not independent testing)
- Kirksite (Wikipedia), alloy originally designed for low-volume sheet-metal dies
- Panel beating (Wikipedia), hammer and dolly and planishing as standard metalwork techniques
Related Reading
Have a
Classic Car
for Sale?
Reach thousands of serious classic car collectors across the US.
Sell It Here →
Selling a classic? Here's how: where to sell your classic car online
Are You a Classic Car Dealer?
List your full inventory and connect with targeted classic car buyers.
Join as a Dealer →

About the author
Mike Sullivan
Detroit-area muscle car enthusiast and restoration specialist with three decades of hands-on experience working on American iron.
More in Restoration & Tech
Comments
Be the first to comment on this article.