
Sound deadening is the best-value upgrade in an interior restoration, and it is only cheap once. When the carpet, seats and headliner are out of the car, the floor is bare steel and you can cover every inch. After the interior goes back in, doing it properly means pulling everything out again. That is the number to remember.
Restoration & Tech
6 min read
Sound Deadening and Insulation During an Interior Restoration
Sound deadening is cheap, effective and easy only while the interior is out. Here is what to use, where to put it, what it weighs and how much it really helps.
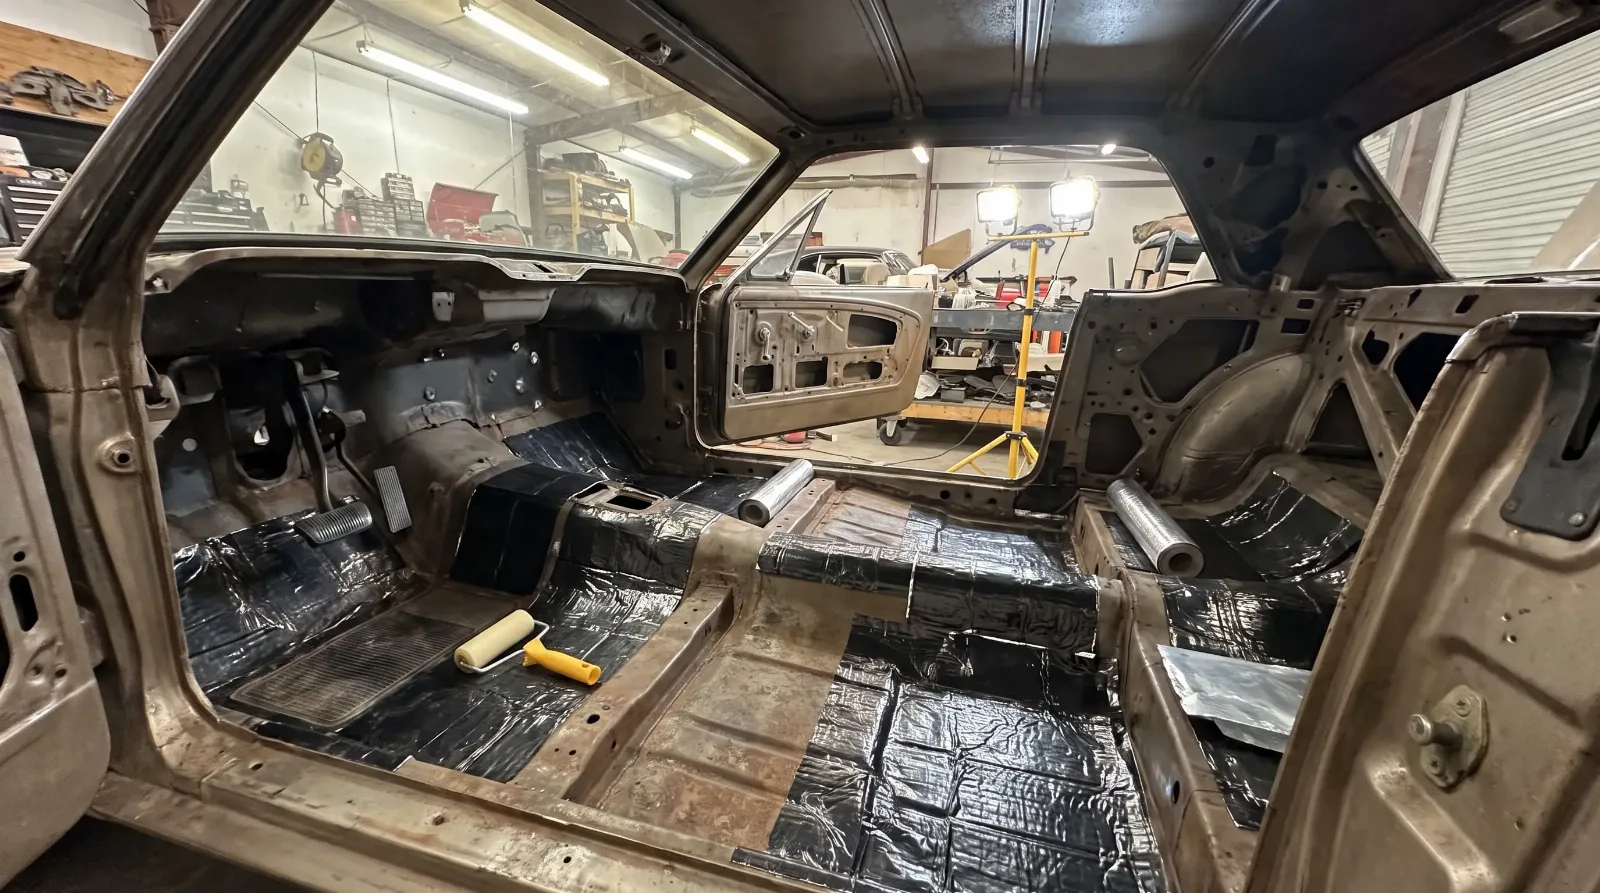
Most classics were built with thin steel and minimal insulation. A highway cruise in a 1960s coupe is loud, hot and full of road drone. Done right, a sound and heat package makes the car quieter, cooler and more solid without changing its character. Treat it as a standard step in the interior restoration steps, not an afterthought.
Three problems, three different materials
Most people lump everything under sound deadening, but there are three separate jobs, and each needs its own material. Mixing them up wastes money.
Panel vibration is the first. Large flat metal panels, like floors, doors and the trunk, ring like a drum. Constrained layer damping mats, a butyl or asphalt-based sheet with a foil skin, add mass and stop the resonance. You do not need full coverage. About 25 to 50 percent of a panel, concentrated in the center, usually kills most of the ringing, and several makers and installers put the useful range at roughly 25 to 60 percent.
Airborne noise is the second. Tire roar, exhaust and wind pass through the metal and trim. Closed-cell foam decouples the panel from the carpet, and a heavy barrier layer, such as mass loaded vinyl, blocks sound transmission. This is where weight enters the equation.
Heat is the third. Transmission tunnels, firewalls and floors over the exhaust bake the cabin. Thermal barriers, often a foil-faced closed-cell foam or fiber mat, reflect and slow heat transfer. They are different from damping mats, and many cars need both.
| Problem | Material | Where it goes |
|---|---|---|
| Panel vibration | Butyl damping mat | Floor, doors, trunk, roof |
| Decoupling and airborne noise | Closed-cell foam plus barrier layer | Over damping mat, under carpet |
| Heat | Foil-faced thermal mat | Firewall, tunnel, floor above exhaust |
Where to put it, in order
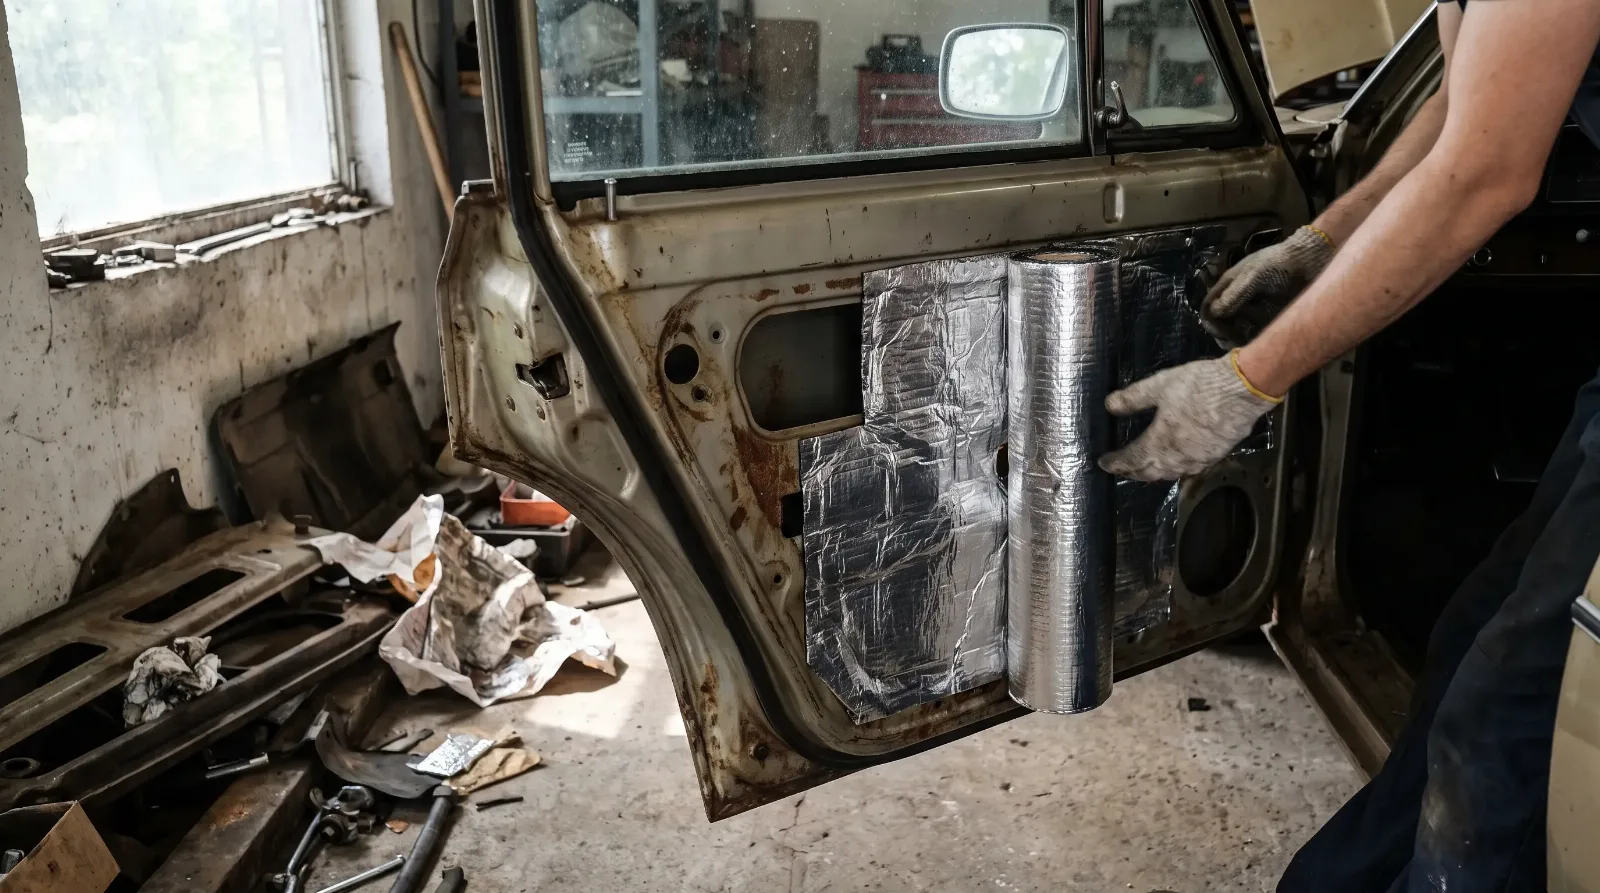
Start with the floor, because that is where most road noise enters. Strip the old pads and any rotted jute, wire brush surface rust and treat it, then prime and paint bare metal before anything goes on. Putting damping mat on rusting steel only traps moisture. Apply the mat to clean, dry, warm metal, and roll it with a hard roller so it bonds into every contour. Cold material and a poor roll are common reasons for lifting and trapped air pockets, so many installers warm the sheets and roll until the foil pattern is flat.
Then do the firewall and the transmission tunnel, which carry both noise and heat. These areas get thermal material first and a decoupling layer on top. Next come the doors, where a small amount of damping on the outer skin makes a noticeable difference to the thump of a closing door and to the stereo. Finally, the trunk floor, wheel wells and rear package area, where road roar from the rear axle and tires often hides. Skip this step and you will chase rattles later, because loose carpet over bare steel amplifies every vibration. Also protect the harness: route wiring away from sharp edges, and mark seat and seatbelt bolt holes before you lay material so you can find them again with a knife.
Weight, and why it matters on a light car
A full barrier-and-mat treatment is not free in pounds. On a heavy full-size cruiser, 80 pounds is invisible. On a small sports car it changes handling and acceleration. If weight matters, use damping mat only where it works, skip the heaviest barrier layer, and choose thermal foam for the tunnel. The rule is simple: more mass blocks more noise, and more mass costs more at the pump and the dyno. Pick the trade you can live with.
It is also worth noting what you do not want to change. Original-style jute or fiber pads are correct for a documented restoration, and a judge may mark down modern mats. For a driver, comfort wins. For a show car, hide the modern material under correct-looking carpet backing and keep a photographic record of what you added so it can be reversed.
What it really delivers
Expect honest numbers. Manufacturers claim a full treatment can cut interior noise by roughly 6 to 18 decibels, depending on the car and how complete the job is, and owners often describe the result as a sizable gain in perceived quiet. Real results vary. Do not expect a modern luxury car's silence from a 1965 coupe with a worn exhaust and tired seals. Sound deadening is part of the solution. Fixing exhaust leaks, tightening door and window seals, and replacing worn bushings are the rest.
Professional shops can handle a full sound and heat package, and the labor adds up because the whole interior must come out. If you want a pro to run it alongside the rest of the build, start with the shops listed in our directory and ask each one what their standard insulation package includes and which materials they use.
"Do it while the floor is bare. Every dollar you spend on this after the carpet goes in costs three in labor."
Dan Reeves
Checklist before the carpet goes in
- Fix every leak and every rust patch first, because insulation hides moisture.
- Treat and paint bare floors before applying mats.
- Roll the damping mat firmly, with the metal warm and clean.
- Add thermal material to the firewall and tunnel.
- Install a decoupling foam layer, then the barrier if you want the extra isolation.
- Seal wire and cable grommets, because small gaps leak noise.
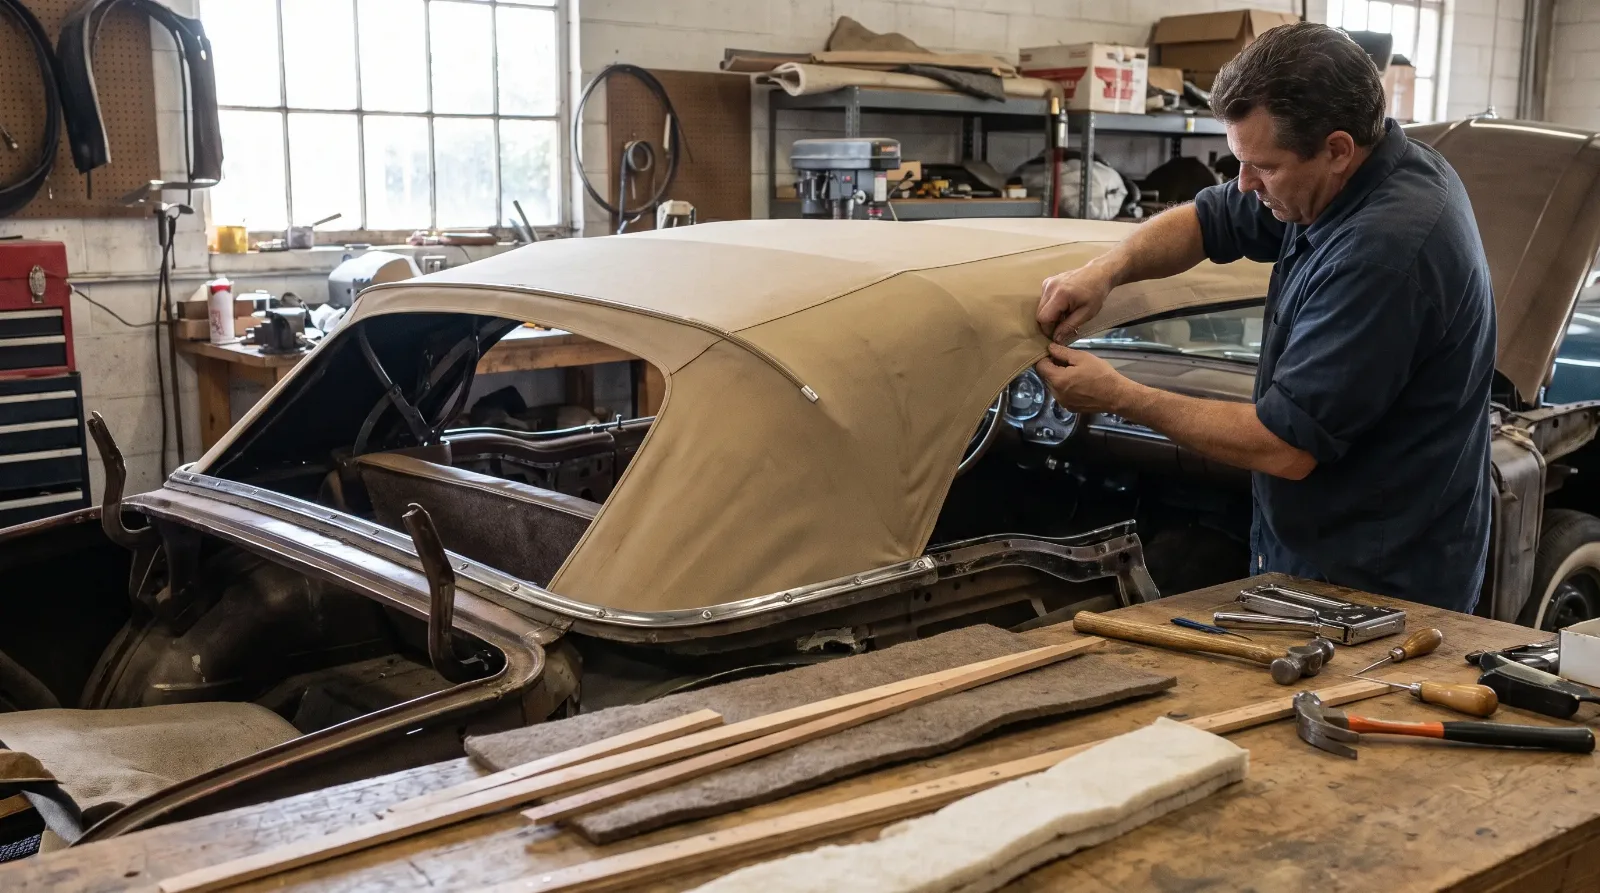
Once the floor is done, you can move on to the other soft parts of the cabin, such as the top on a ragtop, which brings us to convertible top replacement, another job that is far easier before everything else is back in place.
Sources and notes
- Dynamat Xtreme product page, butyl and aluminum constrained layer construction, roller application, manufacturer claim of 9 to 18 dB cabin noise reduction
- Dynamat, best sound deadening material for cars, constrained layer damping principle and butyl versus asphalt
- Bass Junkies, sound deadening step-by-step guide, 25 to 60 percent coverage, surface cleaning, warming and rolling, 20 to 35 kg added weight, foam decoupling
- Sika SikaDamp acoustic damping materials, elastomer, bitumen and butyl dampers and up to 6 dB interior noise reduction
- Car Insulation UK, soundproofing a classic car, butyl, closed-cell foam and foil-faced thermal liner roles, treatment order, rolling out air pockets
Related Reading
Have a
Classic Car
for Sale?
Reach thousands of serious classic car collectors across the US.
Sell It Here →
Selling a classic? Here's how: compare the places to sell classic cars
Are You a Classic Car Dealer?
List your full inventory and connect with targeted classic car buyers.
Join as a Dealer →

About the author
Dan Reeves
Performance engine builder from North Carolina's motorsports corridor, focused on swaps, forced induction and making real, repeatable power.
More in Restoration & Tech



Comments
Be the first to comment on this article.