
Seat belts are the one part of a restoration where being correct and being safe do not always point the same direction. I have seen guys spend weeks hunting for a date coded belt buckle and then drive the car on webbing that would tear like a bedsheet in a hard stop. I like a correct interior as much as the next guy, but the belt is there to hold you in. Decide what you want the car to be, then pick the belts to match.
Restoration & Tech
7 min read
Seat Belts in a Classic: Original, Reproduction or Retrofit
Original, reproduction or retrofit seat belts for a classic car: what is safe, what is correct, and how to fit three point belts without butchering the body.
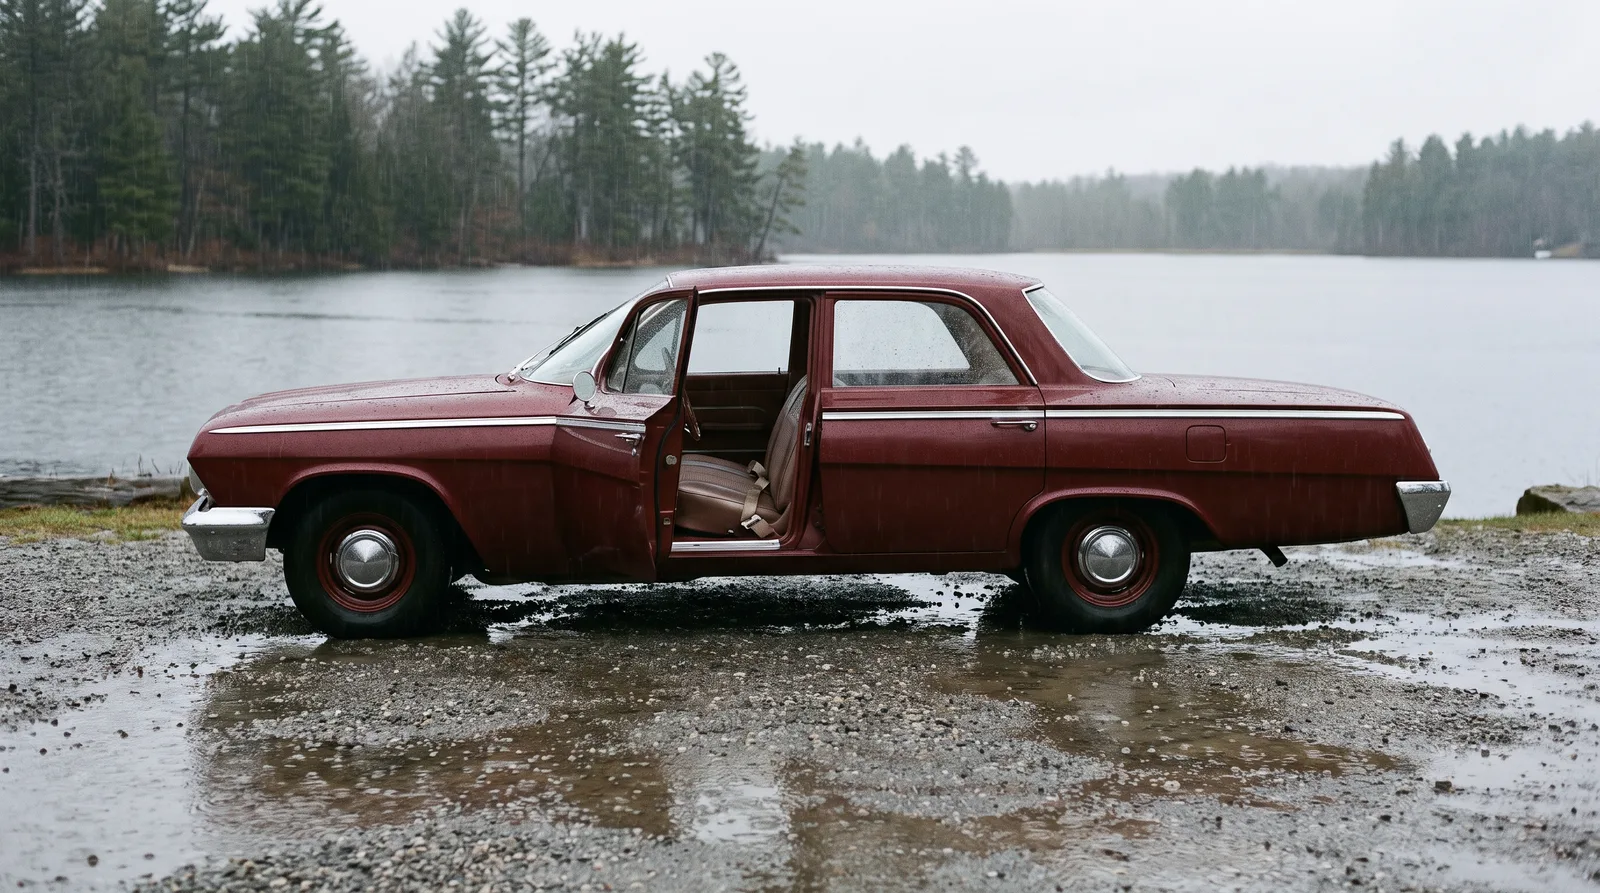
What was in the car from the factory
Early cars had none. Lap belts started showing up as options in the late 1950s and early 1960s, and the federal safety standard that took effect on January 1, 1968 required belts in every designated seating position of new cars in the United States, with shoulder belts at the front outboard positions. Lap belts were already standard on cars like the 1967 Camaro, so the 1968 change was mostly about adding the shoulder belt. That matters, because a 1964 car with a belt usually has an option or an add on, and a 1969 car without belts is missing a required piece. Know where your car falls before you buy anything.
Factory belts used metal buckles, push button or lift latch release, and webbing in colors matched to the interior. Some later cars came with retractors on the shoulder side. The hardware carries date codes and maker stamps, which is what judges look at.
Three choices
| Option | Looks correct | Safety | Typical cost |
|---|---|---|---|
| Original, restored | Best | Poor, webbing is aged | Varies, mostly the cost of new webbing and restoration labor |
| Reproduction, period style | Very good | Good, new webbing and tested | Usually a few hundred dollars for a set |
| Modern retrofit, three point | Fair to good | Best | Usually a few hundred dollars per kit, plus install time |
Original belts
If the car is going to a judged show and the original belts are in the car, you can keep them for display. Do not count on them in a crash. Webbing can degrade from sunlight, sweat and age even when it looks fine, and stitching and retractor springs can fail without warning. A lot of judged cars carry original belts for scoring and a safer set for the drive home. That is a reasonable answer if you will actually swap them. Some restorers split the difference by keeping the original hardware and having new webbing sewn in with the factory stitch pattern and label.
Reproduction belts
Reproduction sets are made to look like the factory belt, with the right buckle shape, stamped logos and a period correct webbing weave, but they use new webbing and hardware. For most restorers that is the sweet spot. Buy from a supplier that tells you the webbing meets the federal belt standard and that gives the markings on the label. Ask whether it is lap only or lap and shoulder, since the choice changes how the car is anchored.
Modern retrofit
A modern three point belt with a retractor is the safest option, and it protects your upper body in a way a lap belt never can. A lap belt alone can cause serious spinal and abdominal injuries in a front crash, which is why later rules moved to three point belts. If you drive the car regularly with family or in traffic, a retrofit is worth the loss of originality. Many kits are made as bolt in sets for specific cars and are designed around the existing mounting points, which makes the job easier to reverse later.
Mounting points and body integrity
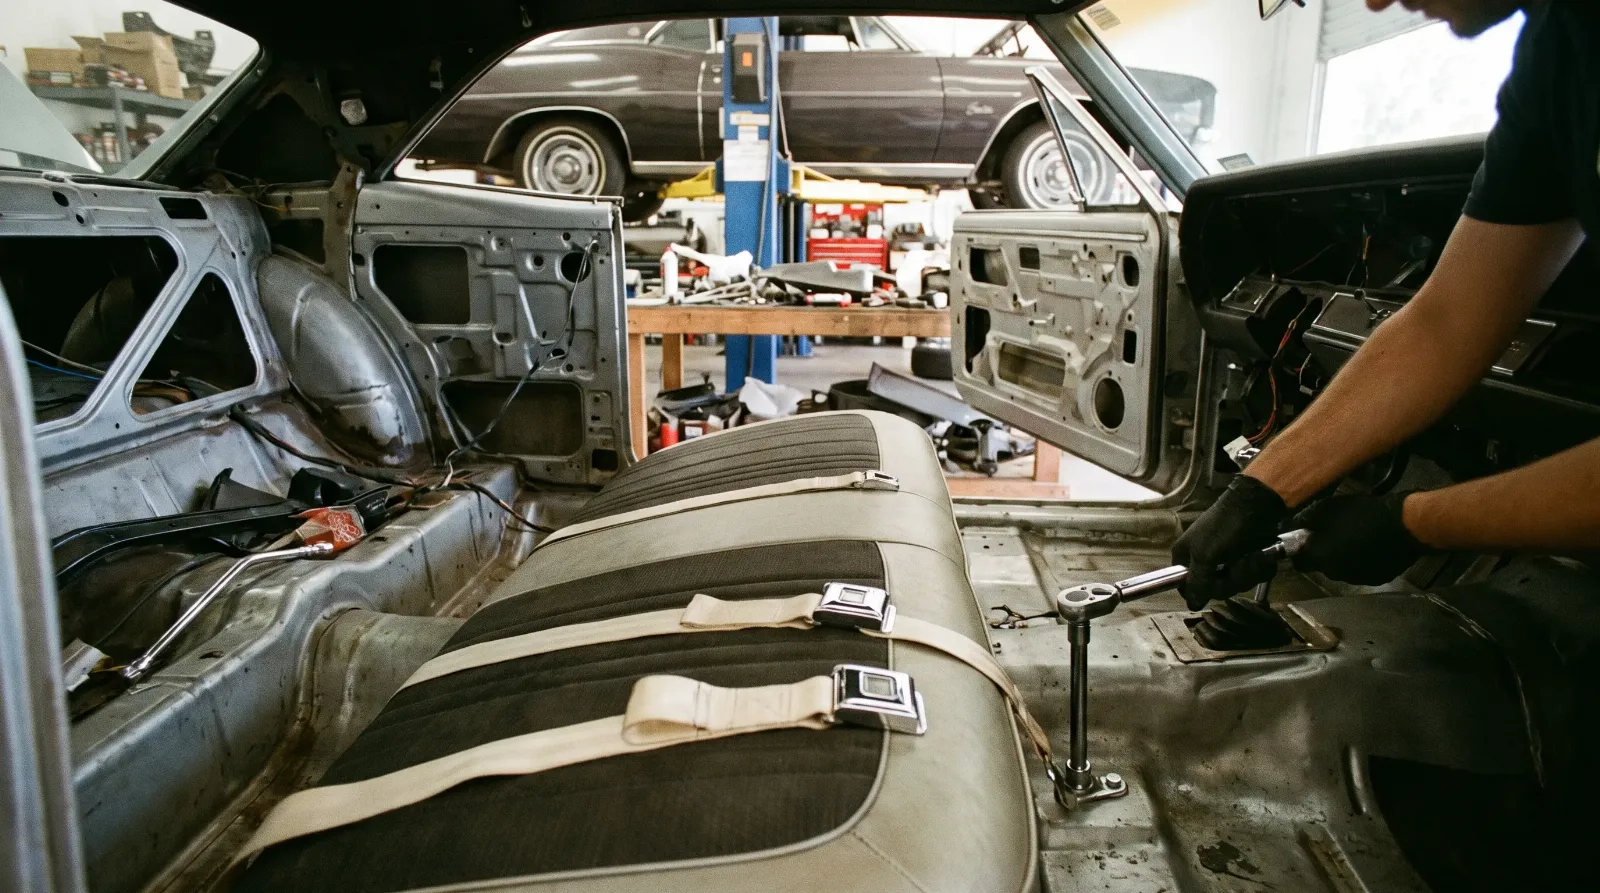
The belt is only as good as the metal behind it. Before any belt goes in, check the anchor points for rust, thin metal or a cracked floor. A belt bolted to rotted sheet metal is for show. Look at the floor pan near the outer seat mount, the rocker, and the B pillar or shoulder anchor area, depending on the car. Use the kit supplied hardware or the bolt grade the maker specifies, and a backing plate where the maker calls for one. Never drill a new hole without checking what is behind the panel, and do not anchor a belt to a seat frame that is only held on by two worn bolts.
If you find soft floors while you do this, stop and fix them. The same goes for any frame or body work that touches an anchor point. It is much cheaper to repair metal now than after the carpet and upholstery are in.
Installation notes
- Lay out the kit and match every part against the instructions before you pull a seat.
- Check the anchor points from below. You want solid metal and clean threads.
- Test fit the buckles and make sure the length works with the seat full back and full forward.
- Torque the bolts to the maker's spec, and mark them with paint so you can see if they move.
- Pull the belt hard by hand with your weight and check that nothing shifts.
"I will argue about paint colors all day. I do not argue about belts. If the car goes on the road, the belt has to work."
Mike Sullivan
Retractors, cleaning and care
If you keep original belts, do not use bleach or harsh solvents on the webbing. Mild soap and water, then air dry out of direct sun, is the most you should try. Chemicals weaken the fibers. Check retractors for smooth action and a locking function. A retractor that does not lock in a sudden pull is junk, and you will not find out until it matters.
Also keep belts clean of paint and sealant during a restoration. Wrap the buckles and webbing in plastic before bodywork or when the interior is being sprayed, since overspray can stiffen the fibers.
What judges and buyers care about
A judged car gets points for correct belt hardware in some classes. Check the rules of the show you plan to enter, since many only dock for the wrong style, not for modern webbing. A buyer, on the other hand, usually cares more that the belts work. Keep any original belts you remove in a labeled bag with the car, since they add to the paper trail.
Putting it together
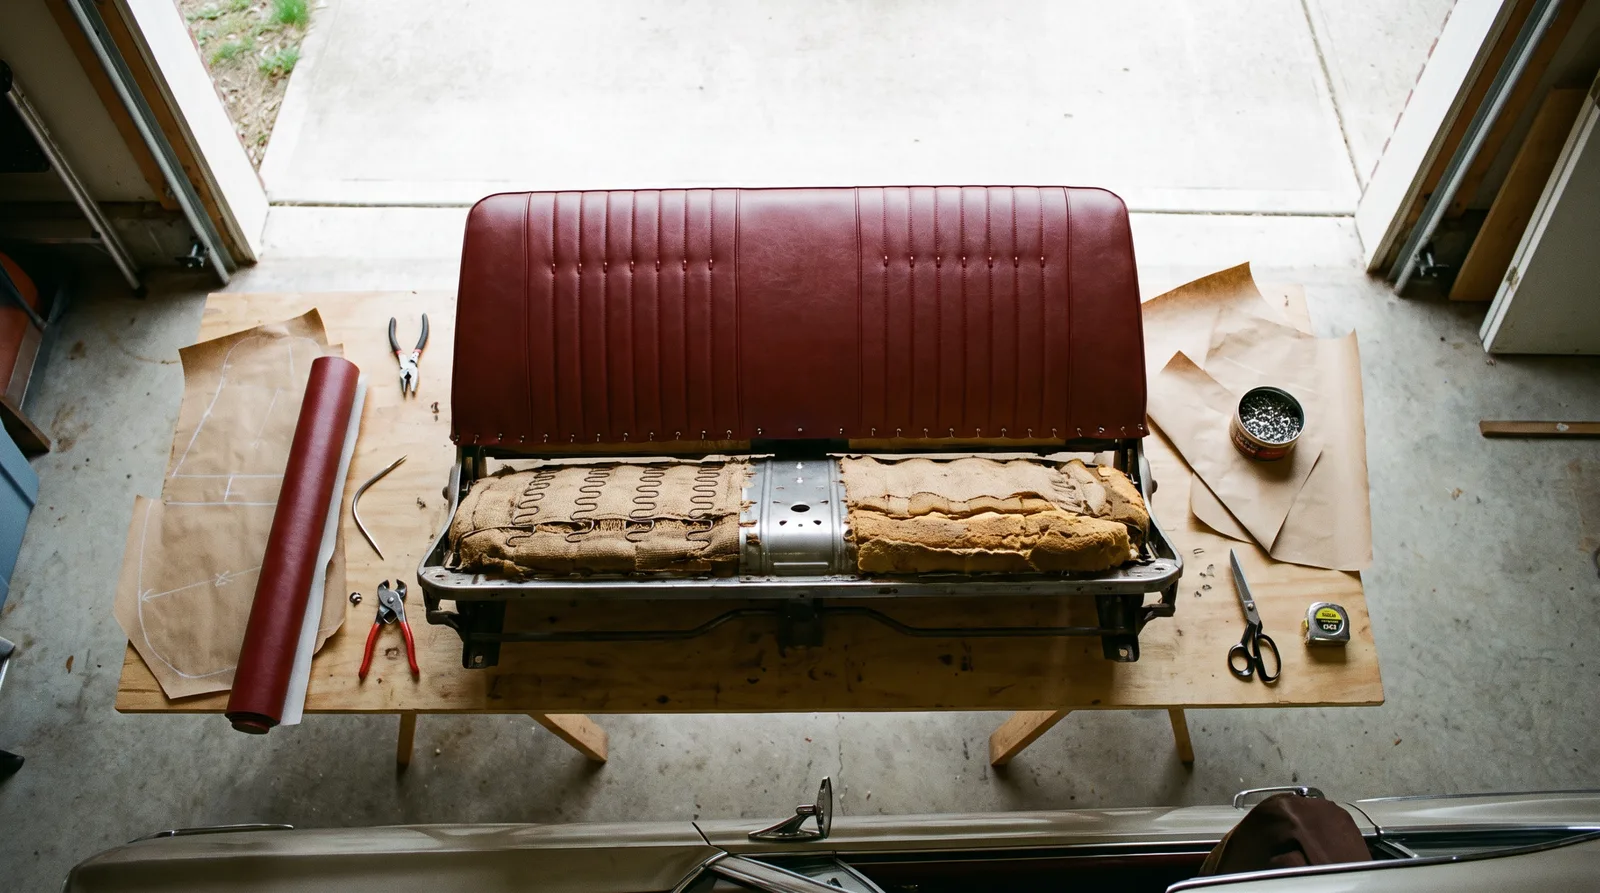
Seat belts sit at the point where the interior meets the structure, so plan them as part of the larger job. If you are working through the full interior car restoration guide, add belt installation to the list before the carpet and seats go in. After the belts are anchored, the seats go next, and for that you will need an upholstery shop that understands where the anchors sit and how to route belts through new seat covers.
Sources and notes
- Seat belt (Wikipedia), Bohlin and Volvo's 1959 belt, the open patent, the 1968 federal requirement and lap belt injuries
- Seat belt laws in the United States (Wikipedia), the standard that took effect on January 1, 1968
- Camaro seat belt information (Camaro Research Group), lap belts standard in 1967 and front shoulder belts required from January 1, 1968
- Volvo and the three point belt patent (Great Patent), the 1959 belt and Volvo making the design free to rivals
- Who invented the seatbelt (Arnold Clark), Bohlin's three point design and the shared patent
- Restoring a Hemi Road Runner's seat belts (Mopar Connection Magazine), keeping original hardware with new webbing, correct stitching and labels
Related Reading
Have a
Classic Car
for Sale?
Reach thousands of serious classic car collectors across the US.
Sell It Here →
Selling a classic? Here's how: the best sites to sell a classic car
Are You a Classic Car Dealer?
List your full inventory and connect with targeted classic car buyers.
Join as a Dealer →

About the author
Mike Sullivan
Detroit-area muscle car enthusiast and restoration specialist with three decades of hands-on experience working on American iron.
More in Restoration & Tech


Comments (1)
M
M22Rockcrusher
2 days ago
Retrofit three-points went into my '67 Chevelle last spring. Floor by the outer seat mount was thinner than I liked, so backing plates went in first. Still an M22 with 3.73s, just better geared for a hard stop now.