
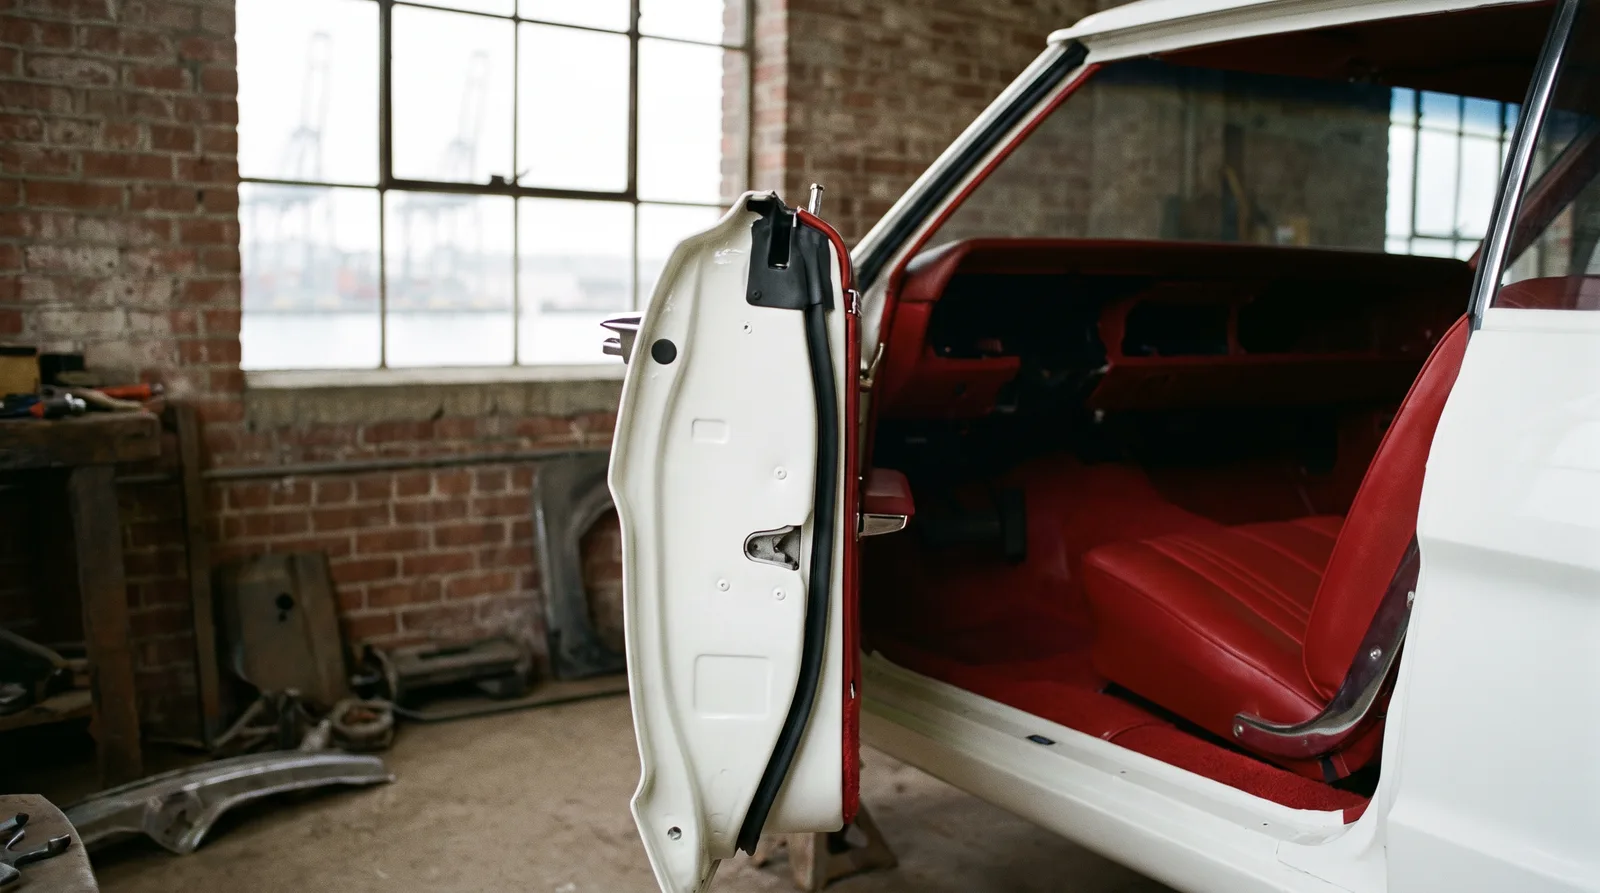
Rubber is the cheapest part of a restoration and the one that does the most damage when it fails. I have seen a ten thousand dollar interior ruined by a door seal that cost forty. Water finds the lowest seam, soaks the padding under the seat cover, and sits there until the floor pan starts to go. If you are putting money into your new interior, the seals around it get done first, not last.
Restoration & Tech
7 min read
Weatherstripping and Glass Seals: Keeping the New Interior Dry
Fresh upholstery dies fast if water gets in. How to choose, fit and test weatherstripping and glass seals so a restored classic interior stays dry.
Why old rubber fails
Weatherstripping is not a lifetime part. Sun, ozone, heat cycling and plain age harden the rubber until it stops springing back. A door seal that has taken a permanent set looks fine from across the driveway and leaks at the first hard rain. In Texas the failure is heat and sun. In wet climates it is compression set and trapped moisture. Either way, original rubber on a car that is decades old should be treated as suspect, and replaced once it no longer springs back when squeezed, even if it looks supple.
Glass seals fail a little differently. The rubber channel that holds a windshield or a back glass shrinks and splits at the corners, and the cars that sat outside leak at the bottom edge where water pools. Once that water gets behind the lower trim it runs into the cowl and the floor, and you will not see it until you smell it.
Where the water actually gets in
Most leaks come from a short list of places. Check them in this order before you buy a single strip of rubber.
- Door seals, especially the lower corners where the seal butts against the sill.
- Windshield and rear glass gaskets, mostly at the bottom corners.
- Vent window seals and the felt channels the door glass runs in.
- Trunk or tailgate seals, which let water into the back floor and spare tire well.
- Cowl vent and firewall grommets, which drip water onto the kick panels.
- Roof drip rails, rain gutters and body seams that were never sealed properly after bodywork.
Reproduction, OEM style and used original
You have three sources, and they are not equal. Used original rubber from a salvage yard is nearly always too old to trust. Reproduction sets are usually molded on new tooling, and the quality range is wide. A good set fits the first time. A poor one comes with a corner that does not meet, the wrong cross section, or rubber too hard to seal. Buy from a supplier that has a record with your make and ask other owners what fit. Prices vary a lot by car, but a full door and trunk seal set for a common American model usually runs a few hundred dollars. As one example, a complete 1967 Camaro coupe kit with door, roof rail, trunk, quarter window and glass run seals lists at about $464 from a reproduction supplier, and the windshield and back glass gaskets are extra.
| Seal | Fit difficulty | Notes |
|---|---|---|
| Door seals | Moderate | Test closed with a paper strip before gluing |
| Trunk or tailgate seal | Easy | Cheap, and a common leak source |
| Windshield gasket | Hard | Best left to a glass shop |
| Vent window and glass channel | Moderate | Replace felts with the glass out |
Fitting it so it seals
Do the rubber after paint and before the carpet and headliner go in. Fitting seals on bare floors means you can see every leak and nothing gets wet that matters. Clean the pinch weld down to bare metal or fresh paint, because old adhesive is a gasket of its own and it will hold dirt. Use the adhesive the seal maker calls for, apply it to the body flange, not the rubber, and work in short sections so it does not skin over. Start at the center of the lowest run of each seal, where splashed water collects, and leave an extra quarter to half inch at the ends, since the rubber shrinks and flattens as the glue sets.
The corners decide the job. A door seal that is stretched around a curve will pull back and open a gap in a month. Leave a little slack at the corners instead of pulling tight, and where the maker supplies push pins, use one at each corner with glue in between, and let the ends meet in the lower half of the door where water does not collect. Paint a thin line of sealant at any joint in the seal itself, and keep the doors closed for about eight hours so the adhesive sets with the rubber in place.
If you want the step by step on one common truck, there is a full walk through of installing weatherstripping and glass seals on a C10. The same order of work applies to most American cars of the era.
The water test
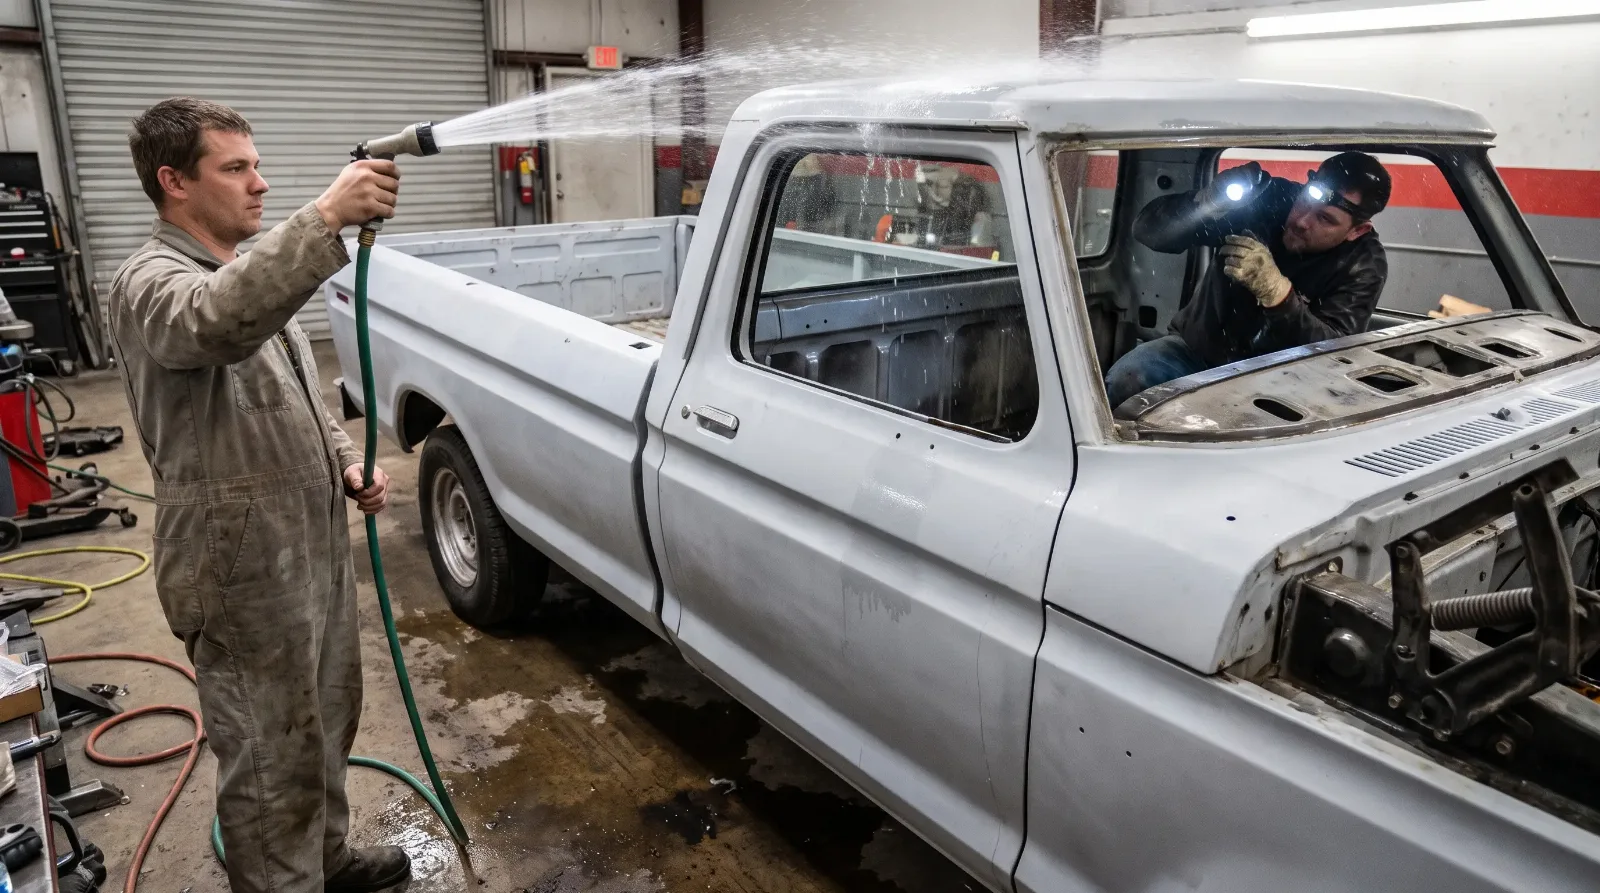
Never trust a seal job because it looks right. Put a hose on it. Run water over the roof and glass with a helper inside holding a flashlight and watching the seams, then repeat on the doors and trunk. Do it with the carpet out. A leak you catch now costs a tube of sealant. A leak you catch after the interior is back in costs a headliner, a seat cover and sometimes a floor pan. Run it for several minutes per area, because slow leaks take time to show.
Check the drains, too. Cowl drains, door bottom drain holes and sunroof drains clog with leaves and rust scale, and a blocked drain makes a good seal look bad. Clear them with a length of trimmer line before the water test.
"The rubber is the last thing anybody wants to pay for and the first thing that ruins the work. Put the hose on it before you put the carpet down."
Robert Halloran
Smell is the warning sign
If a car has leaked for years, the leak has already left a mark you can smell, and fixing the seal will not undo it. Wet padding and carpet turn into a damp, sour odor that comes back every humid summer. That is its own job, covered in our piece on getting rid of musty smells, and it is a good reason to find the leaks before the new interior goes in, not after.
When to call a glass shop
A windshield gasket is a one shot job. Done wrong, the glass cracks or the new gasket tears, and replacement glass for an older car can cost a lot, with some pieces hard to find. If the car has a rubber lock strip, ask a shop that works on older vehicles to do it. They will know how to seat the gasket and lock strip with the right tool, and many installers inject a butyl sealant between gasket and glass to hold it and keep moisture out. Everyone else can handle door and trunk seals in a weekend with patience and a good light.
Sources and notes
- OPGI, 5 top tech tips: weatherstripping, matching shape and thickness, starting at the low point, leaving extra length for shrinkage, replacing rubber that no longer springs back
- Street Tech, installing weatherstripping on a 1965 Mustang coupe, push pins at door corners, glue in the middle, keeping doors closed about 8 hours
- Corvette Blogger, new weatherstripping from Corvette Central, UV and moisture aging of rubber and the signs that seals need replacing
- Old Cars Weekly, Vroom with a view, glass specialist replacing a classic windshield gasket with lock strip and butyl sealant
- OER, 1967 Camaro and Firebird coupe weatherstrip kit, kit contents and the roughly $464 list price used as the cost example
Related Reading
Have a
Classic Car
for Sale?
Reach thousands of serious classic car collectors across the US.
Sell It Here →
Selling a classic? Here's how: the best sites to sell a classic car
Are You a Classic Car Dealer?
List your full inventory and connect with targeted classic car buyers.
Join as a Dealer →

About the author
Robert Halloran
Texas-based classic truck enthusiast with decades of experience buying, restoring, and writing about American pickups from the 1940s through the 1980s.
More in Restoration & Tech
Comments (1)
P
Pam C.
1 week ago
Skimp on rubber, buy the carpet twice. Every time.