
Every restoration dispute I have heard about started the same way. The car went in the door, the shop took it apart, and eighteen months later nobody could agree on what had come with it. The owner remembered a correct air cleaner. The shop remembered a rusty one. The invoice says "misc. trim." And the only thing that settles it is paperwork that nobody wrote down on day one.
Restoration & Tech
7 min read
Who Owns the Parts? Inventorying Your Car Before Drop-Off
Before a classic car goes to a restoration shop, a photo and parts inventory protects both sides. Here is what to record, how to sort parts, and what to put in writing.
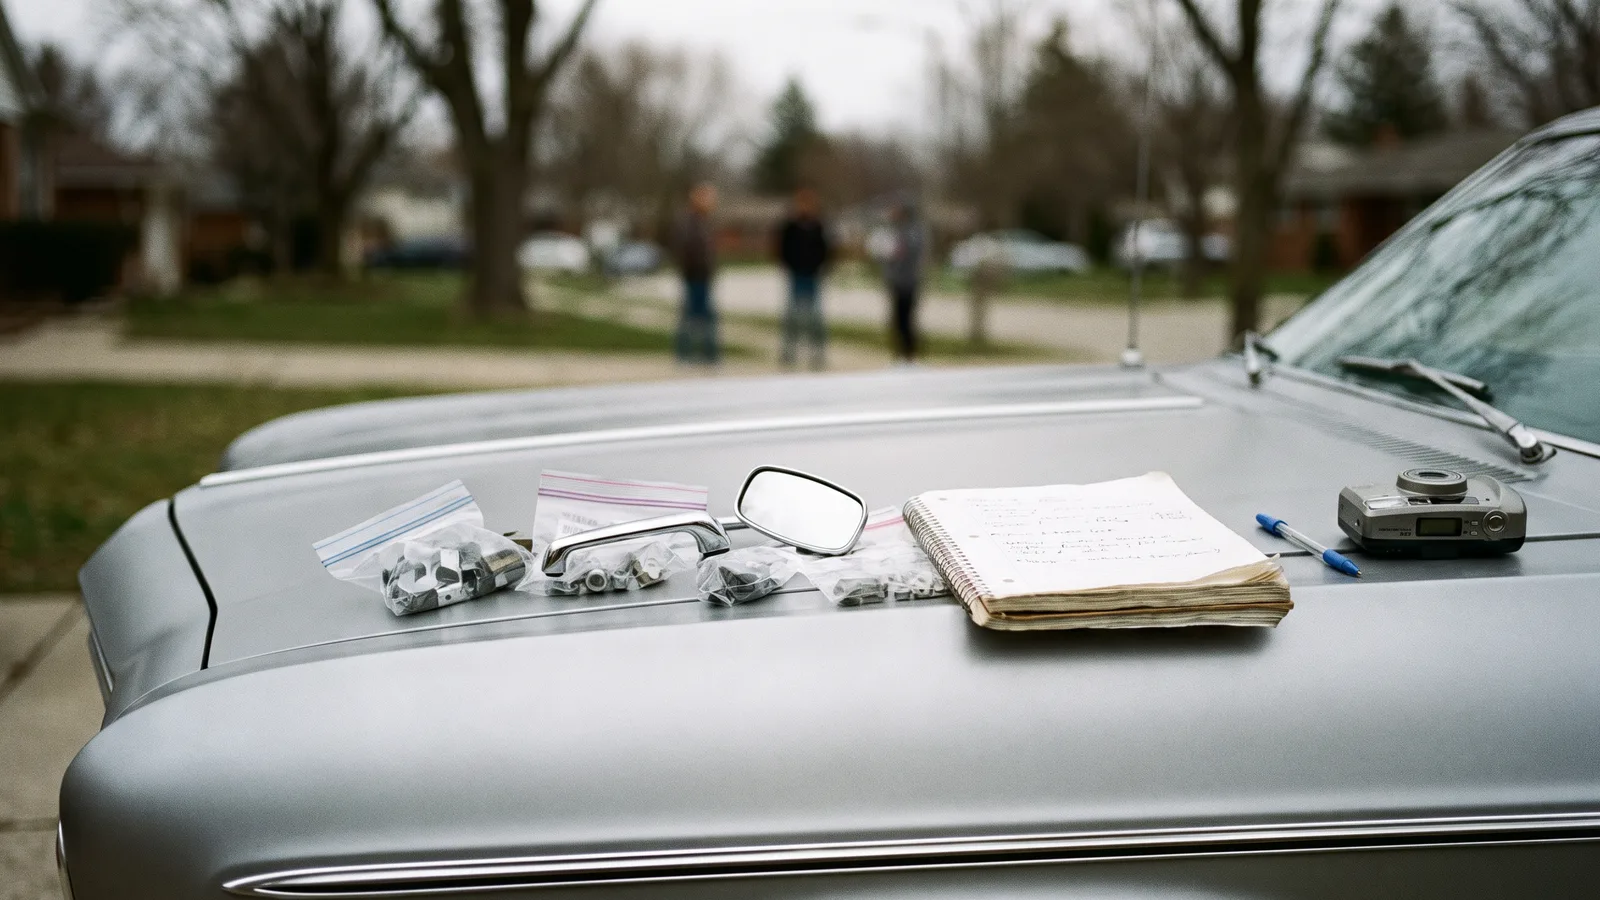
That paperwork is an inventory, and it is the cheapest insurance in the whole restoration budget. Before you start comparing restoration shop listings, spend a weekend with a camera, a notebook, and a pile of zip bags. Here is how I would do it.
Why the inventory is yours to make
A shop that is taking in a car has no way to know what is missing from it, only what is present. Many shops do write an intake sheet, and good ones photograph the car, but their sheet records what they saw at the door. It does not record the date code on the generator, the correct hose clamps you bought at a swap meet, or the extra door handle sitting in a box in your garage.
Ownership of parts also gets blurry fast. When a shop has to source a replacement for a fender, you want it written down who owns the old fender, who owns the new one, and what happens to the take-offs. Some owners want every removed part back, bagged and labeled. Others sign them over. Either is fine if it is on paper. The questions in the shop checklist are worth asking before you sign, and the inventory is what makes the answers enforceable.
What to photograph and record
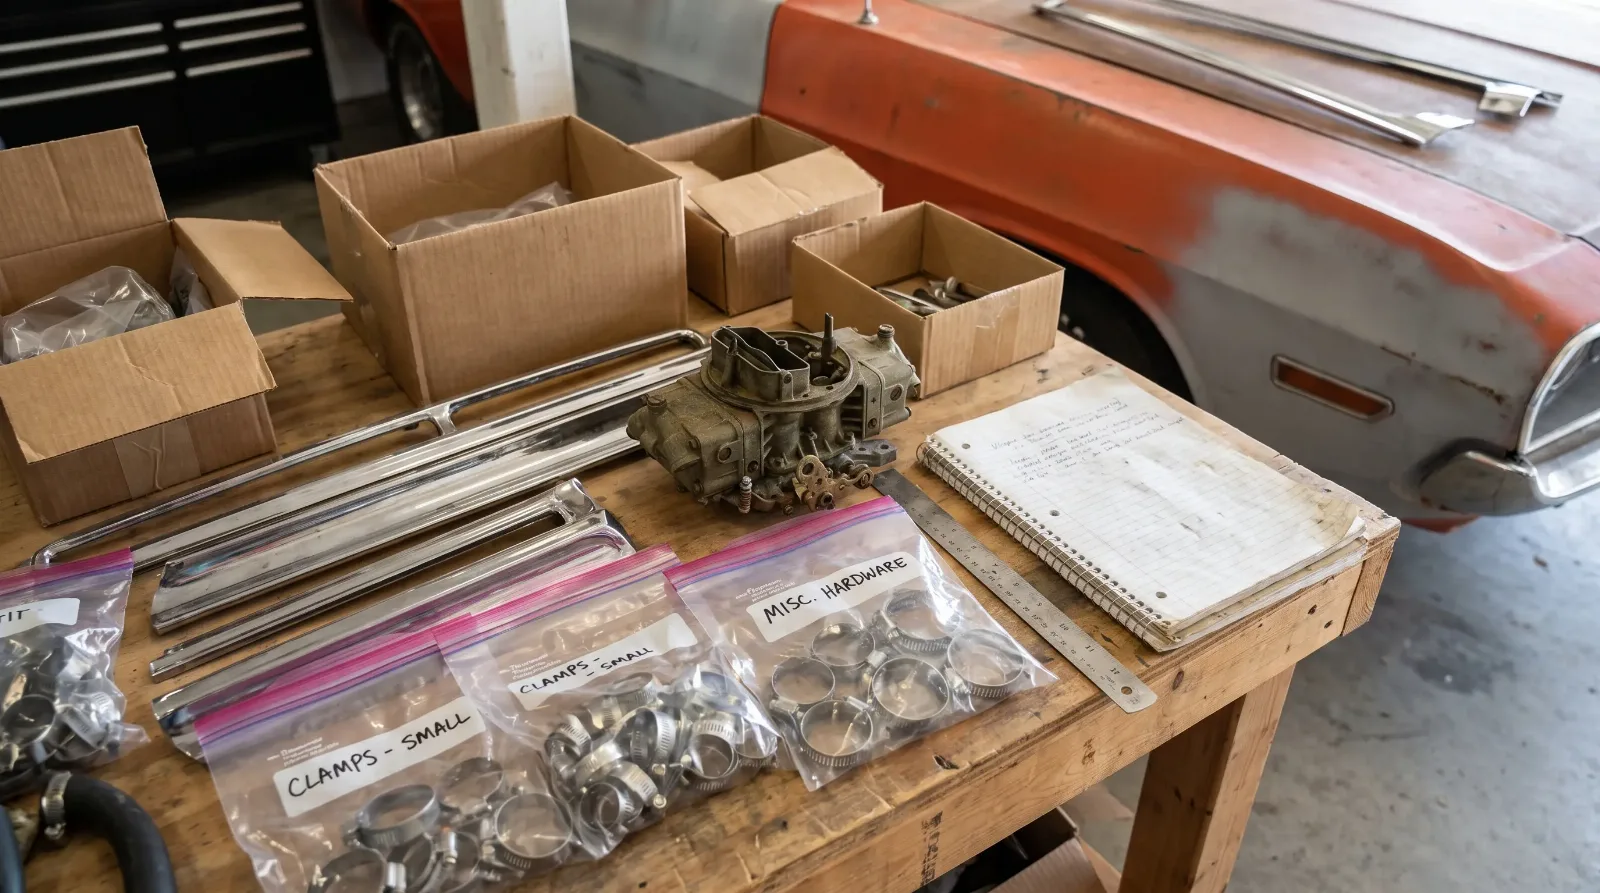
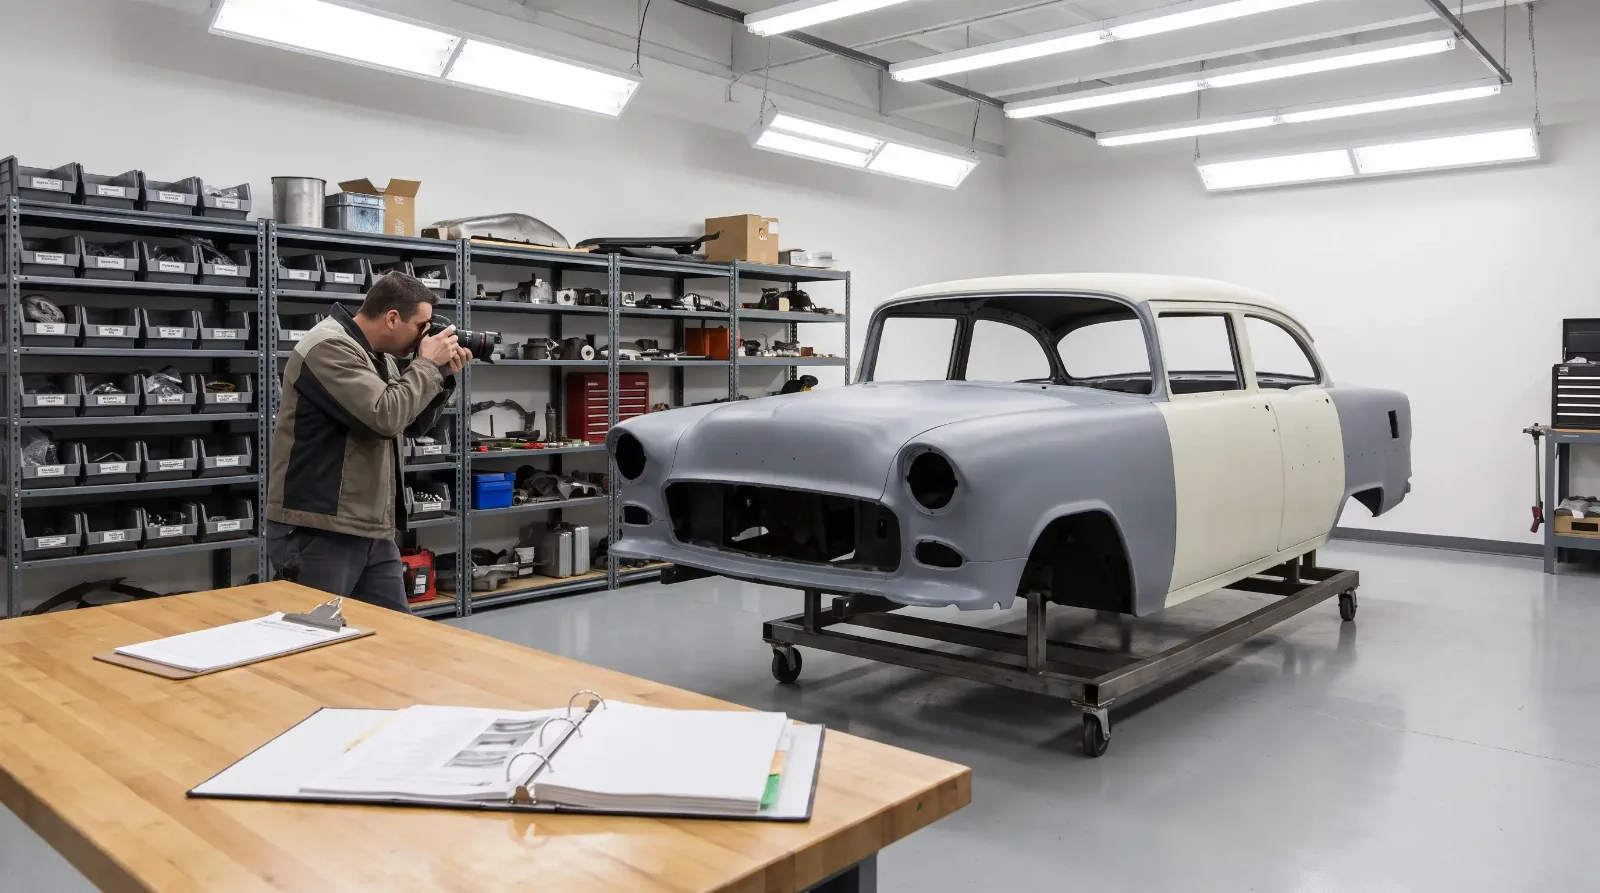
Start with the car as it sits, then go through it in sections. Shoot wide, then close. Photograph every VIN, body tag, trim tag, engine stamping, and casting number you can reach, with a coin or ruler in frame for scale. Shoot the odometer. Shoot the underside with the car on stands if you can. Date the files and email them to yourself so there is a timestamp outside your own phone.
| Area | Record | Why it matters |
|---|---|---|
| Body and trim | VIN plate, body tag, paint code, every piece of exterior brightwork | Proves what was on the car and its original color |
| Engine bay | Casting numbers, date codes, accessories, hose and clamp types | Settles numbers matching questions later |
| Interior | Seat covers, door panels, gauges, radio, headliner condition | Interior parts are the most commonly lost items |
| Underside | Frame condition, floor pans, exhaust, brake lines | Shows pre-existing rust and prior repairs |
| Loose parts | Everything in boxes, trunk, or back seat | Separates your parts from the shop stock |
The loose parts are where most trouble lives. If the car arrives with a trunk full of boxes, count them and list them. A line that says "box of chrome trim, approximately 40 pieces" beats nothing, and a photo of the open box beats the line.
Sorting original parts from replacements
Go through what you have and tag it in three piles: parts that were on the car when you bought it, parts you bought afterward, and parts that you are bringing but have never fitted. This matters because the pile decides how the shop quotes the job. A car with a complete set of original parts can be restored by rebuilding and refinishing what is already there. A car missing half its trim needs sourcing, and sourcing is where hours quietly pile up on a bill.
Mark the truly irreplaceable items. A date-correct carburetor, an original radio, one-year-only trim: these deserve their own line on the intake sheet and, honestly, they should not travel with the car at all unless the work needs them. Ask the shop in writing whether it wants them. Plenty of owners keep rare small parts at home and hand them over only when the shop reaches that stage.
Paperwork to hand over with the car
Bring copies, never originals, of the title, the registration, and any documentation that proves history: build sheet, window sticker, service records, previous owners' letters. Keep a scan of everything. Then write a one page agreement that sits next to the shop's own work order. It should say who owns removed parts, where they will be stored, what happens to parts that are replaced, and how you will be told when the shop discovers something that was not in the original estimate.
"The inventory does not make you look suspicious. It makes the shop's job easier, because when a part turns up missing nobody has to argue about it."
Wayne Coburn
A good shop welcomes this. Once you know what the best shops do at intake, you will see that a detailed inventory is usually something they ask for themselves. A shop that shrugs it off is telling you something about how it will handle the next eighteen months.
What if the shop already has an intake process
Many good shops have their own intake sheet and photo routine, and you should use it. Do not treat your inventory as a competing document. Treat it as a second record that covers what the shop's form does not, such as loose parts, history, and your own notes. Offer the shop a copy, and ask them to attach it to the work order. If the shop's own form disagrees with yours on any point, resolve that at the counter on delivery day while both of you are looking at the car.
Making the inventory work after drop-off
An inventory is not a one time event. Ask for a photo update at each milestone, such as after teardown, after media blasting, and after bodywork. Compare what you see against your list. When the shop returns removed parts at the end, check them off against the same list. Because you started with a record, any gap shows up in an afternoon instead of at the final bill.
The effort is small compared with the money involved. A few hours of photography can save weeks of friction on a job that runs into five or six figures. Do it before the transporter arrives, not after.
Sources and notes
- Hagerty: Agreed value vs. guaranteed value insurance, agreed value is based on appraisals, photos or other documentation; revisit value after restoration investment
- Wikipedia: Mechanic's lien, repair shops can assert an artisan's lien for unpaid repair and storage charges, which is why written agreements matter
- Wikipedia: Vehicle identification number, usual VIN locations and the 17-character standard from 1981
- Wikipedia: Numbers matching, why casting numbers, date codes and stamped numbers document originality
- A practical guide to documenting a classic car restoration, Automotive Addicts, photographing the car from every angle and recording VIN, engine and transmission numbers and factory tags before work starts
- Ron Phillips on organizing a restoration, Moss Motoring, inventory spreadsheets, recording fastener size and thread pitch, and backing up records
Related Reading
Have a
Classic Car
for Sale?
Reach thousands of serious classic car collectors across the US.
Sell It Here →
Selling a classic? Here's how: the best sites to sell a classic car
Are You a Classic Car Dealer?
List your full inventory and connect with targeted classic car buyers.
Join as a Dealer →

About the author
Wayne Coburn
Longtime Corvette owner, judge and club figure who knows the cars, the records and the people behind them.
More in Restoration & Tech

Comments (1)
W
Walt Jankowski
5 days ago
Bag the bolts with each part. First snow today.
P
Paul Bergmann
4 days ago
Walt's advice is sound, and I would extend it: fasteners should be bagged by assembly and photographed beside a ruler, since thread pitch and length are not obvious once they are mixed. When my 356A went to a body shop, I wrote each bolt's diameter and length in millimetres on its bag; the shop later substituted coarse-thread bolts where the originals were fine pitch, and it was the labelled bags, not anyone's memory, that resolved the matter in an afternoon. Hardware is also where a restoration quietly acquires bright zinc substitutes for the original finish; a judge will notice, even if the owner does not. I would also suggest weighing the boxes of loose parts at drop-off; a recorded mass in kilograms is a crude but useful check when everything comes back.
W
Walt Jankowski
4 days ago
Weighing the boxes is smart. Cold morning.