
A flawless paint job on a car with bad panel gaps is a waste of paint. Judges see the gaps before they see the color. Buyers walking around a car see them first, too. The reason is simple. Gaps are the first thing your eye reads on a body, because they trace the outline of every door, hood and fender. If they wander, the whole car looks cheap.
Restoration & Tech
6 min read
Panel Gaps and Fitment: Why Show Cars Get Gapped Before Paint
Why show cars get their panel gaps set before paint: fitment sequence, factory vs show gaps, film build, and how to avoid repainting after reassembly.
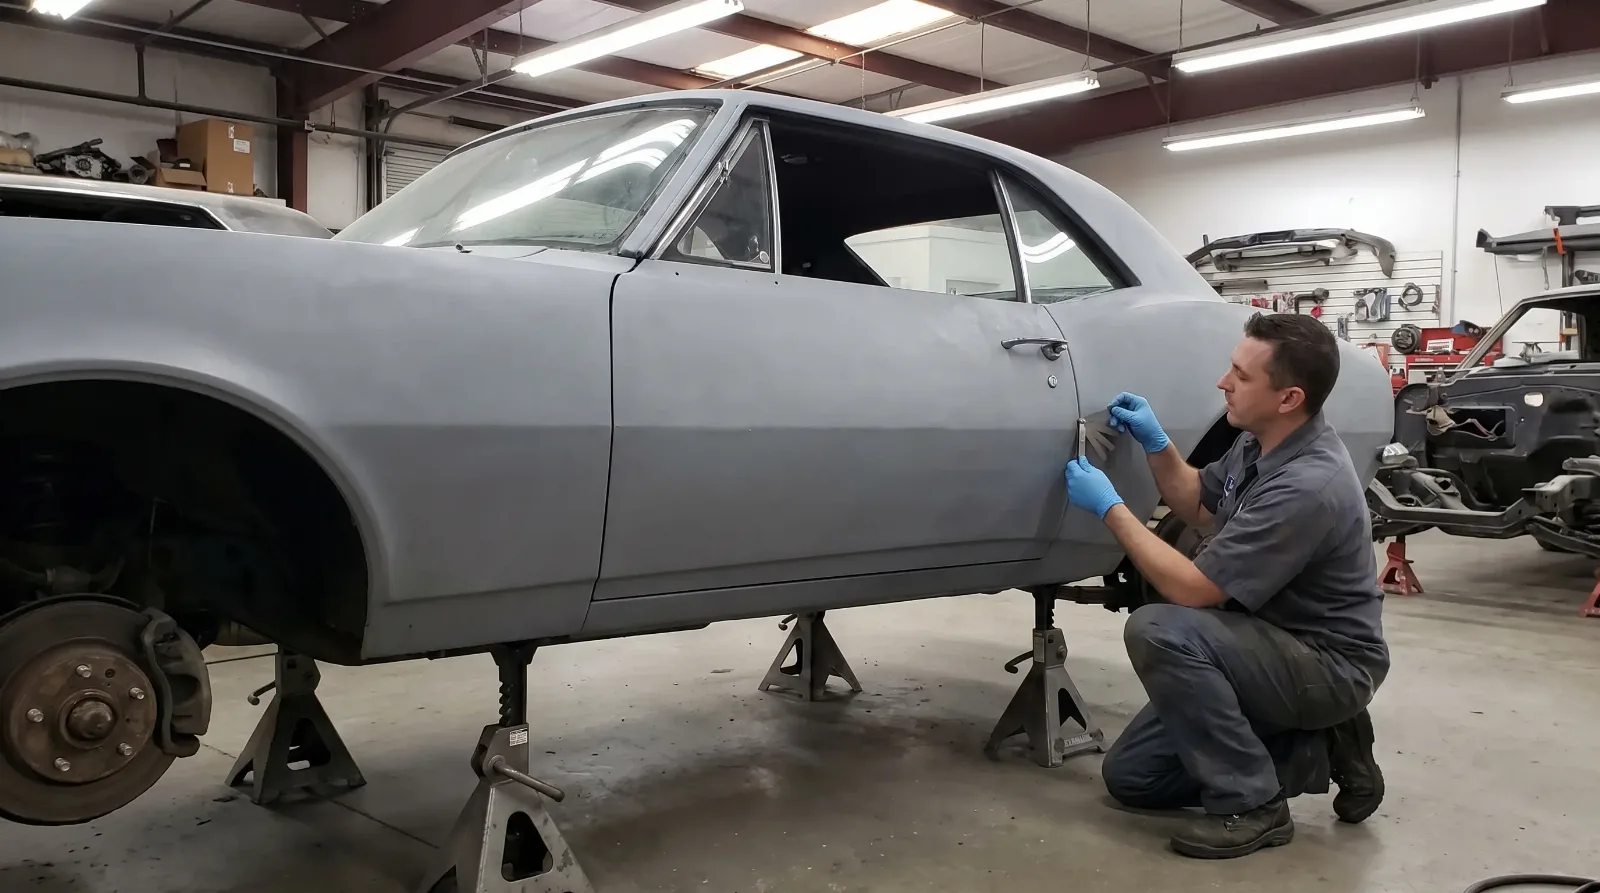
That is why serious shops align everything before they spray. The paint is the last layer, and the paint job itself only works if the metal and the fit underneath are right.
Why gaps come first
Once color and clear go on, moving a panel means touching finished paint. Hinges get adjusted, fenders get shimmed, and edges get dressed, and any of those can chip or crack a fresh finish. Reassembling a painted car and then discovering the hood does not sit right is the most expensive mistake in a restoration. It means taking things apart, repairing the paint, and in some cases, repainting entire panels.
So the right sequence is to hang every panel on the car, set the gaps, mark the positions, and only then take the panels off for paint. On a show-level car, the panels go back on at the final color stage once more for a test fit, and you adjust again if needed. It sounds like repeated labor, and it is. It is also cheaper than the alternative.
What factory gaps actually were
Here is a point that gets lost. Detroit in the 1950s and 1960s did not build uniform gaps. Factory fit was wider and less consistent than what a modern show car has: one restoration write-up on a prewar door, for example, measured starting gaps anywhere from about 5/32 to 9/32 of an inch, and worn dies and hand fitting left differences from side to side on many cars. At concours level the car is expected to reflect how it left the factory, original inconsistencies included, while custom and high-end builds go tighter. Restorers commonly aim for even gaps somewhere between about 1/16 and 3/16 of an inch, depending on the car and the goal.
That means you need a target. Is this a numbers-matching car being judged for originality? Then aim for correct and even, not computer-perfect. Is it a restomod or a custom? Then tighter and flatter is the goal. Know the answer before you start, because the amount of work differs a lot.
How a gap job is done
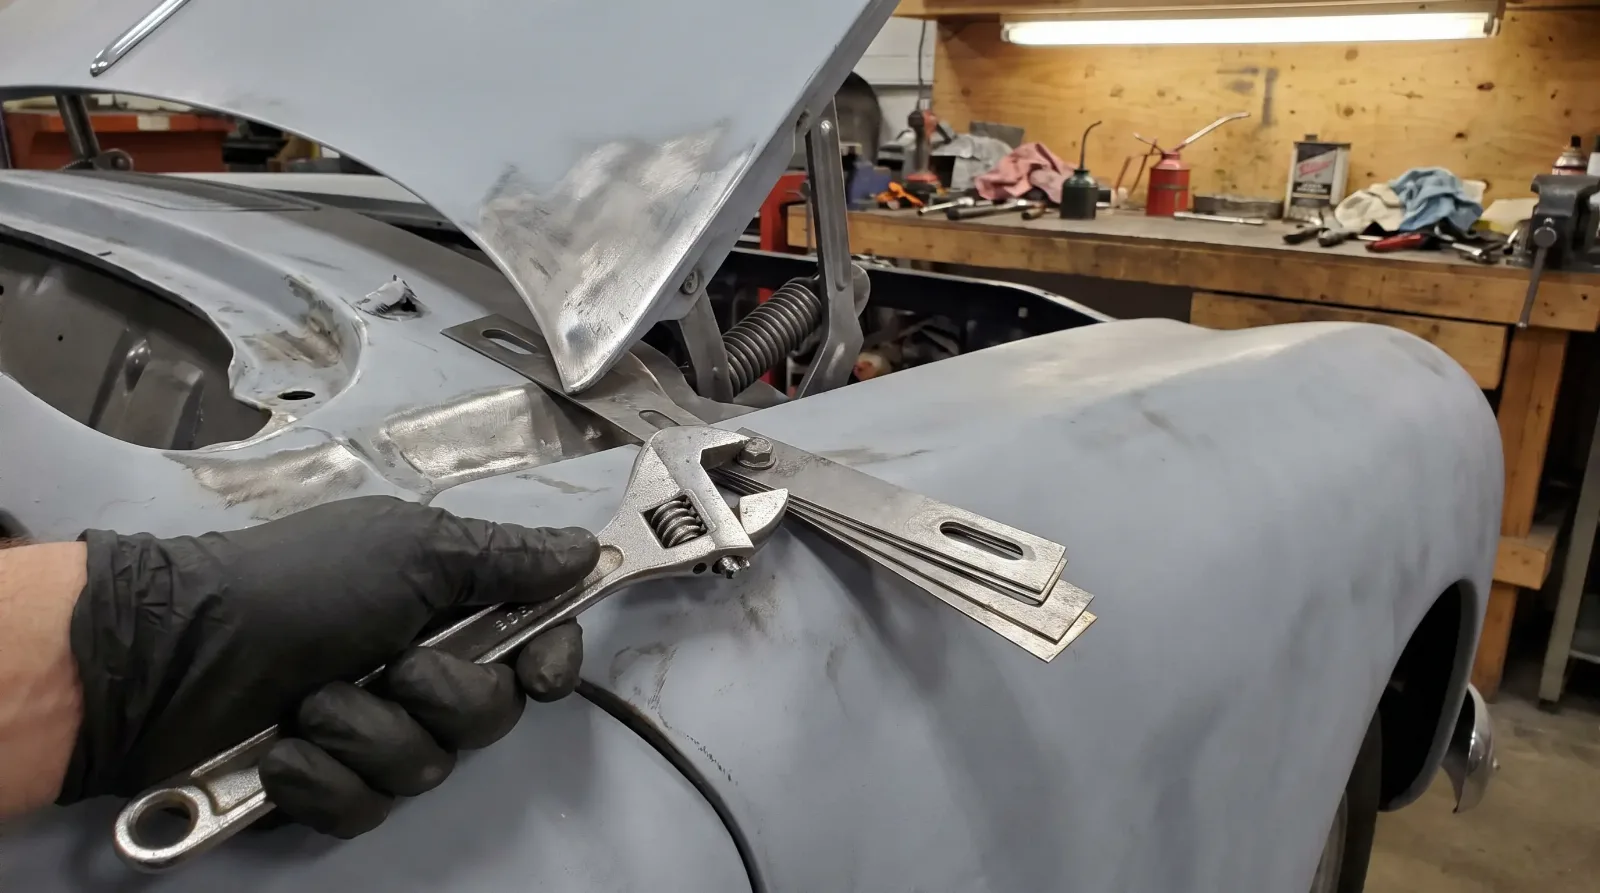
Start with the structure. Door gaps are a function of body mounts, the cowl, the quarter panel, and the hinge pillars. If the body sits wrong on the frame, no amount of hinge adjustment will fix it. Check the body mounts and shims, and the cushions between the body and frame. Sagging bodies, worn bushings and bent pillars show up at the doors first.
Next, hang the doors with the hinges tight, and check the fit at both ends and at the top and bottom. Doors that need shimming at the hinge, or that rub at the lower edge, point to worn pins or bushings. Replace those before you try to move metal. Then install the fenders, the hood, and the decklid, working from the cowl forward on the front end and from the quarter back at the rear. Fenders usually have slotted bolt holes and shims that give you a range of adjustment.
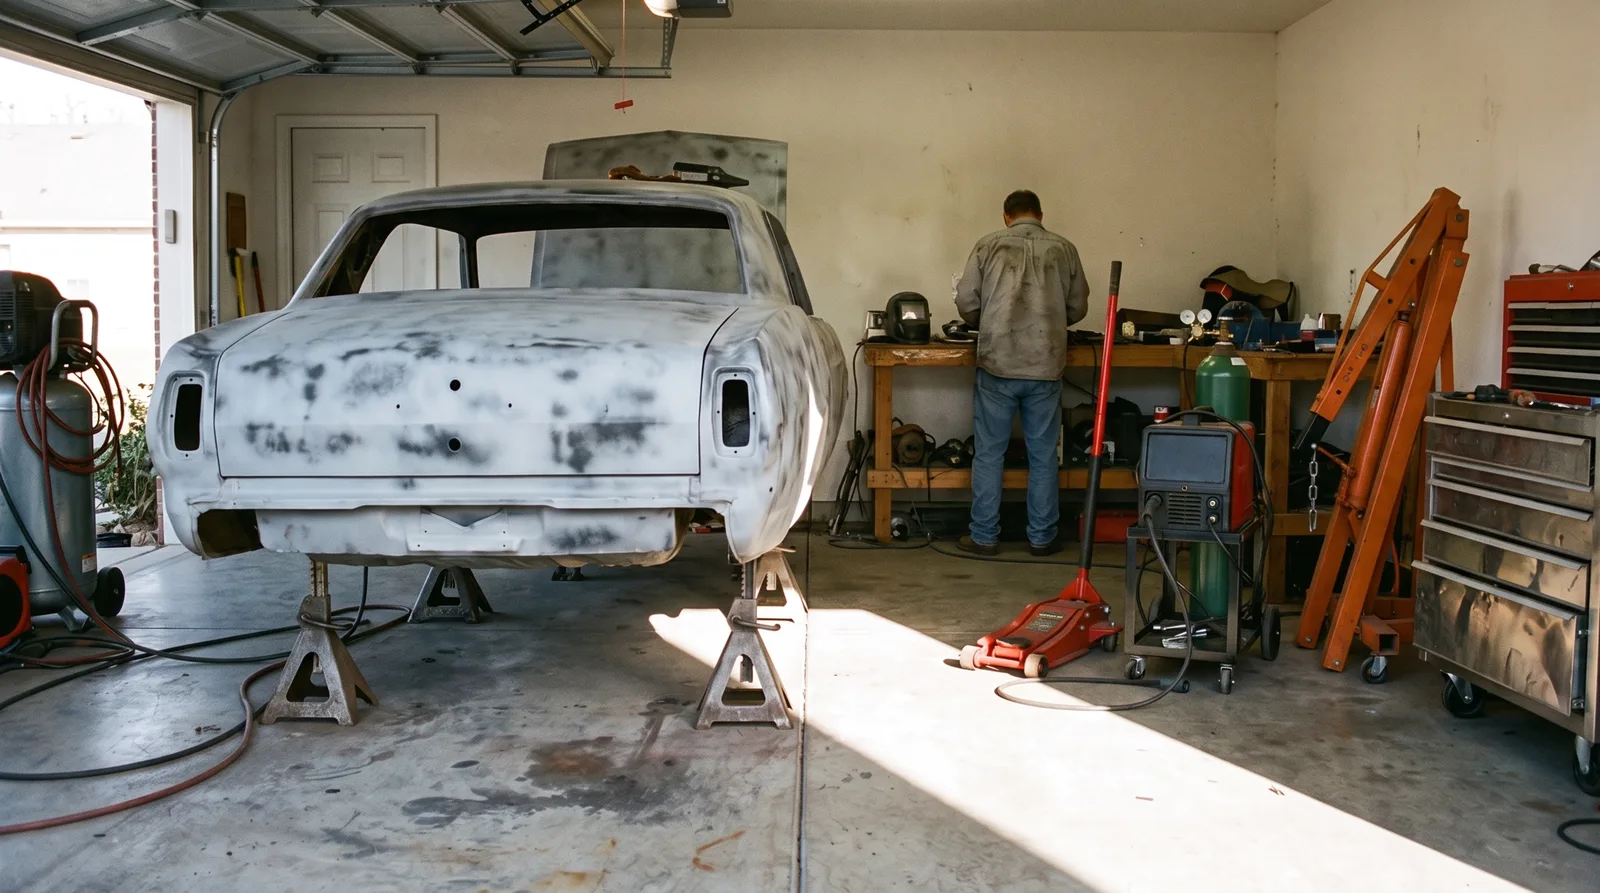
When the adjusting runs out, you start working the metal. That can mean welding up and re-drilling mounting holes, reshaping an edge with a hammer and dolly, adding a sliver of material to a panel that is short, or in extreme cases, trimming one. Pillar and quarter panel mismatches are the usual culprits, especially on cars that had accident repair or poor reproduction panels. It is slow work. You are measuring and moving metal a few thousandths at a time.
Fitment problems that do not show until paint
Some problems hide until you start sanding. A hood that closes fine can sit high on one side once the hinge shims move. A door that clears the fender dry can bind once there is a layer of primer on both edges. Primer and paint add thickness. A factory paint system is only about 0.004 inch (roughly 100 microns) thick in total, but a refinish with primer, sealer, base and clear can build more than that, and it builds on both edges of every gap. Tight gaps get tighter.
That is why edges need to be left with room. Pros will leave slightly more gap than the final target to allow for the build of primer, base and clear. They also paint edges and jambs carefully, because a rough or heavy edge is what leads to chips when the door is closed.
"Set the gaps, then pull the panels off. Do it in that order and the paint is the easy part. Do it the other way and you will pay for it twice."
Ray Delgado
The sequence that works
| Step | Task | Why it matters |
|---|---|---|
| 1 | Verify body mounts and bushings | Moves the whole body; fixes the root cause |
| 2 | Hang doors, then fenders, hood and decklid | Sets the baseline fit |
| 3 | Adjust with shims and slotted holes | Cheapest fix; try first |
| 4 | Correct metal where adjustment runs out | Weld, reshape or replace |
| 5 | Mark positions, remove panels | Allows paint on edges and jambs |
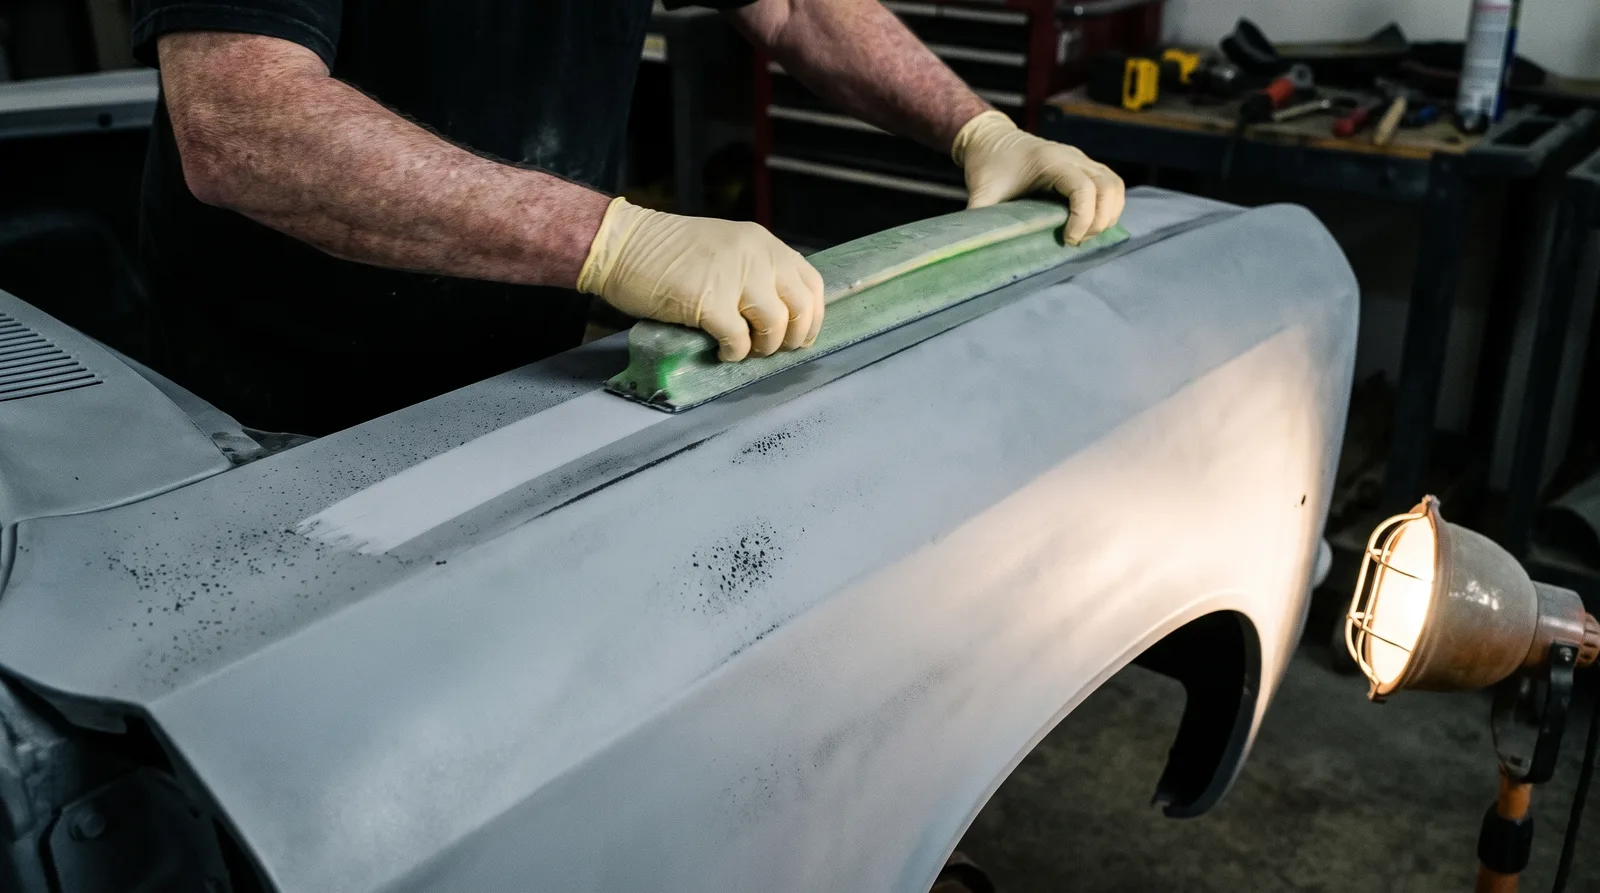
| 6 | Prime, block sand, and re-check fit | Accounts for film build |
Notice that step 6 loops back to the fit. That is deliberate. Work through primer and block sanding only after the gaps are confirmed, then check again before color. Each round catches small changes.
A real-world example
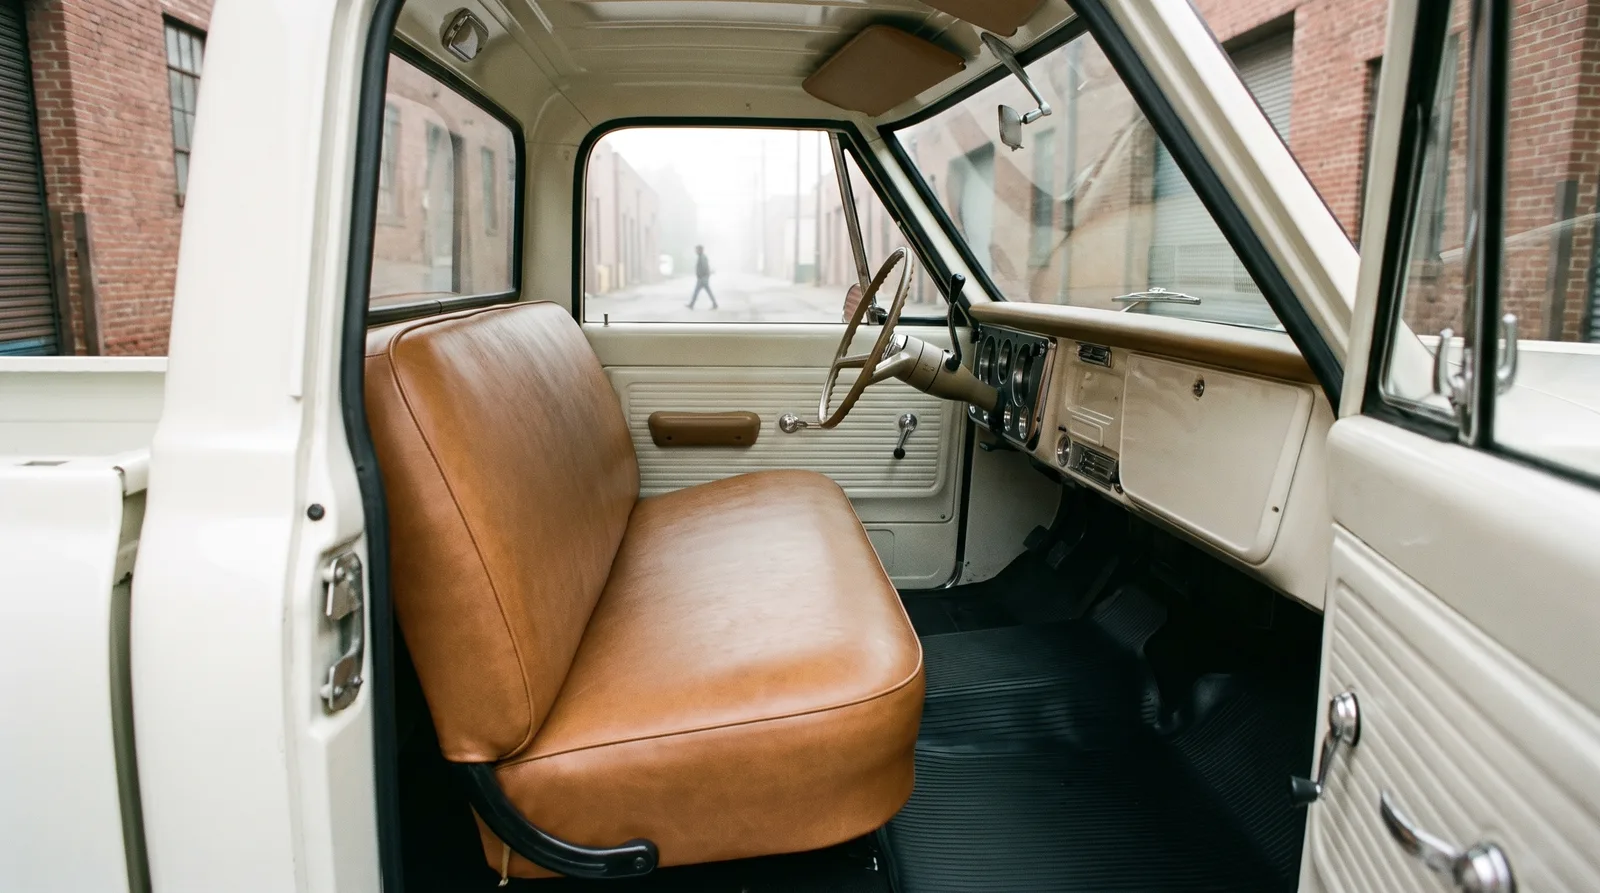
If you want to see this process on a specific platform, read this walkthrough on aligning pickup hoods and fenders for consistent panel gaps. It shows the shimming, the order of adjustment, and why a truck's separate fenders and hood give you more room to work than a unibody car does.
Sources and notes
- AutoRestorer: how to modify body panels to fit together, a 1/16 inch gap target, alignment order, and welding up large gaps
- Old Cars Weekly: door support build up, poor factory tolerances, 3/16 inch door gap goal and starting gaps of 5/32 to 9/32 inch
- Finch Restorations: factory variations in classic car restoration, worn dies, hand fitting and concours fidelity to original tolerances
- Wikipedia: Automotive paint, total factory paint thickness of around 100 microns
- Restoration Sector: rebuilding an old car, panel gaps and fit verified at reassembly, paint finishes rather than hides defects
Related Reading
Have a
Classic Car
for Sale?
Reach thousands of serious classic car collectors across the US.
Sell It Here →
Selling a classic? Here's how: the best sites to sell a classic car
Are You a Classic Car Dealer?
List your full inventory and connect with targeted classic car buyers.
Join as a Dealer →

About the author
Ray Delgado
Metal fabricator and chassis builder who has spent 25 years turning flat sheet and mild steel into hot rods, gassers and restomod underpinnings.
More in Restoration & Tech
Comments
Be the first to comment on this article.