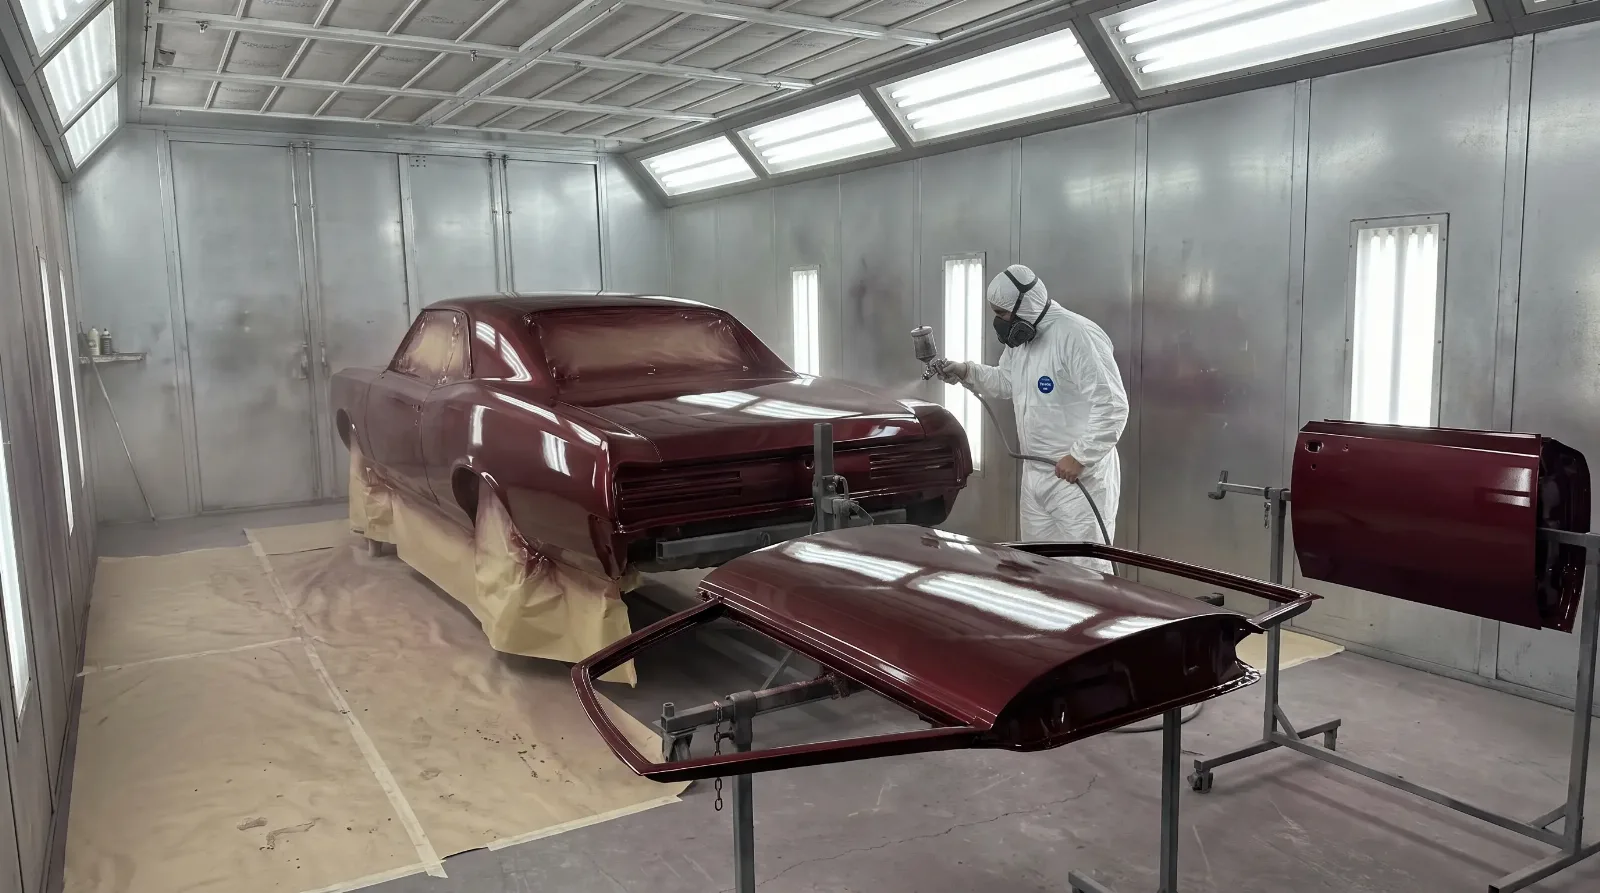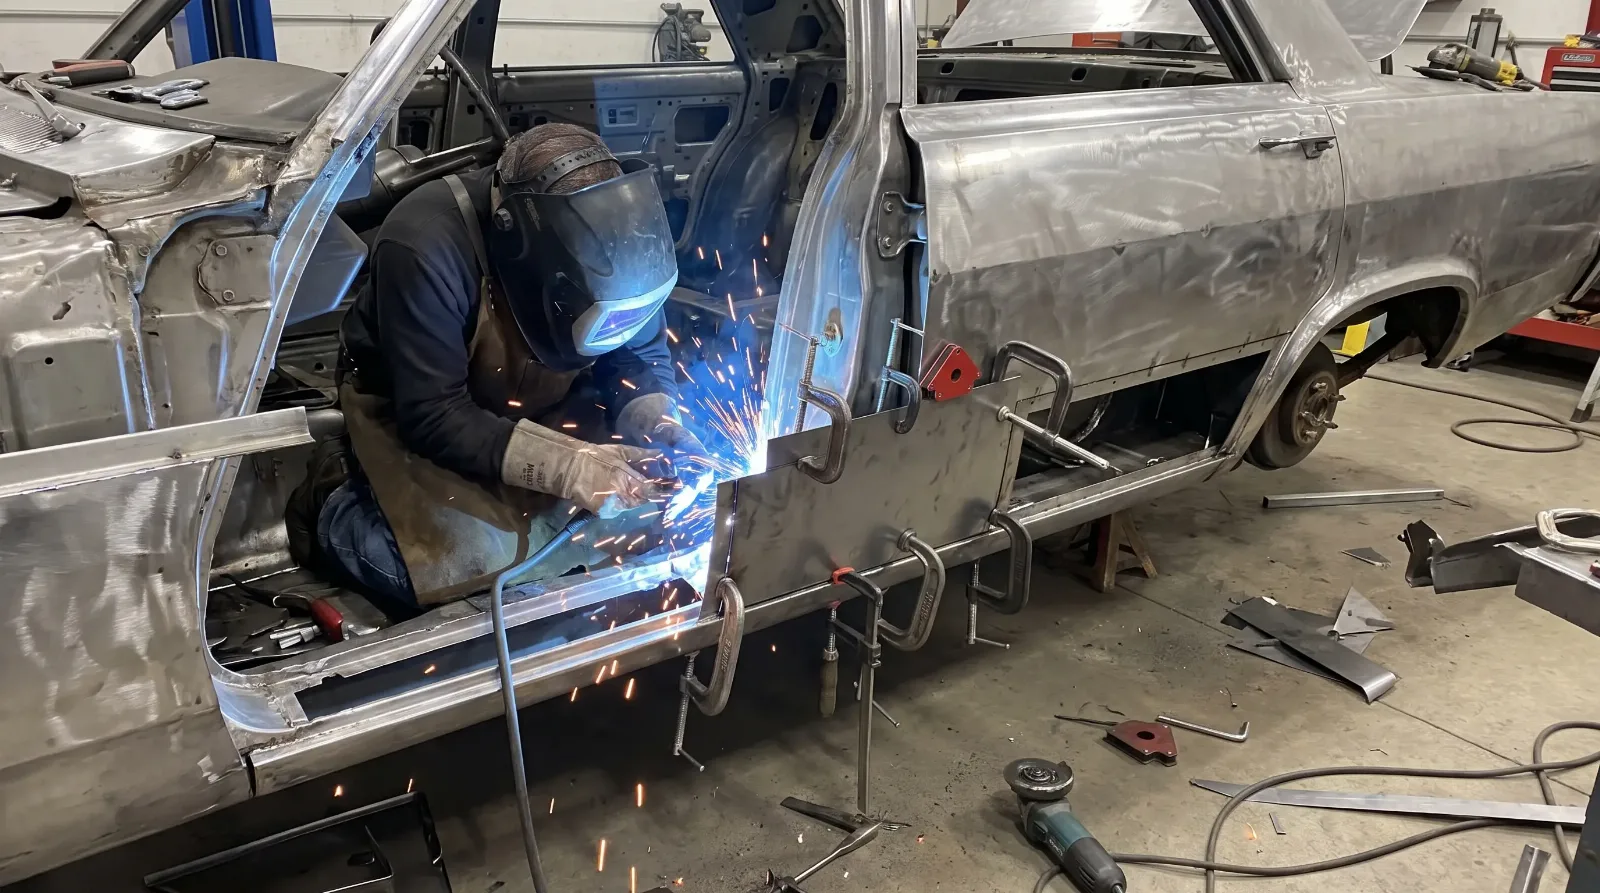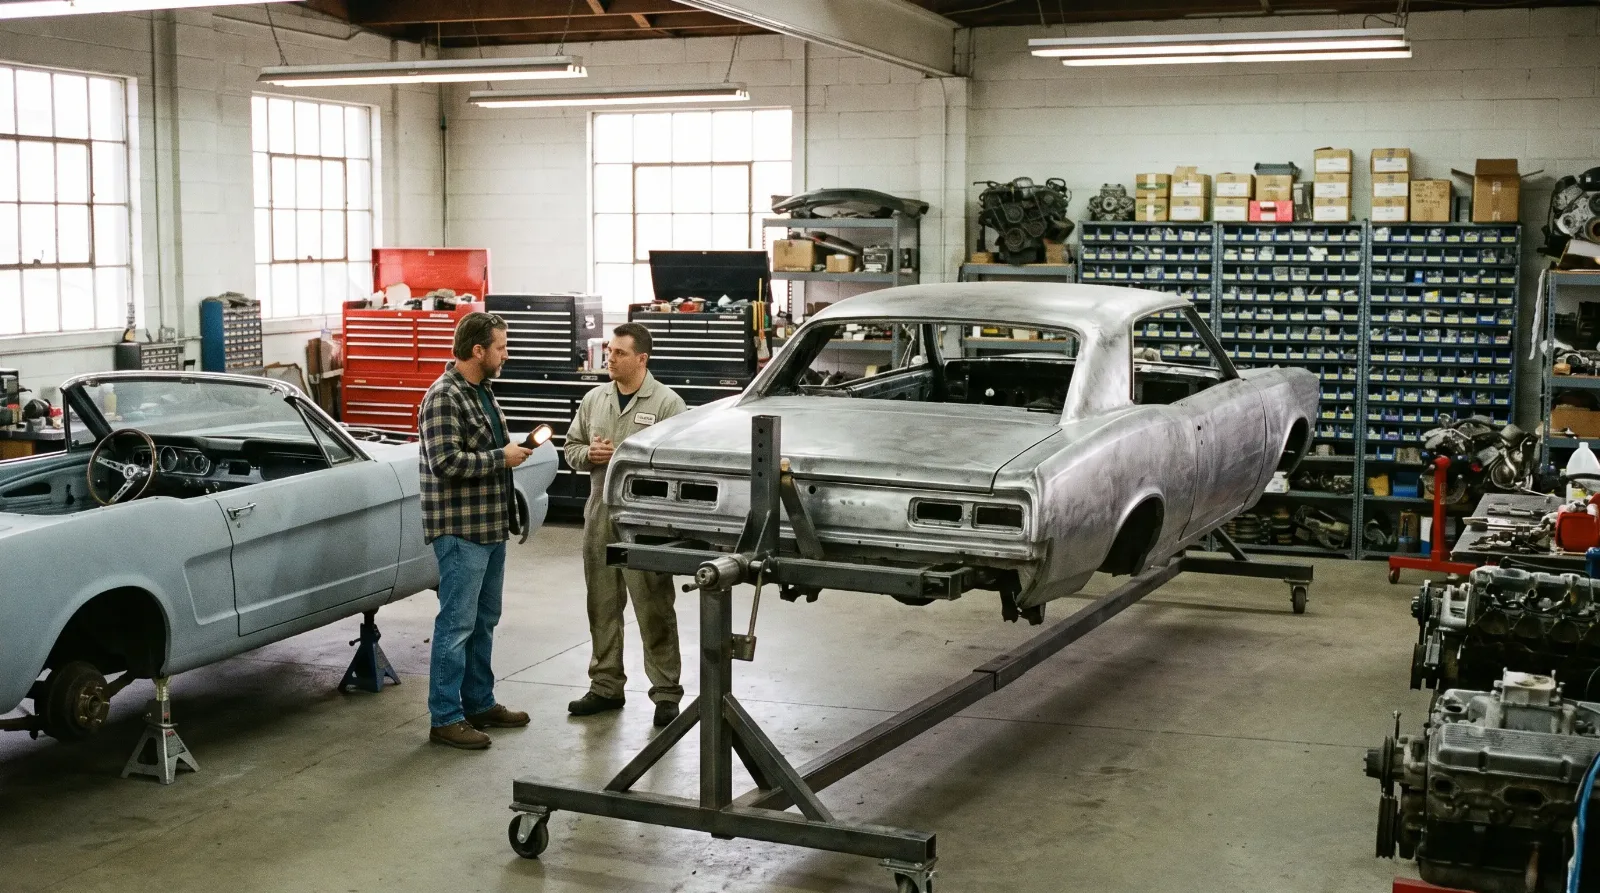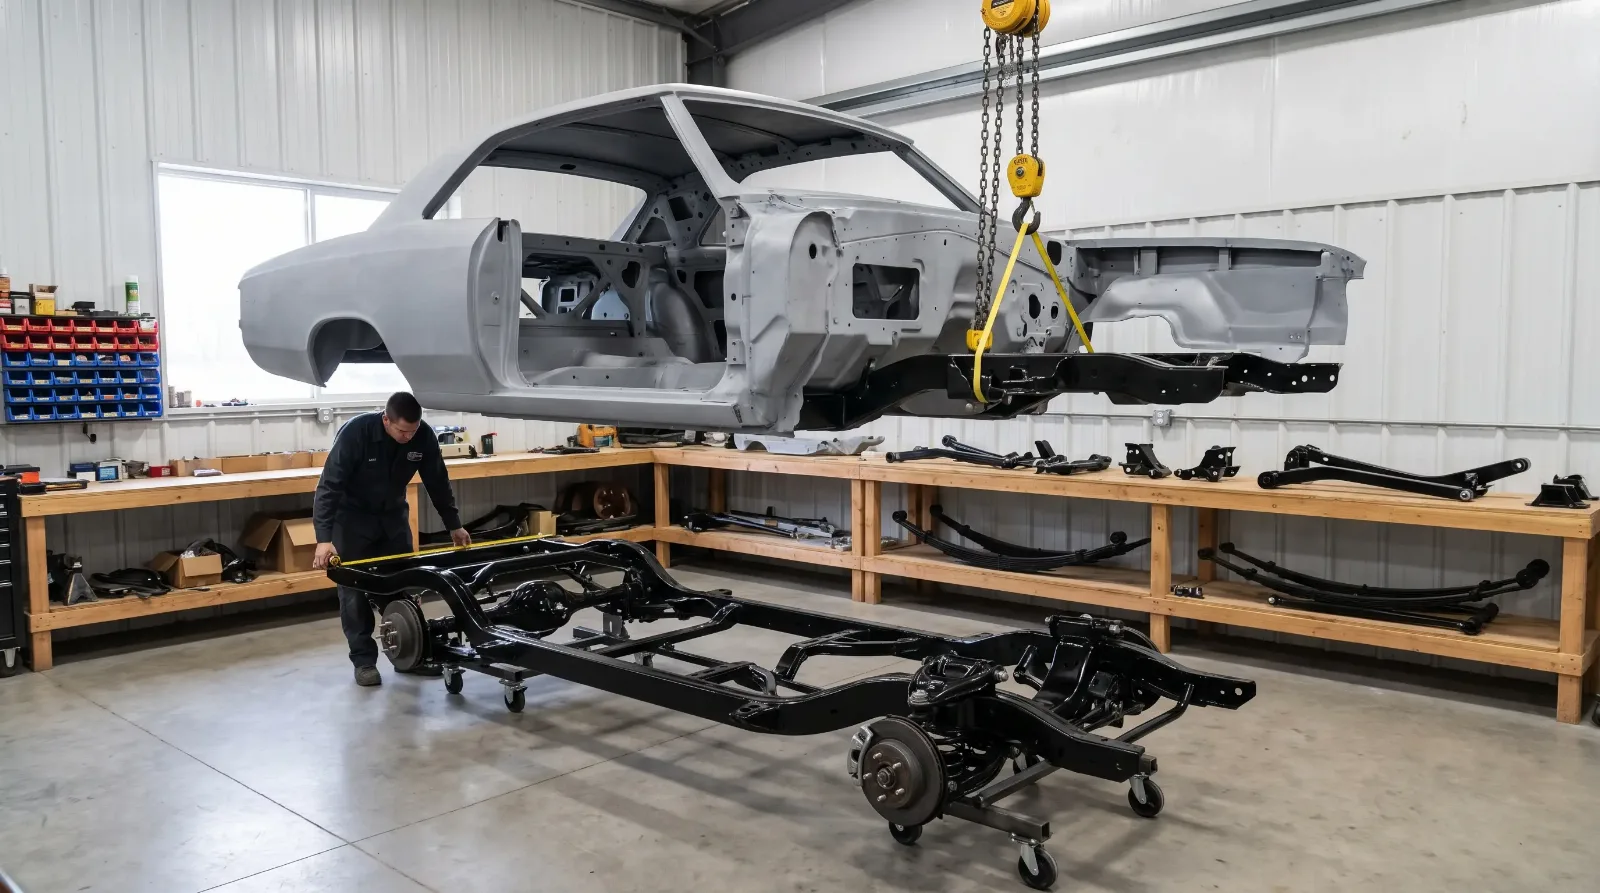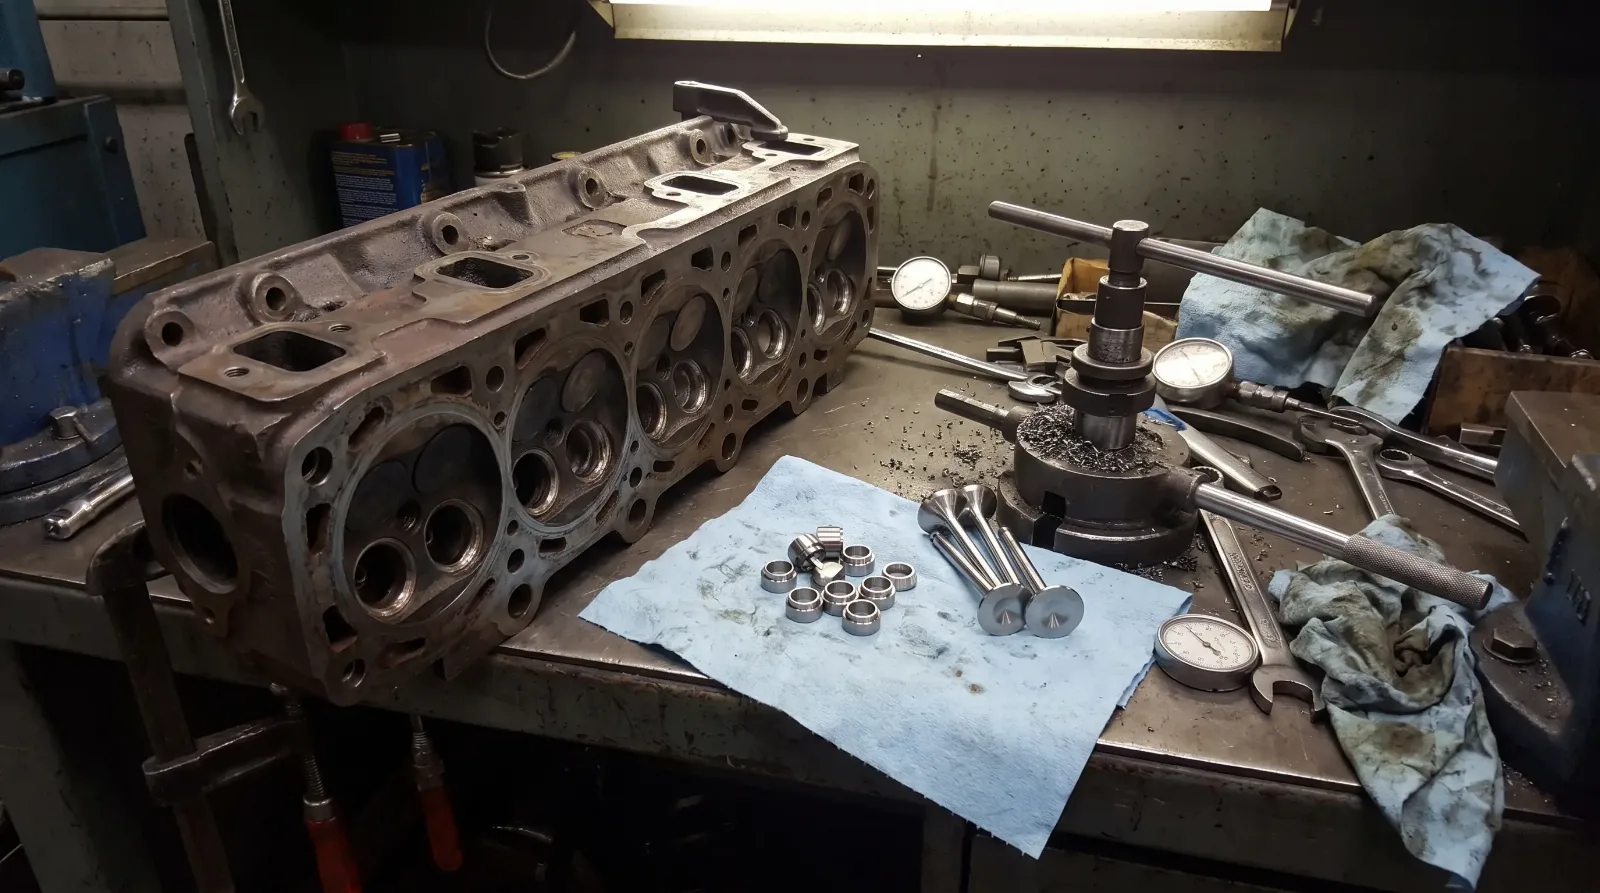

I have pulled apart enough old cars to tell you this: body filler is not the enemy. Bad filler work is. Many cars that rolled out of Detroit plants in the 1950s and 1960s had lead in some seams, and every honest restoration uses a little filler to finish what the metalwork started. The question is how much, where, and what is hiding under it.
If you are buying a car, you need to know how to find out. If you are restoring one, you need to know when to stop spreading. Both come down to the same rule. Filler is for finishing, not for building. The broader process lives in Classic Cars Arena's paint guide, but the filler question deserves its own look.
What filler is, and what it is not
Modern body filler is a polyester resin with a talc or similar filler and a cream hardener. It sands easily, bonds to properly prepared steel, and shrinks little when mixed and applied correctly. It is not a structural material. It does not hold a panel in shape, it does not stop rust, and it does not like thickness. Applied thin over clean, scuffed bare metal, it can last for decades. Applied thick over rust, paint or oily metal, it cracks, shrinks and lets go.
Before plastic fillers, body men used lead, melted and shaped with paddles. Lead is a different animal. It can be built up and still be sound because it bonds by tinning to the steel. Some quarter-panel and roof seams from the factory were leaded, and a restoration should leave that alone unless it has failed. Filler is not a substitute for it, and sanding lead or old leaded coatings without proper dust control and respiratory protection is a health problem. NIOSH notes that lead can damage the nervous and reproductive systems, and that body-filler sanding alone can throw off heavy dust.
How much is too much
There is no single number that every shop agrees on, but the working guidance is consistent. A skim coat of an eighth of an inch or less is fine. Over about a quarter inch, filler becomes a risk because it will shrink, crack and can eventually pop off. Many guides put the ceiling at about a quarter inch, and some suggest metalwork first once the low spot is deeper than an eighth. A car with an inch of filler in a quarter panel has had a repair that should have been metalwork.
Think of it as a ladder. First, straighten the metal with hammer and dolly until it is close. Second, apply the thinnest filler layer that levels low areas. Third, block sand and prime. If the panel still has lows, you apply high-build primer for small fixes, not more filler. If you keep reaching for the can, the metal needs more work.
Finding filler on a car you want to buy
A paint depth gauge, an inexpensive tool, tells you quickly where the thickness varies. Original factory paint typically reads in a fairly narrow, consistent band, and repainted panels read higher. Filler pushes the number up much more. A panel reading several times the factory number is almost certainly carrying a lot of material, and you need to know why.
A magnet is the old trick and it still works. Run a weak magnet, wrapped in a cloth to protect paint, over rocker panels, quarter panel lowers, door bottoms and the area around wheel openings. A magnet that falls off or loses its pull is sitting on filler. It will not tell you how thick, but it tells you where to look.
Then tap. Steel gives a bright ring. Filler gives a dull thud. Check the places rust likes to start. If those areas thud, ask what the seller knows. Ask for photos of the repair stage, and if the answer is vague, assume the worst. Remember that a car with extensive filler over rust also tends to have problems nobody can see, which feeds directly into the cost of a proper repair.
"I would rather buy a car with honest rust I can see than one with a pretty panel I can't trust. You can price rust. You can't price a mystery."
Mike Sullivan
Using filler the right way
The prep is what counts. Grind the area to bare metal and feather the edge of the paint, and use coarse sandpaper so the filler has a surface to grip. Clean with a wax and grease remover. Mix the hardener to the ratio on the can, because too much hardener causes pinholes and staining, and too little leaves it soft. Apply in thin passes, working it into the scratches first, then build.
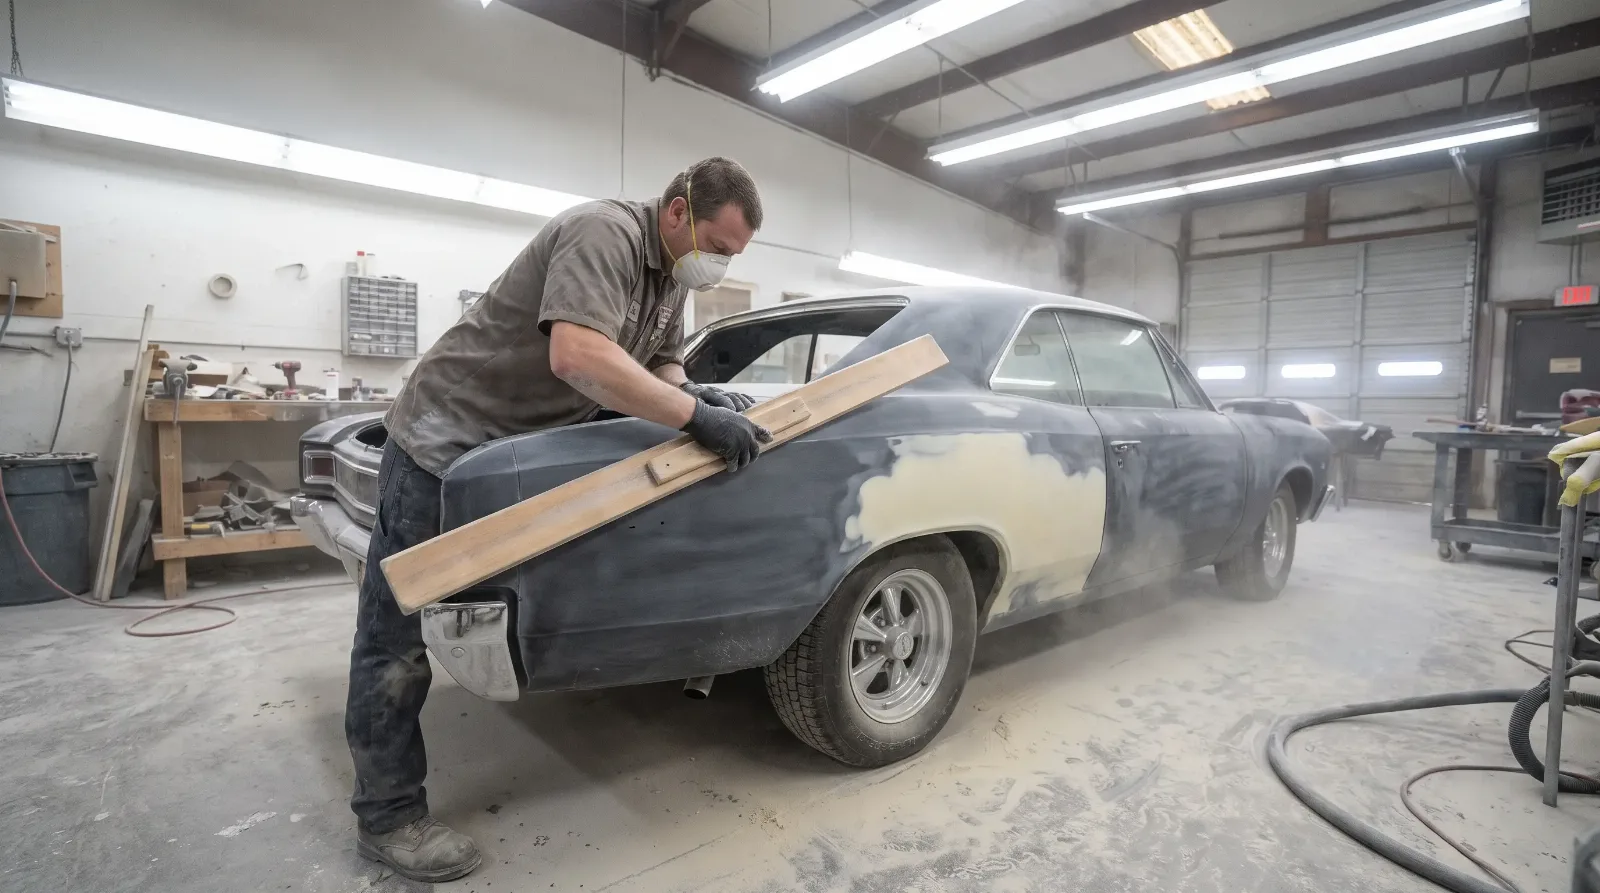
Shape it while it is still green, using a cheese-grater style file before it fully hardens, and then block sand with a long, flat board, not your hand. Hand sanding follows the wavy shape of the panel. A block follows the shape you want. Switch to finer grit as you go, then prime. Finish with a guide coat so you can see the lows.
The most important point is the order. Metalwork, then filler, then primer, then block sanding. Anyone who skips straight to filler is making the paint job more expensive, because every hour of block sanding that fixes a metal problem costs more than the hour of hammer work would have. As you work toward a flat panel, look at panel gaps too, because filler can be used to cheat a gap, and it should not be.
When lead is the better answer
On seams, such as a roof-to-pillar joint, lead gives a durable, flexible repair that polyester cannot match. It also looks right on a period-correct car. Lead work is slower and takes skill, which is why many shops charge a premium for it. For a deeper look at that craft, read lead work and the lost art of metal finishing. If your car came with leaded seams from the factory, and they are sound, leave them alone.
| Thickness | What it means | Action |
|---|---|---|
| Under about 1/8 inch | Normal finishing skim | Acceptable |
| 1/8 to 1/4 inch | Heavy, but workable | Check for cracks, consider more metalwork |
| Over 1/4 inch | Filler doing structural work | Redo the metalwork |
| Over rust or paint | Hidden failure | Expect it to come back |
Sources and notes
- Bondo 101: working with plastic body filler (NAPA Know How, archived copy), quarter-inch maximum, metalwork first for dents deeper than 1/8 inch, 36 to 180 grit surface, origin as a lead solder alternative
- Bondo Metal Reinforced Filler directions for use (3M), thin first layer, 80 then 180 grit sanding, 20 minute dry time at 77 F
- How to use body filler (Eastwood, archived), 80 grit prep, mixing hardener, spreading and block sanding in layers
- Controlling dust in auto body sanding (CDC/NIOSH), lead health effects and heavy dust from sanding body-filling compounds
- Bondo (Wikipedia), polyester filler of resin, hardener and talc, and its replacement of lead body solder