
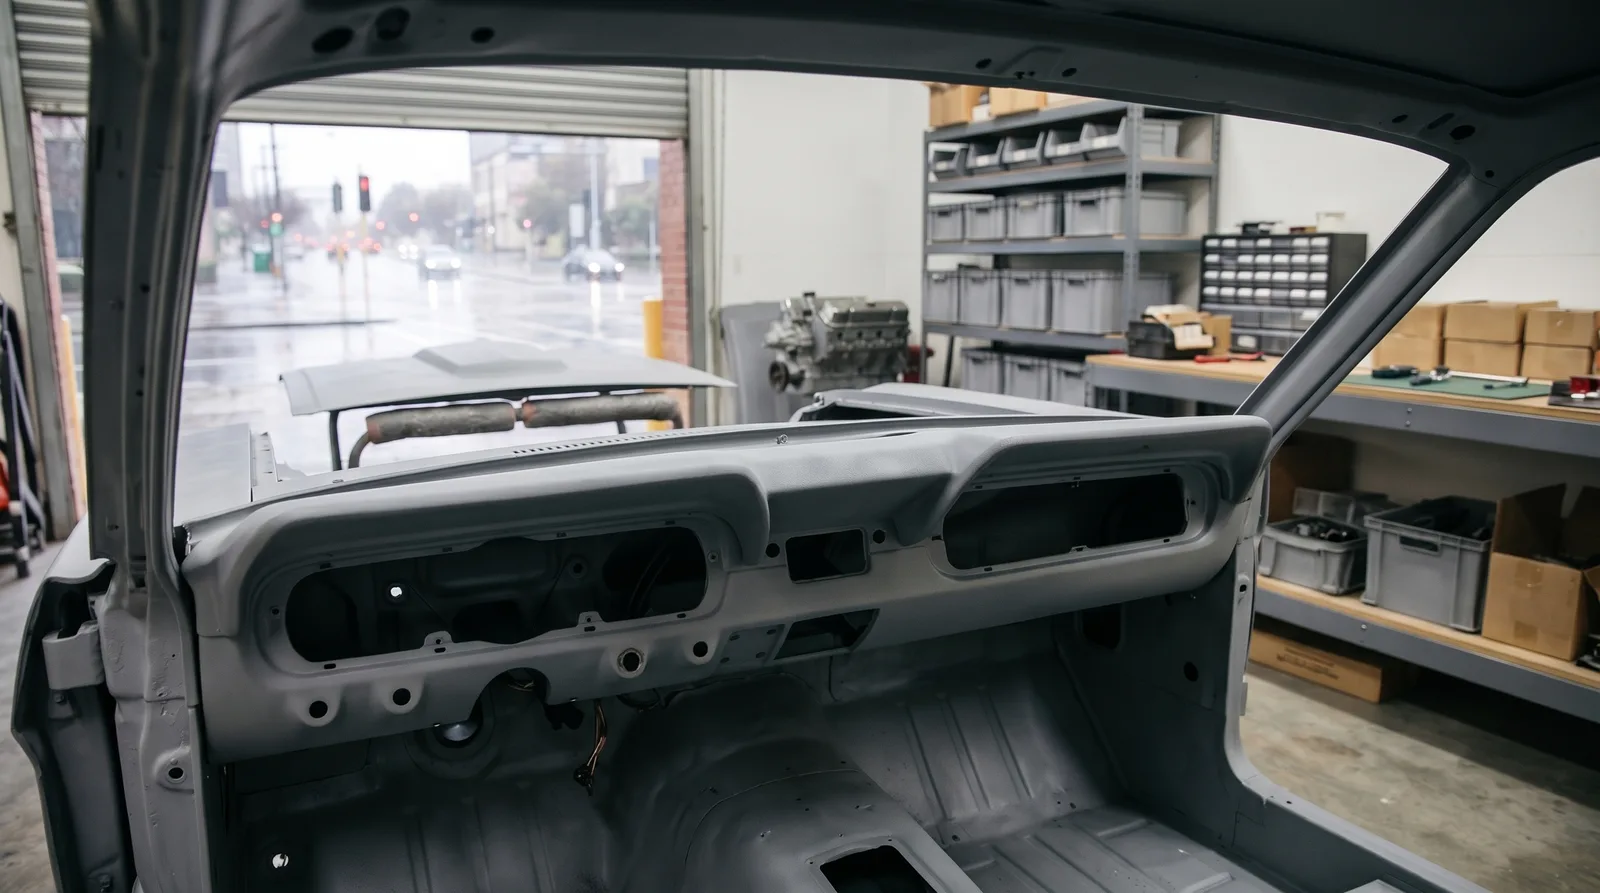
A restoration is won or lost during disassembly. Months later, when the car is in paint and you are standing over a table of loose parts, every shortcut taken at the start comes back as a question you cannot answer. Which bolt went where. Which bracket faced which way. What the wiring looked like before you cut the ties.
Restoration & Tech
7 min read
Teardown: Bagging, Tagging and Photographing Before Disassembly
A restoration is won or lost during disassembly. Learn how to photograph, bag, tag and store every part so the rebuild goes back together without guesswork.
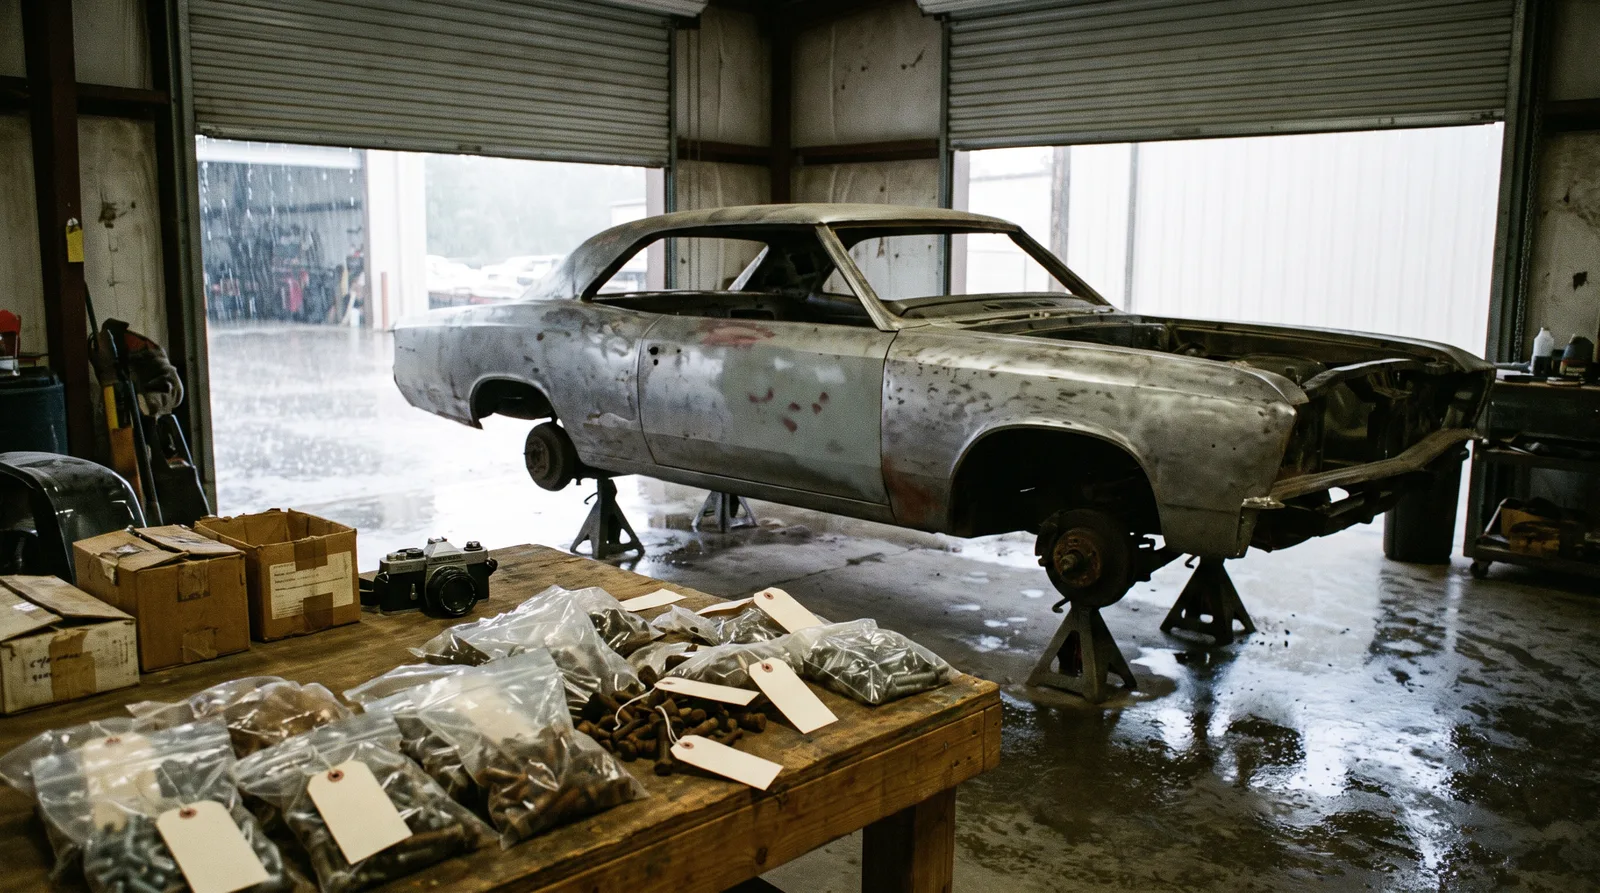
The fix is dull and it works: photograph, bag, tag, log, and store. Do it on every part, every time.
Start with photographs, before you touch a wrench
Take wide shots of the whole car from every side. Then work in zones: engine bay, interior, trunk, underside, and each corner. Shoot every area before and again after each layer is removed. Include close ups of wiring routes, hose connections, clamp positions, linkage angles, and any factory markings. Photographs are cheap, and you can delete the bad ones later. Shoot high and low angles of the engine bay and wire routing, which shop manuals often do not show clearly.
Use a tape or a numbered card in the frame for reference where positions matter. Shoot video as well, narrating what you see. A short clip of the dash wiring with your voice describing each connector is often more useful a year later than a still image.
Backup is part of the job. Save the files to two places, and name folders by zone and date. A restoration can last longer than a phone.
The bag and tag system
Every fastener and small part goes into a sealed bag with a label. Use zip bags, and write on the bag itself or on a tag inside it, not on a sticker that will peel off. The label should say what the part is, where it came from, and the date or step number. Add a left or right marker where it applies.
- Group by assembly. Keep the bolts for one component together and put the bags in a labeled box.
- Use one numbering scheme. A simple code, such as zone letter plus a running number, links the bag to your photo log.
- Tag large parts too. Hang a tag on every bracket, panel, and harness with a wire or a zip tie.
- Keep different thread sizes separate. Mixed bolts are how a wrong length ends up in a wrong hole.
Build a parts log
A notebook or spreadsheet is the second half of the system. For each bag or part, record the number, a short description, the condition, and what action it needs: clean, repair, replace, or reuse. Add the photo file name. Over time this turns into an inventory that tells you what you have, what you need to buy, and what has been sent out for plating or rebuilding.
The log also protects your original parts, which has value beyond the project. If you are trying to decide which components are worth saving, the case for keeping original parts is laid out in our guide to sourcing and parts. Decide that before the part goes in the dumpster, because you cannot undo a decision to scrap it.
Work in order, and remove things in reverse
Take the car apart in the reverse order that it was assembled. Remove accessories before major assemblies, trim before panels, and glass before the shell is stripped. Disconnect the battery first, drain fluids into labeled containers, and cap or plug open lines. Cap everything you open, because dirt and moisture start working the moment a line is exposed.
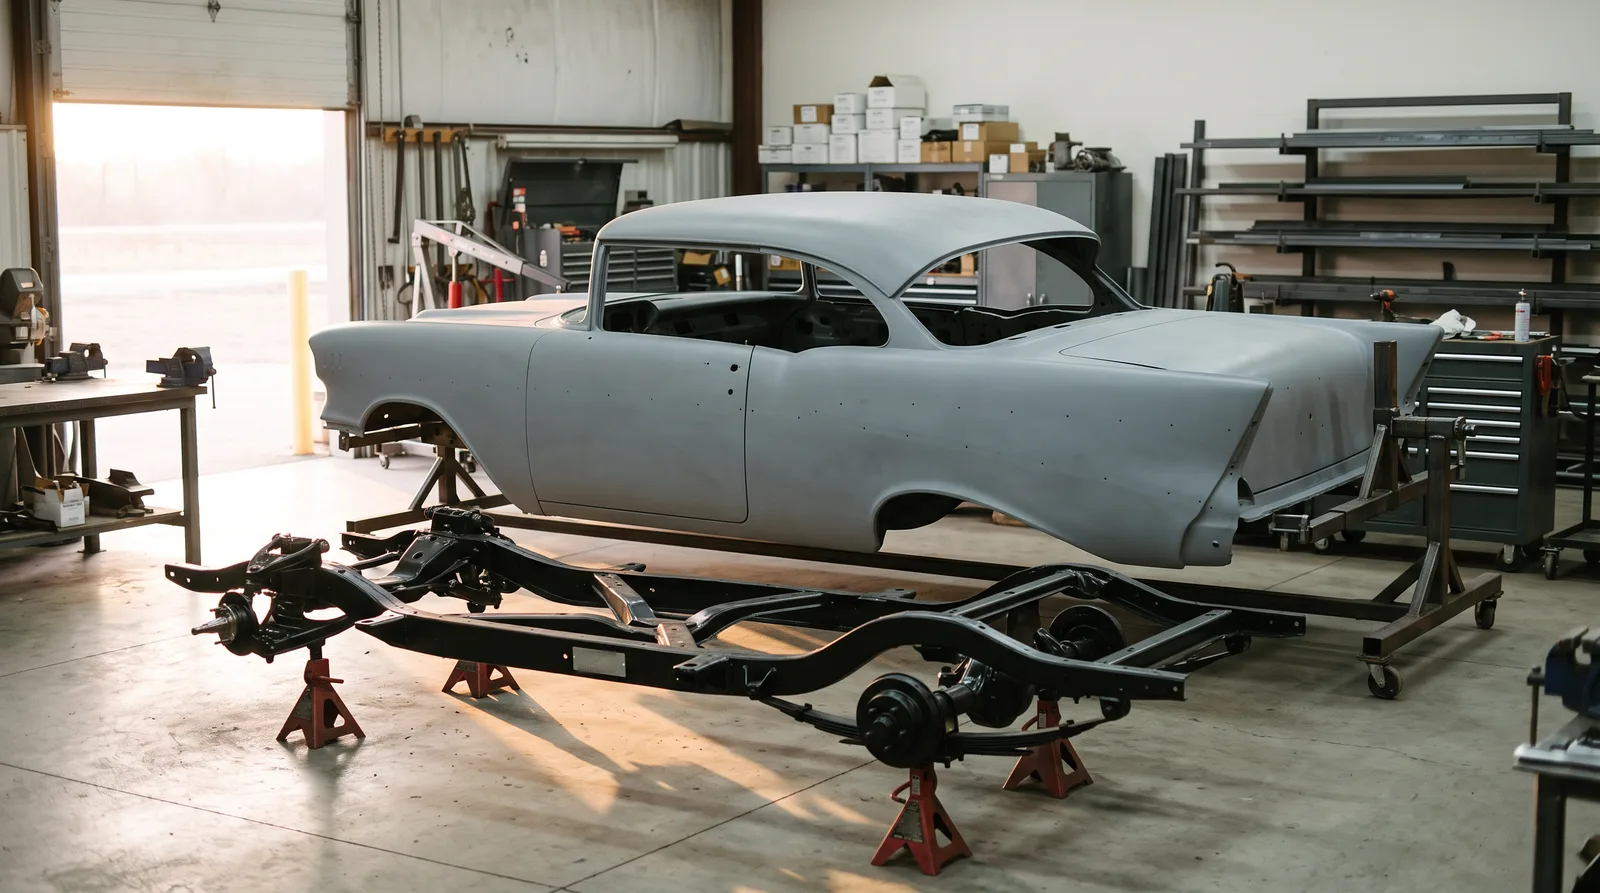
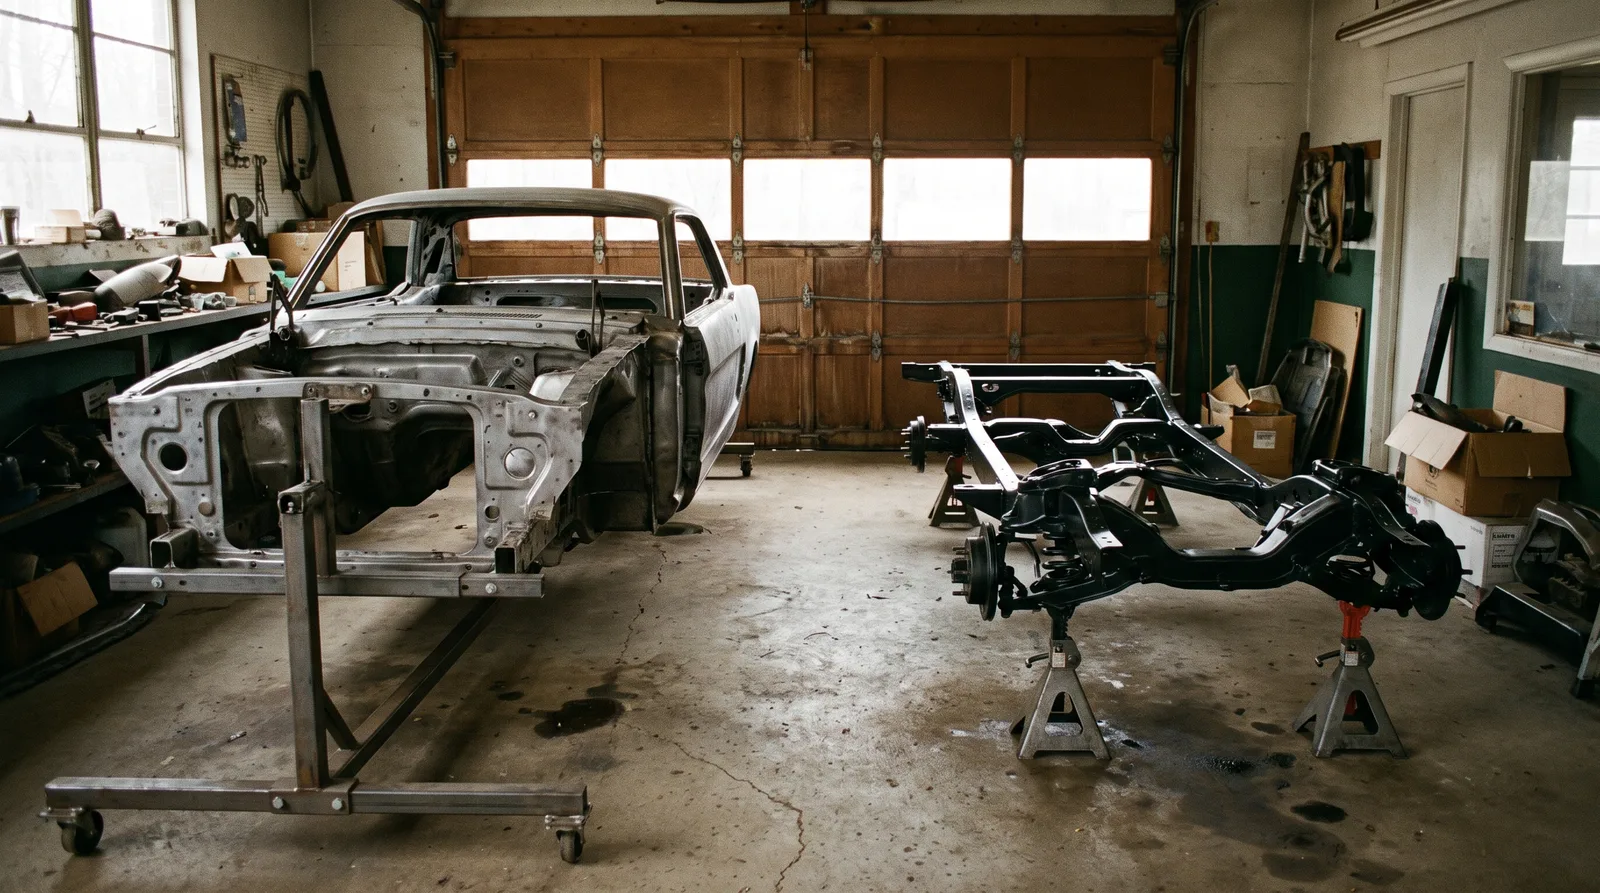
This ordering is not a matter of taste. It follows the same sequence as the order of a restoration in reverse, and knowing the build order makes the teardown order clear. Where the car is going to be split into body and chassis, the plan changes a little, and the bigger picture is described in the frame-off process.
"Label it while you remember it. Nobody remembers anything after eight months in a storage rack, and the photo you skipped is always the one you needed."
Ray Delgado
Store parts so they survive
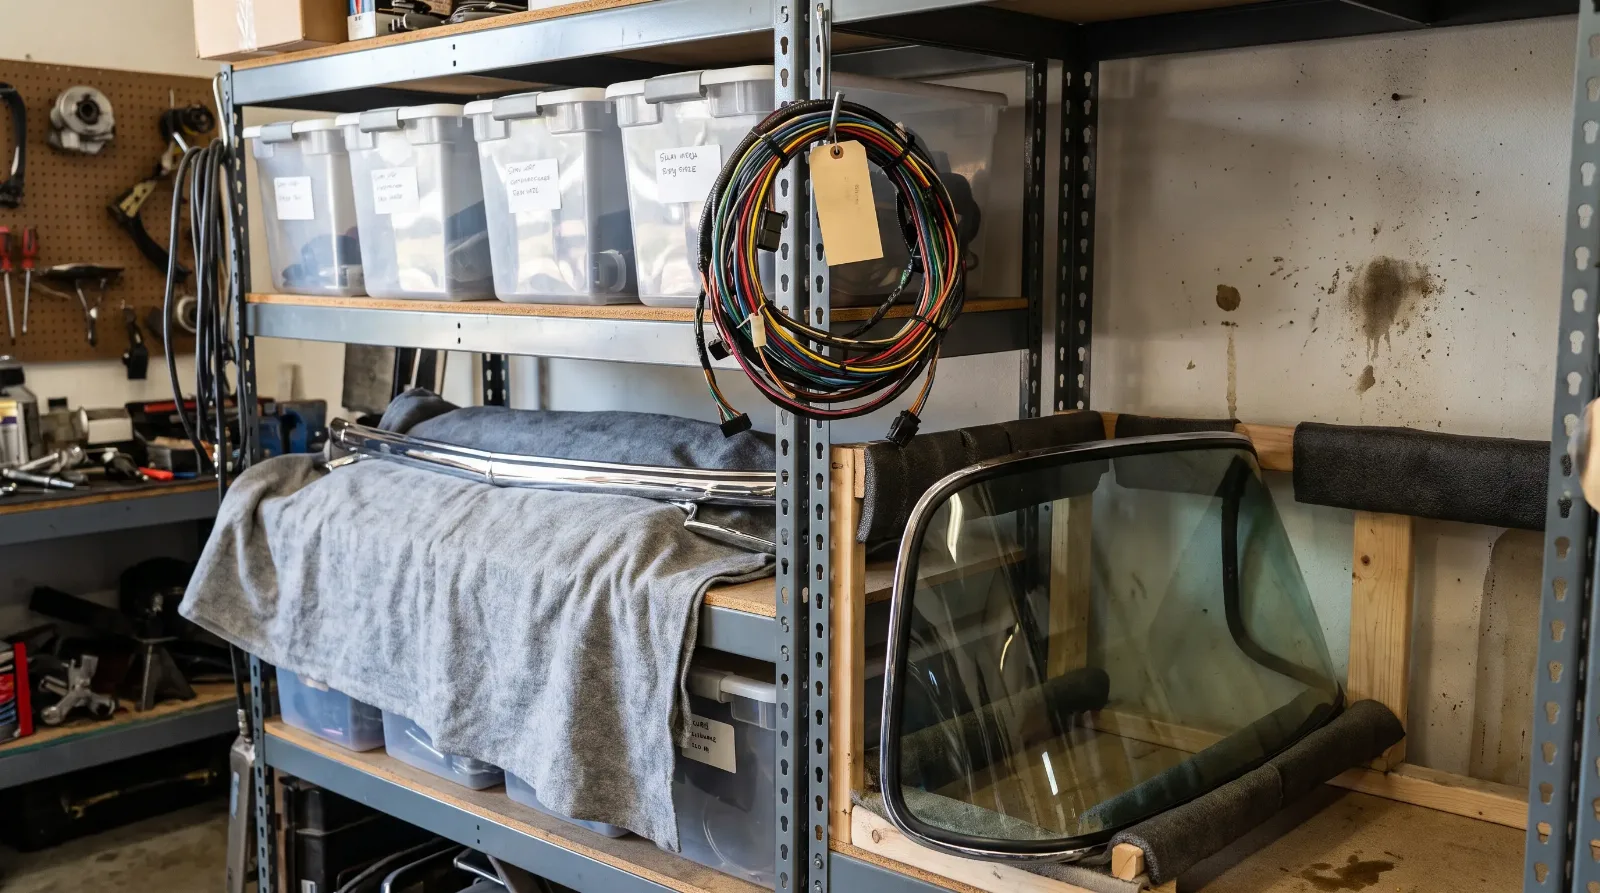
Disassembly creates a lot of loose parts, and storage is where many of them are lost or damaged. Use shelving with labeled bins. Keep small parts in the bagged and tagged boxes. Wrap chrome and trim in soft cloth, and keep glass upright in padded racks. Store panels so they do not warp, and keep wiring harnesses coiled loosely with a tag, not bent tightly.
Control the environment. Dry, stable storage protects bare metal from surface rust, and a light coat of oil on machined surfaces helps. Keep the area clean and keep a record of where things are stored, because a perfectly labeled part in the wrong room is still lost.
| Item | Best practice |
|---|---|
| Fasteners | Sealed bags with tag, grouped by assembly |
| Wiring harnesses | Photograph routing, tag connectors, coil loosely |
| Trim and chrome | Wrap individually, store flat in labeled boxes |
| Glass | Stand upright in padded racks, never stacked flat |
| Body panels | Support to prevent warping, label position |
Why this saves money
A documented teardown pays back in shop time. When a shop takes the car apart, the work is billed hourly, and a car that arrives already bagged, tagged, and photographed saves hours at the other end. If you are hiring out the work, ask how the shop documents disassembly. A good answer is a sign of the discipline you want, and our directory of restoration shops is a useful place to start the comparison.
A documented project also helps you down the line. Good records support the car's value and make the story easy to tell. For a deeper look at keeping those records, see our guide to documenting a restoration, which covers photos, receipts, and logs as a single package.
The verdict
Teardown is slow if you do it right, and that is the point. The time you spend on photos, bags, and logs is paid back many times over during reassembly. Treat the first day as the most important day of the project.
Sources and notes
- Legendary Auto Interiors, classic car disassembly guide, supports photographing before teardown, marking and bagging parts, and the trim, glass, interior, drivetrain order
- Popular Restorations, disassembly and storage article, supports organizing hardware by location with photos and diagrams, and keeping everything until reassembly
- Popular Restorations, documenting a teardown, supports high and low photo angles, side-of-car labeling, and bagged hardware
- Moss Motoring, Ron Phillips column on organizing a restoration, supports recording fastener size and thread pitch, inventory spreadsheets, and backing up records
- 71-73 Mustang community thread on preparing for teardown, supports photos and narrated video, tagging connectors, and heavy-duty zip bags in bins
Related Reading
Have a
Classic Car
for Sale?
Reach thousands of serious classic car collectors across the US.
Sell It Here →
Selling a classic? Here's how: compare the places to sell classic cars
Are You a Classic Car Dealer?
List your full inventory and connect with targeted classic car buyers.
Join as a Dealer →
#frame-off restoration
#restoration documentation
#car restoration disassembly
#teardown
#bag and tag

About the author
Ray Delgado
Metal fabricator and chassis builder who has spent 25 years turning flat sheet and mild steel into hot rods, gassers and restomod underpinnings.
More in Restoration & Tech
Comments
Be the first to comment on this article.