
Most restorations that go wrong do not go wrong because somebody lacked skill. They go wrong because the work happened in the wrong order. Paint goes on before the wiring is routed, and the first drilled hole chips it. The engine gets rebuilt before the body is straight, and then it sits for three years collecting dust. I have pulled apart enough of these to tell you the sequence matters more than the budget.
Restoration & Tech
7 min read
The Order of a Full Restoration, Stage by Stage
The order a full classic car restoration should follow, from documentation and teardown through metalwork, paint, mechanicals, trim and the shakedown, and why skipping ahead costs money.
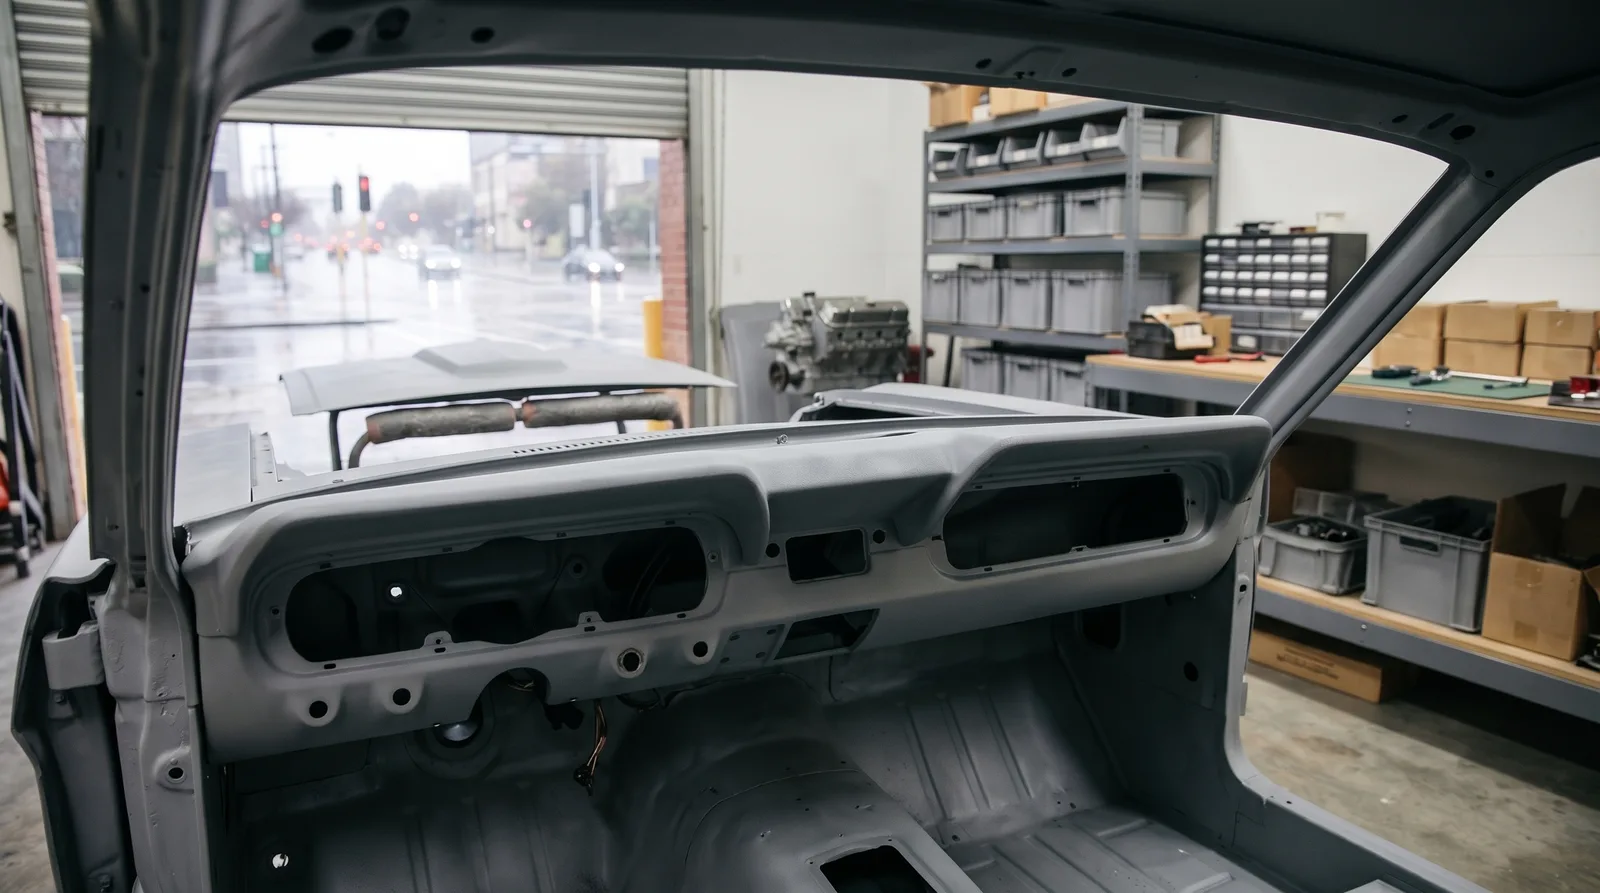
Here is the order a full restoration should follow, and what each stage is really for. If you want to know how deep a given job should go before you start, read the levels guide first, because the stages below assume you have already decided how far you are taking the car.
Stage one: document everything before you touch a bolt
Photograph the car from every angle, then photograph it again with the doors, hood and trunk open. Shoot the engine bay, the underside, the wiring routing, the hose clamps, the way the weatherstrip meets the glass. Those pictures are your assembly manual two years from now, when you cannot remember which bracket held the horn relay.
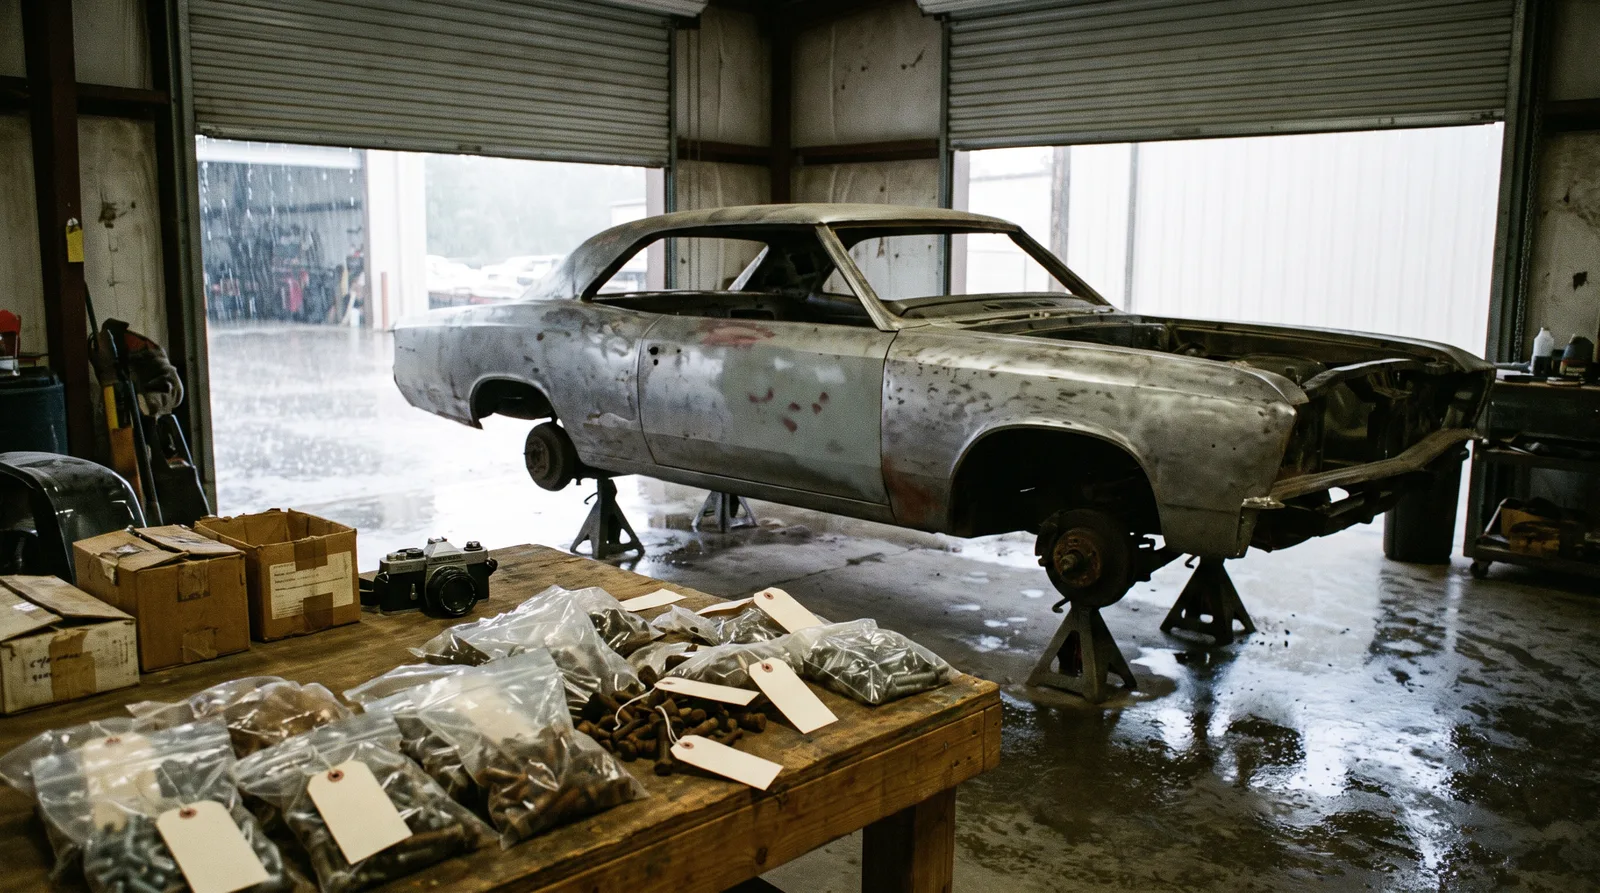
Next, collect the paper. Build sheet, trim tag, VIN plate, title, old registrations, receipts, any factory broadcast sheet that survived. Write down what is numbers matching and what is not before the car comes apart, not after. Bag and tag every fastener as it comes off, and label the bags by location, not by guess. A cheap box of zip bags and a marker saves a month of arguing with yourself later.
Stage two: teardown and honest assessment
Strip it all the way. Glass, trim, interior, wiring, drivetrain, suspension, and on a body-on-frame car, the body comes off the chassis. This is where the real condition shows up. Surface rust in the trunk pan often turns out to be a missing trunk pan. A tidy floor can hide a rotted torque box.
After teardown, you can finally price the job. Anything quoted before this point is a guess dressed up as a number. Sort every part into four piles: reuse as is, rebuild, replace, and reproduction available. Check parts availability now, because a car with no reproduction sheet metal is a different project than one with a full catalog. For a sense of what the total tends to come to, expect a driver-grade full restoration at a professional shop to run roughly $45,000 to $100,000 all-in in 2026, a show-level job roughly $100,000 to $225,000, and a concours build $200,000 or more, with most independent shops billing about $85 to $150 an hour. Add a contingency of 20 to 30 percent on top of whatever number you get.
Stage three: structure, metalwork and rust repair
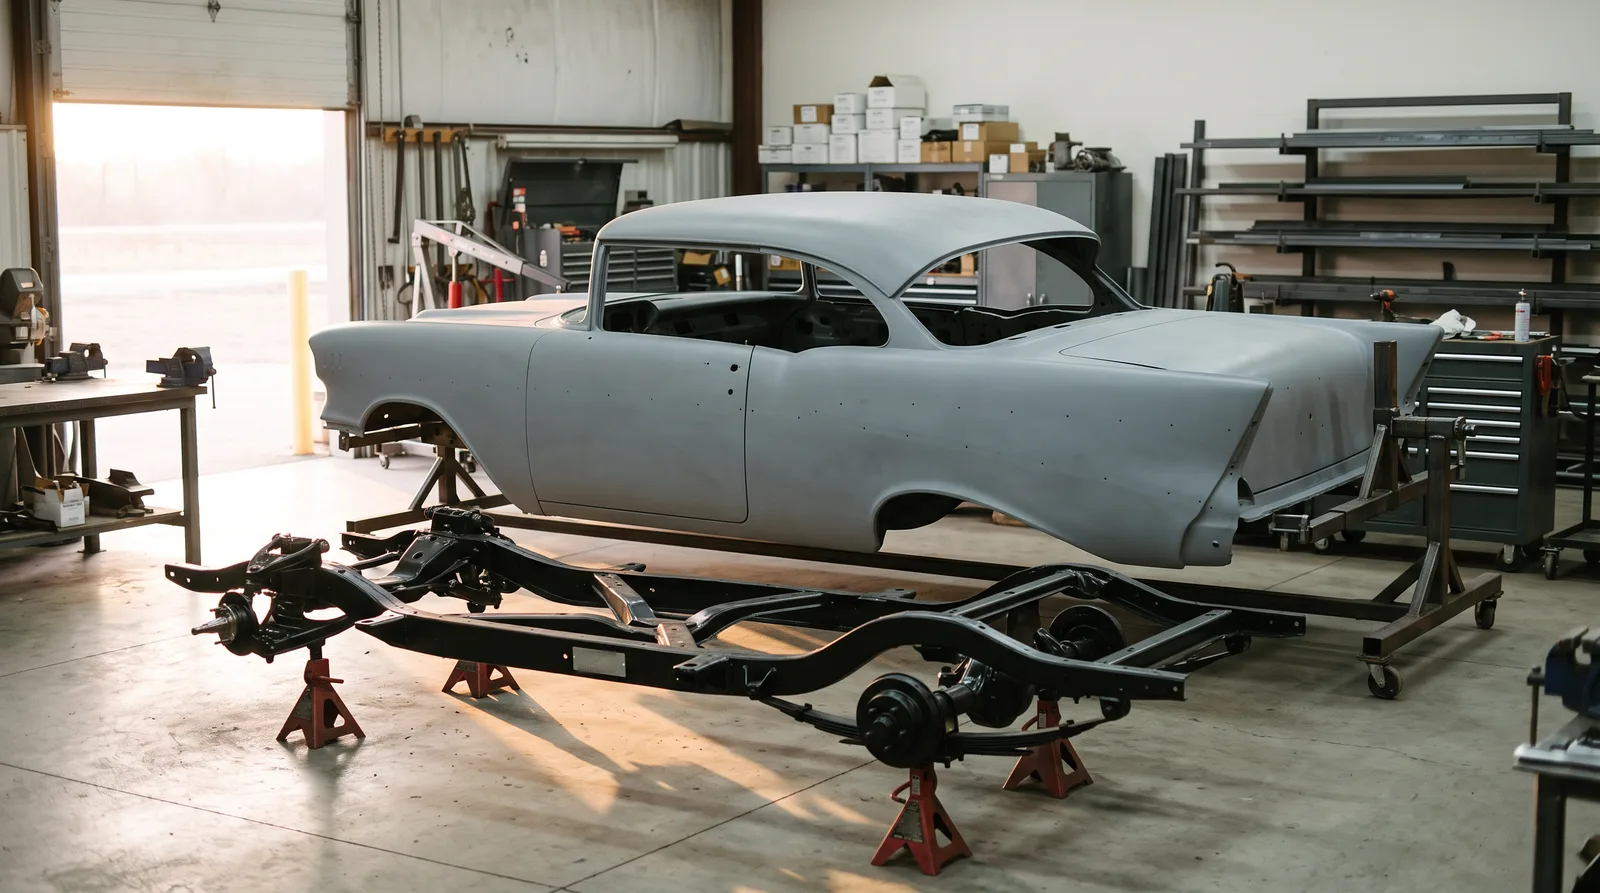
Frame and structure come first, always. Check frame alignment, repair cracks, replace rotted rails, and get the suspension mounting points true. Then move to the body: floors, rockers, cowl, quarter panel lower sections, trunk. Cut out rust completely. Do not weld new metal onto thin, pitted steel and call it fixed.
Media blasting or chemical stripping happens here, followed immediately by epoxy primer on bare metal. Bare steel in a damp shop can flash with rust quickly. This is also when you hang the doors, hood and decklid and set the gaps, because panel fit has to be right before any filler or primer goes on. Doing paint first and gaps second is the single most expensive mistake in the hobby, and it is one of several covered in the piece on common muscle car restoration mistakes.
Stage four: paint, then mechanicals in a clean order
Once the shell is straight, it goes through primer, block sanding, sealer, base, clear and a long cure. Wet sanding and buffing come after the paint has hardened, and the cure time depends on the paint system, so ask your painter instead of guessing. Park the body somewhere dry and covered while you work on everything else.
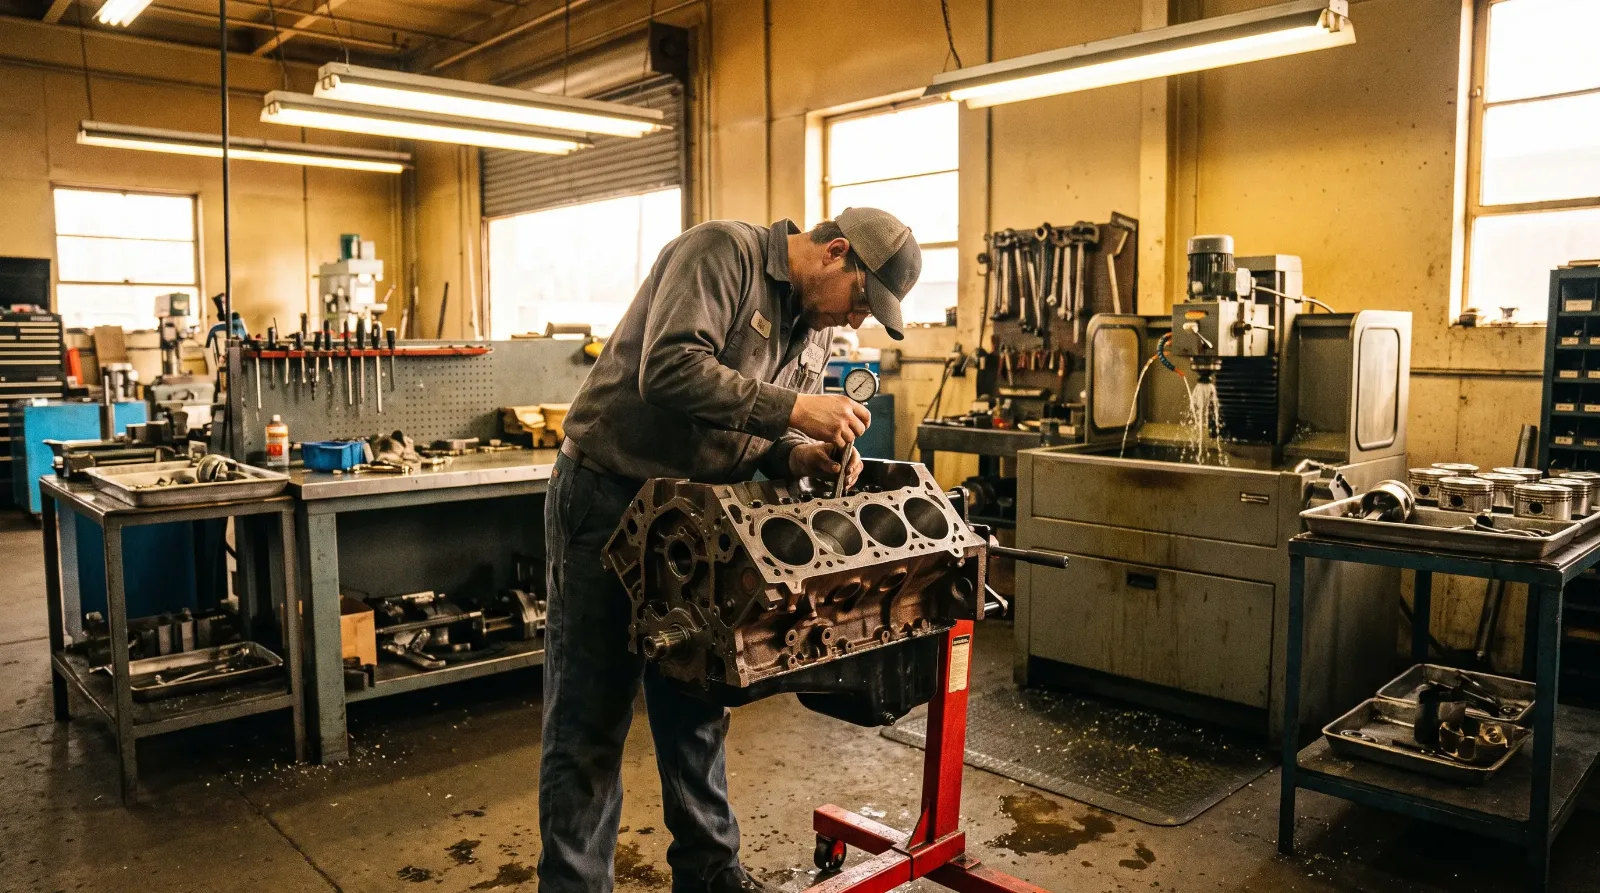
While paint cures, the mechanical stages run in parallel. The chassis gets rebuilt: bushings, ball joints, brake lines, fuel lines, springs and shocks. Engine and transmission go to a machine shop or builder. Rear axle, driveshaft, steering box, brakes all get rebuilt or replaced as a set. Run new brake and fuel lines before the body goes back on the frame, because routing them under a finished car is miserable work.
| Stage | Main work | Why it sits here |
|---|---|---|
| 1. Document | Photos, paperwork, bagging parts | Records the car before it vanishes into boxes |
| 2. Teardown | Full disassembly, assessment, pricing | Reveals the real condition and real budget |
| 3. Structure and metal | Frame, floors, rust repair, panel fit | Everything else depends on straight, solid steel |
| 4. Paint | Prep, primer, color, clear, cure | Must finish before parts go back on |
| 5. Mechanicals | Chassis, engine, brakes, driveline | Runs alongside paint cure time |
| 6. Assembly | Wiring, glass, interior, trim | Delicate parts go on last |
| 7. Shakedown | Test miles, adjustments, fixes | Finds what bench work cannot |
Stage five: assembly, wiring and trim
Assembly runs from the inside out and from the quiet parts to the fragile ones. Sound deadener and insulation first, then the wiring harness, then the dash, then the headliner, glass, interior and finally exterior trim. Chrome and stainless trim go on at the very end, with masking tape on adjacent paint and plenty of patience. The engine and drivetrain usually go in before glass and interior so the body is not fighting an engine hoist.
Install a new wiring harness unless the original is truly clean. Old insulation cracks, and a fire in a freshly finished car is a bad way to learn it. Use the photographs from stage one to match routing and clips. If the project is a pickup instead of a car, the sequence is nearly identical, but the separate bed and cab add a few steps, and the beginner guide to restoring a classic truck walks through them.
Stage six: shakedown and the punch list
Do not call it finished when it fires. Drive it. Plan on at least a few hundred miles of shakedown, with a notebook on the passenger seat. New cars of any age, and a restored classic is exactly that, develop leaks, rattles, loose fittings and electrical gremlins in the first miles. Retorque wheels, recheck fluid levels and hose clamps, and set the alignment after the suspension has settled.
Some owners prefer to get the car moving earlier and finish in phases, and that is a legitimate path with its own trade-offs. If that sounds like you, look at how a rolling restoration staggers the same stages so the car stays driveable.
"The order is the plan. If you cannot say what happens before and after the stage you are on, you are about to do something twice."
Mike Sullivan
The short version
Document, tear down, price honestly, fix the metal, paint, rebuild the mechanicals, assemble from the inside out, then drive it hard enough to find what you missed. Every stage that gets skipped or reordered comes back as a bill. Keep the sequence and the project stays predictable, which is the closest thing to a bargain this hobby offers.
Sources and notes
- How to Restore an Old Car: A Step-by-Step Guide (EngineerFix), supports the general order of assessment, teardown, mechanicals, bodywork, paint and assembly
- Car restoration (Wikipedia), supports bag-and-tag documentation, chassis inspection first, and reassembly followed by testing
- Step by step (TCCT), supports researching originality and history, then disassembly, bodywork, mechanicals and final assembly
- Understanding the Process of Restoring a Classic Vehicle (Mill Supply), supports surface preparation as the foundation of paint and a 20 to 30 percent contingency
- A practical guide to documenting a classic car restoration (Automotive Addicts), supports photographing the car and recording VIN and tag data before work starts
Related Reading
Have a
Classic Car
for Sale?
Reach thousands of serious classic car collectors across the US.
Sell It Here →
Selling a classic? Here's how: where to sell your classic car online
Are You a Classic Car Dealer?
List your full inventory and connect with targeted classic car buyers.
Join as a Dealer →

About the author
Mike Sullivan
Detroit-area muscle car enthusiast and restoration specialist with three decades of hands-on experience working on American iron.
More in Restoration & Tech
Comments (1)
B
BarnFindBrad
2 weeks ago
Stage one saved me on the T-Bird. Pulled it out of a barn with mouse nests in the dash, shot a few hundred photos before touching anything, and those pictures were the only reason the wiring went back right two years later. You never know what's behind that door, so photograph it first.