
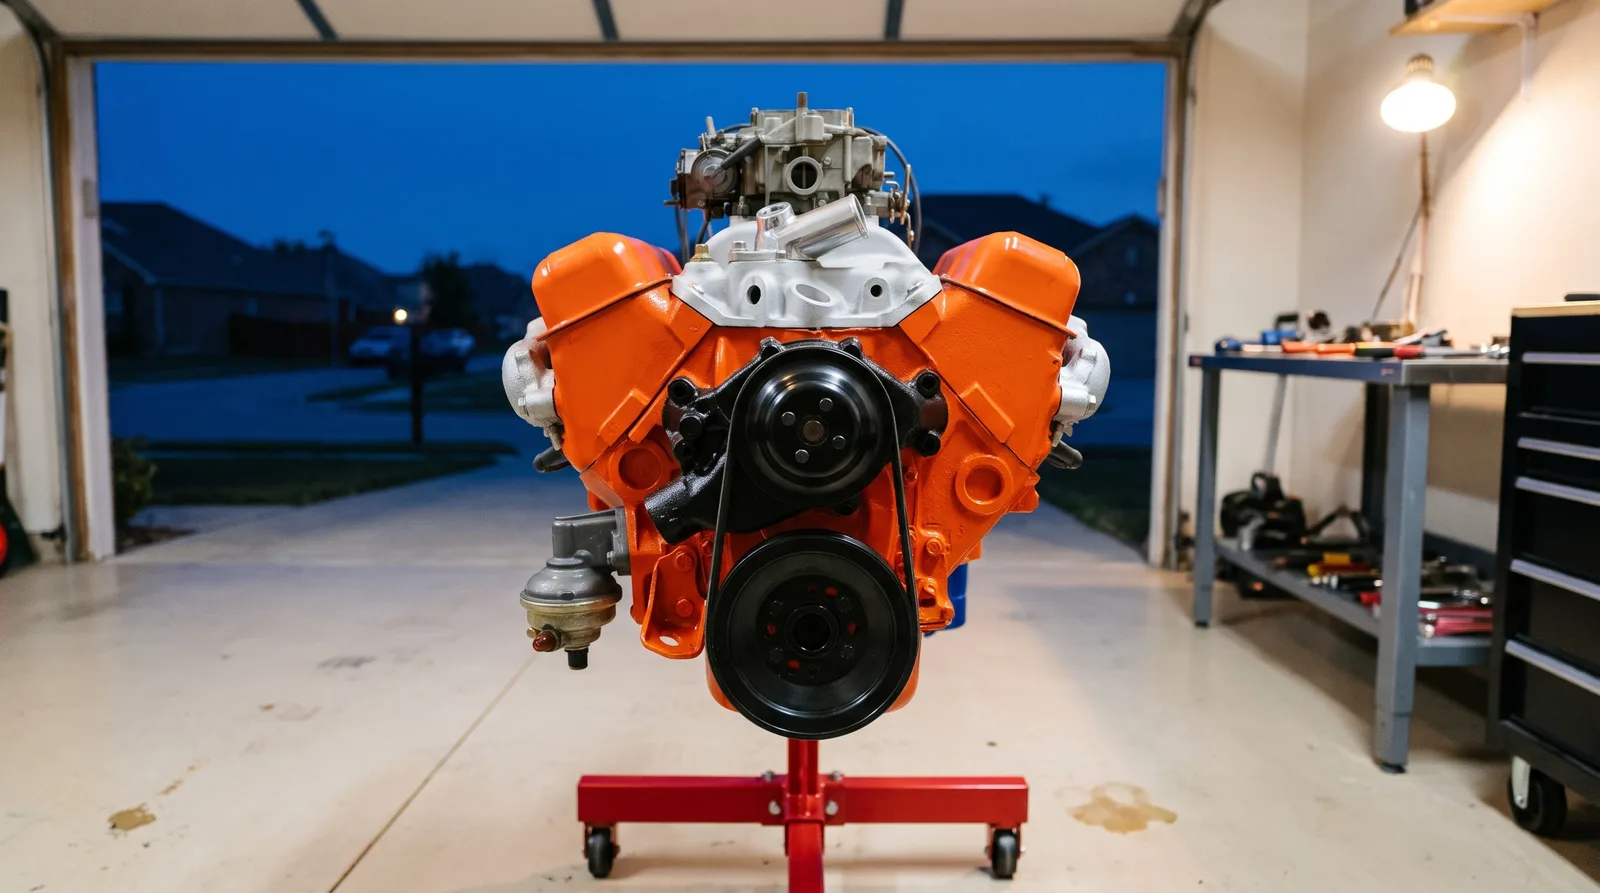
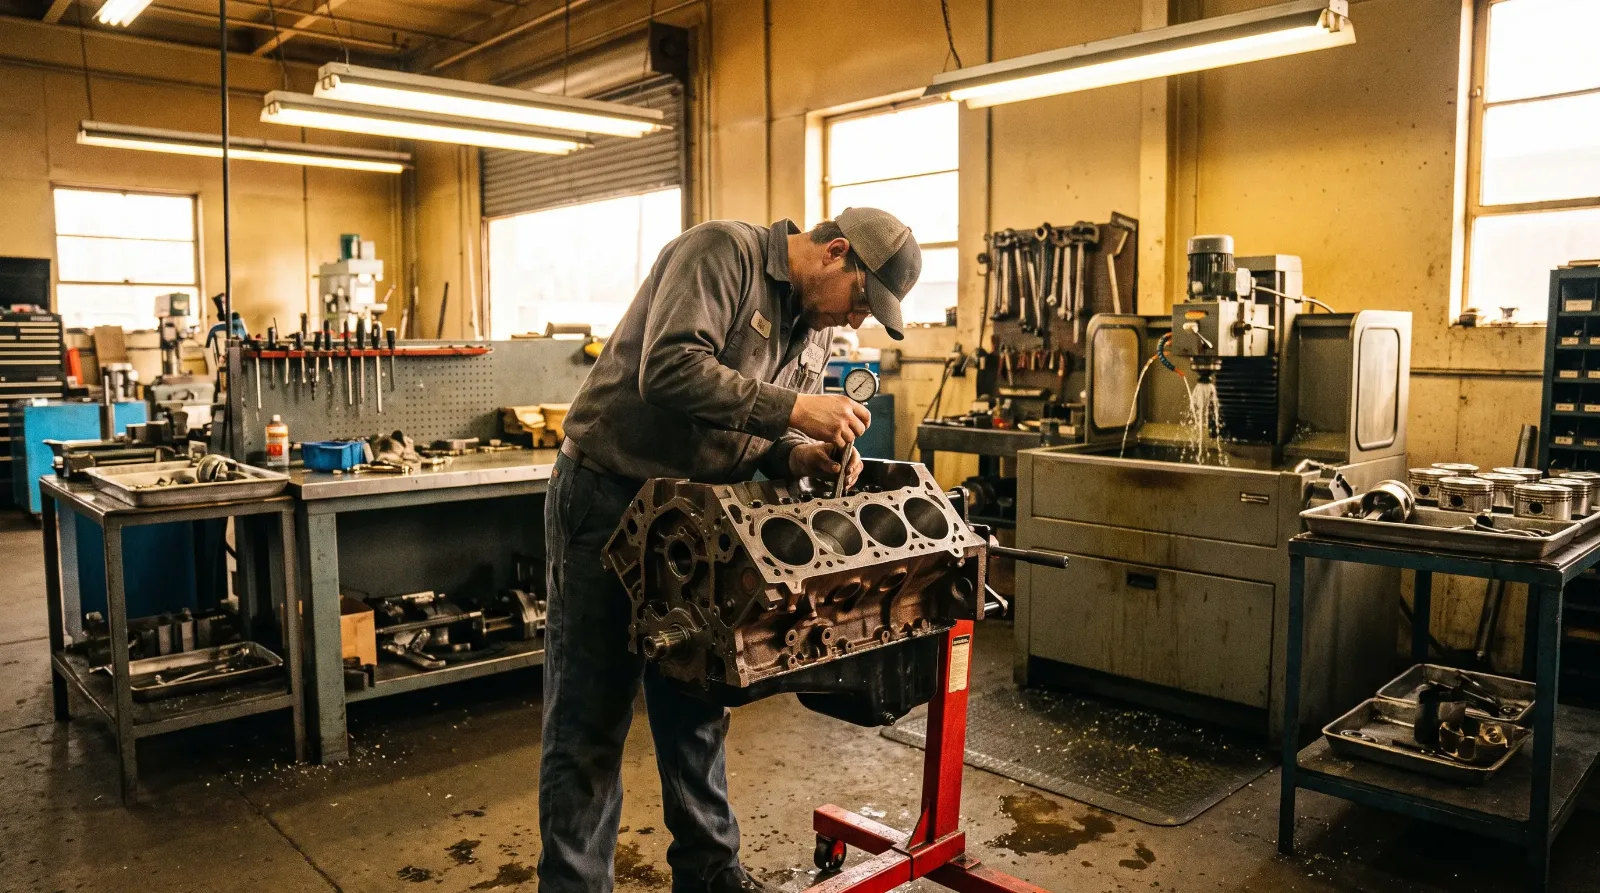
Old wiring fails in a predictable way. The insulation hardens, cracks, and stops doing its job. Copper inside the wire turns green and loses cross section. Add decades of splices by previous owners and you have a classic car wiring harness that works on a dry day and burns on a wet one. If you are already deep into an engine rebuild for classic cars, this is the right time to decide what happens to the wires, because the engine bay loom is the easiest to reach with everything out.
Restoration & Tech
8 min read
Wiring Harness Replacement in a Classic
When to replace a classic car wiring harness instead of repairing it, what a new one costs, and how to install it without creating a fire hazard.
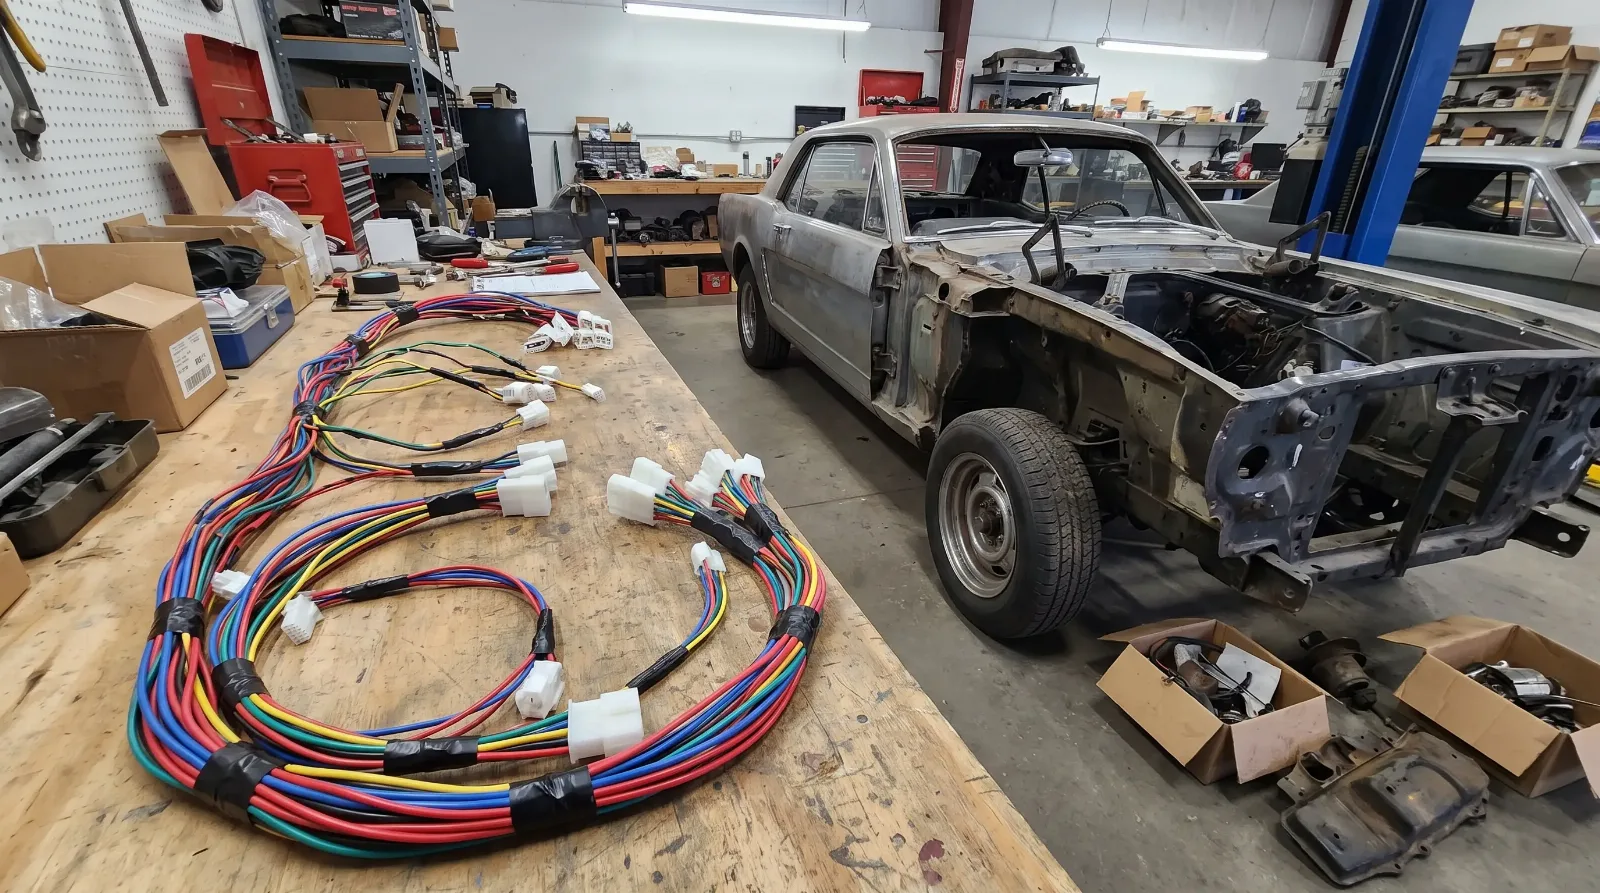
Repair or replace: the numbers that decide it
Here is the rule I use. If you find more than two or three brittle sections, replace the harness. Wiring does not age in patches. It ages as a whole, and a repair at one spot only moves the failure to the next weak spot.
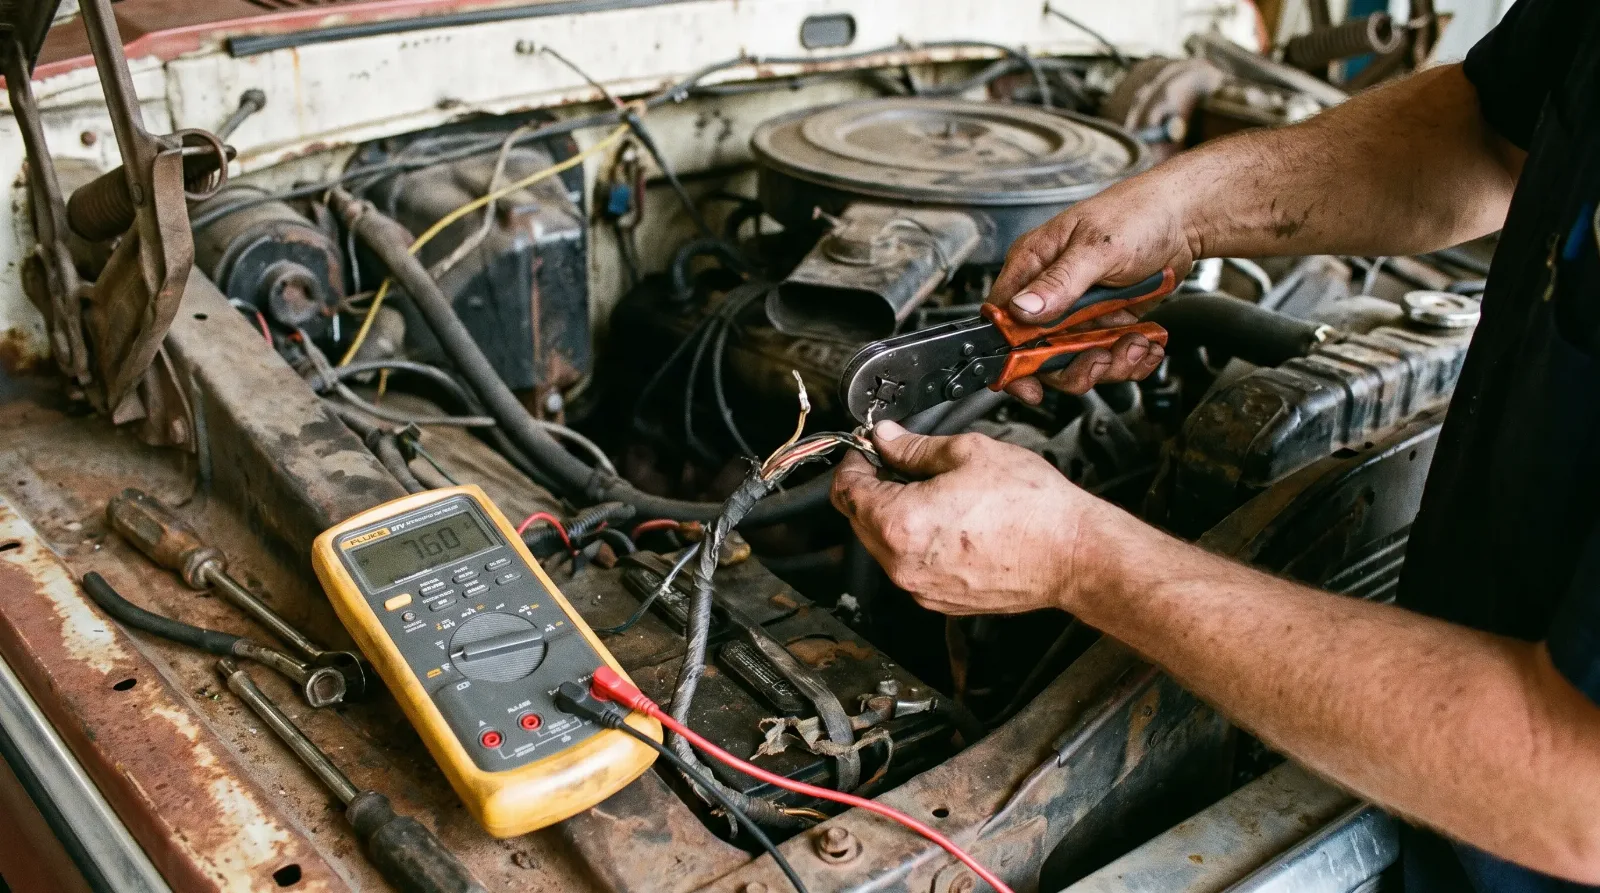
Look for cracked or flaking insulation at bends, green or white corrosion inside the strands, melted connectors, and fuse blocks with scorch marks. Check the headlight and ignition circuits first because they carry the most current. A wire that feels stiff and shows bare copper when you flex it is done. Voltage drop tells the rest. A healthy 12 volt circuit should lose only a few tenths of a volt end to end under load. If you measure noticeably more, the wire or its connections are resisting current and making heat.
Fire is the real cost of waiting. NFPA vehicle fire research lists electrical failure or malfunction among the leading causes of highway vehicle fires, and a restored car with fresh paint and a new interior is a bad thing to lose over a part that costs a fraction of the paint job. Spend the money.
Choosing a harness
You have three realistic options, and they sit at different price points.
| Option | What to expect on cost | Best for |
|---|---|---|
| Reproduction factory style harness | Several hundred dollars to about $1,000 or more; one maker lists kits from about $458 | Concours and original restorations |
| Universal fuse block kit | From a few hundred dollars; one maker's range runs from about $283 to $1,300 and up | Driver quality cars and light modification |
| Custom or modular build | Often four figures; some complete kits list near $2,875 | Restomods with EFI, electric fans, modern gauges |
| Professional installation labor | Often four figures, billed at the shop's hourly rate (roughly $85 to $150 an hour at most independents) | Anyone short on time or test equipment |
A reproduction harness copies the factory routing, wire colors, and connector styles. That matters if the car will be judged, because judges look at the correct clip and the correct wire stripe. A universal kit gives you a modern fuse block and labeled wires, but you build the routing yourself. Neither one is wrong. Pick the one that matches what the car is for.
Wire gauge deserves attention. Many original cars ran wire that was marginal for what we bolt on today. If you add an electric fan, high output alternator, or fuel injection pump, size the new wires for the added current and fuse every circuit. Skip the cheapest harness online. Thin insulation and undersized strands are the usual savings, and they come back as heat.
Before you pull the old harness
Photograph everything. Then photograph it again from another angle. Label each connector with masking tape and a marker, and write down which circuit it feeds. Keep the old harness as a reference until the new one is fully working, because it shows routing, clip locations, and where the factory ran grounds.
Disconnect the battery first. Pull the negative cable and tuck it away from the post. Then work in sections: engine bay, dash, rear lighting, door circuits. Tape the old harness ends together as you remove each section so you can lay it out flat on a bench next to the new one and compare length and branch points.
Installing the new harness, step by step
- Lay the new harness on the floor and match every branch to its old counterpart before it goes in the car.
- Route from the firewall outward. Pass the main bundle through the firewall grommet first, with a fresh grommet so water cannot follow the wires inside.
- Install the fuse block and mount it where you can reach it. Put every ground to clean bare metal, not painted metal.
- Connect circuits one at a time. Test each with a multimeter before you move on.
- Reconnect the battery last, with a fuse or a test light in series for the first power up.
Dress the harness as you go. Use the factory clip locations where they exist, and add rubber lined clamps where they do not. Keep wires away from exhaust manifolds, steering shafts, and sharp sheet metal edges. Chafing and poor crimps are two common reasons a new harness fails.
Where the harness meets the rest of the car
The wiring runs everywhere, so the job touches other work. When the dash is out, you are looking at the dash and interior as well as the wires behind the cluster, which is the cheapest moment to replace bulb sockets and the printed circuit. Do the harness before the carpet and headliner go back, not after. The same logic applies at the other end of the car. Fuel sender wires, pump power, and the new relay all need clean routes, so plan them together with the fuel system rather than discovering later that a pump wire has no path.
If you want a worked example on a specific platform, our walkthrough on how to install a new wiring harness in a classic C10 follows the same sequence with truck specific routing. Anyone dealing with an older truck should also read the piece on 6 volt versus 12 volt electrical choices before ordering anything, and if you are keeping a 6 volt system, the guide to 6 volt electrical maintenance covers the upkeep.
"A new harness is only as good as its worst crimp and its worst ground. I have chased more problems to a painted ground strap than to any bad part."
Dan Reeves
Testing and the first start
Before the first crank, check every circuit with the key on and the engine off. Headlights, brake lights, turn signals, horn, wipers, and heater blower each get a test. Measure battery voltage at the starter, then crank and watch for a drop. On a healthy 12 volt system the reading dips but does not collapse. A deep drop points to a bad ground, a weak battery, or a thin starter cable.
After the first drive, go back and inspect. Feel for warm connectors with the back of your hand. Heat means resistance. Retorque terminal nuts, check that no clip has shifted, and look for any wire rubbing on a bracket. A new harness settles in over the first few drives, and that is when small mistakes show.
What a good result looks like
A finished job has every wire labeled or color matched, every circuit fused, every ground clean, and no splice hidden under tape where a connector should be. The car starts on the first try, the lights are bright, and nothing smells hot. That is the standard. If you cannot meet it yourself, pay a shop that does only wiring, and ask to see a car they have finished. Cheap electrical work is the only kind of restoration shortcut that can take the whole car with it.
Sources and notes
- NFPA, vehicle fires research, electrical failure or malfunction named among leading causes of highway vehicle fires
- American Autowire, kit lineup, classic update and other kit series, featured kit prices from about $458 to $2,875
- Painless Performance Products, direct-fit, customizable and Pro-Series harness types, TXL wire, prices from about $283 to $1,300 and up
- Wikipedia, automotive battery, shift from 6 volt to 12 volt in the mid 1950s and positive ground origins
- Wikipedia, voltage drop, resistance in conductors and connectors dissipates energy as heat
Related Reading
Have a
Classic Car
for Sale?
Reach thousands of serious classic car collectors across the US.
Sell It Here →
Selling a classic? Here's how: sell my classic car
Are You a Classic Car Dealer?
List your full inventory and connect with targeted classic car buyers.
Join as a Dealer →

About the author
Dan Reeves
Performance engine builder from North Carolina's motorsports corridor, focused on swaps, forced induction and making real, repeatable power.
More in Restoration & Tech
Comments
Be the first to comment on this article.